Disney Mickey Mouse Pocket Organizer Craft – Easy DIY
Home » CREATE » Crafts » Disney Crafts »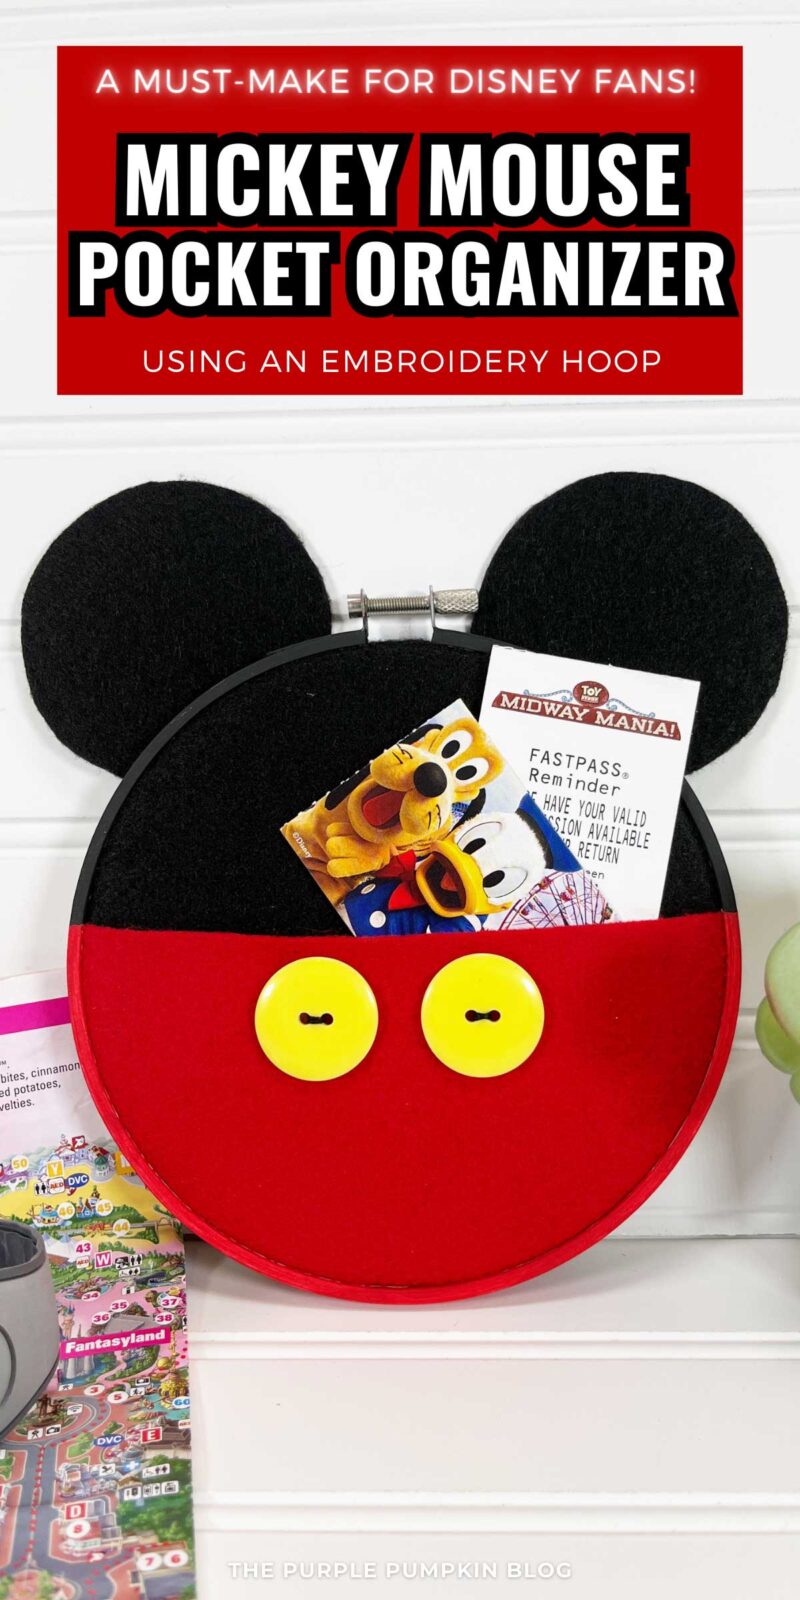
Step into the magical world of Disney with our enchanting Mickey Mouse Pocket Organizer Craft.
A project that’s easy yet rewarding, this craft serves as an adorable homage to the beloved character and doubles up as a functional organizer, adding a whimsical touch to any room!
Don’t have time for this craft now? Tap the share icon in the bottom right of the screen, then tap the heart icon ♥ to save it for later!

Affiliate Disclosure
We have included affiliate links to products and services related to this post.
We may earn a commission if you purchase after clicking on those links.
As an Amazon Associate, I earn from qualifying purchases.
Read Our Full Disclosure Policy and Privacy Policy
The list of materials, tools, and instructions is in the printable tutorial card at the end of this post. We recommend reading the blog post thoroughly before starting this project to ensure you have everything required and understand the steps and timings involved.
Mickey Mouse Pocket Organizer Craft
Bring the magic of Disney to your craft table with our Mickey Mouse Pocket Organizer Craft!
A delightful project that combines the world’s most famous mouse with simple materials, it’s a versatile craft idea perfect for kids of all ages and any Disney fan.
This fun and easy craft transforms plain embroidery hoops and felt into an adorable Mickey Mouse organizer.
Layering red felt over the top of the black felt creates a small pocket that can be filled with all your Disney keepsakes.
Each step of the process, from tracing Mickey’s iconic ears to painting the embroidery hoop to match Mickey’s signature color palette, is a great way to foster creativity and fine motor skills.
Disney Parks Ticket Keepsake Storage
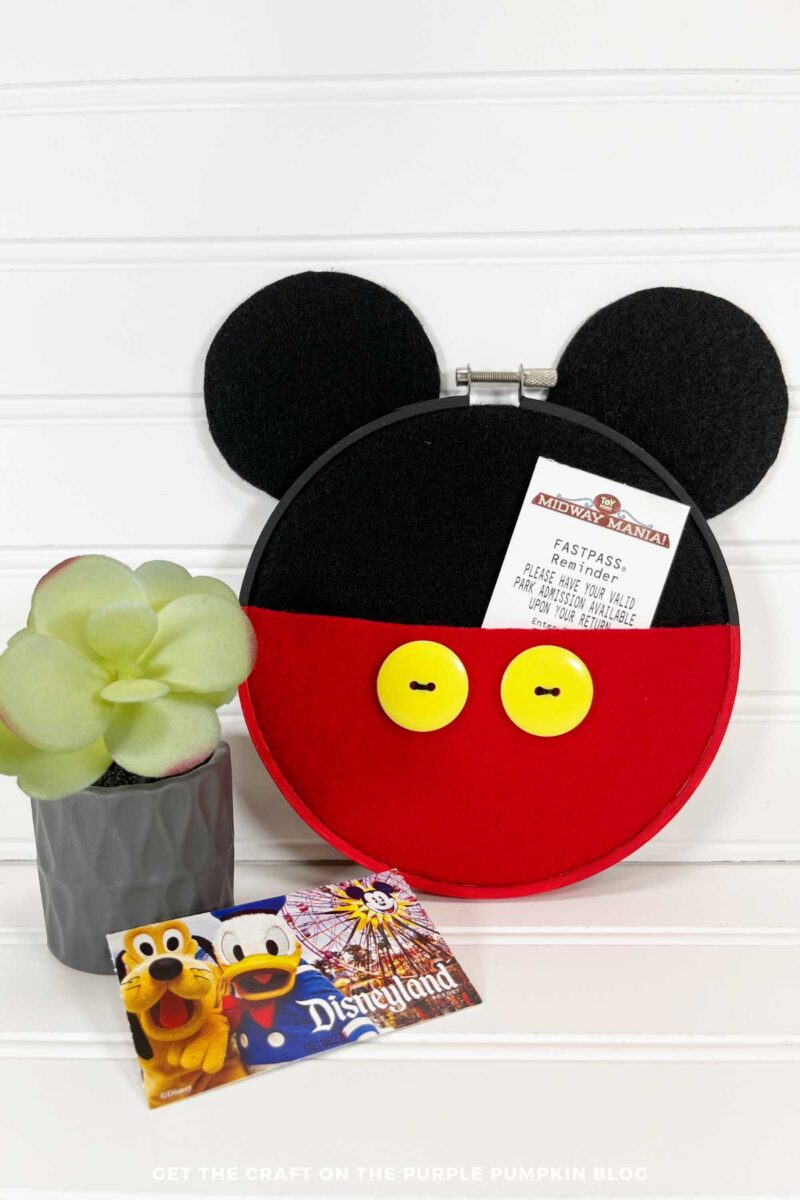
This Mickey Mouse craft is more than just a fun DIY activity—it’s also functional!
Pop in those [unused!] FastPasses, Disney Park maps, stickers, entrance tickets, or other paper ephemera to keep your precious Disney memories together in one place.
Mickey Mouse keepsake holders are a great gift idea for the Disney fans in your life, and they make great teacher gifts too!
And if you’re a Star Wars fan and love The Mandalorian, why not make our Grogu Pocket Organizer?
This Mickey Mouse Pocket Organizer Craft isn’t just about the end product—it’s about the joy of crafting, the delight in making something with your own hands, and the magic of bringing a little bit of Disney into your everyday life!
So, gather your supplies, get your kids involved, and enjoy creating something together!
Materials & Tools Used in This Craft
Craft Supplies For Mickey Mouse Pocket Organizer Craft
The materials and tools needed for this project are linked on Amazon below for your convenience. The quantities are on the craft tutorial card at the end of this post.
- 6-inch Wooden Embroidery Hoop – this forms the base of your pocket organizer. You can make larger ones if you like. Just make sure to use larger pieces of felt fabric.
- Felt Fabric – (9″ by 12″/23cm x 30cm) in the colors Red and Black. Felt craft sheets are perfect for crafting because they will not fray like traditional materials when cut. Layering the red felt over the top of the black felt creates a small pocket that can be filled with all your Disney keepsakes.
- Acrylic Craft Paints – in the colors Red and Black. Try to match your paints as closely as possible to your felt colors.
- Yellow Buttons
- Embroidery Floss – black
- Scissors
- White Chalk Pencil
- Hot Glue Gun and Glue Sticks
- Circle Template – you will need a 3-inch template to create Mickey’s ears.
- Paintbrush – in this set of paintbrushes, there are various sizes and types for different types of paint and glue.
No time to read now? Tap the buttons below to save the craft to your Pinterest boards or Facebook page for later!
Where Can I Get Cheap Craft Supplies?
This budget-friendly craft uses supplies you may already have or can purchase cheaply at a dollar store (or local equivalent).
Check out your local dollar stores like Dollar Tree if you’re in the USA. If you’re in the UK, the Poundshop, The Range, Wilko, and Baker Ross are great places to shop for cheap and inexpensive craft supplies. To the rest of the world reading this—we’re sorry we don’t know every cheap store out there, but please do hunt the ones out in your location for crafting bargains!
How Do I Make A Mickey Mouse Pocket Organizer Craft?
The printable tutorial card with the full supplies list and instructions can be found at the end of this post.
Step 1 – Make Ears: Trace two (3-inch) circles onto black felt with a white chalk pencil. Cut out the two circles with scissors inside the lines for a clean finished project.
TIP! Plain white chalk or even a white crayon would work for this step.
Step 2 – Add Felt to Hoop: Loosen the screw at the top of the wooden embroidery hoop and separate the inner and outer rings.
Layer the red felt on top of the black felt so that 4″ (10cm) of the green is at the top and 3″ (7.5cm) of the red is at the bottom. Place the inner hoop underneath the layered felt.
Fit the felt loosely into the outer embroidery hoops. Pull the felt gently from the back to ensure the felt is taught, and then tighten the screw at the top of the hoop.
Step 3 – Trim Felt: Use scissors to trim the excess felt from the back of the hoop. Apply a thin line of hot glue to the cut raw edge of the felt to secure it.
TIP! You can use liquid craft glue for this project, but you will have to wait for the glue to dry.
Step 4 – Paint Embroidery Hoop: Paint the top of the outside and front edge of the wooden hoop with black acrylic craft paint, lining it up with the black felt. Set aside to dry. Apply a second coat if necessary.
Paint the bottom of the outside and front edge of the hoop with red acrylic craft paint, lining it up with the red felt. Set aside to dry. Apply a second coat if necessary.
Step 5 – Attach Buttons: Thread black embroidery floss into the holes of a large yellow button. Secure in the back with a knot and trim the tails. Repeat with the second button.
Attach the buttons to the top edge of the red felt pocket with a glue gun and glue sticks.
TIP! Slide a piece of scrap paper into the pocket so that the glue doesn’t seep through.
Step 6 – Attach Ears: Using the metal screw as your center point, attach Mickey’s ears to the top right and top left of the hoop with a glue gun and glue sticks.
Flip the hoop over and secure the ears to the back of the embroidery hoop with a glue gun and glue sticks. Finish the back with a circle of red or black craft felt if giving as a gift.
Step 8 – Add Hanging Loop: This is an optional extra step. Create a hanging loop and tie it to the metal screw so that you can hang your Mickey Mouse organizer on the wall.
Slide your paper mementos and tickets into the pocket and display your organizer where desired!
More Mickey Mouse Craft Ideas
Are you looking for more Disney and Mickey Mouse crafts? Try these next:
- Mickey Mouse Pumpkin Topiary Craft for Fall!
- Gorgeous Mickey Mouse Topiary Craft with Looped Ribbons
- Quick & Easy Mickey Mouse Wreath Christmas Ornament Craft
- Minnie & Mickey Mouse Mason Jars Disney Craft!
- Cute Disney Decor Craft Idea: Mickey and Minnie Button Art Canvases!
- Disney-Inspired Mickey & Minnie Photo Frames Craft
We’ve shared over 500+ crafts for all seasons and holidays—why not take a look at them next?
Printable Mickey Mouse Pocket Organizer Craft Tutorial Card
The printable tutorial card is below—please leave a star rating and quick review to share your experience with others!
Mickey Mouse Pocket Organizer
Materials
- 6- inch Wooden Embroidery Hoop
- Felt Fabric 9″ by 12″ – Black, Red
- Acrylic Craft Paint – Black Red
- 2 Yellow Buttons
- Black Embroidery Floss
TOOLS
- White Chalk Pencil
- Circle Template
- Paint Brush
Instructions
- Trace two (3-inch) circles onto black felt with a white chalk pencil. Cut out the two circles with scissors inside the lines for a clean finished project.
- Loosen the screw at the top of the wooden embroidery hoop and separate the inner and outer rings. Layer the red felt on top of the black felt so that 4″ (10cm) of the green is at the top and 3″ (7.5cm) of the red is at the bottom. Place the inner hoop underneath the layered felt. Fit the felt loosely into the outer embroidery hoops. Pull the felt gently from the back to ensure the felt is taught, and then tighten the screw at the top of the hoop.
- Use scissors to trim the excess felt from the back of the hoop. Apply a thin line of hot glue to the cut raw edge of the felt to secure it.
- Paint the top of the outside and front edge of the wooden hoop with black acrylic craft paint, lining it up with the black felt. Set aside to dry. Apply a second coat if necessary. Paint the bottom of the outside and front edge of the hoop with red acrylic craft paint, lining it up with the red felt. Set aside to dry. Apply a second coat if necessary.
- Thread black embroidery floss into the holes of a large yellow button. Secure in the back with a knot and trim the tails. Repeat with the second button. Attach the buttons to the top edge of the red felt pocket with a glue gun and glue sticks. TIP! Slide scrap paper into the pocket so the glue doesn’t seep through.
- Using the metal screw as your center point, attach Mickey's ears to the hoop's top right and top left. with a glue gun and glue sticks. Flip the hoop over and secure the ears to the back of the embroidery hoop with a glue gun and glue sticks. Finish the back with a circle of red or black craft felt if giving as a gift.
- This is an optional extra step. Create a hanging loop with some ribbon and tie it to the metal screw to hang your Mickey Mouse organizer on the wall. Slide your paper mementos and tickets into the pocket and display your organizer where desired!
More Disney Storage Pocket Organizer Ideas
Here are some fun variations on the Mickey Mouse Pocket Organizer Craft using different Disney characters:
Minnie Mouse Pocket Organizer: Use red and white polka dot felt to recreate Minnie’s iconic dress. Don’t forget to add a bow between the ears!
Donald Duck Pocket Organizer: Opt for blue and white felt to represent Donald Duck’s sailor outfit. Add a small red bow to complete the look.
Snow White Pocket Organizer: Use yellow and blue felt for the base, and add a red bow at the top to signify Snow White’s headband.
Buzz Lightyear Pocket Organizer (Toy Story): Use white, green, and purple felt to match Buzz’s space suit. You could add small red and blue buttons to mimic his control panel.
Elsa Pocket Organizer (Frozen): Opt for light blue and white felt to represent Elsa’s icy gown. Add some glitter for a frosty effect!
Winnie the Pooh Pocket Organizer: Use red and yellow felt for Pooh’s shirt and body, respectively. You could add a small honey pot button for extra charm.
Maleficent Pocket Organizer: Use black and purple felt for the body. Cut out a different pattern for the ears to represent Maleficent’s horns.
Stitch Pocket Organizer (Lilo & Stitch): Use blue and light blue felt for Stitch’s body and belly, respectively. Add large black buttons for Stitch’s eyes.
Ariel Pocket Organizer (The Little Mermaid): Use green and purple felt to represent Ariel’s mermaid tail and seashell top. Add a small red bow to signify her hair.
Remember, the beauty of crafts is that they can be customized according to personal preference. So, feel free to use these suggestions as a base and let your creativity take over!
More Crafts Using An Embroidery Hoop
- Jack-o’-lantern Pumpkin Embroidery Hoop Craft
- Jack-o’-Lantern Pumpkin Felt Scrap Wreath Craft
- Here are some more Pumpkin Crafts
- Adorable Ghost Felt Scrap Wreath Craft – Spooky DIY Decoration!
- Fun Frankenstein Felt Scrap Wreath Craft for Halloween
- Spider Felt Scrap Wreath Craft! DIY Decoration for Halloween!
- Here are more Halloween Crafts
- Valentine’s Day Craft – Embroidery Hoop LOVE Wall Hanging