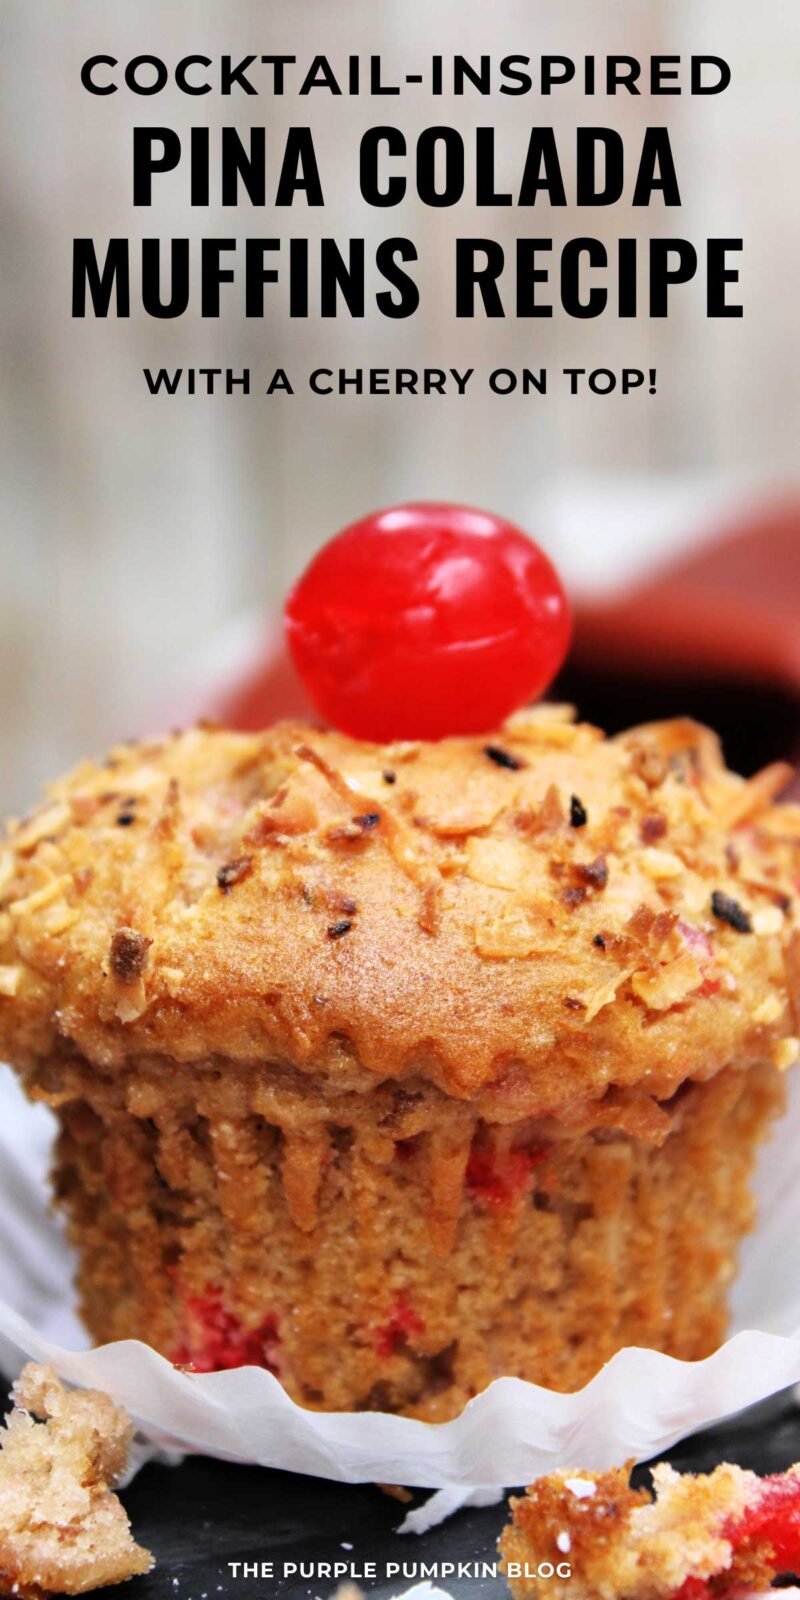
Pina Colada Muffins Recipe with Coconut Milk
Home » COOK » Recipes » Baking » Muffins »Indulge in the tropical flavors of our Pina Colada Muffins recipe!
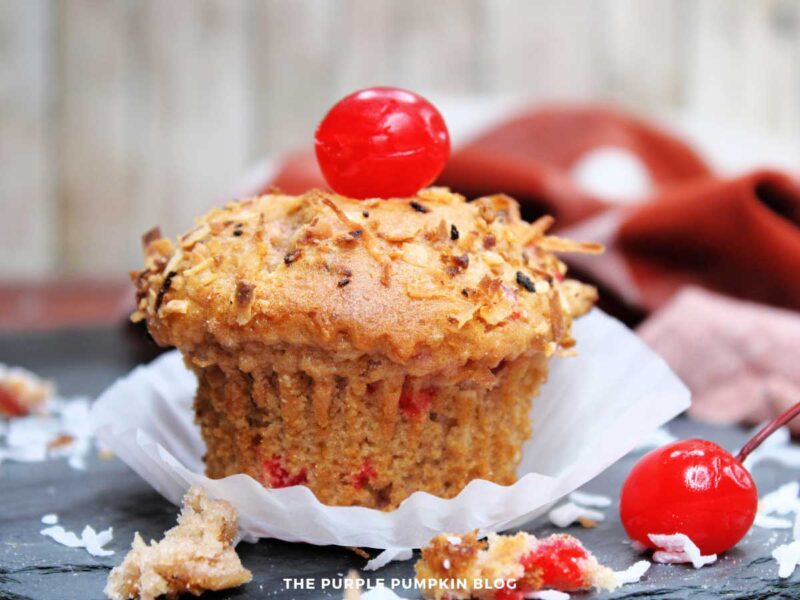
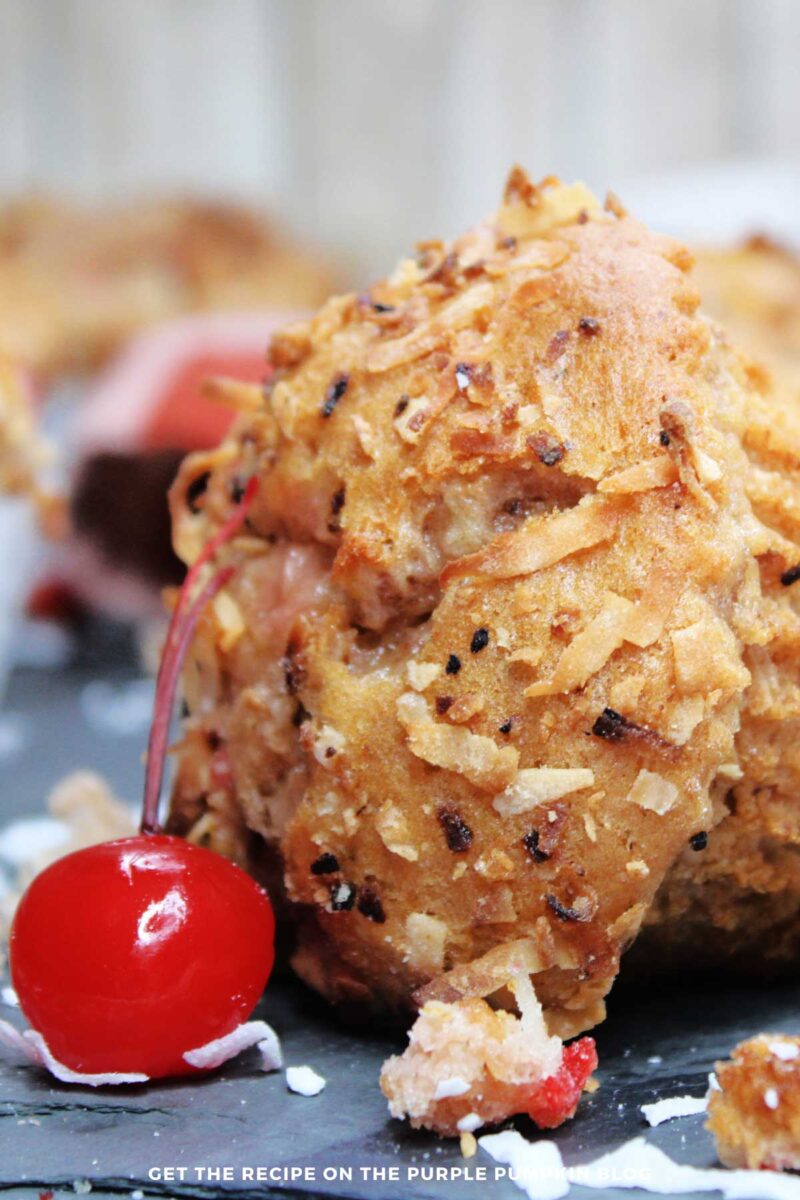
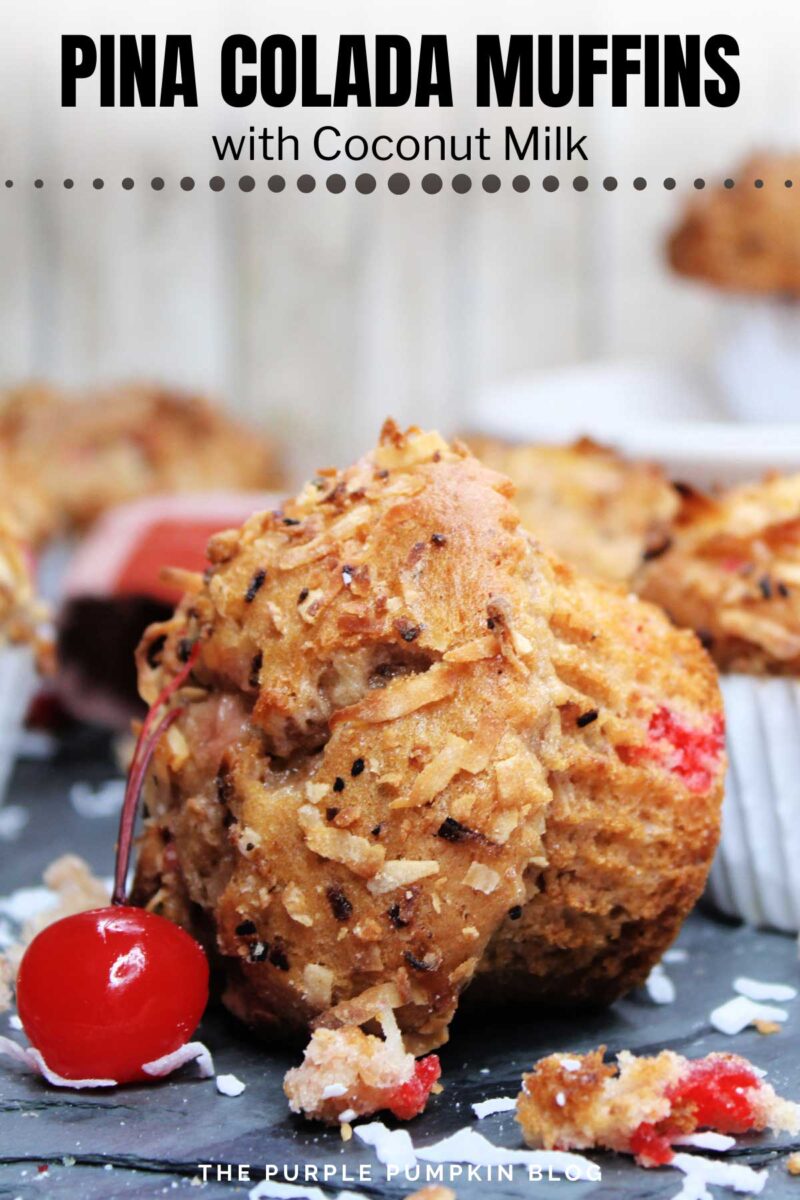
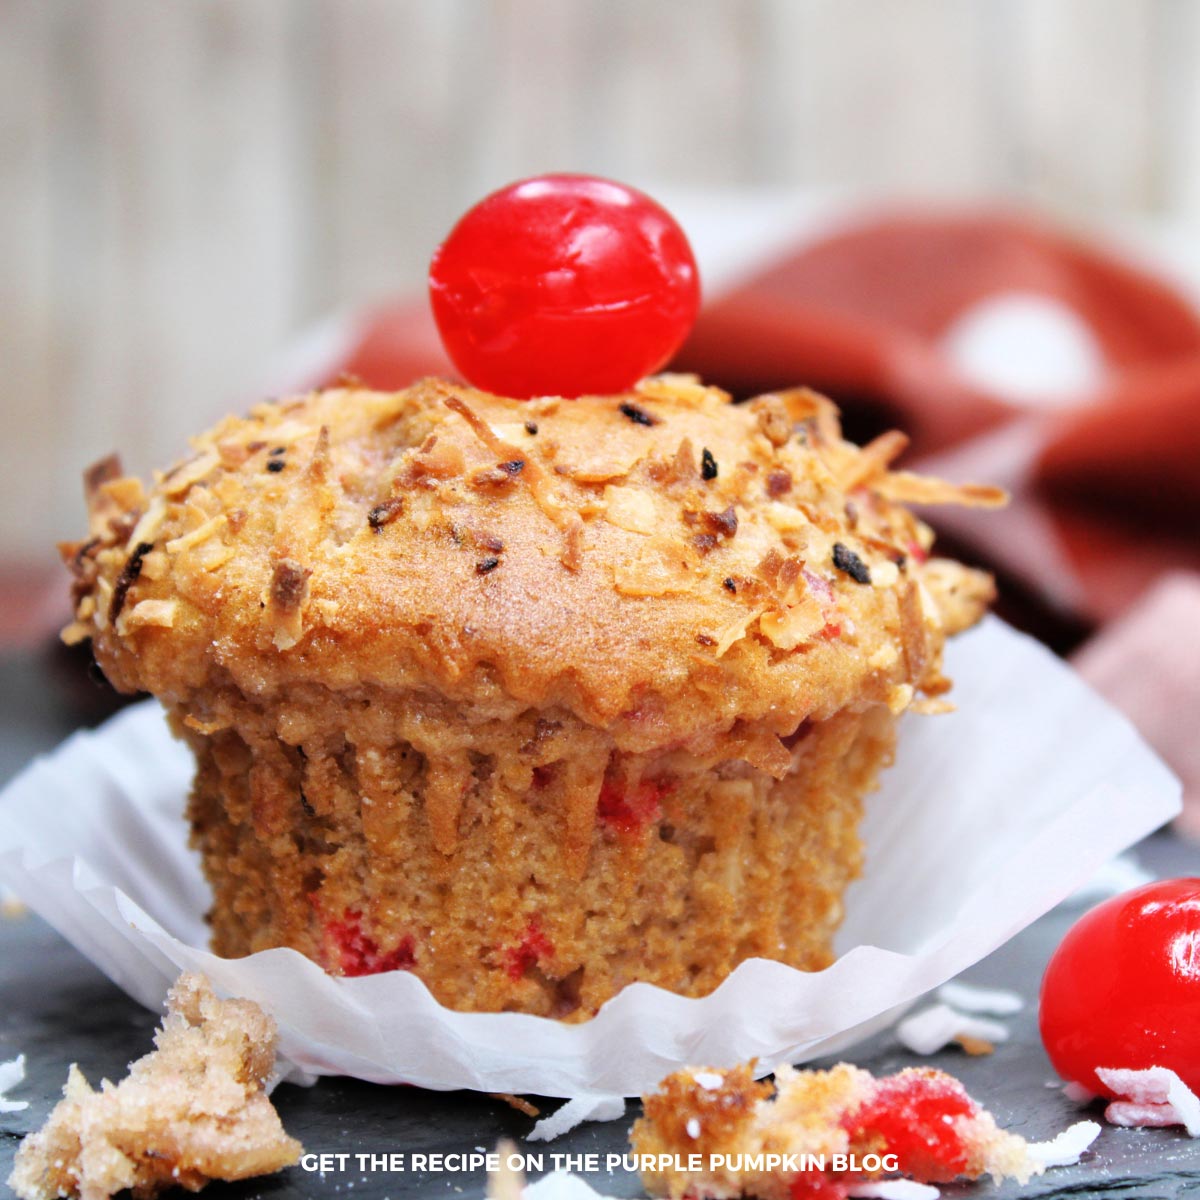
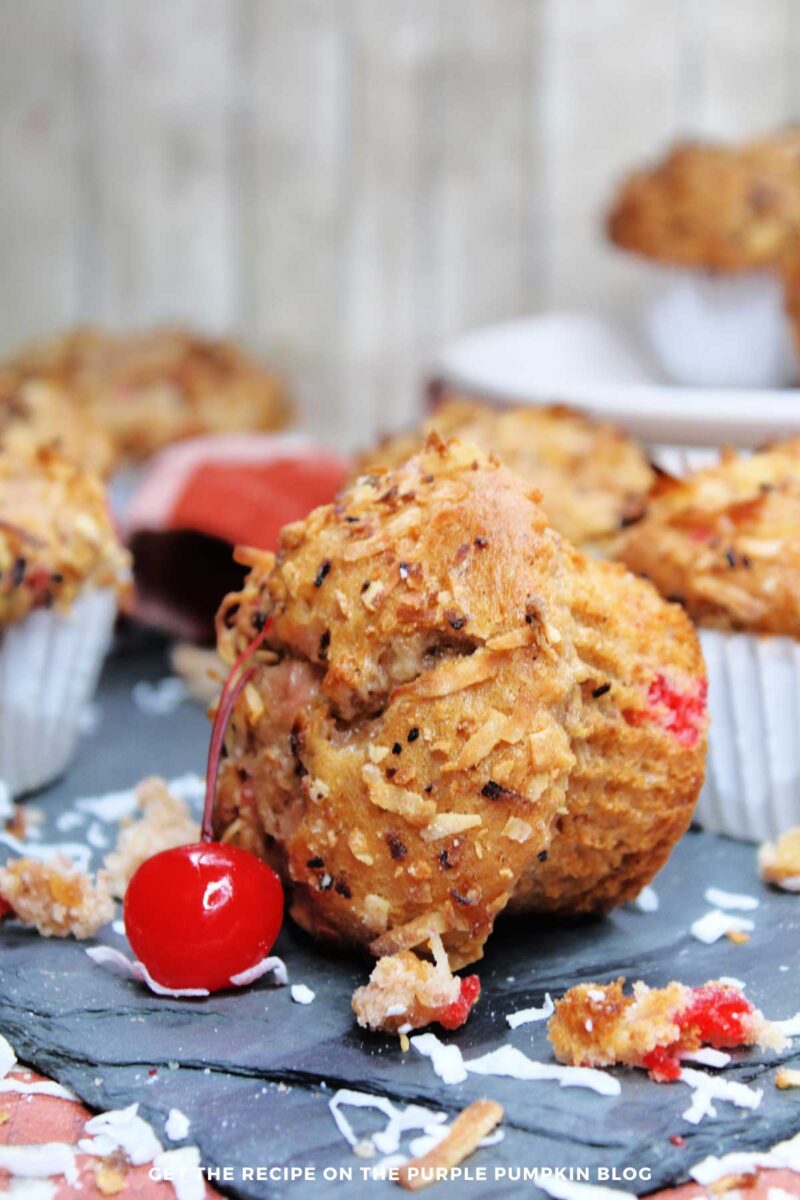
These delicious muffins are filled with crushed pineapple, toasted coconut, and a hint of rum, reminiscent of sipping on a refreshing piña colada on a sandy beach…
Don’t have time for this recipe now? Tap the heart icon ♥ in the bottom right of the screen to save it for later!
Affiliate Disclosure
We have included affiliate links to products and services related to the topic of this post.
This post contains affiliate links, and we will be compensated if you purchase after clicking on those links.
As an Amazon Associate, I earn from qualifying purchases.
Read Our Full Disclosure and Privacy Policy
While you may prefer to skip to the recipe card, we suggest reading the entire blog post to avoid missing valuable tips and substitution suggestions and to ensure you have the necessary ingredients, equipment, and understanding of the steps and timings.
Pina Colada Muffins
We love pina colada-flavored recipes* here on The Purple Pumpkin Blog—they make us feel like we’re on a tropical vacation when we’re stuck at home!
So if you’re yearning for a taste of the tropics, look no further than these delightful Pina Colada Muffins!
Bursting with juicy pineapple, coconut, and rum flavors, these muffins are a sweet and satisfying treat for any occasion.
Whether you enjoy them for breakfast, brunch, or as a delightful afternoon snack, these Piña Colada Muffins will transport you to a sunny paradise with every mouthwatering bite!
These muffins are a delicious indulgence and a reminder of life’s sweet and blissful moments.
So, grab your apron and whisk, and get ready to take your taste buds on a sun-kissed adventure with these scrumptious pina colada cocktail muffins!
*And if you love those flavors too, try our Piña Colada Cupcakes made with Malibu and fresh pineapple chunks, our Pina Colada Layer Cake that’s perfect for a Tropical Luau Party, or our Mini Piña Colada Cheesecakes with rum and sweet pineapple topping!
What Can I Serve With Pina Colada Muffins?
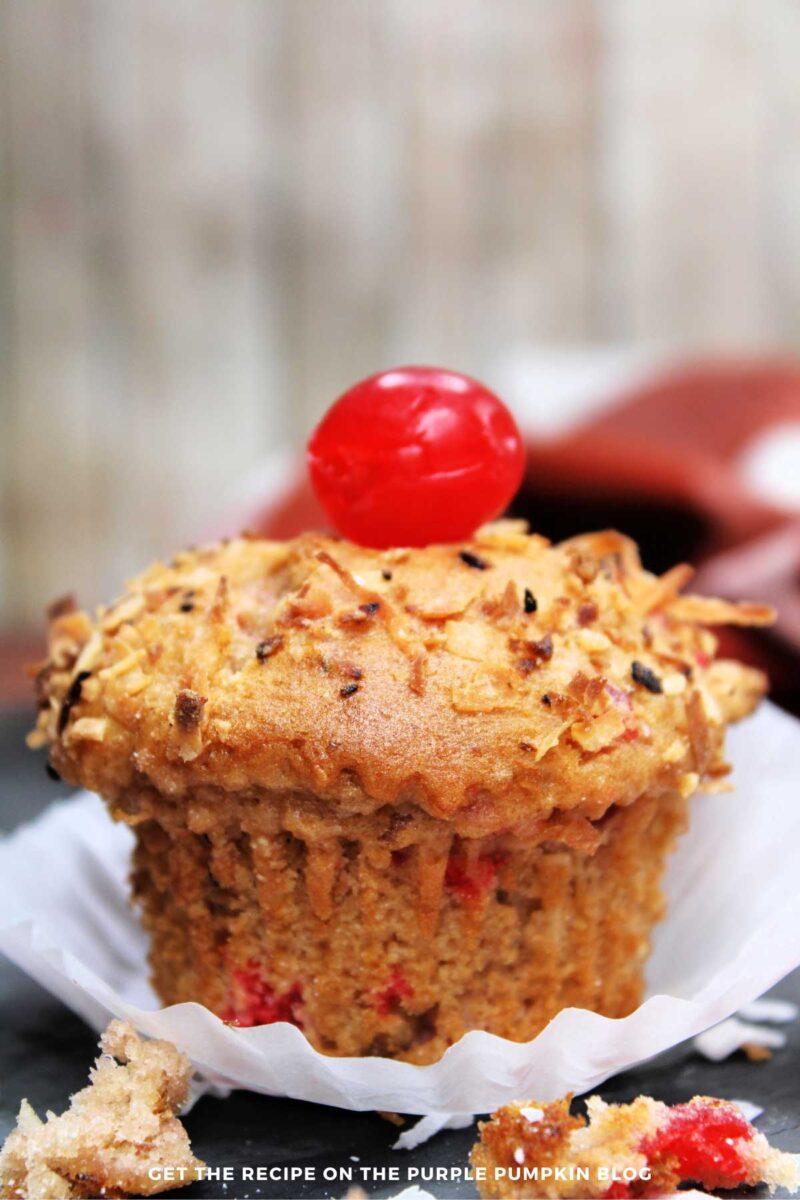
- Coconut Whipped Cream: Top the muffins with a dollop of coconut whipped cream for an extra tropical touch.
- Grilled Pineapple Slices: Serve alongside the muffins for a refreshing and juicy accompaniment.
- Frozen Piña Colada: Pair the muffins with a chilled and creamy iced cocktail infused with tropical flavors.
Ingredients & Equipment Used In This Recipe
The ingredients and tools in this recipe are conveniently linked to online retailers like Amazon or Amazon Fresh.
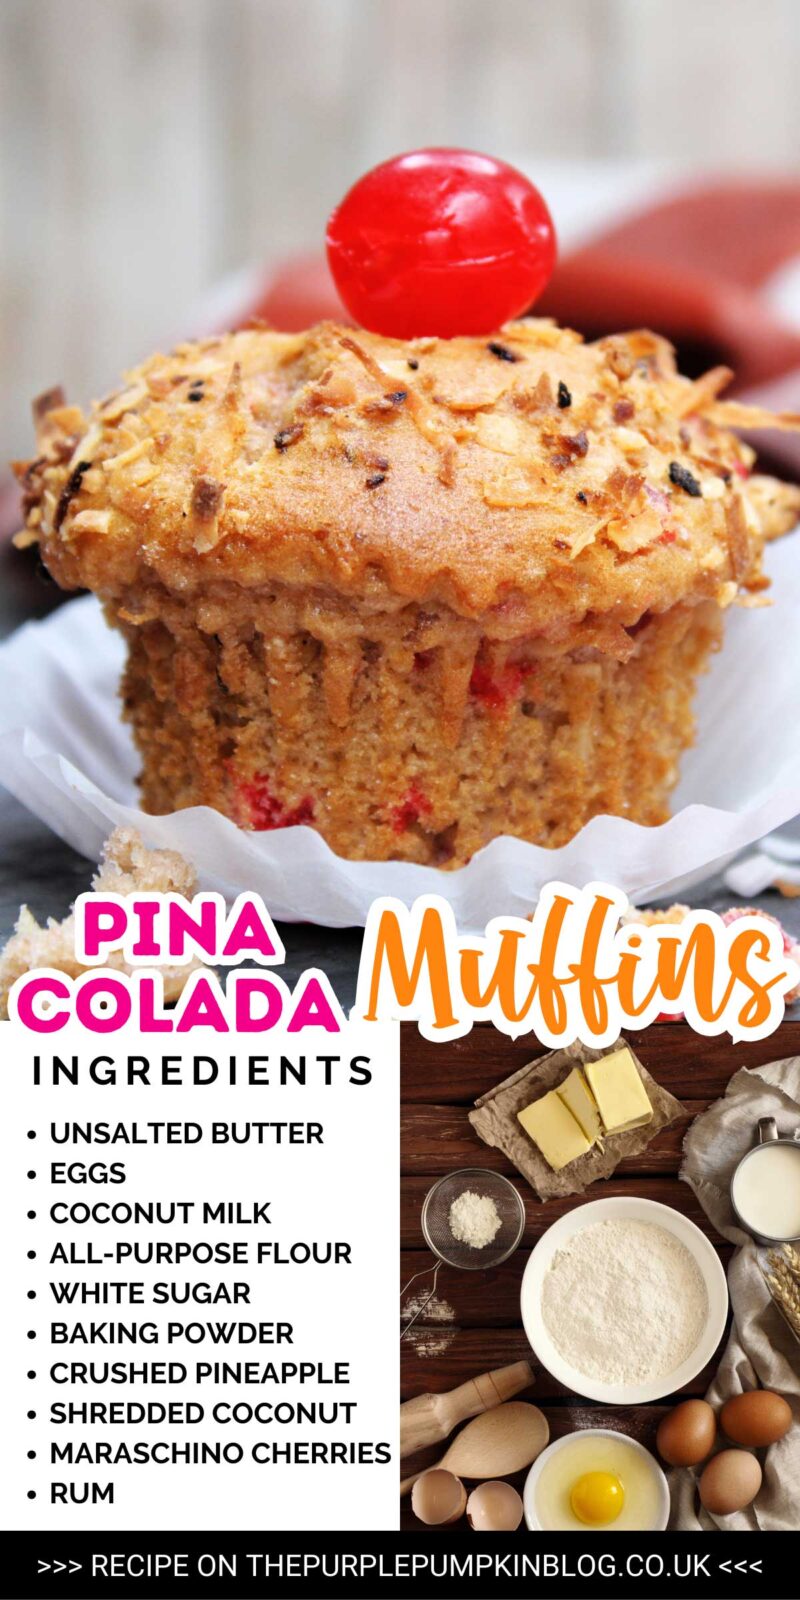
Ingredients Needed For Pina Colada Muffins
- Chilled & Dairy – Unsalted Butter, Eggs, Coconut Milk
- Pantry – Salt
- All-Purpose Flour – also known as Plain Flour.
- White Sugar
- Baking Powder
- Crushed Pineapple
- Shredded Coconut
- Maraschino Cherries
- These muffins can be made using real rum, imitation rum extract, or vanilla extract. This is entirely dependent on your personal requirements.
The complete list of ingredients with measurements is on the recipe card at the end of this post.
No time to read now? Tap the buttons below to save the recipe to your Pinterest boards or Facebook page for later!
Equipment Needed For This Recipe
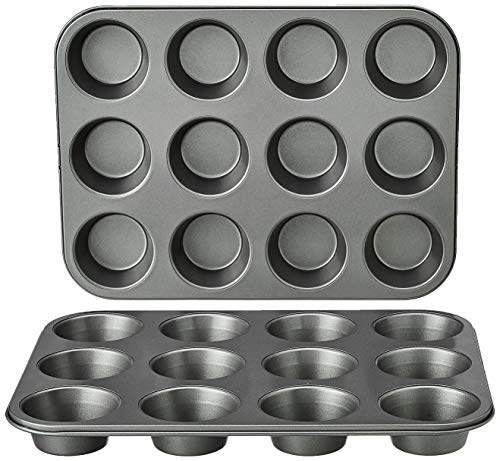
- 12-Cup Muffin Tin/Cupcake Pan
- Cupcake Liners
- Small Saucepan
- Mixing Bowls
- Fine Mesh Sieve – or Sifter to sift the flour.
- Whisk
- Rubber/Silicone Spatula – or you could use a Wooden Spoon.
- Ice Cream Scoop – with a trigger button. The scoop helps to get even portions of muffin mix.
The Purple Pumpkin Blog uses both cups and weighted measurements in its recipes, making American cups and kitchen food scales valuable tools for trying all the recipes. We provide US customary, imperial, and metric measurements. Still, it’s important to note that while you can combine cup measurements with weighted measures, never mix US customary/imperial (pounds, ounces, pints, etc.) with metric (kilograms, grams, liters, etc.).
Reasons You’ll Love Piña Colada Muffins
- Tropical flavors of pineapple and coconut in every bite
- A moist and tender texture that melts in your mouth
- Easy and quick to make, perfect for breakfast or brunch
- A taste of vacation drinking piña coladas, but in a convenient muffin form
Dinner Party Menu Suggestions
You’ve made the desserts, but what about the rest of the courses?
Here are additional recipes to create a menu for a dinner party or special meal:
- Appetizer: Bacon-Wrapped Water Chestnuts
- Soup: Creamy Ginger Carrot Soup
- Salad: Tropical Rice Salad
- Main Dish: Slow Cooker Hawaiian Pulled Pork
- Side Dish: Pineapple Coleslaw
- Cocktail: Banana Colada
How Do I Make Pina Colada Muffins?
The printable recipe card with the ingredients list and instructions can be found at the end of this post.
Number of Servings: 12
Prep Time: 10 minutes | Cook Time: 20 minutes | Total Time: 30 minutes
Step 1 – Preheat & Prep: Preheat the oven to 375°F/190°C/Gas 5. Line a muffin pan with 12 paper cups and set it aside.
Step 2 – Toast Coconut: Place the butter and coconut into a saucepan over medium heat, and cook, frequently stirring, until the coconut is golden brown. Set aside to cool.
Step 3 – Mix Dry Ingredients: Sift or whisk the flour, sugar, baking powder, and salt together in a large bowl to combine. Set to the side.
Step 4 – Mix Wet Ingredients: In a medium mixing bowl, beat the egg and milk together, then stir in the pineapple, half of the toasted coconut, chopped cherries, and rum.
Step 5 – Combine Ingredients: Add the wet mixture to the dry flour mixture and stir to just combine. Do not overmix.
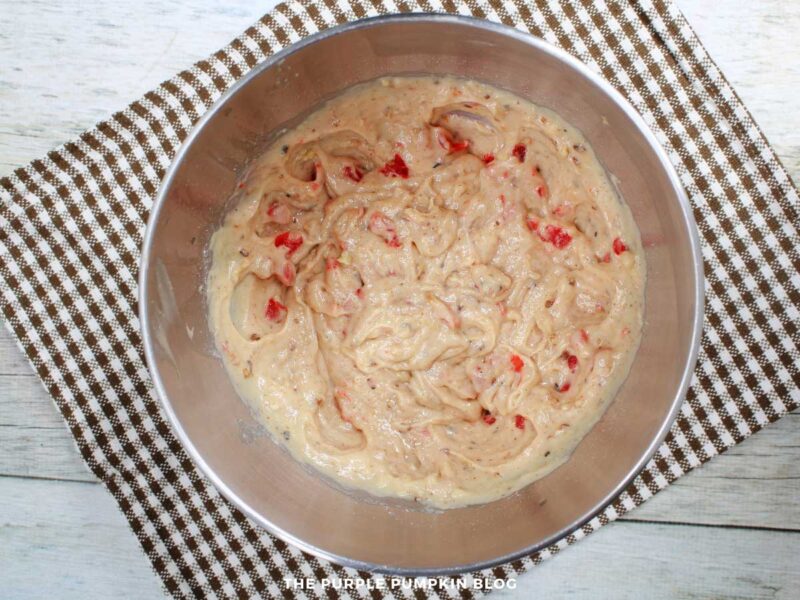
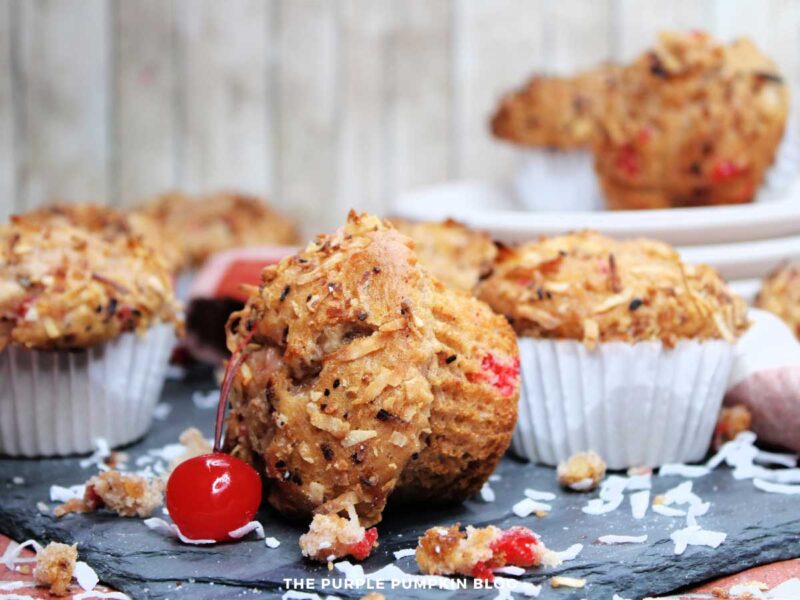
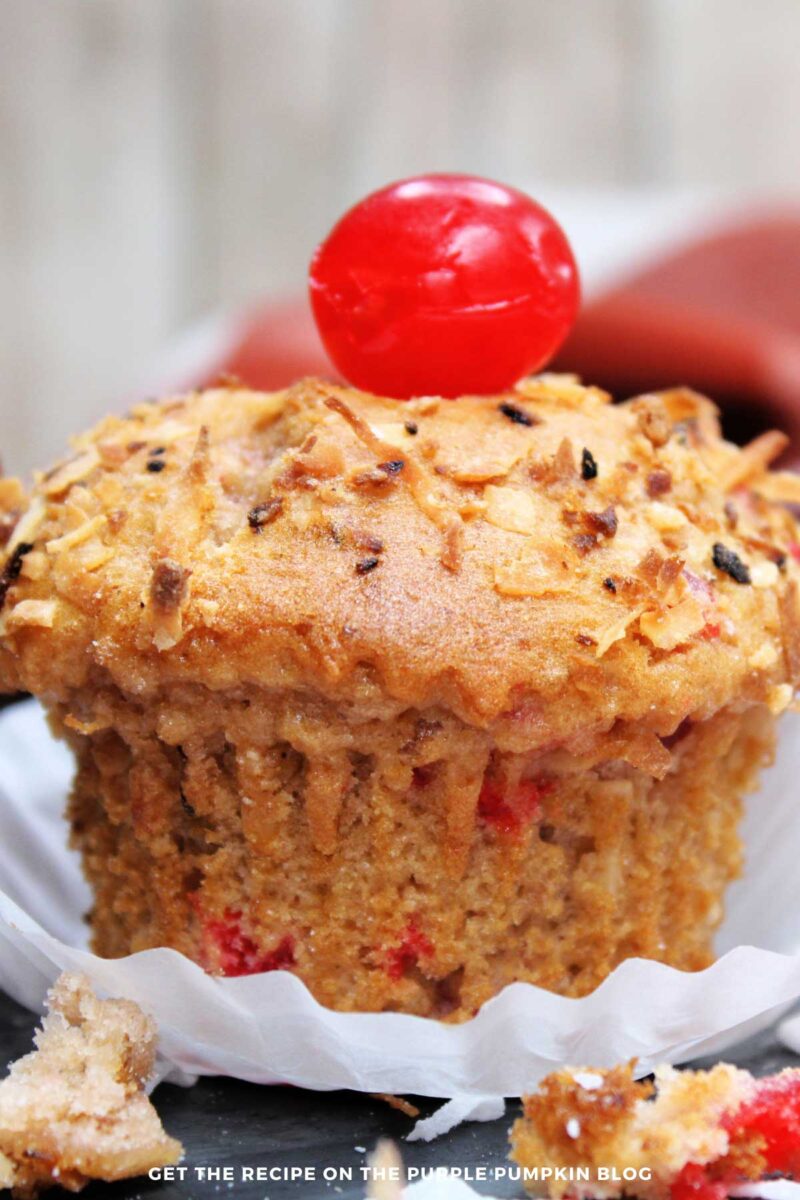
Step 6 – Prepare Muffins: Use an ice cream scoop to divide the muffin batter between the liners, filling each one about two-thirds full. Sprinkle the remaining toasted coconut on top of the muffins.
Step 7 – Bake Muffins: Place the muffin pan in the preheated oven for 20-25 minutes or until a toothpick inserted into the center of the muffins comes out mostly clean.
Leave the muffins to cool in the pan for 5 minutes before transferring them to a wire rack to cool completely before serving.
TIP! For an added extra, place a cherry on top of each muffin.
More Recipes Using Coconut
One of the hero ingredients in this recipe is shredded coconut, so here are some more using the same:
Recipe Tips
- Ensure the butter and coconut are toasted to a golden brown for a nutty and aromatic flavor.
- Use an ice cream scoop to portion the batter evenly into the muffin cups.
- Cool the muffins completely on a wire rack before storing or serving them.
Storing Leftovers & Freezing
Before storing or freezing, allow the muffins to cool completely at room temperature.
If you store them while still warm, condensation may form inside the storage container, leading to soggy muffins.
- Storing Leftovers:
- Store leftover Pina Colada Muffins in an airtight container at room temperature for up to 3 days.
- Store them in the refrigerator for 5 days to extend their freshness.
Freezing Instructions:
• If you want to freeze the muffins individually for easier portioning, wrap each muffin tightly in a double layer of plastic wrap and a layer of aluminum foil.
This will help prevent freezer burn and eliminate unwanted freezer smells. This step is particularly helpful if you plan to grab a single muffin from the freezer at a time.
• If you prefer to freeze the cooled muffins without individual wrapping, place them in a single layer on a baking sheet and put the sheet in the freezer. Once they’re partially frozen, transfer them to airtight containers or bags.
Make sure to remove as much air as possible before sealing the containers to prevent freezer burn. This method prevents the muffins from sticking together and allows you to remove only the muffins you need.
• Label and date the containers or bags with the muffin type and the freezing date. This will help you keep track of the muffins’ freshness and flavors.
• Muffins can generally be stored in the freezer for up to three months. After this period, their quality may start to deteriorate.
• To enjoy the frozen muffins, simply take them out of the freezer and let them thaw at room temperature for a few hours or overnight.
• If you prefer warm muffins, you can reheat them in the oven at a low temperature (around 300°F/150°C/Gas 2) for 5 to 10 minutes until heated.
Alternatively, you can microwave them on a low setting for a short period, but be cautious not to overheat them, as they may become dry.
- With all leftovers, ensure the food looks and smells okay before consuming.
- Safe Minimum Internal Temperature Chart for Cooking
- You can always consult the Food Standards Agency in your country for the most up-to-date advice on storing and freezing foods: Food Standards Agency (UK) | Food Safety (USA).
Printable Pina Colada Muffins Recipe Card
Below is the printable recipe card. To save ink, any demonstration photos on the recipe card are not printed out.
*NEW FEATURE!* Tap the Add To Shopping List button to save the ingredients list to your phone!
We appreciate it when you review the recipe and leave a star rating to share your experience with others!
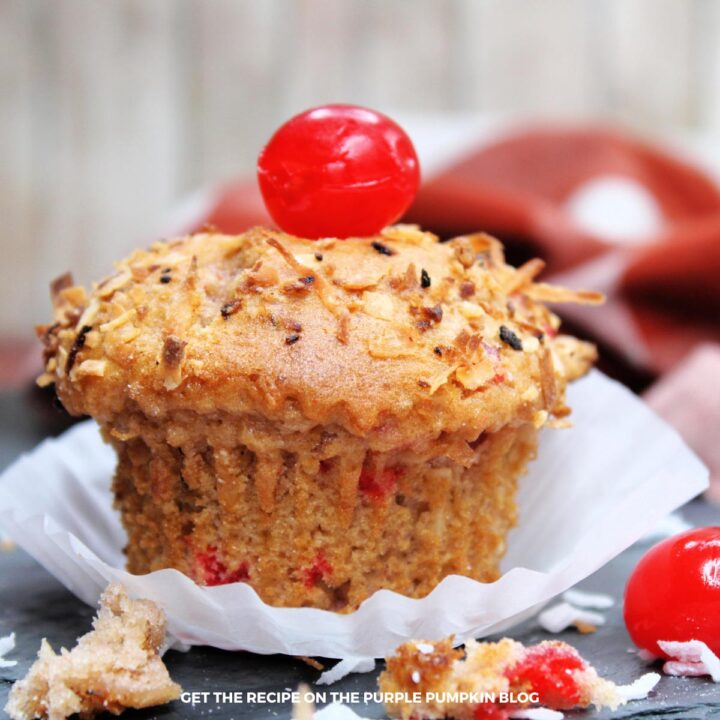
Pina Colada Muffins
Love tropical flavors? Our Pina Colada Muffins are just for you! The perfect combination of pineapple, coconut, and rum in every bite.
Ingredients
- 1 tsp butter
- 1 cup shredded coconut, divided
- 1½ cups all-purpose flour (plain flour)
- ⅓ cup sugar
- 2 tsp baking powder
- ½ tsp salt
- 1 egg, room temp
- ½ cup coconut milk
- ½ cup crushed pineapple, drained
- ½ cup maraschino cherries, chopped
- 1 teaspoon rum flavored extract
Optional Garnish
- 12 maraschino cherries
Instructions
- Preheat the oven to 375°F/190°C/Gas 5. Line a muffin pan with 12 paper liners and set it aside.
- Place the butter and coconut into a saucepan over medium heat, and cook, frequently stirring, until the coconut is golden brown. Set aside to cool.
- Sift or whisk the flour, sugar, baking powder, and salt together in a medium bowl to combine. Set to the side.
- In a large bowl, beat the egg and milk together, then stir in the pineapple, half of the toasted coconut, chopped cherries, and rum. Add the wet mixture to the dry flour mixture and stir to just combine. Do not overmix.
- Use an ice cream scoop to divide the muffin batter between the liners, filling each one about two-thirds full. Sprinkle the remaining toasted coconut on top of the muffins.
- Place the muffin pan in the preheated oven for 20-25 minutes or until a toothpick inserted into the center of the muffins comes out mostly clean. Leave the muffins to cool in the pan for 5 minutes before transferring them to a wire cooling rack to cool completely before serving. For an added extra, place a cherry on top of each muffin. Enjoy!
Recommended Products
As an Amazon Associate and member of other affiliate programs, I earn from qualifying purchases.
Nutrition Information:
Yield: 12 Serving Size: 1Amount Per Serving: Calories: 143Total Fat: 3gSaturated Fat: 2gTrans Fat: 0gUnsaturated Fat: 1gCholesterol: 17mgSodium: 212mgCarbohydrates: 26gFiber: 1gSugar: 13gProtein: 3g
This site uses Nutritionix to provide estimated nutrition. Nutritional information is always approximate and will depend on the quality of ingredients used and serving sizes. If you need exact calories and macros, please do your own calculations.
More Muffin Recipes
Are you looking for more muffins to make? Check these recipes out next:
FAQs About Muffins
Here are some questions people often ask about making muffins
Click the question to read the answer. If you have one of your own, please comment on this post!
The popularity of muffin flavors can vary depending on the region and personal preferences. However, some of the most popular muffin flavors worldwide include blueberry, chocolate chip, banana nut, and lemon poppy seed.
A good muffin should have a soft, moist crumb with a slightly crisp top. It should be well-balanced in sweetness and flavor without being overly dense or dry. A good muffin should also have a pleasing aroma and be visually appealing.
The mixing method commonly used for making muffins is the “muffin method.” It is a simple and quick mixing technique that helps produce tender and moist muffins with a slightly coarse crumb. The muffin method differs from other baking methods, like the creaming method (used for cakes) or the biscuit method (used for scones and biscuits). Essentially, dry ingredients are mixed in one bowl, and the wet ingredients are combined in a separate bowl. They are then gently mixed together to create the muffin batter.
The secret to good muffins lies in not overmixing the batter. Overmixing can lead to gluten development, resulting in tough and dense muffins. It’s essential to mix the wet and dry ingredients until just combined, leaving some lumps in the batter.
As mentioned earlier, one of the most common flaws when baking muffins is overmixing the batter. Additionally, overbaking can cause muffins to become dry and crumbly. It’s crucial to keep a close eye on the baking time and remove the muffins from the oven when a toothpick inserted into the center comes out with a few moist crumbs clinging to it.
Letting the muffin batter rest before baking is generally a good idea. Allowing the batter to rest for about 10 to 15 minutes after mixing gives the flour time to fully hydrate, resulting in a more tender texture.
Chilling the muffin batter before baking is not common, and it’s unnecessary for most muffin recipes. However, some recipes, especially those with a high proportion of liquid fat (e.g., melted butter or oil), may benefit from a short chilling period to prevent excessive spreading during baking.
Overmixing the muffin batter leads to the overdevelopment of gluten, which results in tough and rubbery muffins. The texture will be dense, and the muffins may not rise as well, leading to a less desirable end product.
Using liners in the muffin tins offers several benefits. It makes it easier to remove the muffins from the tin without sticking, keeping their shape intact. Liners also help to keep the muffins moist and fresh for longer periods. Additionally, using liners can save time on cleanup, as the muffin tin remains relatively clean.
Using an electric mixer for muffins can be convenient, but it’s essential to exercise caution not to overmix the batter. The key to making tender and moist muffins is to avoid gluten development, which can happen when you overmix the batter. Gluten development leads to a tougher texture and can result in less enjoyable muffins.
Coconut flour and all-purpose flour differ in their properties, so substituting one for the other is not a straightforward one-to-one swap. Coconut flour is a high-fiber, high-fat flour made from dried coconut meat, while all-purpose flour is refined wheat flour that contains gluten, a protein responsible for the structure and texture of baked goods. Because of these differences, substituting coconut flour for all-purpose flour requires adjustments to the recipe to achieve the desired results. It’s often best to start with recipes designed specifically for coconut flour to ensure better results. Once you become familiar with its properties and behavior, you can try adapting other recipes if desired.
