How to Make the Most Indulgent Chocolate Fudge Cake Ever!
Home » COOK » Recipes » Baking » Cakes »This three-layer Chocolate Fudge Cake, simply put, is indulgent! Bursting with chocolate, vanilla, walnuts, and chocolate chips in every bite, this cake is a real show stopper! Celebrations and holidays are all about enjoying decadent desserts (in moderation of course!) and this cake has to be on your dessert menu when you want to really treat your guests!

Affiliate Disclosure
We have included affiliate links to products and services related to the topic of this post.
This post contains affiliate links, and we will be compensated if you purchase after clicking on those links.
As an Amazon Associate, I earn from qualifying purchases.
Read Our Full Disclosure and Privacy Policy
Chocolate Fudge Cake
The full ingredients list and instructions are found in the printable recipe card at the end of this post. I highly recommend reading the blog post all the way through so that you don’t miss any tips or substitution suggestions and to ensure that you have all the ingredients and equipment required as well as understand the steps and timings involved.
If you want to make a show stopping dessert when entertaining during the holidays (or any time of the year) then this amazing cake is the one!
This chocolate fudge cake takes the word “cake” and “rich” to a whole other level!
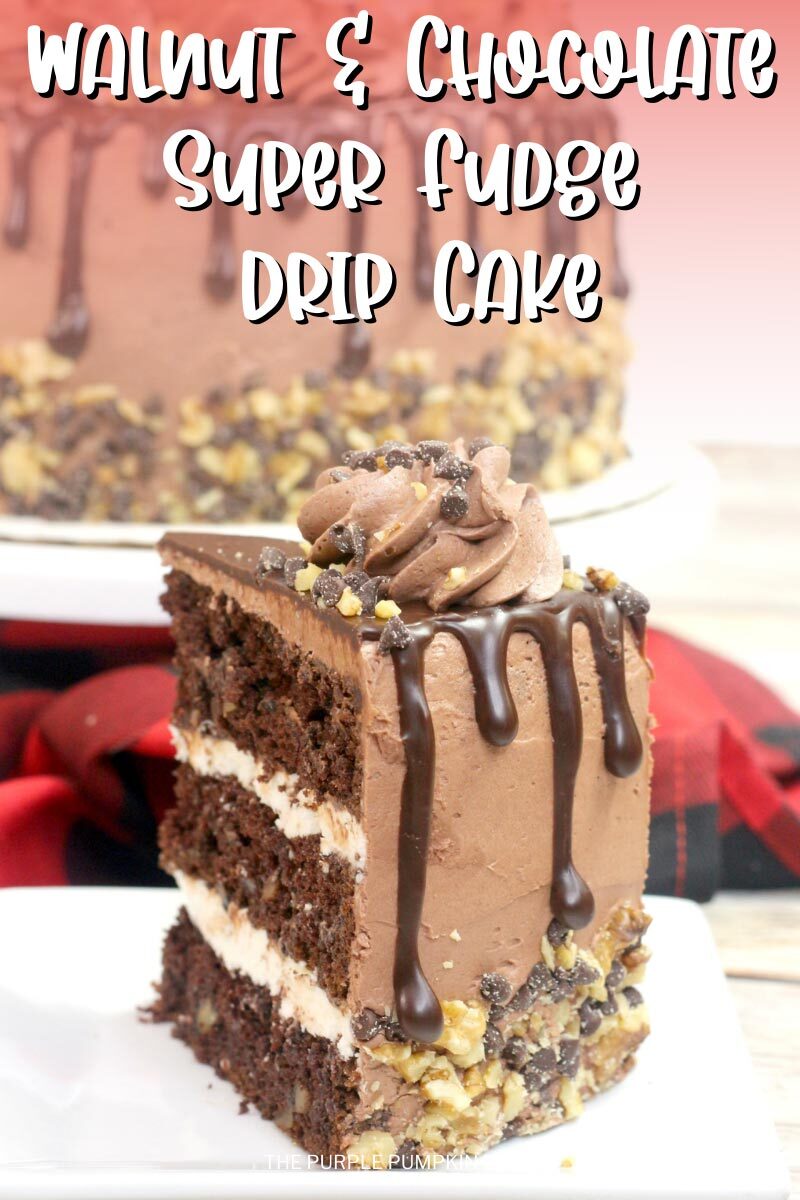
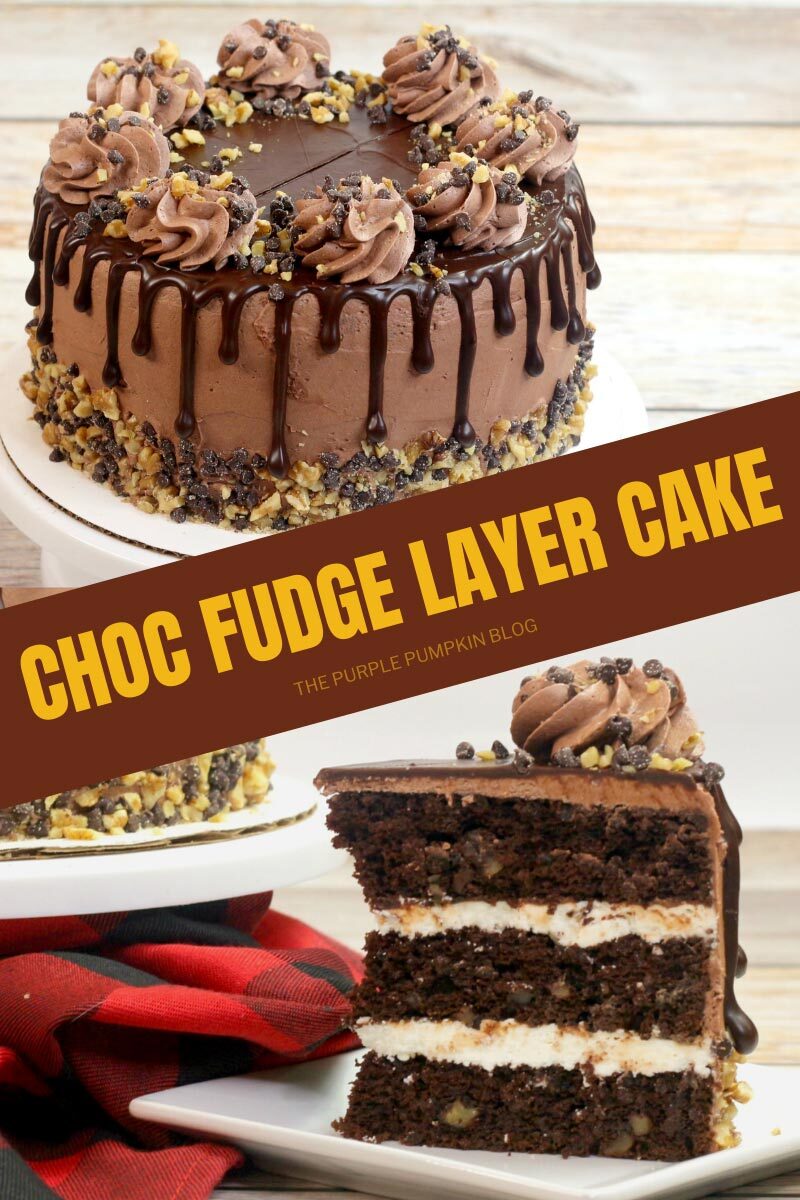
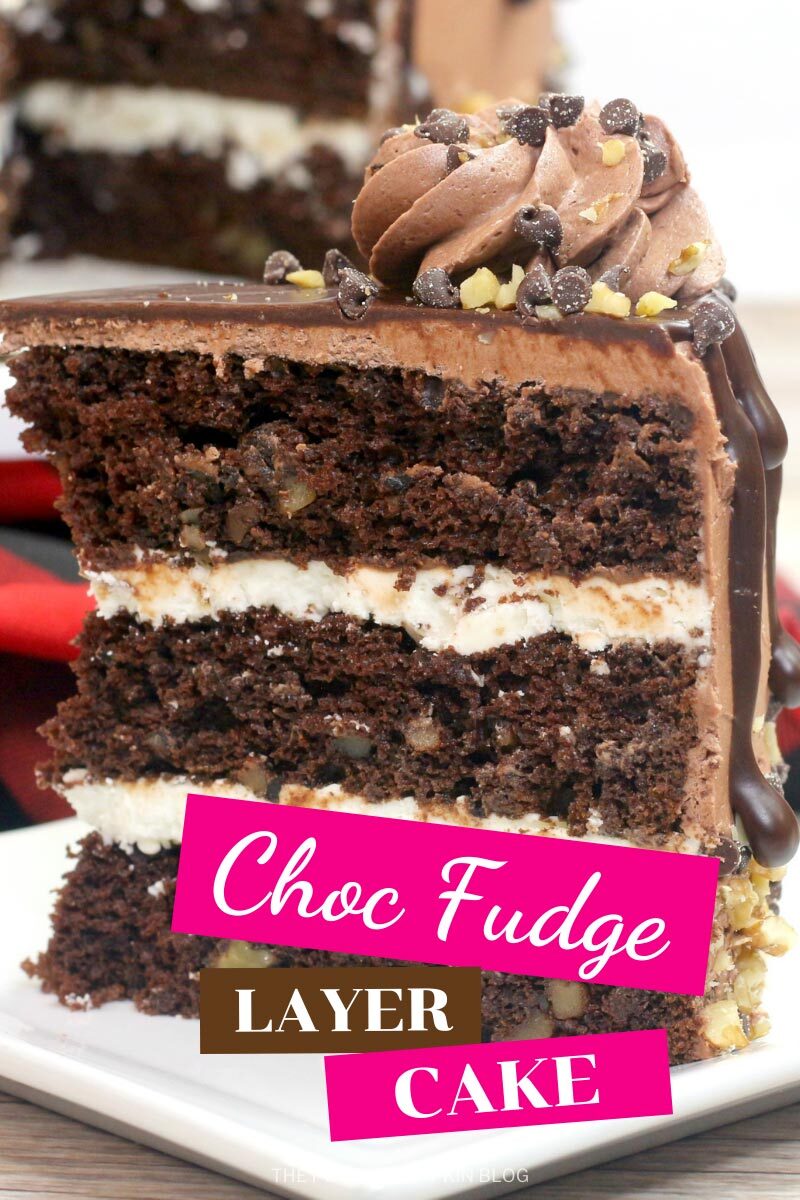
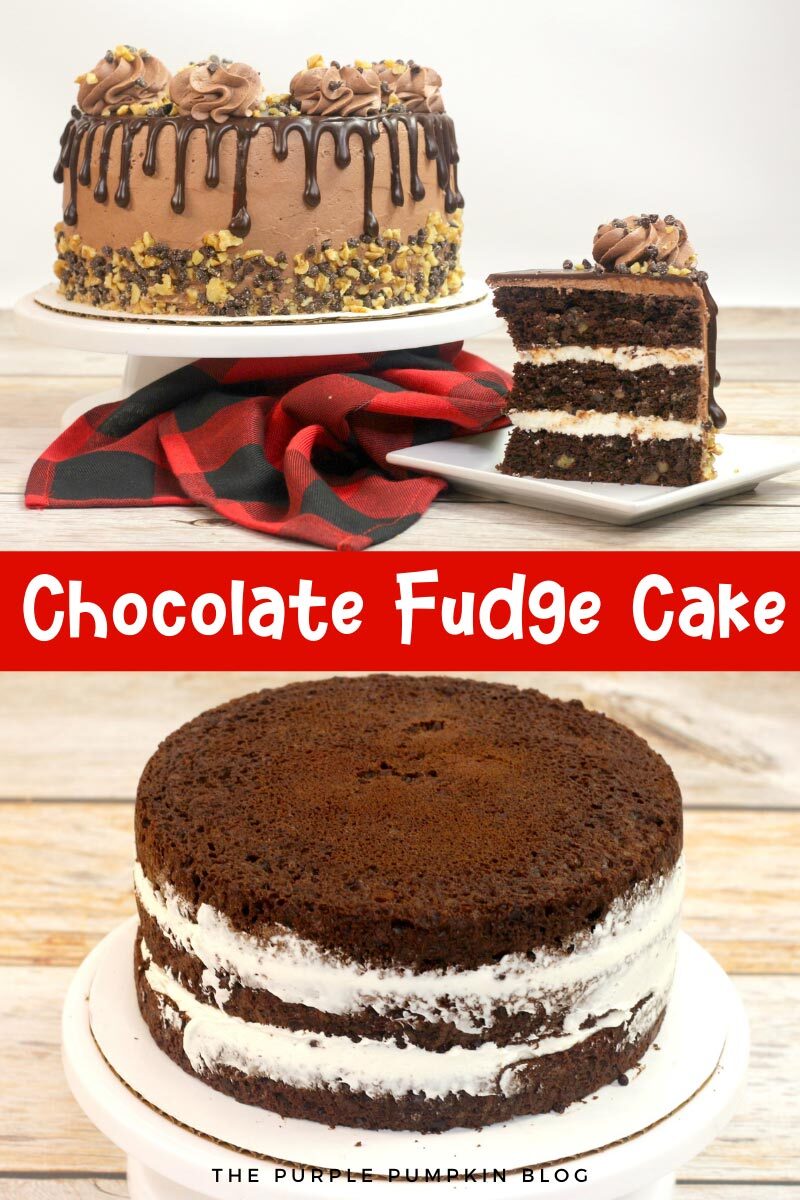
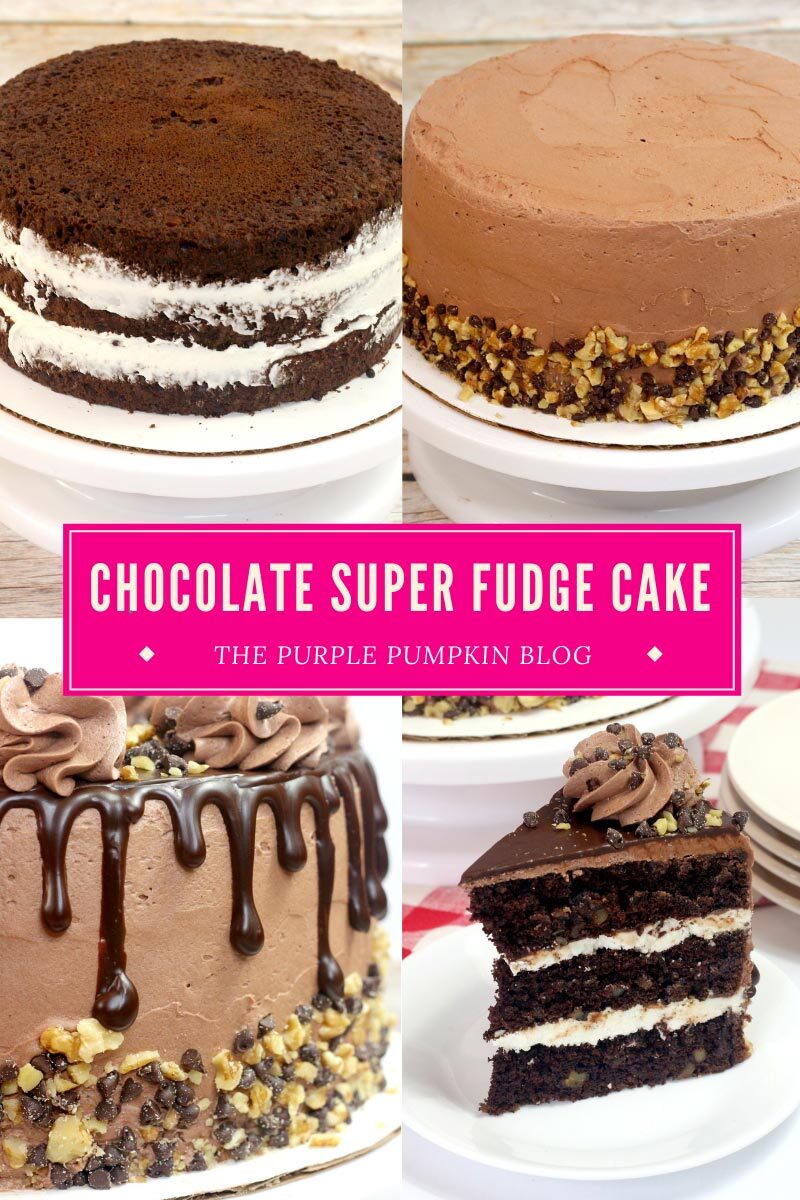
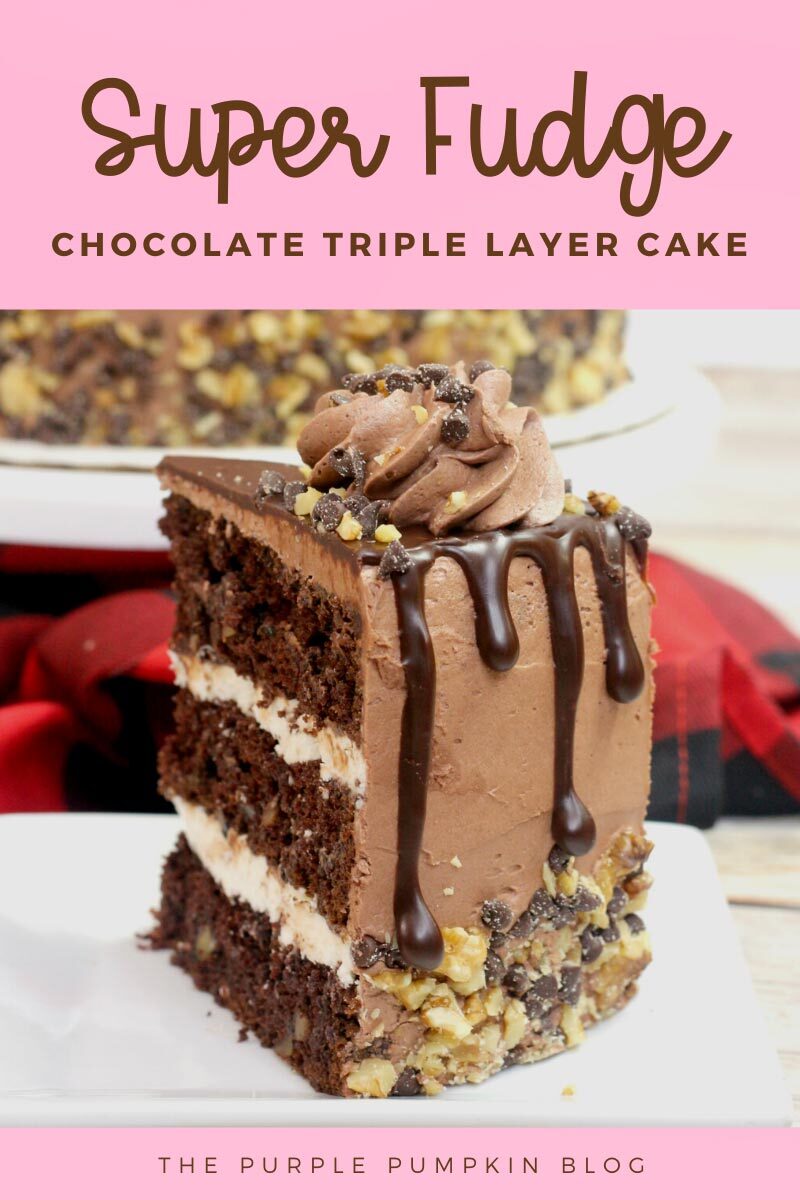
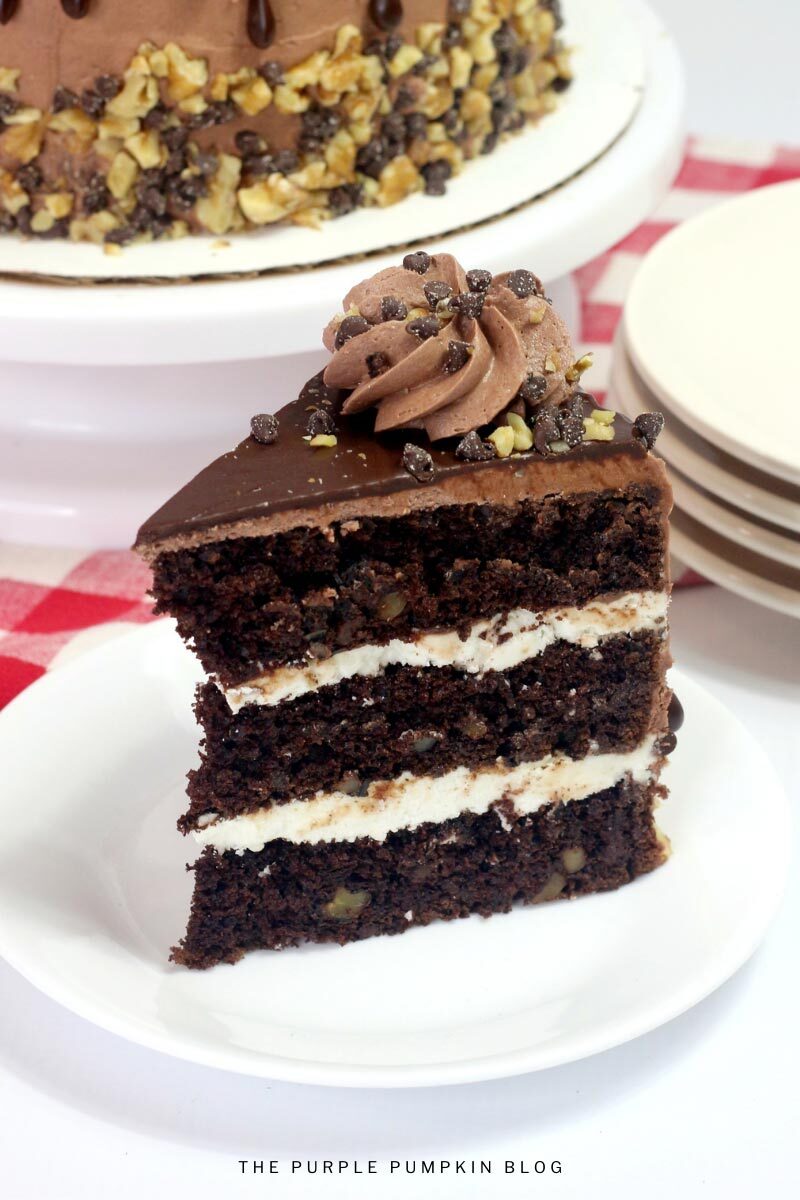
The three-layered chocolate and walnut cake is sandwiched with vanilla frosting and covered in chocolate frosting. But that’s not all!
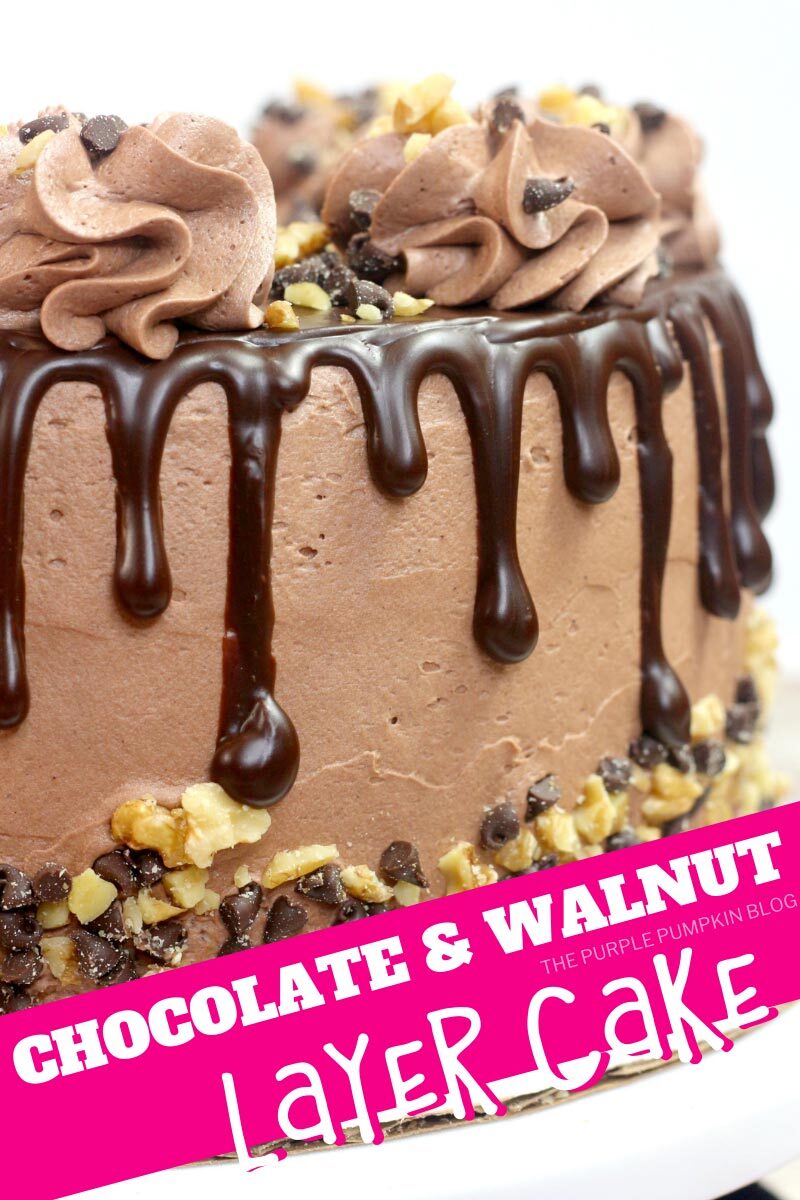
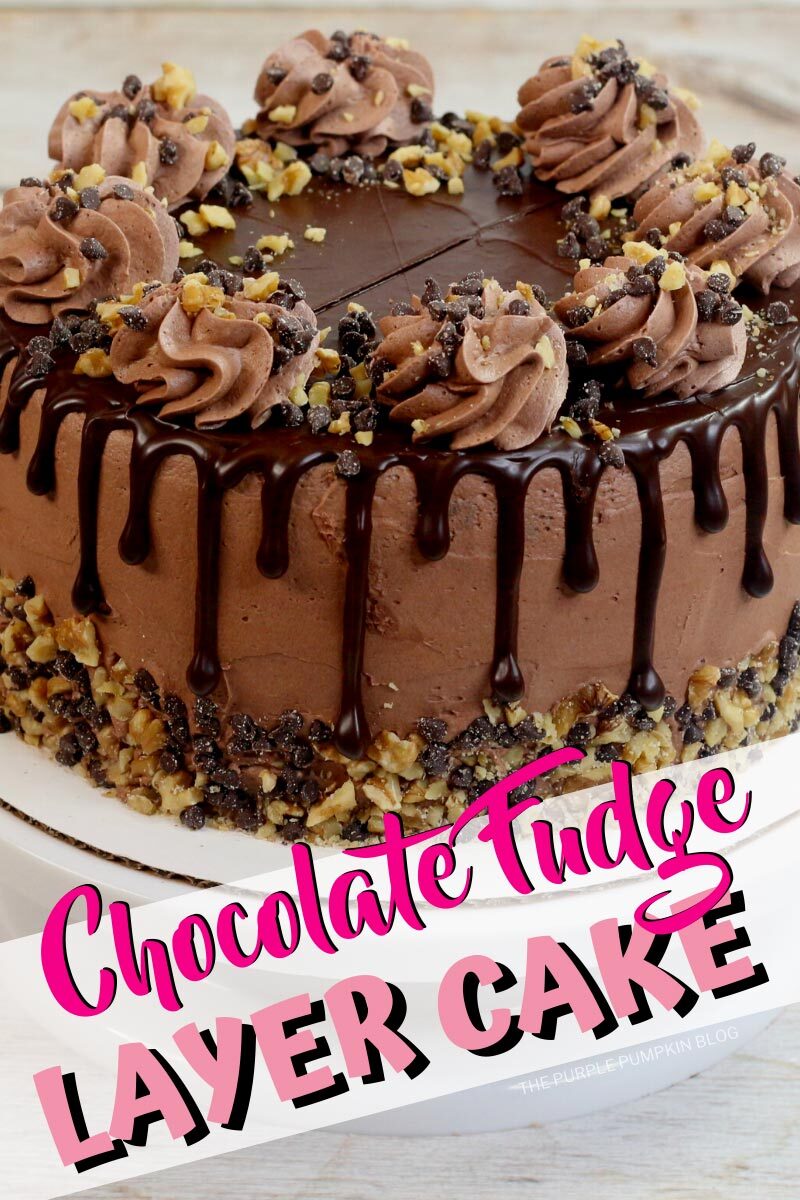
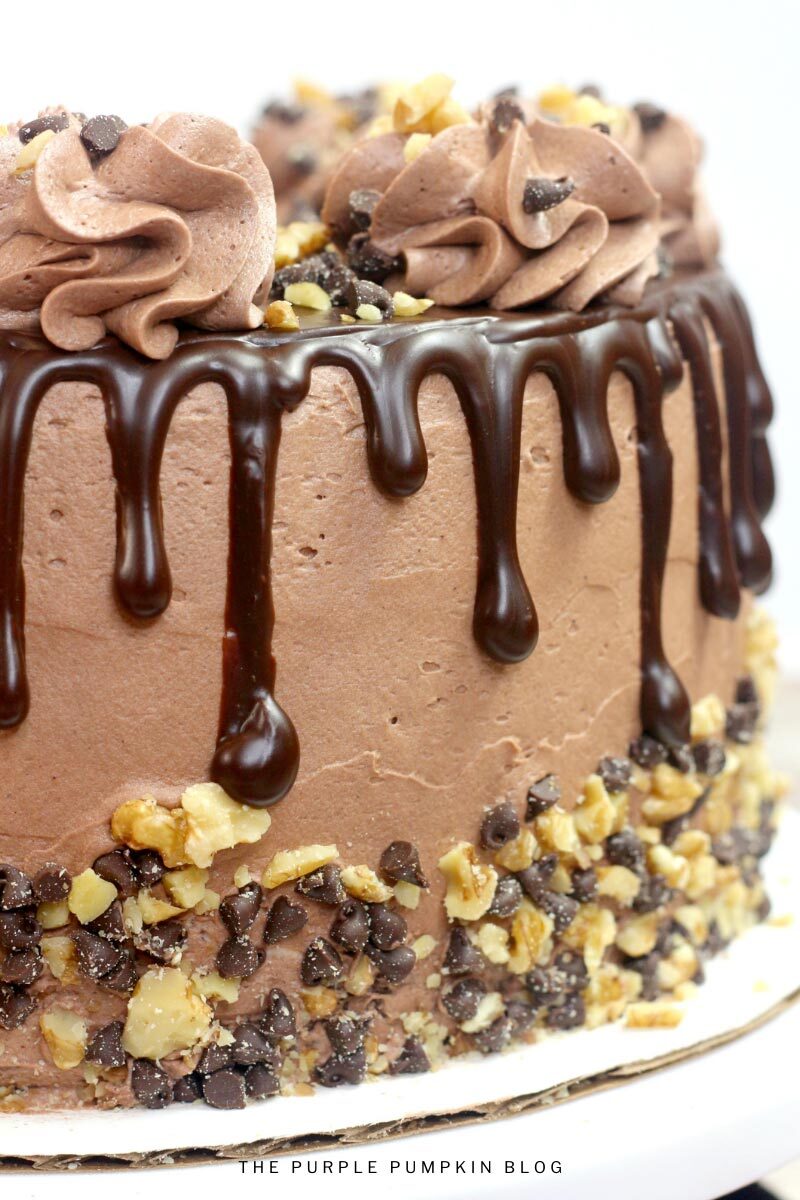
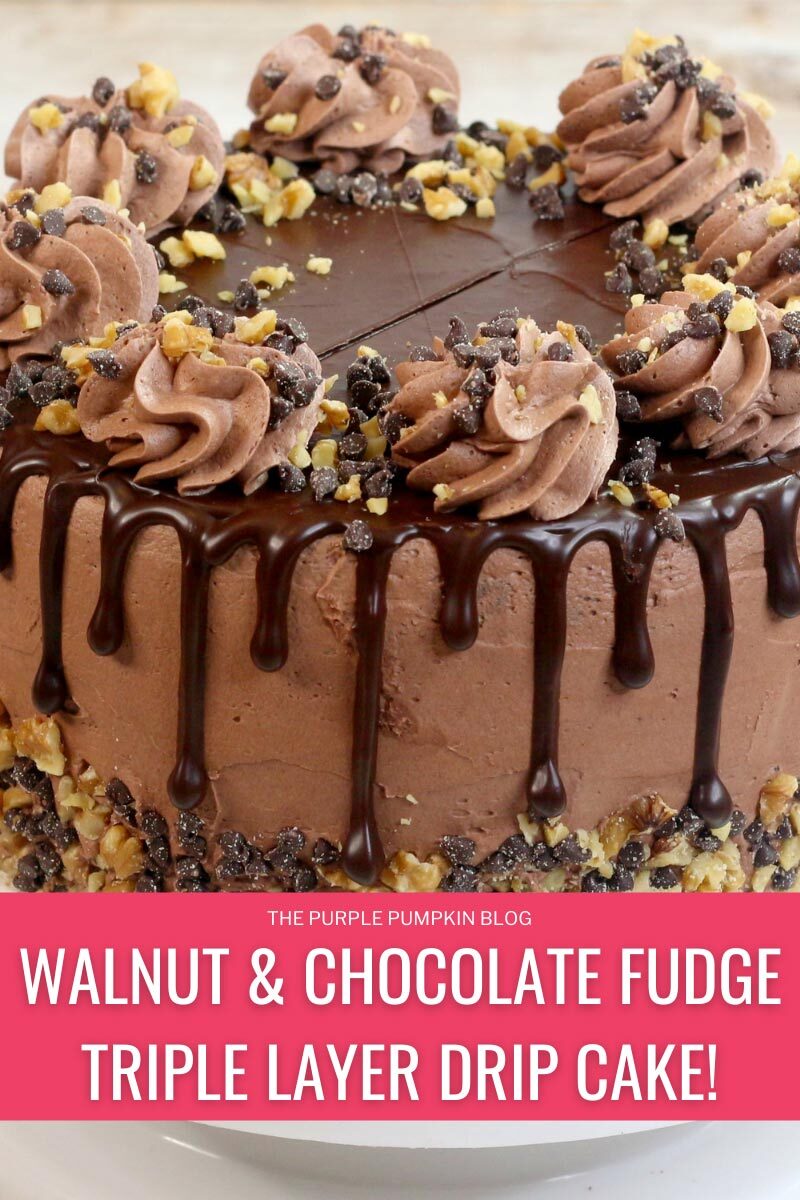
It also has a chocolate ganache on top which drips around the edges, as well as chocolate frosting swirls sprinkled with chocolate chips and chopped walnuts. Plus the same crunchy topping is placed around the base of the cake which means that in every single bite you are going to get a mouthful of deliciousness!
This sweet holiday dessert will definitely leave quite an impression with your guests!
Ingredients & Equipment Used In This Recipe
There are five parts to making this cake – the chocolate cake itself, the vanilla frosting, the chocolate frosting, the chocolate ganache, and the walnut topping.
You may have some of the ingredients for this recipe in your kitchen already – the full list with measurements is found in the recipe card.
For your convenience, any specialized or notable ingredients and equipment needed for this recipe have been listed below and linked to Amazon if available online.
- Dark Chocolate Cocoa Powder
- Baking Powder
- Baking Soda – also known as bicarbonate of soda.
- Kosher Salt – this has larger grains than table salt, but if you can’t source this, you can use regular table salt and use half of the measurement indicated in a recipe. Read more on Wiki.
- Dark Chocolate Bar – this is chopped into pieces and melted to go in the cake batter.
- Pure Vanilla Extract – always buy the best that you can afford as it makes a big flavor difference!
- Chopped Walnuts
- Powdered Sugar – also known as Icing Sugar or Confectioner’s Sugar.
- Mini Chocolate Chips
If you regularly make cakes, you may have some of the equipment listed below. I’ve listed options of items you are likely to have in your kitchen that you could use instead, should you not have (or want to purchase) the cake making equipment.
- Three (9-inch) Round Cake Pans
- 10-inch Round Cake Board
- Cake Leveler – makes cutting and leveling cakes easier, but you can use a sharp knife instead.
- Baking Spray
- Wire Cooling Rack
- Cake Decorating Turntable – makes decorating a large cake easier as you can turn the cake around as you decorate. But you can make a cake without this piece of kit. A lazy Susan is a great alternative option that would work!
- Icing Spatula – to spread frosting on the cake – you could use a butter knife or the back of a large spoon instead.
- Cake Smoother/Scraper – to scrape away excess frosting and smooth it around the cake. You could use a clean plastic ruler (12in/30cm) to do the same job. In fact, one that I have looks like a large metal ruler just without the measurement notches.
- Piping Bags
- Large Open Star Piping Tip
- Squeeze Bottle – for creating the chocolate drips around the cake. You could use a plastic food bag with the corner snipped off instead.
This recipe uses American cups. They’re a handy piece of kitchen equipment to have along with a kitchen food scale. Having both in your kitchen means you’ll be able to make all of the different recipes on my blog as I use both cups and weighted measures.

More Recipes Using Chocolate
The hero ingredient in this recipe is of course chocolate! Here are some more recipes using the same:
- Homemade Bailey’s Chocolate Truffles
- Decadent Chocolate Walnut Brownies with Chocolate Frosting
- Chocolate Bonet with Amaretti
More Cake Recipes
Looking for more cakes to make? Check these recipes out next:
- How To Make A Chocolate Explosion Cake
- Awesome Chocolate Cherry Coke Layer Cake
- Candy Cane Chocolate Cake

Chocolate Fudge Cake Recipe Tips
- To turn chocolate cake into chocolate fudge cake, the batter is made in a different way to what you may be used to.
- The dry ingredients are sifted or whisked together to combine them together.
- Sugar and water are heated and then other ingredients including chopped dark chocolate pieces, butter, oil, and vanilla are whisked in.
- It is important to temper the eggs before adding to the hot chocolate mixture. This basically means to bring them to the same temperature as the hot mix.
- To do this, slowly add some of the hot chocolate into the eggs, whisking constantly so that you don’t create scrambled eggs.
- Then you pour the tempered eggs back into the hot chocolate mixture and whisk until everything is combined.
- The dry ingredients, along with the chopped walnuts are folded in before being poured between three greased round pans.
- To check the doneness of the cakes, insert a toothpick into the center of the cakes and it will come out clean when they are cooked through. If there is still wet cake batter on the toothpick then cook for a few more minutes and test again.
- Make sure the cakes have cooled completely (on a wire rack) before decorating.
- When the cakes have cooled, you will need to level off the tops so that they are flat. You can use a cake leveler which is a really handy tool to get a nice even cut. Or you can use a sharp knife and a steady hand.
- Do NOT throw away the excess cake though! You can use it to make cake pops! Simply crumble up the cake and mix it with some frosting and roll into balls. Insert a lollipop stick and dip into melted chocolate or candy melts. Leave to set, and enjoy!
Making Frosting
- There are two flavored frostings in this recipe – vanilla and chocolate cream cheese.
- You can make the frosting with an electric handheld or standing mixture. Or the old fashioned way with a wooden spoon and a lot of elbow grease!
- When making the frosting you may have to adjust the amount of powdered sugar and cream slightly to achieve the consistency you need.

Using Frosting
- Add a dab of frosting onto the center of the cake board before placing the first cake layer. This helps to keep the cake in place.
- Use a spatula to spread the frosting between the cake layers, then scrape any excess around the sides of the cake to create a crumb coat. Chill the cake before continuing.
- To prevent the frosting from getting onto your cake board or cake stand, a tip I learned from Ina Garten (The Barefoot Contessa) is to slip squares of parchment paper just under the cake all the way around. Once the cake is frosted you pull the paper away and you get a nice clean edge.
- Use a cake smoother/scraper to get a nice even finish on the frosting around the sides and top of the cake.
- Using a cake turntable can make this job easier, but it is not a necessary piece of kit – unless you plan on making a lot of cakes!
- If you’re just starting out with cake decorating, I recommend purchasing an inexpensive cake decorating kit which will have everything you need to get started. As your skills improve you can invest in better equipment.
- Do not overfill the piping bag with frosting, and make sure you squeeze the frosting down the bag to expel any air bubbles.
- If you are not confident with your swirl piping skills you can practice on some parchment paper first and scoop the frosting back into the bag to use on top of the cake.
- How many swirls do you need on top of the cake? Well, that’s up to you and how many servings you want to get! You could serve 6 or 8 huge slices of cake – so a swirl on each slice, or up to 16 for a 9-inch cake. Or you could do a continuous line of frosting around the cake edge and sprinkle the chocolate and walnut mixture on top.
Chocolate Dripping Tips
- You can use a squeeze bottle, piping bag, or spoon to drip the chocolate around the cake.
- Place the tip of the bottle (or piping bag) just above the top edge of the cake and gently squeeze the bottle to release the chocolate ganache. When you’ve added enough of a drip, release the pressure on the bottle, but leave a little bit to continue on and around the cake to your next drip, turning the cake around as you go. The more pressure you have the longer the drip will be. Test your dripping pressure technique on the side of a glass or cup first so that you feel confident.
- If you only have a spoon to add the drips, carefully add chocolate to the top edge of the cake, and gently push it over so that it starts to drip down the sides.
- This cake also has ganache covering the top of the cake too – fill in the area after you have done the drips and use a spatula to spread out evenly.
- Using a cake turntable will make dripping chocolate onto the cake easier as you can turn the cake as you go around without having to break your flow.
- If you don’t have a cake turntable, what about that lazy Susan you have in the back of the kitchen cupboard? That would work too!
- Alternatively, place the cake onto a cake stand which will be easier to turn around than a cake board sat on the counter.
- As with all things cake decorating, practice makes perfect!
How Do I Make a Chocolate Fudge Cake?
Just check out the recipe card below with full ingredients, instructions, and demonstration photos. You can print the card out too (don’t worry, the pics don’t print to save your ink!).

Chocolate Fudge Cake
This three-layer Chocolate Fudge Cake, simply put, is indulgent! Bursting with chocolate, vanilla, walnuts, and chocolate chips in every bite, this cake is a real show stopper!
Ingredients
For the Cake
- 4 cups all-purpose flour (plain flour)
- ½ cup cocoa
- 4 tsp baking powder
- 4 tsp baking soda (bicarbonate of soda)
- 2 tsp kosher salt or 1 tsp table salt
- 4 cups water
- 4 cups sugar
- 10 oz / 280g dark chocolate, chopped
- 12 Tbsp / ¾ cup / 170g unsalted butter, softened
- 4 Tbsp vegetable or canola oil
- 2 tsp pure vanilla extract
- 4 large eggs, room temperature
- 2 cups chopped walnuts
For the Vanilla Frosting
- 1½ cups unsalted butter, softened
- 3 cups powdered sugar (icing sugar)
- 1 tsp pure vanilla extract
- 4-6 tbsp heavy whipping cream (double cream)
For the Chocolate Frosting
- 1½ cup unsalted butter, softened
- 1 (8oz) cream cheese, softened
- 1½ cups dark chocolate cocoa powder
- 1 tsp pure vanilla extract
- ¼ tsp kosher salt or ⅛ tsp table salt
- 7 cups powdered sugar
- ¼ cup heavy whipping cream (double cream)
For the Walnut Chocolate Topping
- 2 cups chopped walnuts
- 1½ cups mini chocolate chips
For the Chocolate Ganache
- 1 cup semisweet chocolate chips (plain)
- ½ cup heavy whipping cream
Instructions
- Preheat your oven to 180C/350F/Gas 4 and spray three 9-inch round cake pans with baking spray. Set aside.
- Sift or whisk together the flour, cocoa powder, baking powder, baking soda, and salt into a bowl. Set aside.
- Place the water and sugar into a medium saucepan over medium-high heat. Bring to the boil and stir until the sugar is dissolved. About 1 minute.
- Remove pan from the heat and whisk in the chocolate and butter until melted and combined.
- Whisk in the oil and vanilla extract.
- Crack the eggs into a mixing bowl and whisk together. Slowly add some of the hot chocolate mixture to the eggs, whisking continually to temper them and to avoid scrambling.
- Add the now warmed up eggs to the rest of the hot chocolate mixture and whisk to mix well.
- Gradually whisk in the dry ingredients until combined.
- Fold in the chopped walnuts.
- Divide the batter between the three prepared round cake pans.
- Bake cakes for 30-35 minutes or until an inserted toothpick comes out clean.
- Leave the cakes to cool for 5 minutes before turning out onto a wire rack to cool completely before decorating.
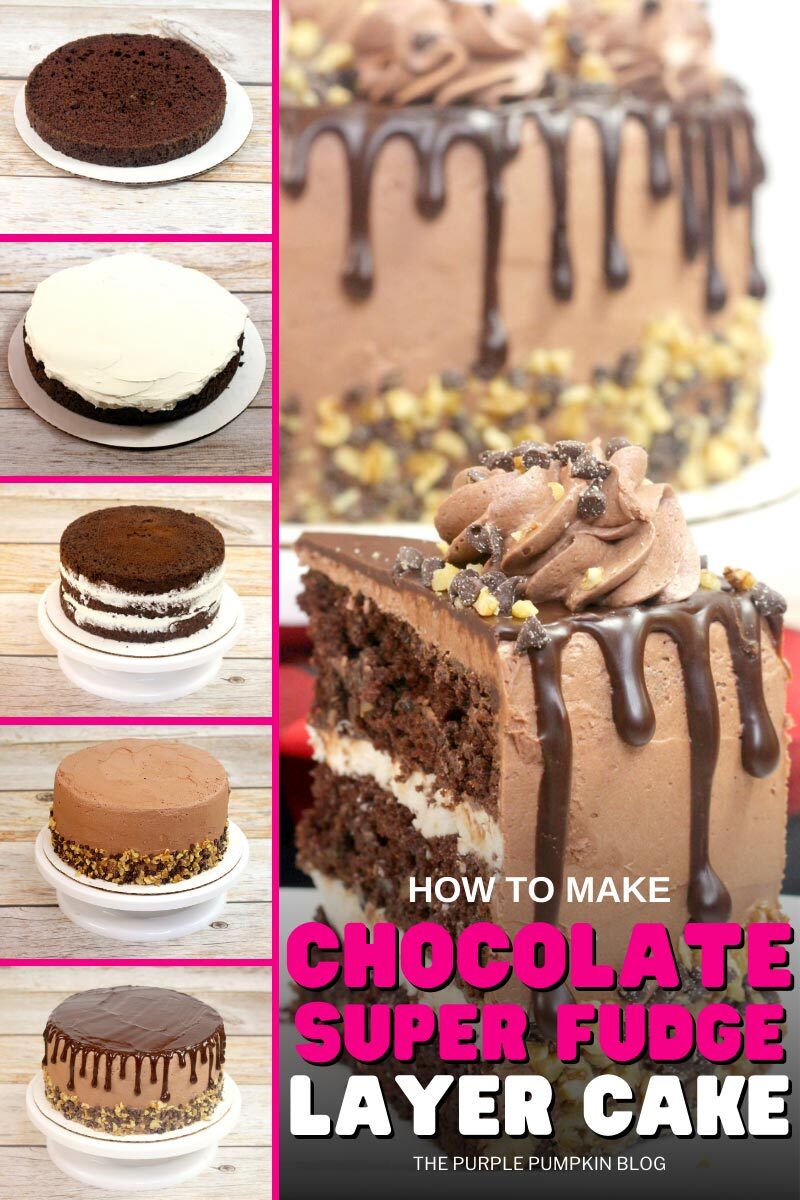
- When the cakes have cooled cut the domes off the tops of the cake to make even layers.
- To make the vanilla frosting, use an electric handheld or stand mixer and add the butter, powdered sugar, vanilla, and cream to a mixing bowl and beat until combined and smooth.
- Use a small amount of frosting to stick the first layer of the cake down onto a 10-inch cake board.

- Scoop 1 cup of the vanilla frosting onto the cake layer and use a spatula to spread out evenly.

- Place the second cake layer on top and spread the remaining vanilla frosting onto this layer.

- Place the third cake layer on top and using a cake scraper or spatula scrape around the sides of the cake to smooth the excess frosting. You can use this excess frosting to crumb coat. Place in the fridge for about an hour to firm up.

- To make the chocolate frosting, use an electric handheld or stand mixer and add the butter, and cream cheese, and beat until combined and smooth.
- Gradually mix in the dark chocolate cocoa powder, vanilla, and salt.
- Slowly, beat in the powder sugar until combined.
- Whisk in the heavy whipping cream until the frosting is smooth and peaks can form.
- Scoop 1 cup of chocolate frosting into a large piping bag fitted with a large star tip and set aside.
- To make the walnut chocolate topping, mix together the chopped walnuts and mini chocolate chips in a bowl until combined. Set aside.
- Use the remaining chocolate frosting, and frost the entire cake - sides and top. Use a cake scraper or spatula to get a smooth even finish.
- Coat the bottom of the cake with the walnut chocolate topping - reserving a small amount for sprinkling on top of the cake.

- To make the chocolate ganache, place the chocolate chips into a heat-proof bowl.
- Place the cream in a small saucepan on medium-high heat until steaming.
- Pour the hot cream over the chocolate chips and leave to sit for 1 minute before whisking until smooth.
- Pour the ganache into a large squeeze bottle and leave to cool for 10 minutes.
- Squeeze the bottle of chocolate ganache around the top edges of the cake to form a drip effect and fill in the top of the cake too.

- Leave the chocolate ganache to set for about an hour.
- To finish the cake, use the piping bag of chocolate frosting to pipe eight swirls around the top of the cake and sprinkle with the reserved walnut chocolate topping.

- Chill before slicing and serving. Enjoy!

Recommended Products
As an Amazon Associate and member of other affiliate programs, I earn from qualifying purchases.
Nutrition Information:
Yield: 8 Serving Size: 1Amount Per Serving: Calories: 3315Total Fat: 197gSaturated Fat: 99gTrans Fat: 1gUnsaturated Fat: 87gCholesterol: 407mgSodium: 1978mgCarbohydrates: 382gFiber: 16gSugar: 305gProtein: 30g
This site uses Nutritionix to provide estimated nutrition. Nutritional information is always approximate and will depend on the quality of ingredients used and serving sizes. If you need exact calories and macros, please do your own calculations.
Make It A Meal!
You’ve made the dessert, but what about the rest of the courses?
Here are additional recipes to make a full meal!
- Appetizer: Cheese-Stuffed Taco Meatballs Party Appetizer
- Main Dish: Christmas Pulled Pork
- Side Dish: Mashed Sweet Potatoes
- Beverage: Naughty Elf Cocktail
There are 500+ Recipes on The Purple Pumpkin Blog for you to enjoy – please feel free to check them out too!
