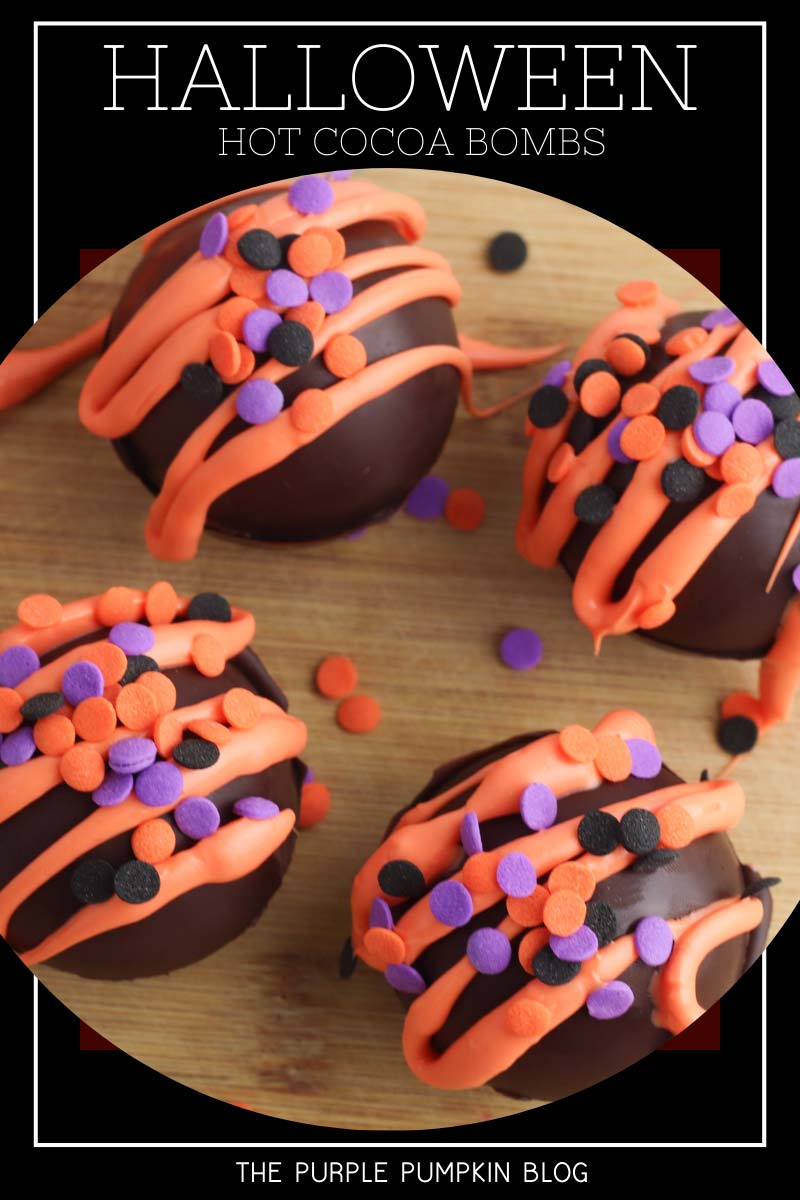
Easy To Make Halloween Hot Cocoa Bombs
Home » COOK » Recipes » Beverages » Hot Drinks » Hot Cocoa Bombs »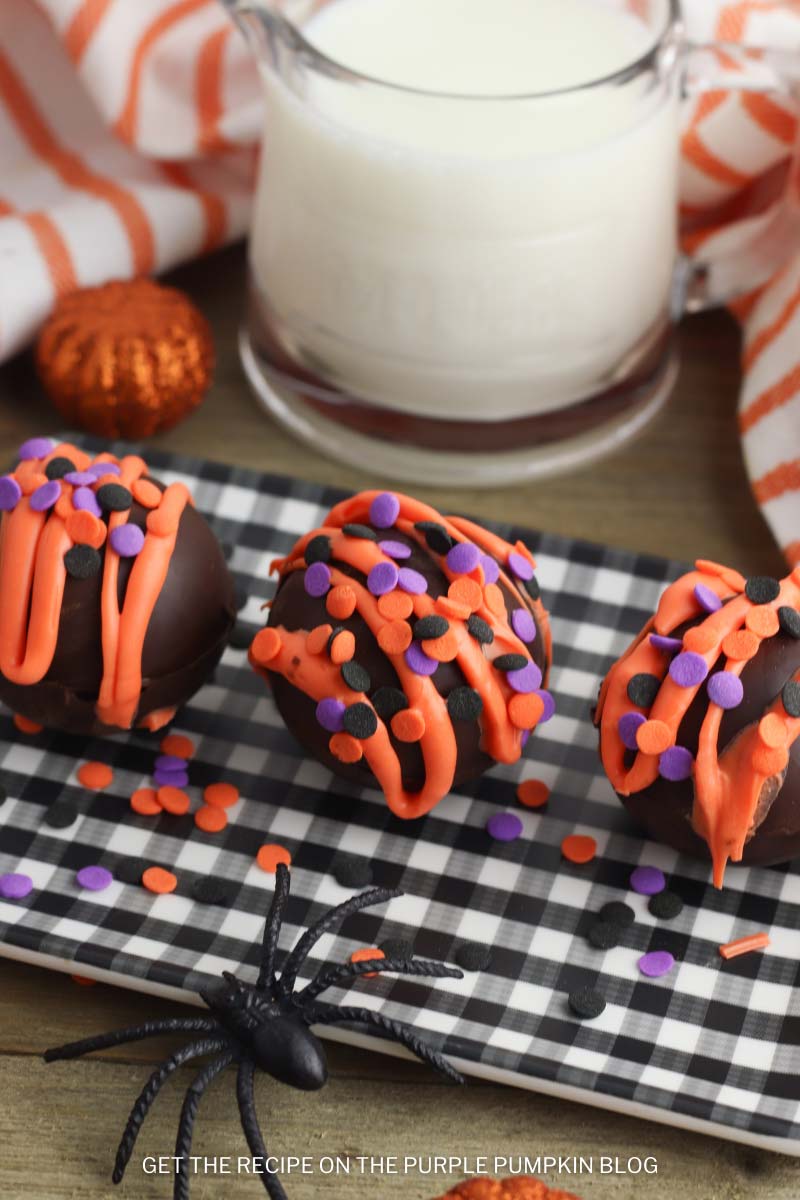
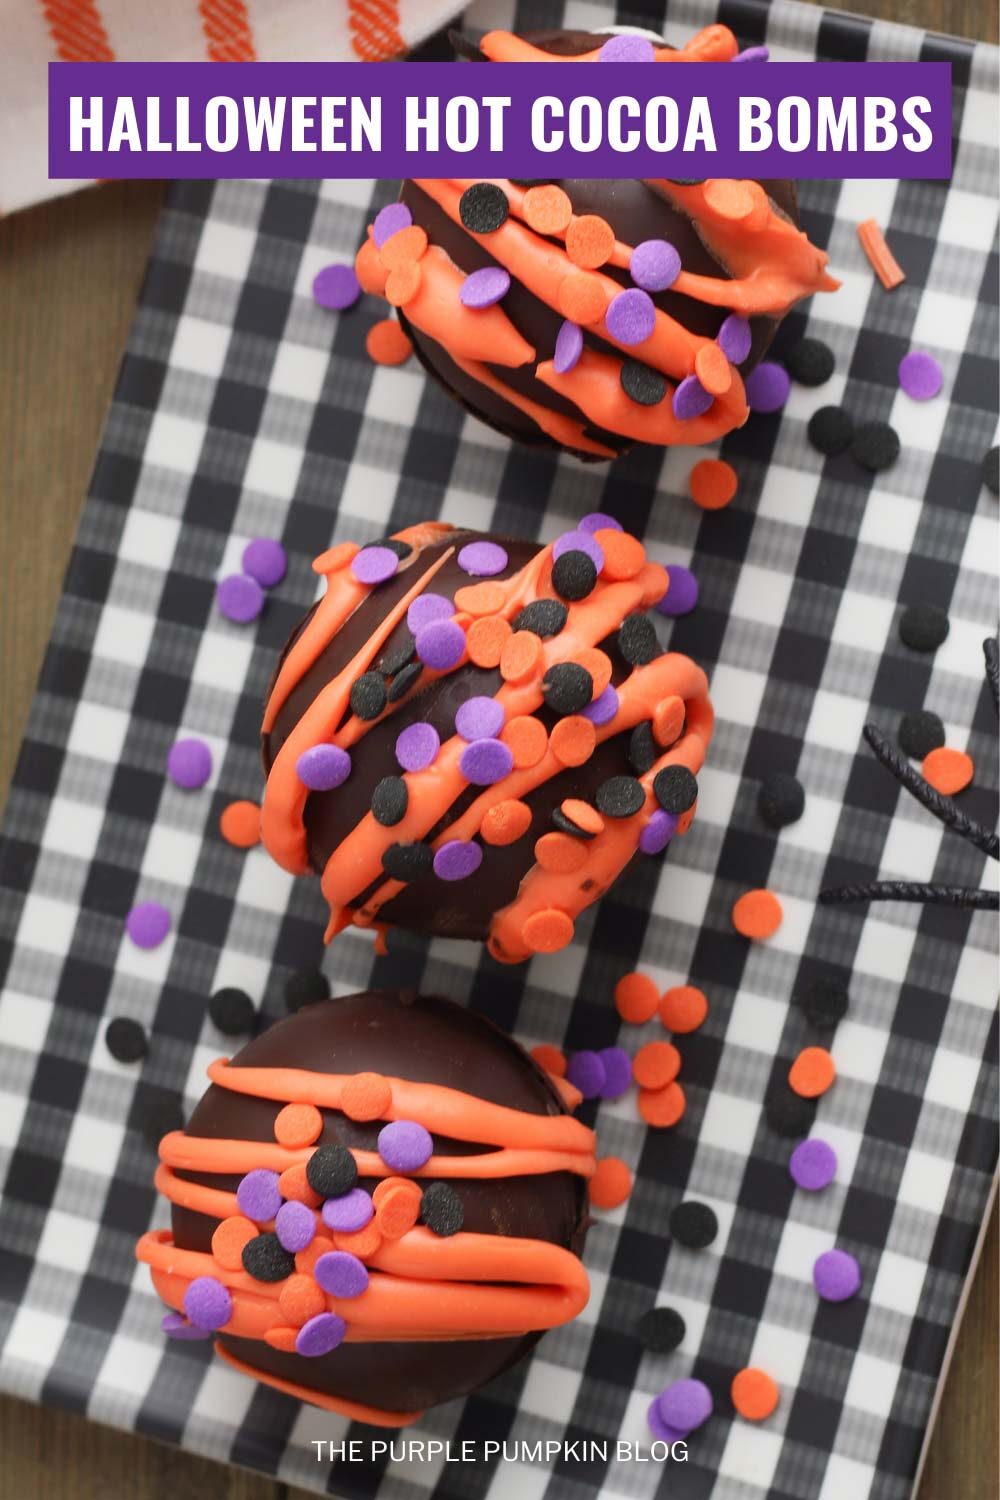
Hand out these super cool Halloween Hot Cocoa Bombs this fall and you will be the coolest neighbor in the neighborhood! They are creative, delicious, and very thoughtful too.

For more Halloween treats, I’ve got 50+ freakishly good Halloween Recipes for you to try out – right-click and open these other recipes in a new tab so that you can read them after this one!
Affiliate Disclosure
We have included affiliate links to products and services related to this post.
We may earn a commission if you purchase after clicking on those links.
As an Amazon Associate, I earn from qualifying purchases.
Read Our Full Disclosure Policy and Privacy Policy
Halloween Hot Cocoa Bombs
The full ingredients list and instructions are found in the printable recipe card at the end of this post. I highly recommend reading the blog post all the way through so that you don’t miss any tips or substitution suggestions, to ensure that you have all the ingredients and equipment required and understand the steps and timings involved.
Warm up on a chilly Halloween night with some hot cocoa bombs!
These are perfect for a chilly night or just to get into the spooky spirit.
All you need is a few simple ingredients and you can have these little cocoa bombs ready in no time!
Not only are they easy to make, but they are also a yummy treat too – wrap them up in cello bags to hand out to Trick or Treaters!
The post is part of the Crafty October series on The Purple Pumpkin Blog and is filled with free printables, crafts, recipes, and more for Halloween! You can check out Crafty October from 2022, 2021, 2020, 2019, 2018, 2017, 2016, 2015, 2014, 2013, and 2012 for tons of awesome Halloween ideas and inspiration!
Ingredients & Equipment Used In This Recipe
While most ingredients can be bought in grocery stores, for your convenience, any specialized or notable ingredients and equipment needed for this recipe have been linked to Amazon or other stores if available online. Staple ingredients such as oil, salt, sugar, etc., aren’t always included here as you’re likely to have those in your kitchen. The complete list of ALL ingredients with measurements is found on the recipe card.
- Ghirardelli Chocolate Wafers – in the UK I highly recommend Callebaut Chocolate Callets.
- Hot Chocolate/Cocoa Mix
- Mini Marshmallows
- Mini Orange Marshmallows – from a bag of fruit-flavored marshmallows
- Orange Candy Melts
- Halloween Sprinkles – use any kind of Halloween-themed sprinkles that you like!
- Special Equipment:
- Chocolate Sphere Mold
- Squeeze Bottle – or you could use a plastic food bag and snip off the corner
Recipes on The Purple Pumpkin Blog use both cup measurements and/or weighted measurements. American cups and kitchen food scales are handy pieces of equipment to have in your kitchen as it means you’ll be able to make all of the different recipes on my blog. I try to give American, imperial, and metric measurements in my recipes. Please note, that you can mix cup measurements with weighted measurements, but never mix imperial (pounds, ounces, pints, etc.,) with metric (kilograms, grams, litres, etc.,).
More Recipes Using Chocolate
One of the hero ingredients in this dish is chocolate, so here are some more recipes using the same:
- Creepy Chocolate Spider Web Cupcakes for Halloween!
- Rich & Chocolatey Decadent Chocolate Layer Cake For Any Occasion
- Easy Chocolate Peanut Clusters Make A Great Homemade Gift!
More Hot Cocoa Bombs Recipes
Looking for more hot cocoa bombs to make? Check these recipes out next:
- Pumpkin Spice Jack o’Lantern Hot Cocoa Bombs For Cold October Nights
- The Grinch Hot Mint Chocolate Bombs – Just 5 Ingredients!
- Shark Hot Cocoa Bombs for Shark Week or a Baby Shark Party!
Hot Cocoa Bomb Making Tips
Hot cocoa bombs are a lot easier to make than you might think. The very first time I made them I thought I would fail, but I couldn’t believe how easy it actually was! Here are my tips for success!
- Place a plate in the freezer before you start making the outer shells (half-spheres). Place the shells onto the cold plate when assembling the cocoa bombs to help keep them cool.
- Work quickly, but steadily when forming the half-spheres. I find using the back of a measuring spoon helps to spread the melted candy (or chocolate) evenly around the mold.
- You may want to add a second layer of melted candy after the first layer has hardened. This is absolutely fine to do, and I often add a second layer to make sure the bombs are sturdy – they will still melt when the time comes!
- Carefully peel the silicone mold away to pop out the spheres. If you are worried about other ones breaking, you could always cut your mold into individual spheres. As you become more experienced and skills you’ll find that it is not as tricky as you might think.
- Before filling your cocoa bombs, you will want to make sure the edges are even so that when you seal them together they adhere well without any gaps.
- My preferred method is to place a small plate in the microwave for 30-60 seconds until warm. You then rub the candy shell over the plate to gently melt the edges.
- You can also heat up a shallow pan on the stove, place a piece of wax paper into the pan, and rub the candy sphere on that to gently melt.
- Follow the directions on the package of the hot chocolate mix to see how much you need to make a mug of hot chocolate, and place that inside the bomb. 1-2 tablespoons should probably be enough and will fit inside the cocoa bombs.
- To attach the top half-sphere to the bottom, gently melt it again and place it carefully onto the filled sphere, holding it in place until it sets. If you find there are any gaps, use a little melted candy to seal up the hole. You could also pipe melted candy around the edge to stick the two halves together.
Melting Tips for Candy Melts
You can melt candy melts/candy wafers in the microwave or a double boiler, or if you plan on making lots of candy-covered treats in the future, I recommend investing in a Wilton candy melting pot as treat-making life is then so much easier!
Try this PME one if you’re in the UK, as the Wilton one is not available on Amazon.co.uk.
If you use the Wilton Candy Melting Pot, you can check out Wilton’s demo video on YouTube which is really helpful. They also give tips on how to melt candy melts in the microwave, as well as using the double boiler method.
The two most important things are
- Do not overheat – use an even melting temperature
- Do not add water – it makes the candy seize up and become unusable. Make sure the equipment used is completely dry, and avoid using utensils that retain moisture like a wooden spoon.
If you find that the candy is too thick, add vegetable shortening or (solid) coconut oil in 1 teaspoon increments, up to 1 tablespoon, and stir well.
Another reminder – do not add water. The very first time I used candy melts I managed to get water in the bowl and it was ruined. Learn from my mistakes! Additionally, do not use vegetable oil, butter, milk, or any other liquids as this will also make the candy seize up.
If you are using your microwave, test melt a small amount of candy melts first, to see how it works. You may need to adjust the temperature and time to suit your machine. Heat in 15-30 second increments, stirring the candy melts each time. They may not look melted, but they might have started melting from the inside. Stirring helps to distribute the heat.
How Do I Make Halloween Hot Cocoa Bombs?
Check out the printable recipe card below with full ingredients and instructions. Any demonstration photos do not print out to save your ink.
Halloween Hot Cocoa Bombs
Ingredients
- 1 12-ounce/340g dark chocolate wafers/chips
- Instant Hot Chocolate Mix
- Mini marshmallows
- Mini orange marshmallows from a bag of fruit-flavored marshmallows
- ¼ cup orange candy melts
- ¼ cup Halloween sprinkles
SUGGESTED PRODUCTS
Instructions
- Place a large plate in the freezer – this will help to keep the candy shells stay cool when assembling.
- Place the dark chocolate wafers/chips in a microwave-safe bowl and microwave in 30-second intervals, stirring between each interval, until the chocolate is fully melted.
- Add a tablespoon of melted chocolate to one cavity of a medium/large (2.5") hot cocoa bomb/dome mold, using a spoon (or a pastry brush) to cover the entire cavity with melted candy, making sure to get all the way up the sides. Do this until all 12 cavities in both of the molds are covered.
- Place in the freezer for 5-10 minutes. Take the molds back out and coat only where you can see through the mold. If you cannot see through the mold you do not need to add more. You want the bomb to stay together but not be too thick. If you add more melted chocolate, place the molds back in the freezer for another 10 minutes.
- Remove the plate from the freezer.
- Remove and carefully pop out each half of the bombs and place them on the chilled plate.
- There are three methods for melting the rim of each sphere to even them out and for attaching the top half-shell to the bottom one:
Method 1: Pour some melted chocolate into a disposable piping bag, then pipe it around the edge of the bottom shell. Carefully place the top shell onto the bottom one and gently hold them in place for 30-60 seconds to allow the piped chocolate to harden and "glue" the pieces together.
Method 2: Warm up a shallow frying pan on the stove. Place a piece of wax paper into the pan, and holding the top half-shell, rub gently on the wax paper until the edges start to melt a bit. Use this to then stick the top to the bottom, holding together until set
Method 3: Heat a plate in the microwave for approximately 60 seconds. Remove it from the microwave then place it directly onto the hot plate for 5 to 10 seconds. You just want the rim to gently melt. (My preferred method.) - Before filling the hot cocoa bombs, use one of the methods above to gently melt the edges of each dome to even them out.
- Spoon a serving of hot chocolate mix into 6 half-spheres.
- Add a few white, and orange marshmallows to the half-spheres.
- Gently melt the top half as above and place one on top of each filled half. This will seal them together evenly. Use your finger to gently rub any melted candy to fill in any gaps. You want a firm seal without holes.
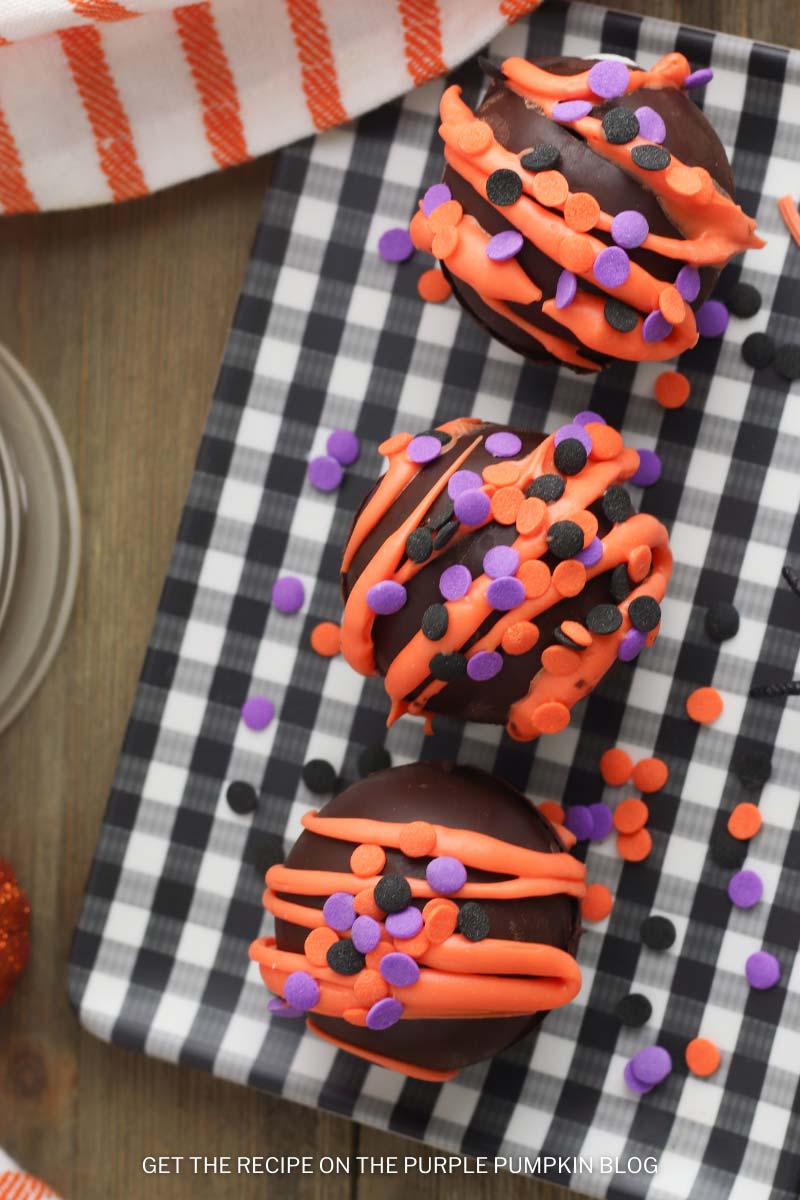
- Melt the orange candy melts according to the package instructions.
- Transfer melted candy to a plastic food bag or disposable piping bag (with the corner/tip cut off), or a squeeze bottle.
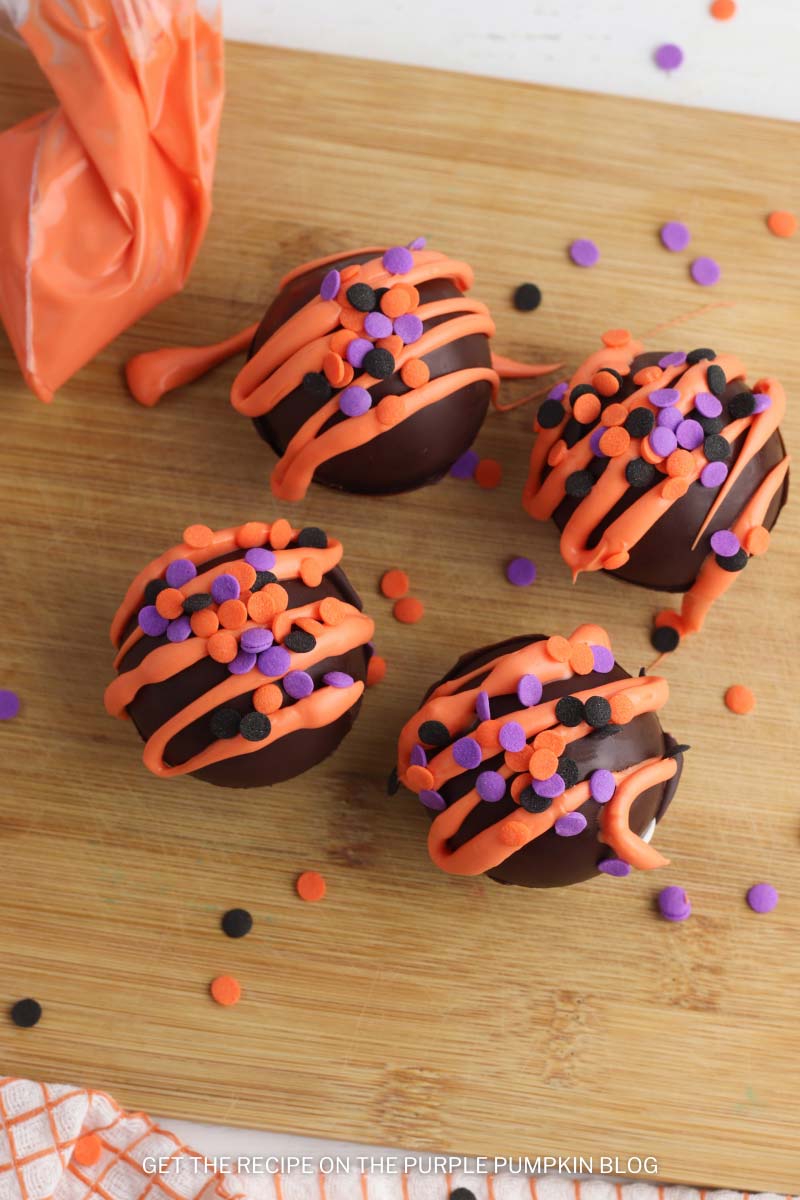
- Drizzle orange candy over each hot cocoa bomb and add Halloween sprinkles. Leave to set.
- Keep in the fridge until ready to drink. If you need to keep them for longer, place them into an airtight container in the freezer for up to a month.
- Serve by placing a Halloween hot cocoa bomb in a mug and pouring hot milk over to melt. Stir well. Enjoy and Happy Halloween!
Nutrition
Nutritional information is always approximate and will depend on the quality of ingredients used and serving sizes. If you need exact calories and macros, please do your own calculations.
Make It A Special Dinner!
You’ve made the hot drink to go with dessert, but what about the rest of the courses?
Here are additional recipes to create a menu for a dinner party or special meal:
- Appetizer: Jalapeño Popper Mummies Recipe
- Soup: Spanish Chorizo & Red Lentil Soup Recipe
- Salad: Iceberg Lettuce Wedge Salad with Bacon & Blue Cheese Dressing
- Main Dish: Apple and Rosemary Stuffed Pork Chops
- Side Dish: Comforting & Creamy Instant Pot Mashed Red Potatoes
- Beverage: Black Raven Cocktail with Rum & Jägermeister – Perfect for Halloween
- Dessert: These Werewolf Brownies Are A Super Simple Halloween Treat!
There are 500+ Recipes on The Purple Pumpkin Blog for you to enjoy – please feel free to check them out too.
This post is part of my long-running Crafty October series on The Purple Pumpkin Blog. Since 2012, I’ve shared Halloween recipes, printables, and crafts every October. While I don’t officially run the series anymore, all my new Halloween posts are still part of this decades-long celebration of spooky fun! Browse past Crafty October years for even more inspiration: 2024, 2023, 2022, 2021, 2020, 2019, 2018, 2017, 2016, 2015, 2014, 2013, and 2012.