Wooden Popsicle Stick Easter Bunny Craft
Home » CREATE » Crafts » Easter Crafts »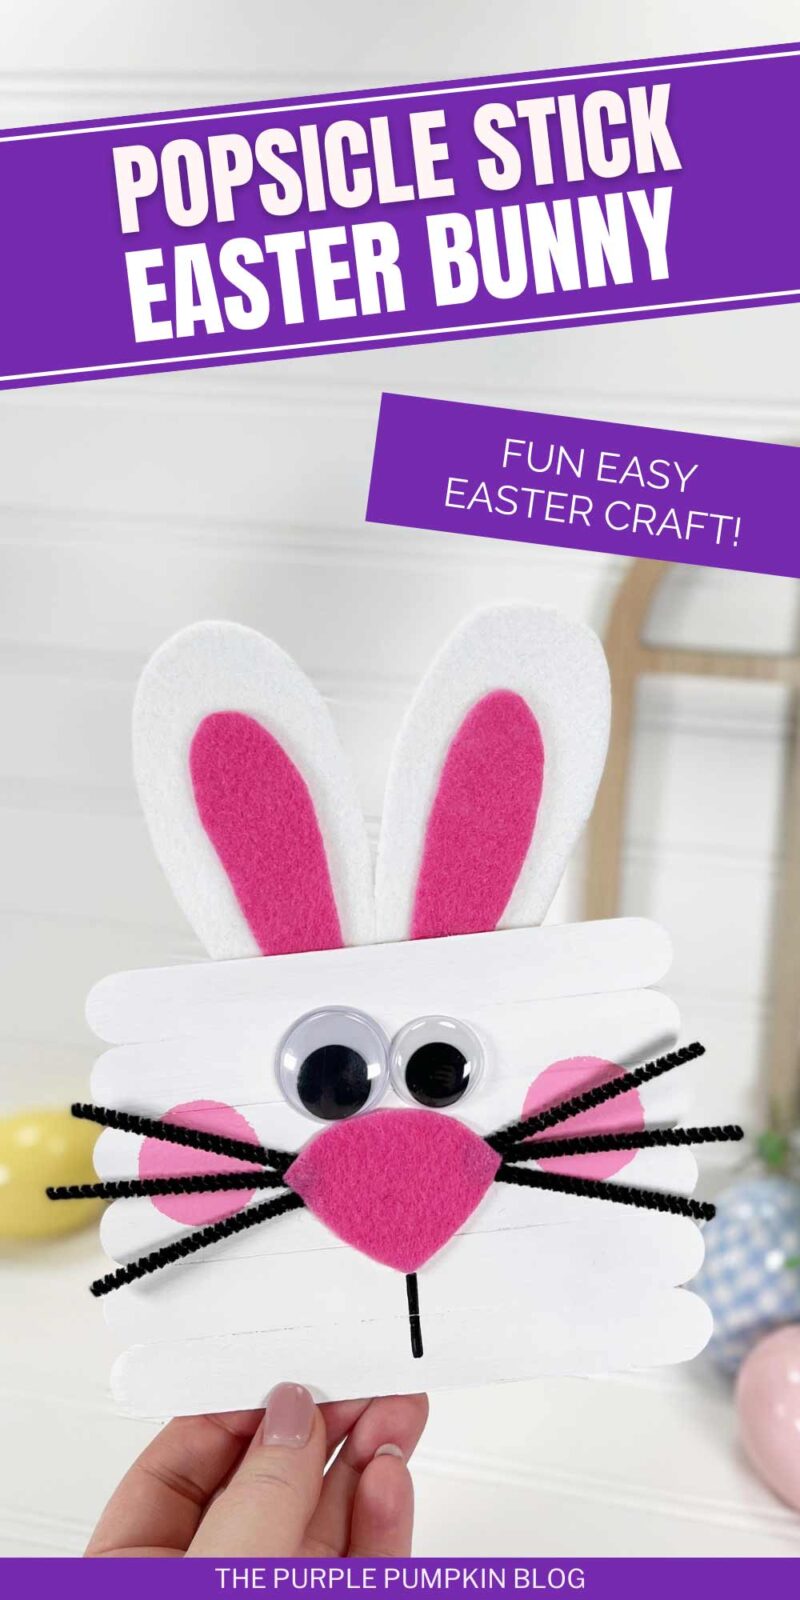
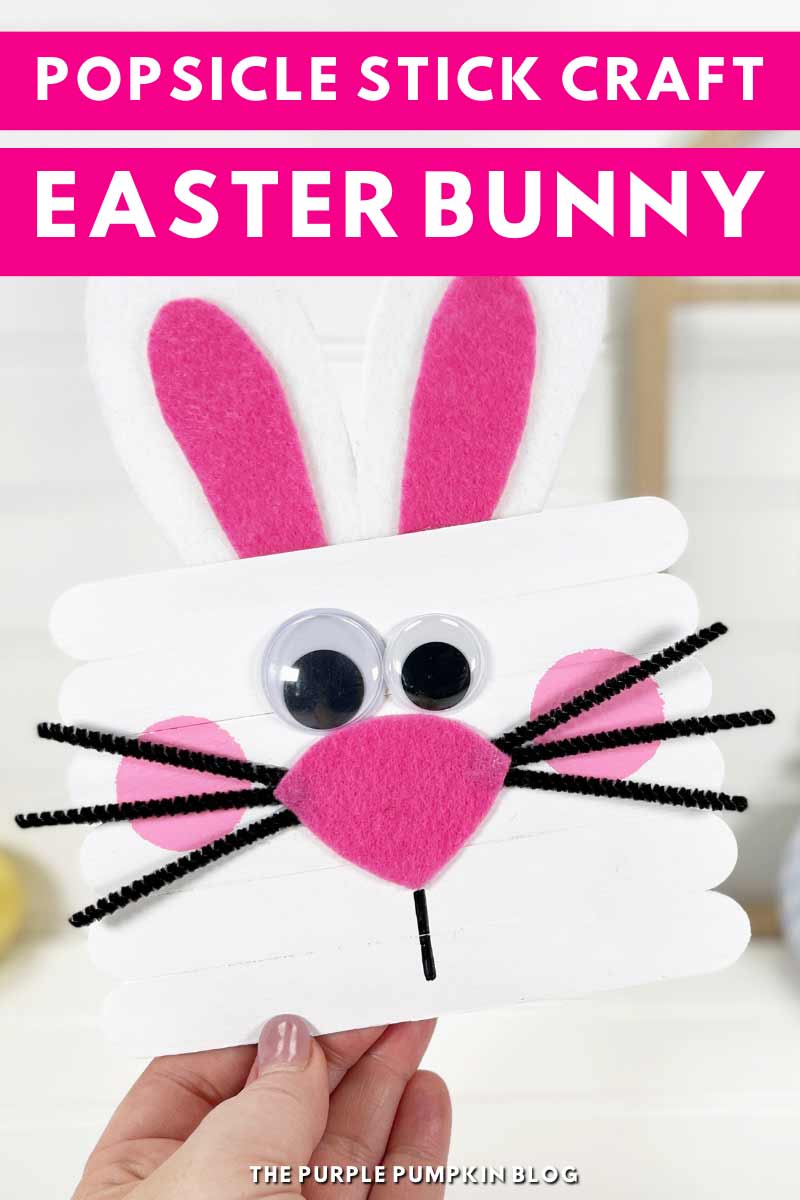
If you’re looking for a simple, affordable way to get creative with the kids this season, look no further than this wooden Popsicle Stick Easter Bunny Craft!

Don’t have time for this craft now? Be sure to tap the heart icon in the bottom right of the screen to save this post for later!
Affiliate Disclosure
We have included affiliate links to products and services related to this post.
We may earn a commission if you purchase after clicking on those links.
As an Amazon Associate, I earn from qualifying purchases.
Read Our Full Disclosure Policy and Privacy Policy
Popsicle Stick Easter Bunny Craft
The full list of materials, tools, and instructions is in the printable tutorial card at the end of this post. I highly recommend reading the blog post all the way through before starting this project to ensure that you have everything required and understand the steps and timings involved.
Spark your creativity and bring some Easter cheer to your home with this simple wooden popsicle stick Easter Bunny craft!
Perfect for all ages, this craft is an easy, fun, and exciting way to get into the spirit of the holiday.
With just a few basic supplies, you’ll have an adorable Easter Bunny decoration in no time.
So whether you’re looking for a fun Easter activity for the whole family or just want to add a little extra spring cheer to your home, this Easter Bunny craft is sure to bring joy and delight!
For another adorable Easter project, try this Bunny Handprint Art—a sweet keepsake to make alongside your popsicle stick bunnies.
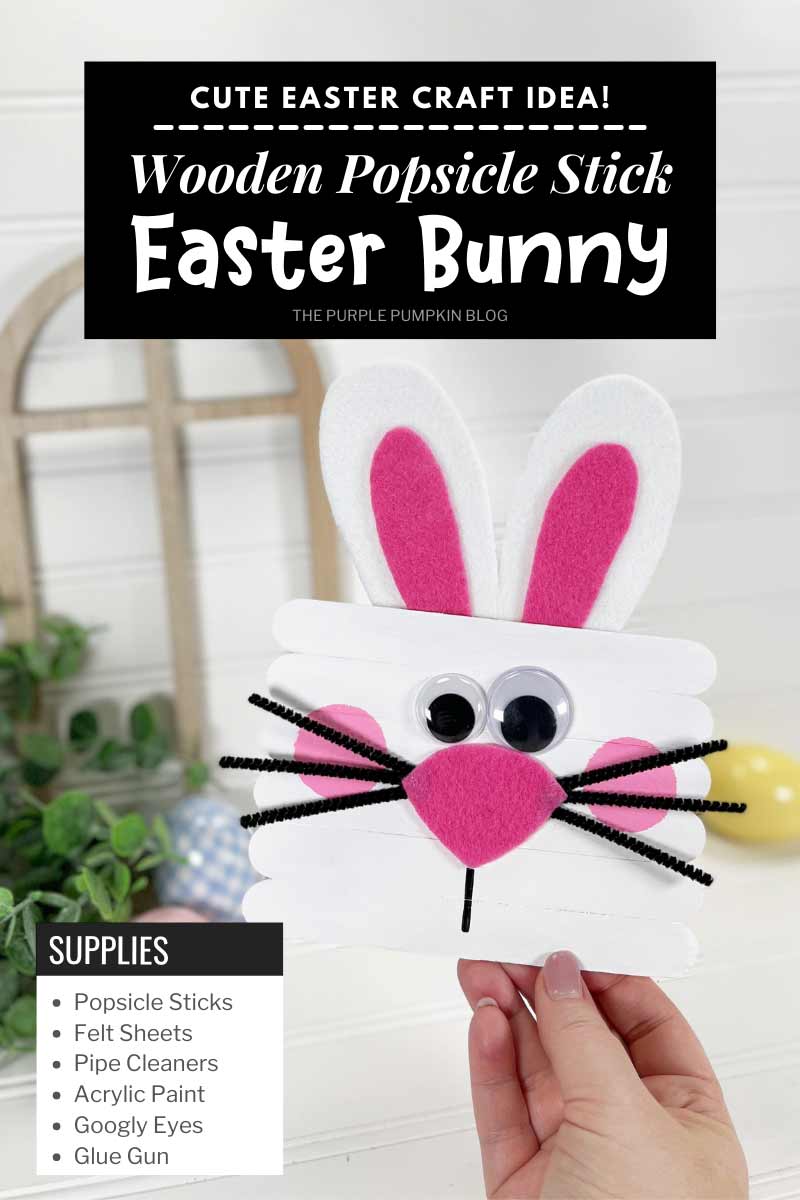
Materials & Tools Used in This Craft
For your convenience, I’ve linked [some of] the materials and tools needed for this project to Amazon below. The quantities are on the craft tutorial card at the end of this post.
- Jumbo Popsicle Sticks/Craft Sticks – you will need * sticks.
- Googly Eyes
- Black Pipe Cleaners – also known as chenille stems.
- Acrylic Craft Paints – in the following colors:
- Felt Craft Sheets – you will need white and pink.
- Permanent Black Marker
- Hot Glue Gun and Glue Sticks – to stick everything together. You can use liquid glue if you prefer but will have to wait for it to dry between steps.
- Scissors
- Paintbrush – this is a set of paintbrushes of various sizes and types for different types of paint and glue.
- Sponge Dabber – to paint the Easter Bunny’s cheeks.
- Easter Bunny Craft Pattern – click to download the PDF which you can print on either US Letter or A4 paper sizes. Opens in a new tab.
No time to read now? Tap the buttons below to save the craft to your Pinterest boards or Facebook page for later!
Cheap Craft Supplies
This can be a budget-friendly craft using supplies you may already have or that can be purchased cheaply in stores:
If you’re in the USA, check out your local Dollar Store or Dollar Tree; and if you’re in the UK, the Poundshop, The Range, Wilko, and Baker Ross are great places to shop for cheap and inexpensive craft supplies.
To the rest of the world reading this – I don’t know every cheap store out there – sorry! But please do hunt the ones out in your location for crafting bargains!
How Do I Make A Popsicle Stick Easter Bunny?
The printable tutorial card with the full supplies list and instructions can be found at the end of this post.
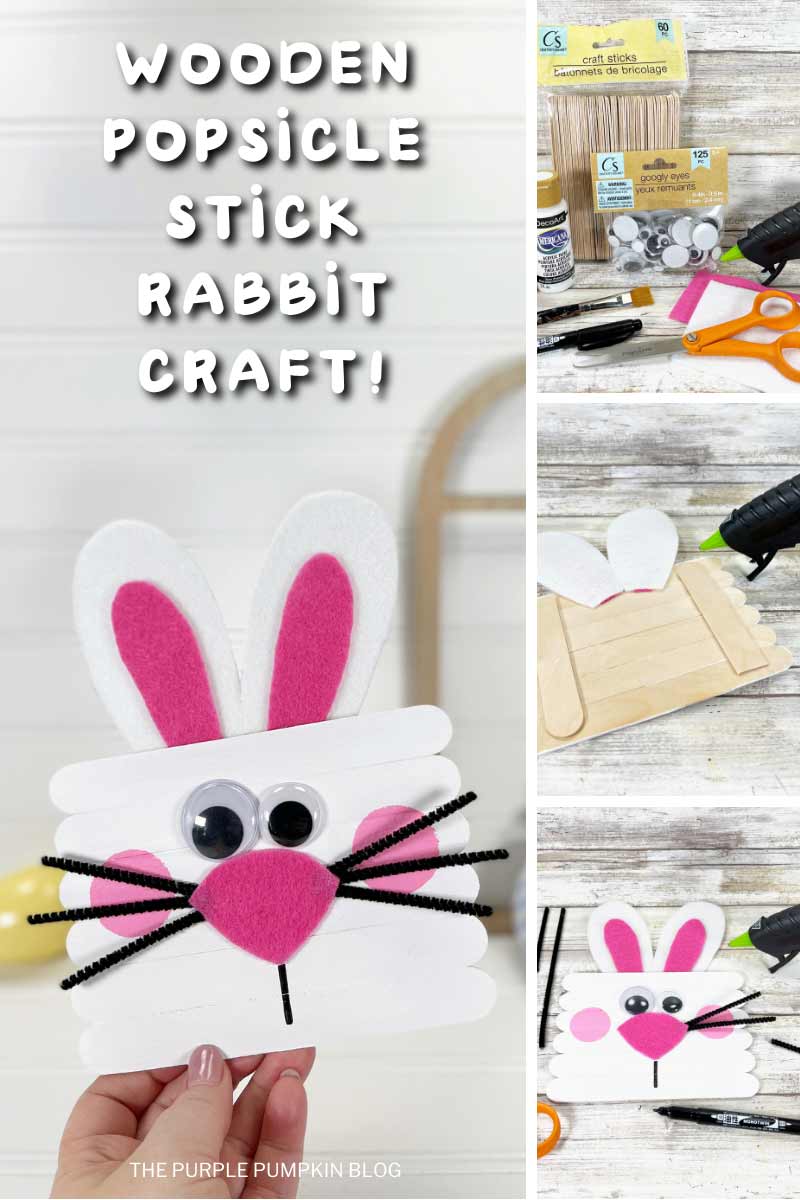
Step 1 – Line Up Sticks: To create the bunny, line up six jumbo craft sticks on your work surface. Use scissors to trim additional sticks to the width of the bunny and secure them in place with a glue gun and glue sticks.
Step 2 – Paint: Pain the front and sides of the bunny with white acrylic craft paint. Set aside to dry and apply a second coat if necessary.
Step 3 – Use Template: Download, print, then cut out the bunny craft pattern. Trace the outer ear twice onto white craft felt. Trace the nose once and the inner ear twice onto pink craft felt. Cut out all patterns with scissors.
TIP! Make sure to cut inside the traced lines for a clean, finished project.
Step 4 – Assemble Ears:
Attach the pink inner ear pieces to the center of the white outer ear pieces with a glue gun and glue sticks.
NOTE: You could also use colored cardstock or craft foam instead of felt for this project.
Step 5 – Attach Ears: Flip the bunny over and glue the bunny ears to the back with a glue gun.
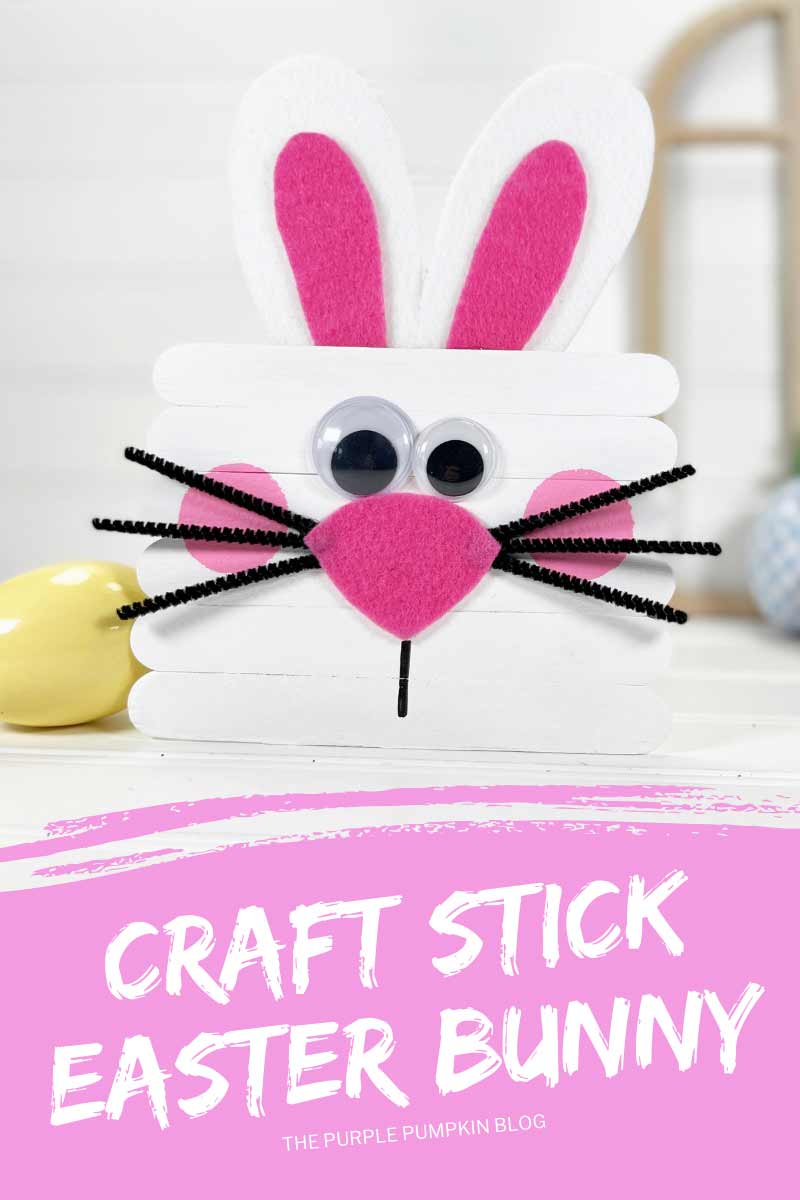
Step 6 – Create Bunny’s Face: Flip the bunny back over and stick the googly eyes in the center towards the top of the head, then glue the bunny’s felt nose just under the eyes.
Create cheeks by dipping a sponge dabber into pink acrylic craft paint and stamping on either side of the face. Leave to dry.
Step 7 – Add Whiskers: Cut black pipe cleaners in half and use a glue gun and glue sticks to attach three on either side of the bunny’s nose.
Step 8 – Draw Mouth: Draw a straight line from the base of the nose to create the bunny’s mouth. Your popsicle stick Easter bunny craft is now complete! Display where desired and Happy Easter!
More Easter Crafts
Looking for more Easter crafts? Right-click and open these in a new tab to read next!
- DIY Easter Fluffy Bunny Butt Wreath Craft
- A Trio of Flowerpot Chicks Craft for Easter and Spring
- Super Cute Flowerpot Easter Bunny Craft with Free Printable Pattern
- Make Simple & Cute Paper Easter Puppets on Popsicle Sticks!
- How To Make Easter Egg Animals – A Fun Easter Craft for Kids
I’ve shared lots of great craft ideas on The Purple Pumpkin Blog over the years, in fact, there are 100+ crafts to make and do at home for you to try!
Craft Tips
- You can use liquid craft glue for this project, but you will have to wait for it to dry.
- Instead of felt, you can also use cardstock or craft foam for the bunny’s nose and ears.
Printable Popsicle Stick Easter Bunny Tutorial Card
To save ink, any demonstration photos do not print on the tutorial card.
Craft Stick Easter Bunny
Materials
- 8 Jumbo Wooden Craft Sticks
- 2 Googly Eyes
- 3 Black Pipe Cleaners (Chenille Stems)
- Acrylic Craft Paint – White Pink
- Craft Felt* – White Pink
- Easter Bunny Pattern
TOOLS
- Sponge Dabber
- Permanent Marker
Instructions
- To create the bunny, line up six jumbo craft sticks on your work surface. Use scissors to trim additional sticks to the width of the bunny and secure them in place with a glue gun and glue sticks.
- Paint the front and sides of the bunny with white acrylic craft paint. Set aside to dry and apply a second coat if necessary.
- Download, print, then cut out the bunny craft pattern. Trace the outer ear twice onto white craft felt. Trace the nose once and the inner ear twice onto pink craft felt. Cut out all patterns with scissors. TIP! Make sure to cut inside the traced lines for a clean, finished project.
- Attach the pink inner ear pieces to the center of the white outer ear pieces with a glue gun and glue sticks.
- Flip the bunny over and glue the bunny ears to the back with a glue gun.
- Flip the bunny back over and stick the googly eyes in the center towards the top of the head, then glue the bunny’s felt nose just under the eyes.
Create cheeks by dipping a sponge dabber into pink acrylic craft paint and stamping on either side of the face. Leave to dry. - Cut black pipe cleaners in half and use a glue gun and glue sticks to attach three on either side of the bunny’s nose.
- Draw a straight line from the base of the nose to create the bunny’s mouth. Your popsicle stick Easter bunny craft is now complete! Display where desired and Happy Easter!