How To Make Easter Egg Animals – A Fun Easter Craft for Kids
Home » CREATE » Crafts » Easter Crafts »I’ve got a fun craft for kids today – Easter Egg Animals – just one of the Easter Crafts you can find here on The Purple Pumpkin Blog!
⬇️ Save this post to Pinterest for later! ⬇️

Easter Egg Animals
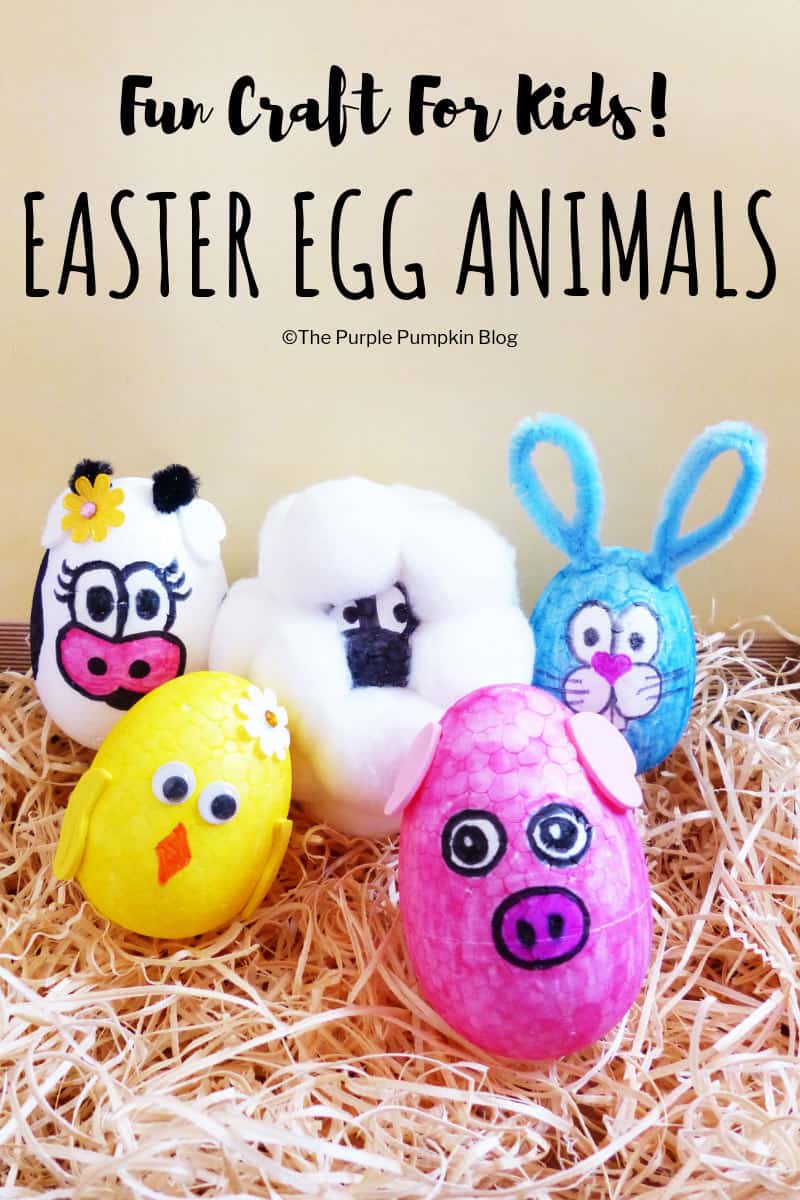
With Easter approaching, I wanted to share this cute little brood of Easter egg animals that you can make with your kiddos!
They are made using polystyrene (Styrofoam) eggs – I used quite large eggs – around 7cm/3″ in height which are much easier for children to handle and draw on than smaller eggs.

The Easter egg animals are drawn on, and coloured in with marker pens, but you could use acrylic paints if you wanted to. I used pens because they dry quicker. Small embellishments are used in this craft, so it’s not suitable for children that still put things in their mouths.
For very young children you could make these eggs just by drawing on them, and leaving off the embellishments.
Whether you sit with your child and make this craft with them, or leave them to craft independently, will depend on your child’s age, and skill level. You know your child the best, and can judge what they can and can’t do when it comes to crafting.

I have included links to some of the products that I used in this project. If you purchase via the links I may earn a small commission.
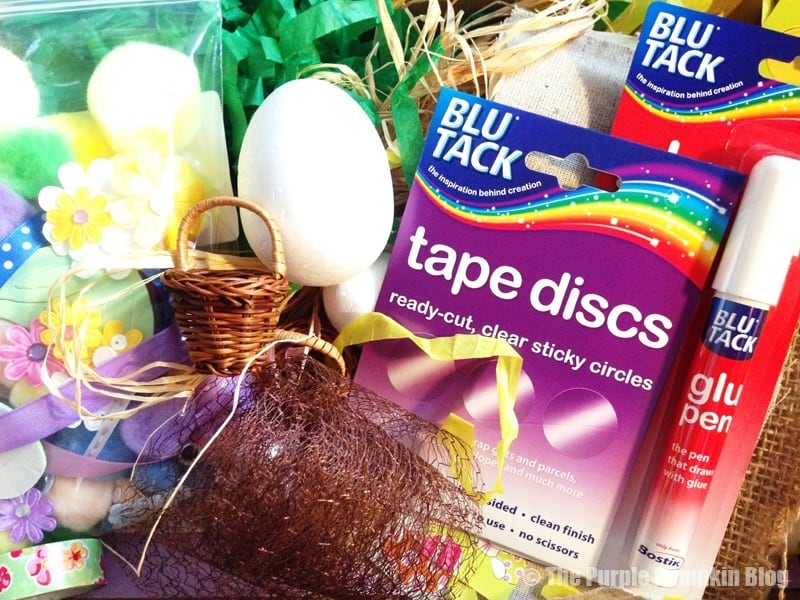
Easter Egg Animals Craft Supplies:
- foam eggs for crafts (polystyrene/Styrofoam)
- coloured marker pens
- googly eyes (optional)
- colored pipe cleaners/chenille stems
- cotton balls (cotton wool balls)
- colored pom poms
- foam heart shapes or foam sheets (to cut your own shapes)
- flower embellishments
- glue dots
- PVA White Craft Glue (School glue/Elmer’s glue)
The list of supplies above are quite a general list – I’ve not given exact colours, as several of the items are often sold in bulk with a rainbow of colours included.
If you craft frequently with your kiddos, then it’s quite likely you have a lot, if not all of the supplies in your stash already!
You can use my photos of each Easter egg animal as a guide for your own animals, or use your own ideas for facial features and colours.
 Easter Egg Animals – Cow
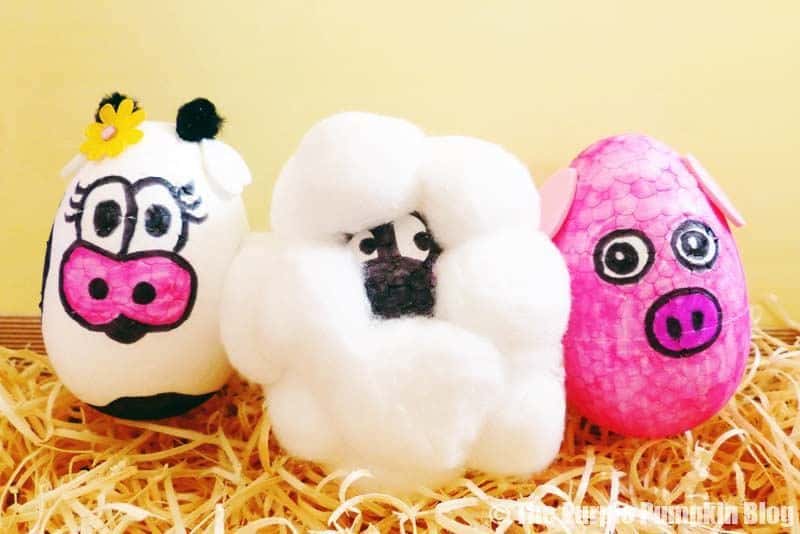
- Using a black marker, draw a cow face on the foam egg and add patches of black all around the egg too.
- Using two white foam heart shapes for ears, stick them upside down on either side of the egg, towards the top. If the shapes are not self-adhesive, use glue dots to fix them in place.
- You can add little horns by making a small cone with a black pipe cleaner and poking into the egg – fix in place with a drop of PVA glue. Alternatively you could use two small black pompoms.
- Finally, add a little flower embellishment to one of the ears.
My cow is based on a Holstein Friesian cow, commonly known as a dairy cow. But you could make a herd of different cows if you wanted to! You could colour the whole egg in black, or shades of brown. Make sure you draw on the face first to keep the whites of the eye. You could stick on strands of wool for cows that have long fur like Highland cows; or strips of furry fabric if you have some in your stash. You could even make longer horns from pipe cleaners – check out ankole cattle for the size of their horns!
Making different breeds of animals would make this craft a great class room activity for my teacher readers, and for my homeschooling parents; or anywhere to combine fun and learning together.

Easter Egg Animals – Pig
- Using a black marker, draw the eyes on your pig first so that you keep the whites of the eyes, then colour the whole egg in pink.
- Draw the snout with a darker pink, add nostrils and outline in black.
- Using two pink foam heart shapes for ears, stick them upside down on either side of the egg, towards the top. If the shapes are not self-adhesive, use glue dots to fix them in place.
- For the curly tail you can either draw one or, or make one from a pink pipe cleaner. Wrap the pipe cleaner around a pencil to curl it up, and the cut it down to size. Pipe cleaners push into the foam eggs easily, but you can also secure in place with a drop of PVA glue.
Much like the cows, you could colour these in different colours for different breeds of pig. There are also breeds of pig that have fur – I’m sure children would love finding that out! Use furry fabric to cover the egg to make those pigs.


Easter Egg Animals – Sheep
- Using a black marker, draw a face on the sheep (I used Shaun the Sheep as inspiration!)
- Cover the egg with PVA glue and press on lots of cotton wool balls. You can push the egg onto a wooden skewer to hold in place while you add the glue.
- I didn’t include ears or a tail on my sheep, but you could stick on smaller white pompoms on either side of the top of its head, and at the back if you so wish.
Once again, you can switch things up to make different sheep breeds. Some have longer fur/hair, so use strands of wool for that. And some have curly horns which could be made with pipe cleaners and stuck in place.

Why not share this craft with your friends on Facebook!

Easter Egg Animals – Bunny Rabbit
- Using a pink marker, draw a small heart shape about 1/3 of the way down the egg for the nose. Then with a black marker, add two circles to the side of the nose for the muzzle, and a rectangle between them for the teeth. Draw two ovals above the snout for eyes. Use my rabbit egg below for a guide.
- Colour the egg in the colour of your choice – I used blue, then finally – then draw on the whiskers.
- To make the ears, fold over a length of pipe cleaner and twist at the bottom, shape to make a tear drop shape, do this again to make a pair of ears, and poke into the top of the egg. Keep fixed in place with a drop of PVA glue.
- For the tail, glue on a matching coloured pompom on the back bottom of the egg.
There is actually a breed of rabbit that is blue – the American Blue Rabbit! They’re not quite the blue I used, more of a blue-slate color, but it highlights once again the learning experience children can have while making these egg animals. Look up different breeds of rabbit together, and make a whole hutch full of different types of bunny.


Easter Egg Animals – Chick
- Colour the foam egg all over with a yellow marker.
- Stick on two googly eyes. If the eyes are not self-adhesive, use glue dots to fix them in place.
- Draw a diamond shape with an orange marker for the beak.
- Cut two wing shapes from some yellow craft foam, and stick to the sides of the egg (with glue dots if not self-adhesive).
- You could add a flower embellishment as shown if you wish.
I stuck to a simple yellow chick for this egg animal, but you could really go to town with craft feathers. You could use brightly colored feathers or use more natural colors. Some breeds of chicken have really wild and wacky feathers, this would be such a fun activity if you made those ones!

And that’s it for my Easter egg animals craft – easy to do and lots of fun to be had. You could take this activity further and make other animals, and even fantasy animals like dragons.
Once made you could use them in an Easter egg hunt for little ones – please be mindful of small embellishment pieces that have the potential to become unattached, and cause a choking hazard.

⬇️ Save this Easter craft to Pinterest for later! ⬇️

Want more Easter ideas? There are lots on my Easter Crafts & Activities Board on Pinterest!
Twinsplustwo
April 8, 2015 @ 9:38 pm
These look so much fun! And WOW your Blog is looking spectacular, what an update!
Michelle Ordever
April 9, 2015 @ 10:55 am
My niece has loved playing with these! And thank you for noticing the change! I felt it was time for a bit of an update x