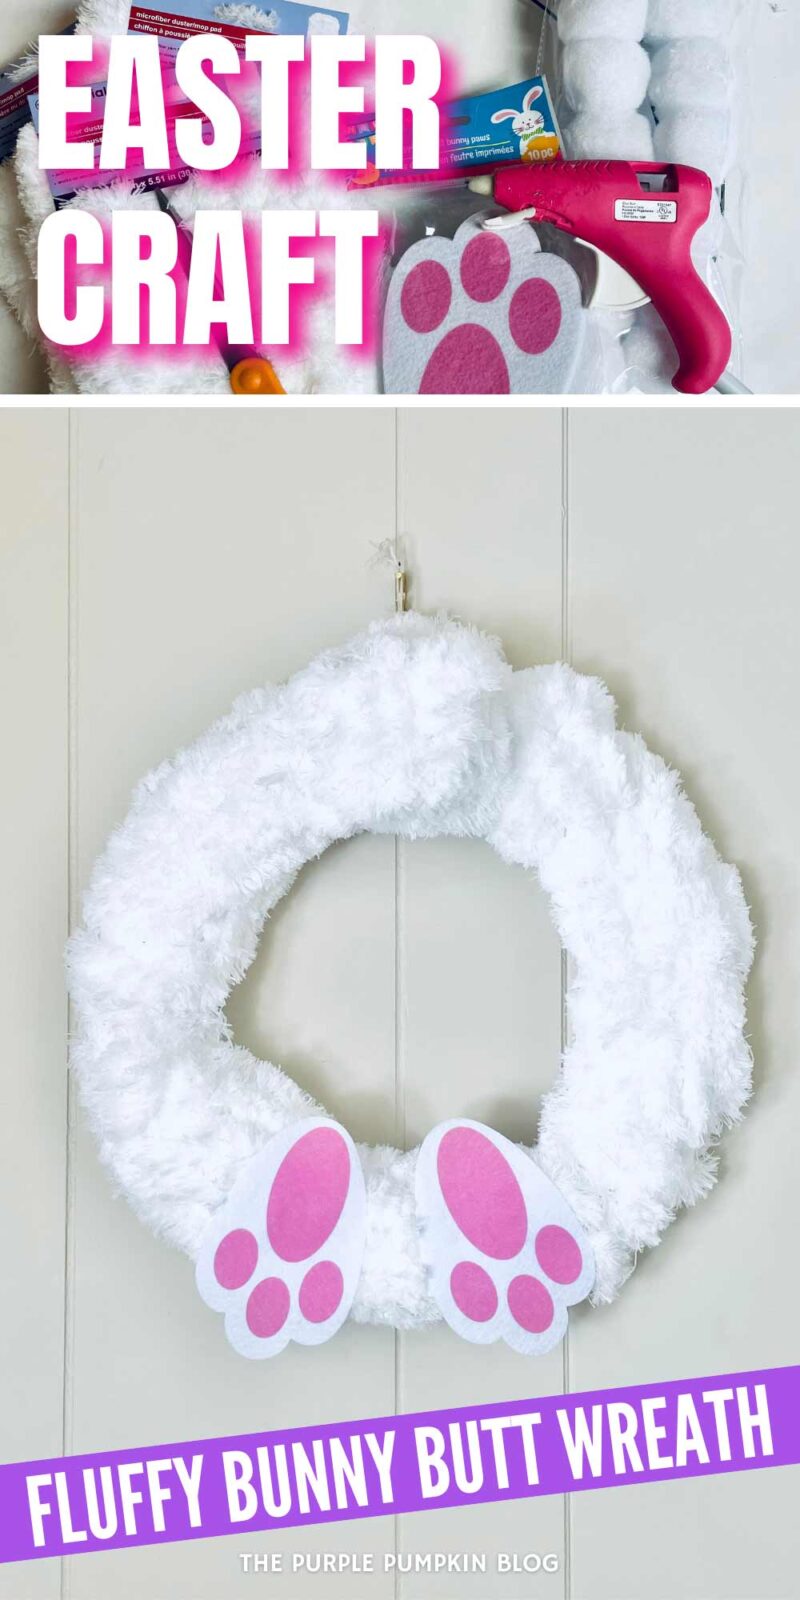
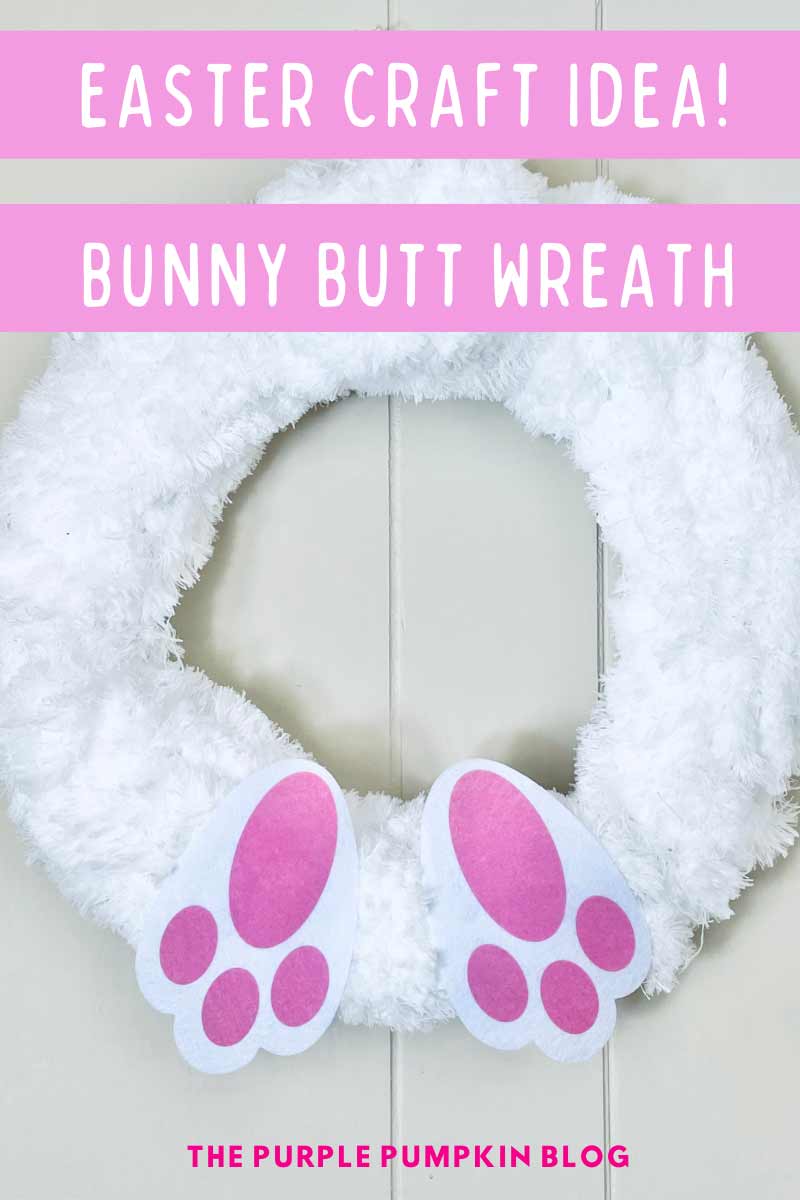
DIY Easter Fluffy Bunny Butt Wreath Craft
Home » CREATE » Crafts » Easter Crafts »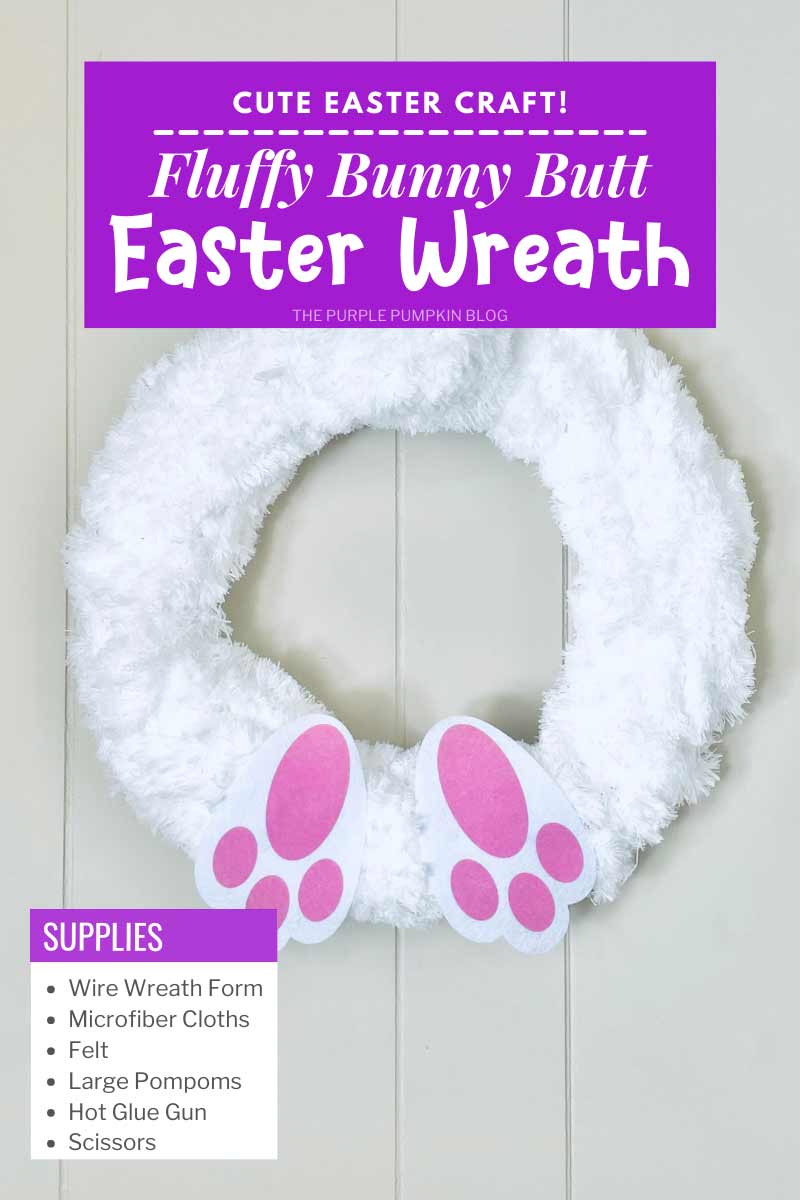
This Easter, take your DIY skills to the next level by making a fluffy Bunny Butt Wreath! Crafting is a fun and rewarding way to get creative and add a personalized touch to your home. This cute and kitsch craft is sure to be a conversation piece and will bring a unique and festive vibe to your Easter décor!
Don’t have time for this craft now? Be sure to tap the heart icon in the bottom right of the screen to save this post for later!
Affiliate Disclosure
We have included affiliate links to products and services related to the topic of this post.
This post contains affiliate links, and we will be compensated if you purchase after clicking on those links.
As an Amazon Associate, I earn from qualifying purchases.
Read Our Full Disclosure and Privacy Policy
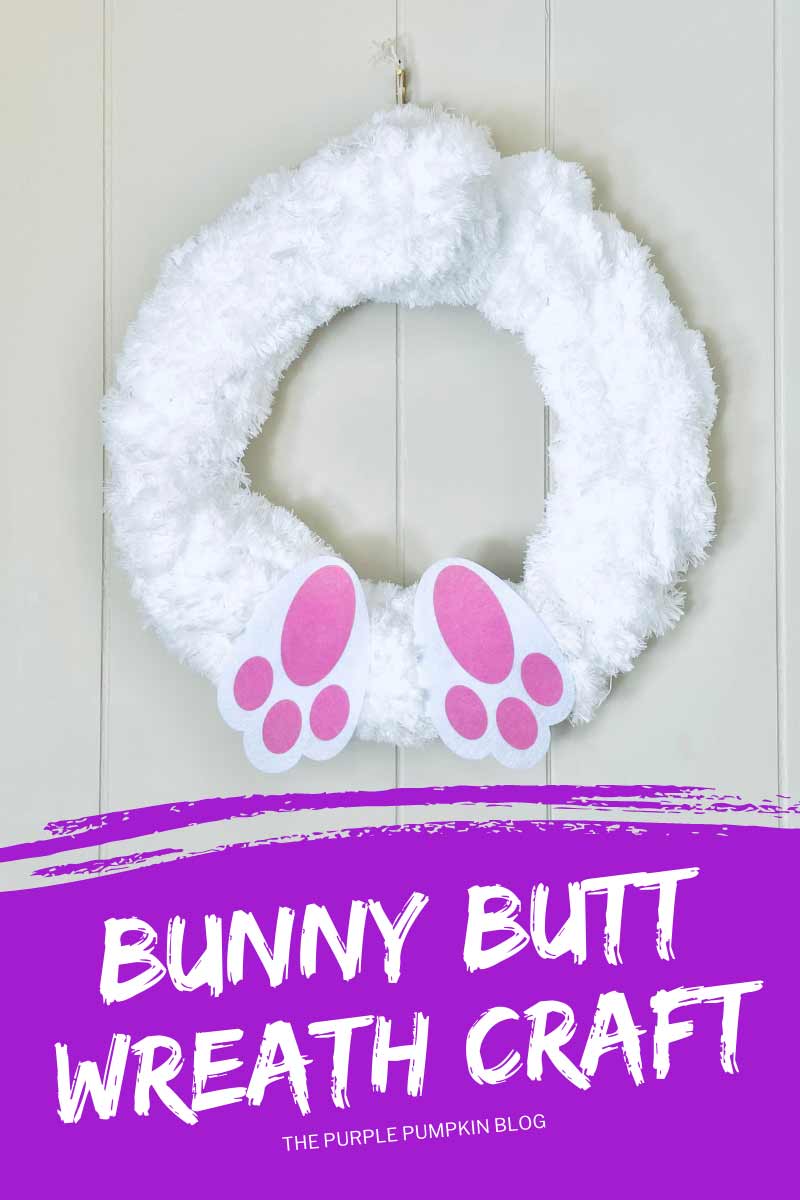
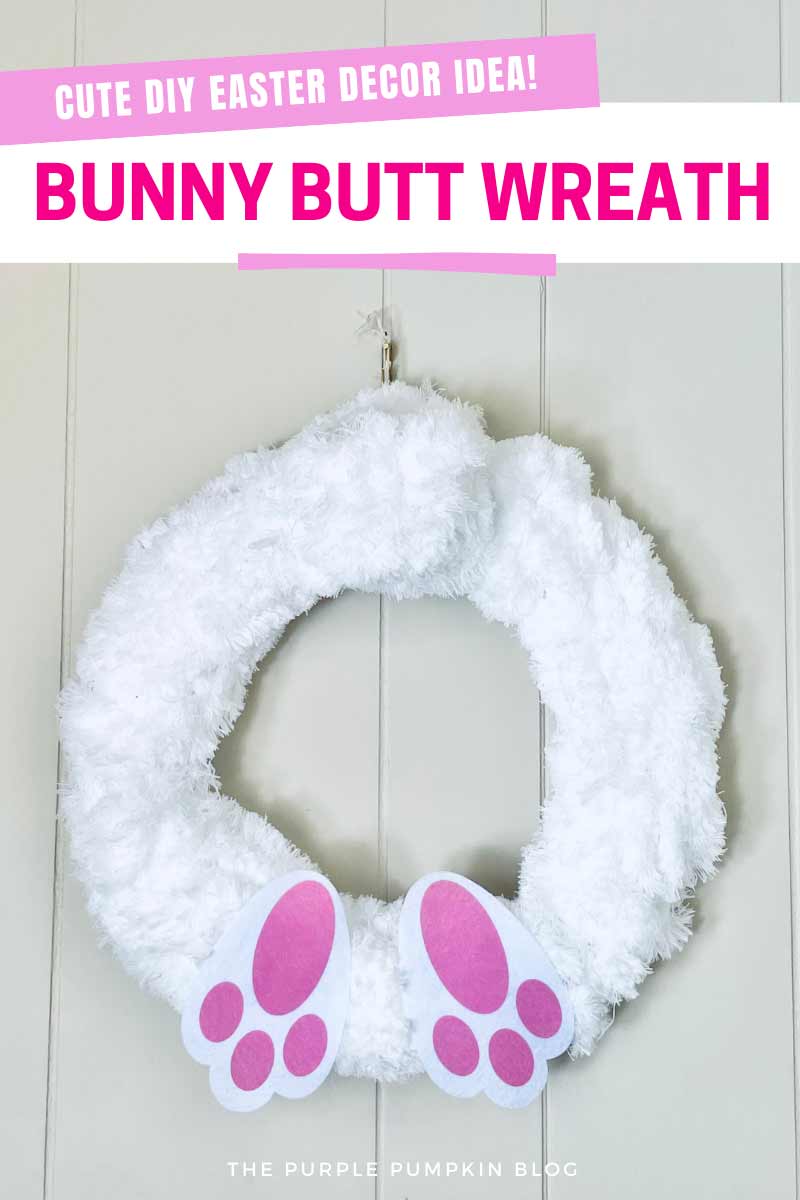
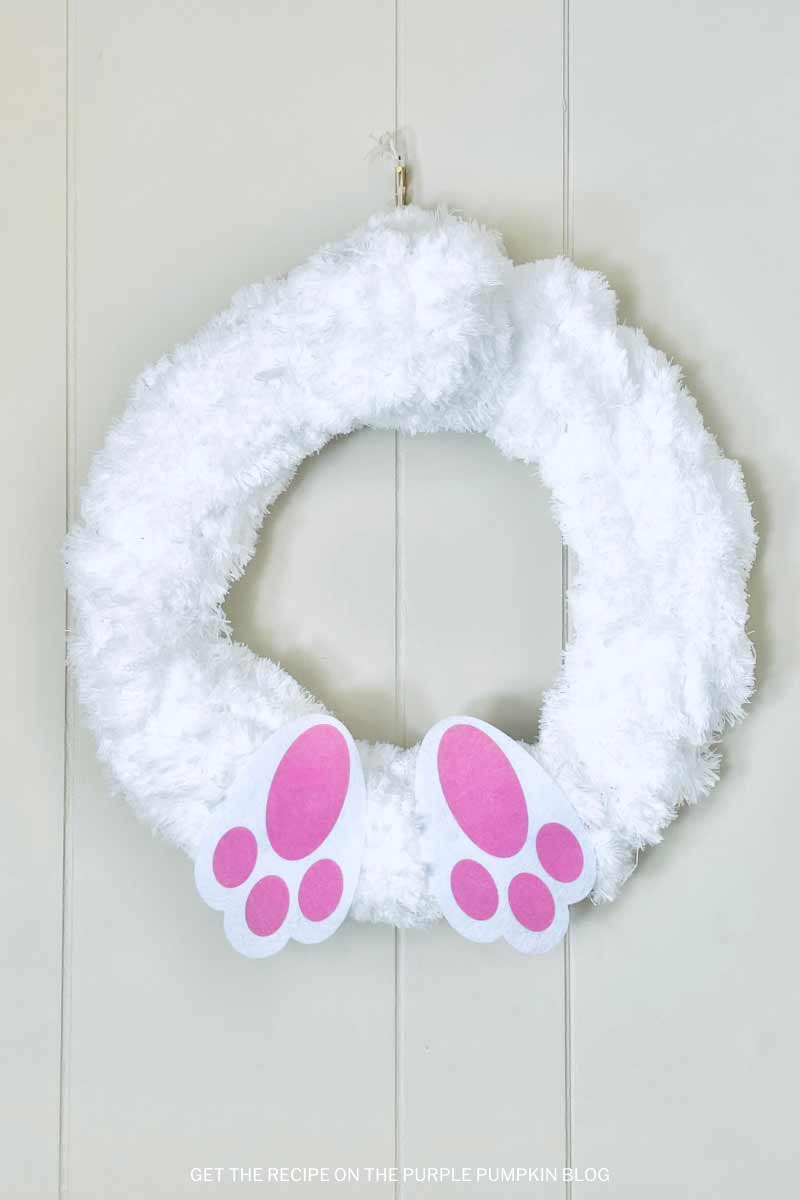
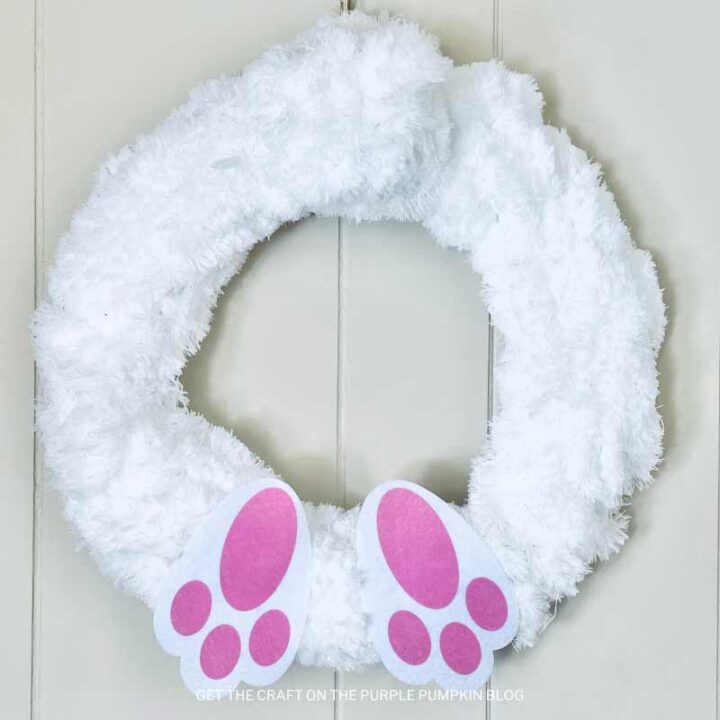
Bunny Butt Wreath
The full list of materials, tools, and instructions is in the printable tutorial card at the end of this post. I highly recommend reading the blog post all the way through before starting this project to ensure that you have everything required and understand the steps and timings involved.
Easter is just around the corner, and what better way to kick off the holiday festivities than by crafting your own wreath!
You don’t have to be a master of crafts to make this bunny butt wreath, and with step-by-step instructions with photos, you can have it made and displayed in about an hour (maybe less!).
A wire wreath form is covered with a few fluffy white microfiber cloths that are secured in place with a hot glue gun and glue sticks.
Then all that is left to do is to stick on some felt bunny feet and create the cotton tail with pompoms and more microfiber cloth.
Simple, right? So what are you waiting for – read on for all the details!
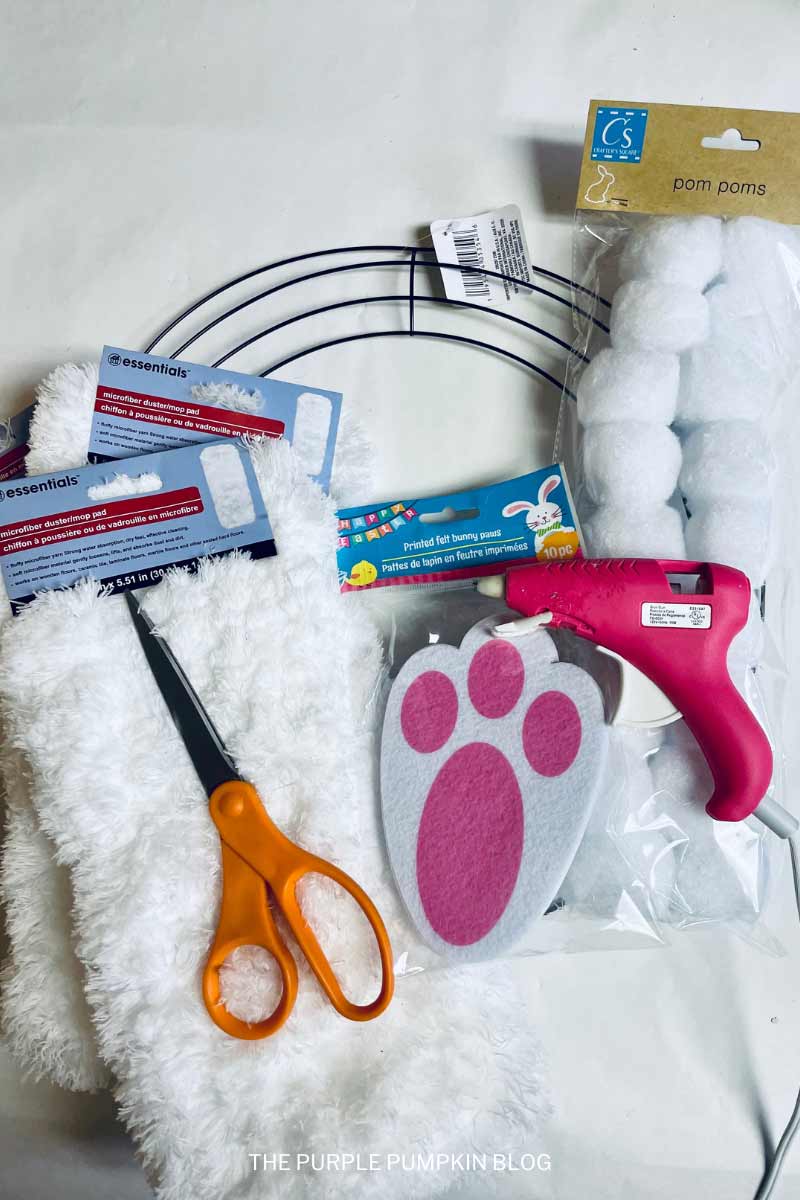
Materials & Tools Used in This Craft
For your convenience, I’ve linked [some of] the materials and tools needed for this project to Amazon below. The quantities are on the craft tutorial card at the end of this post.
- 14-inch (35cm) Wire Wreath Form
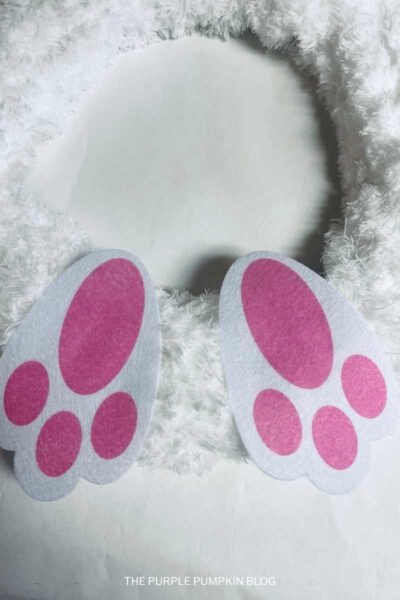
- Printed Felt Bunny Feet – if you can find these you can easily make your own using white and pink felt and this free printable template, or by cutting freehand. The size of the feet is approximately 6″ x 4″ (15cm x 10cm)
- Scissors
- Hot Glue Gun and Glue Sticks
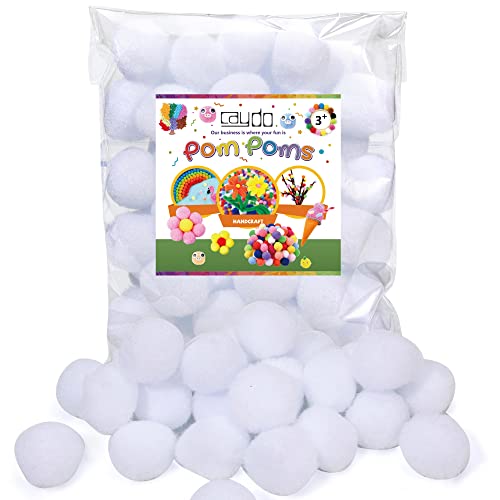
- Large White Pompoms
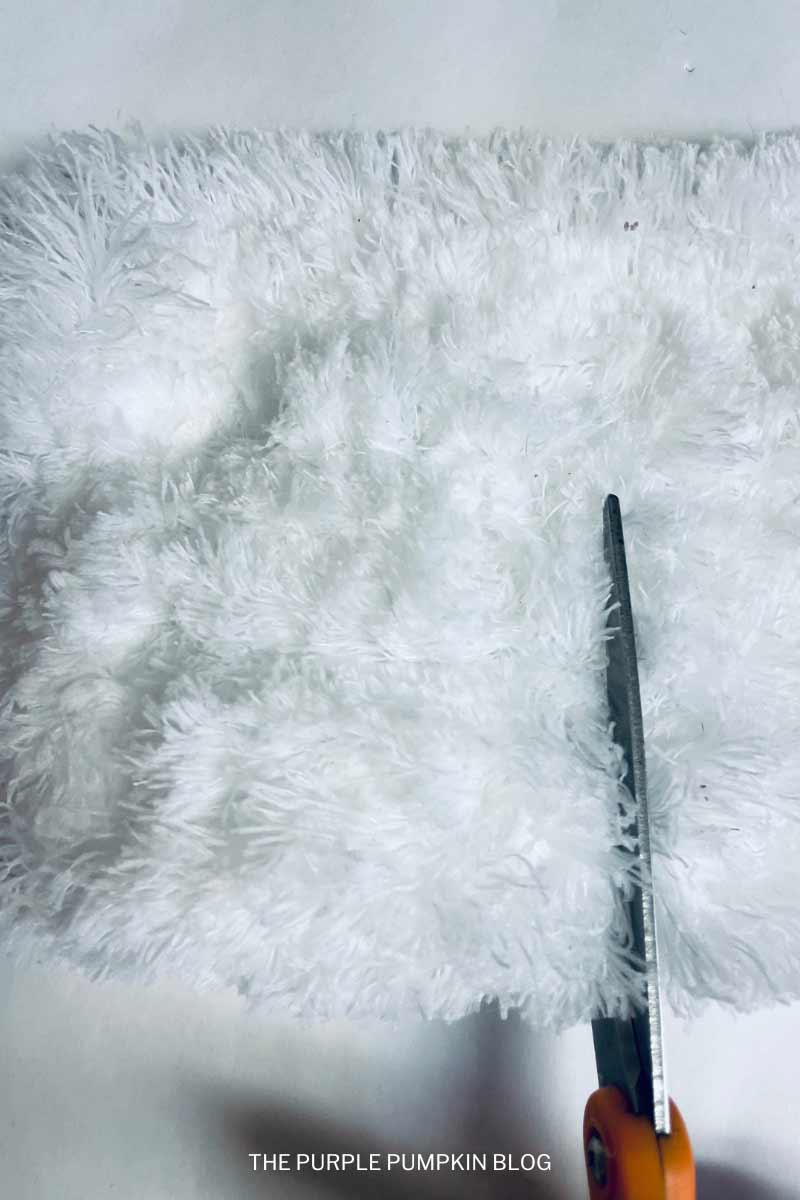
- White Microfiber Duster Cloths – alternatively you could also use white furry fabric.
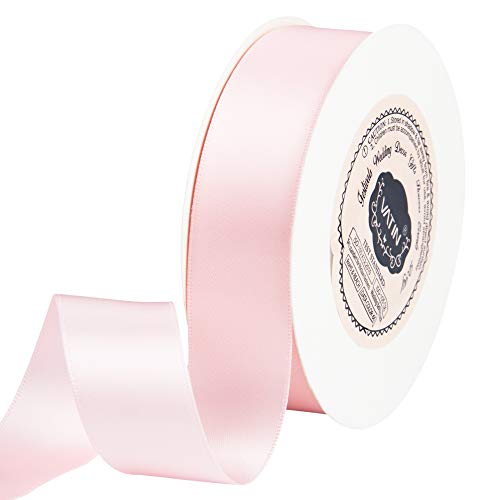
- Ribbon – an optional extra, to create a loop for hanging the wreath.
No time to read now? Tap the buttons below to save the craft to your Pinterest boards or Facebook page for later!
Cheap Craft Supplies
This can be a budget-friendly craft using supplies you may already have or that can be purchased cheaply in stores:
If you’re in the USA, check out your local Dollar Store or Dollar Tree; and if you’re in the UK, the Poundshop, The Range, Wilko, and Baker Ross are great places to shop for cheap and inexpensive craft supplies.
To the rest of the world reading this – I don’t know every cheap store out there – sorry! But please do hunt the ones out in your location for crafting bargains!

How Do I Make A Bunny Butt Wreath?
The printable tutorial card with the full supplies list and instructions can be found at the end of this post.
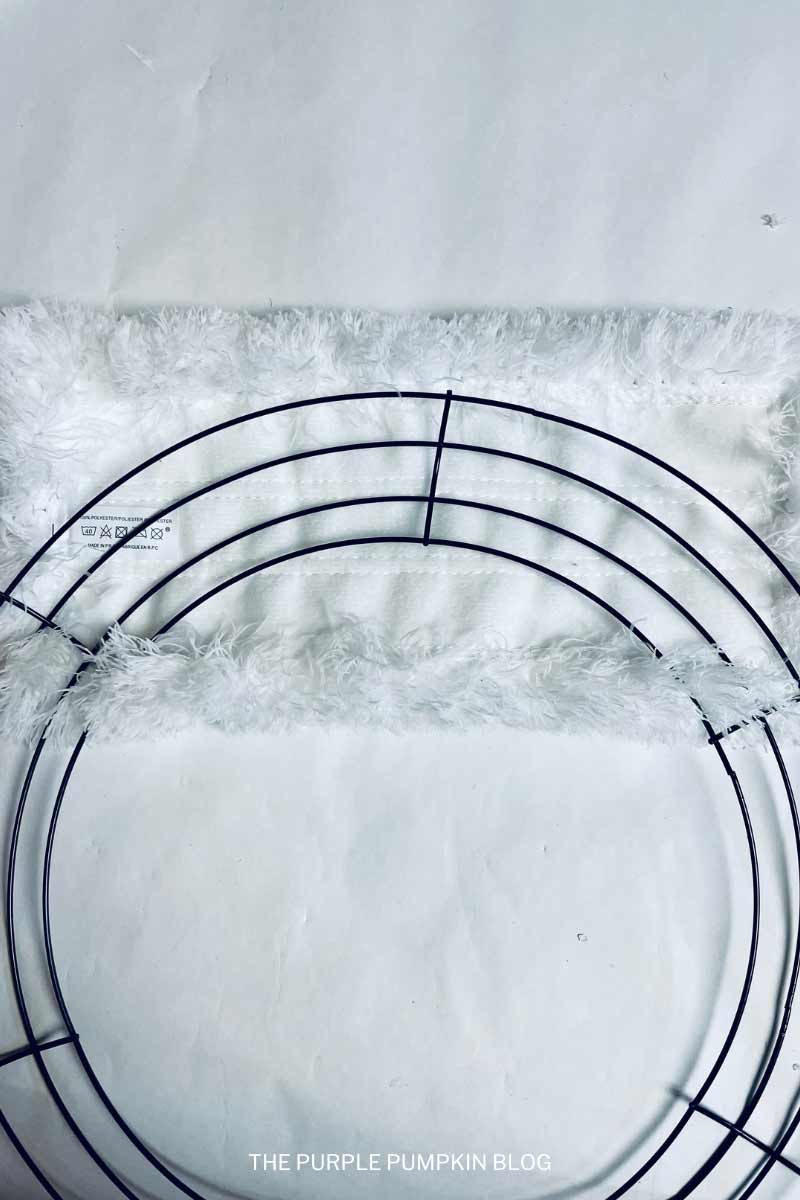
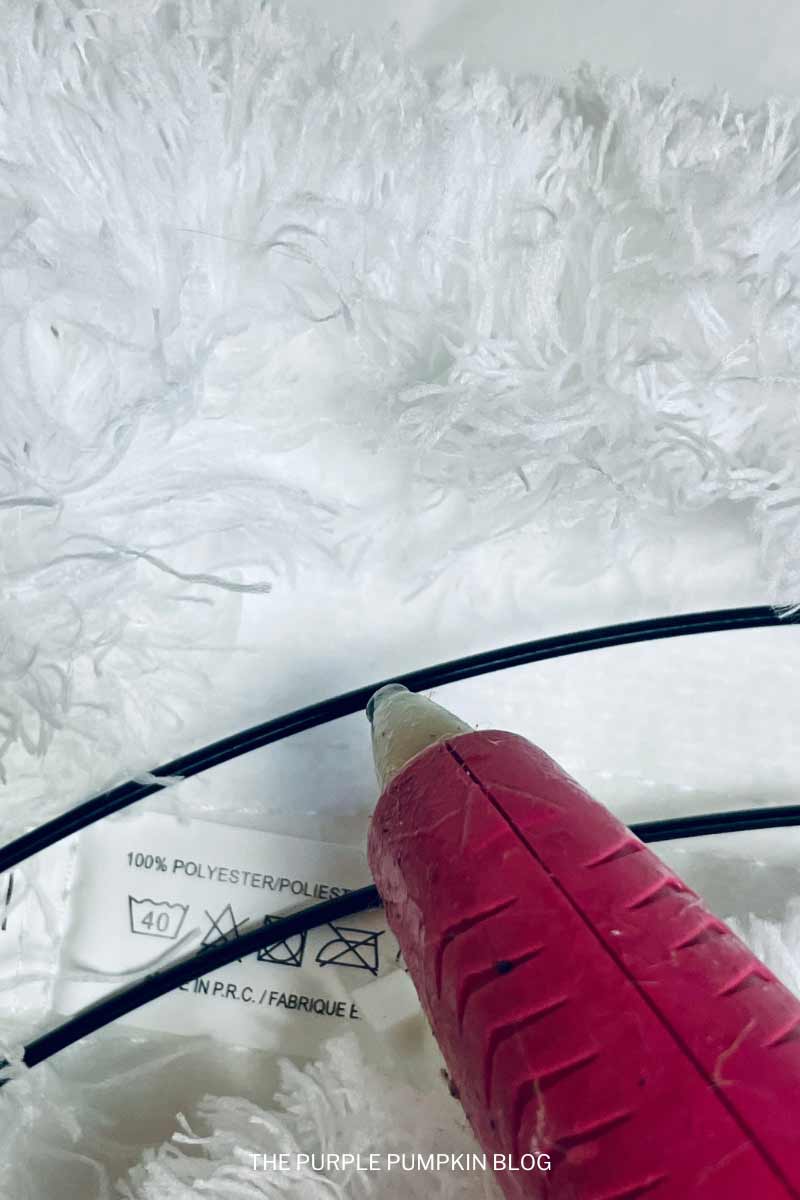
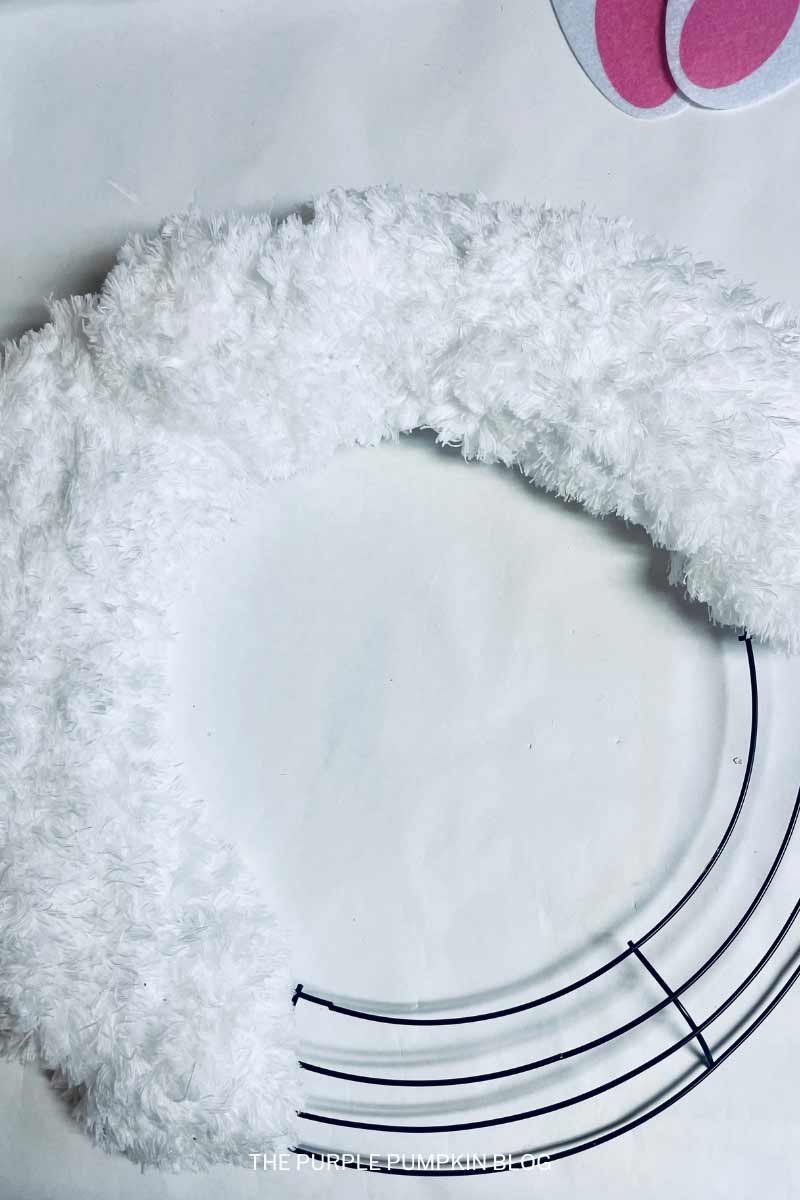
Step 1 – Wrap the Wreath Form: Lay a microfiber cloth face down and place the top of the wreath form on it. Add hot glue to the wire and fold the cloth over to stick it to the wreath.
Repeat this process around the wreath with more microfiber cloths.
NOTE: You will need to pull the cloth to shape it around the wreath form.
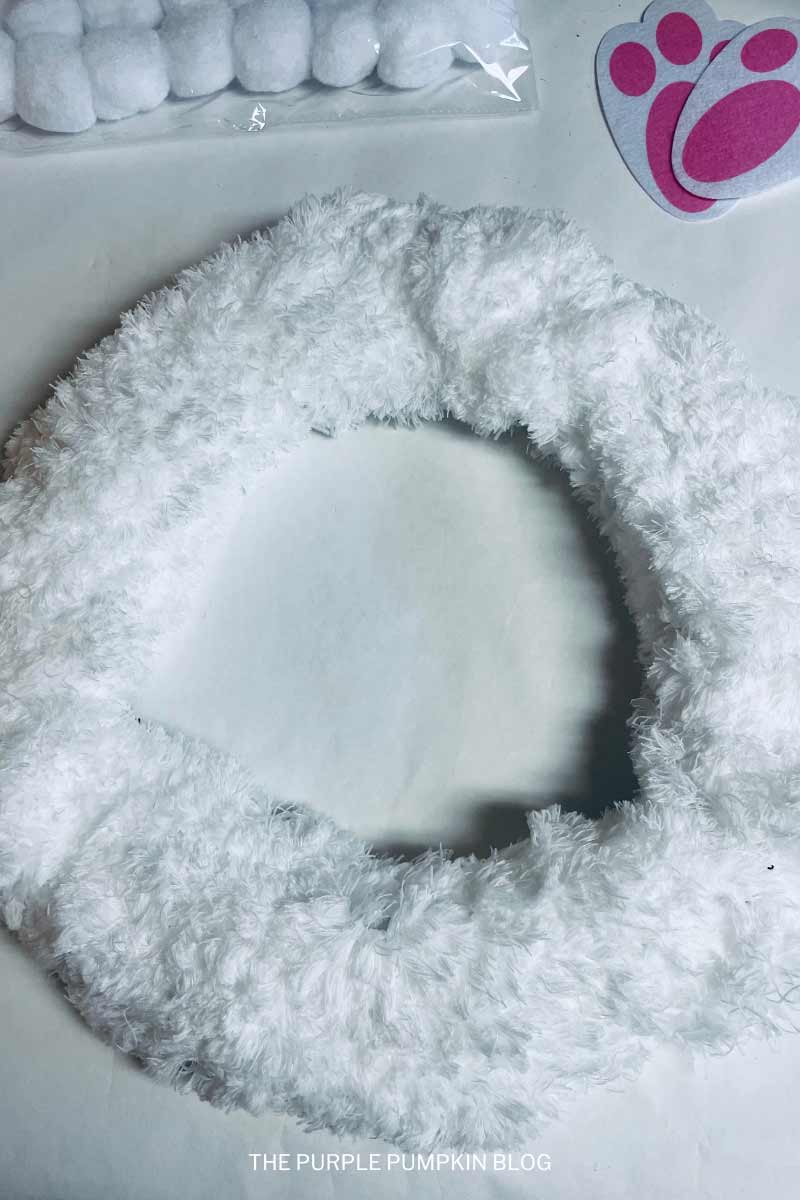
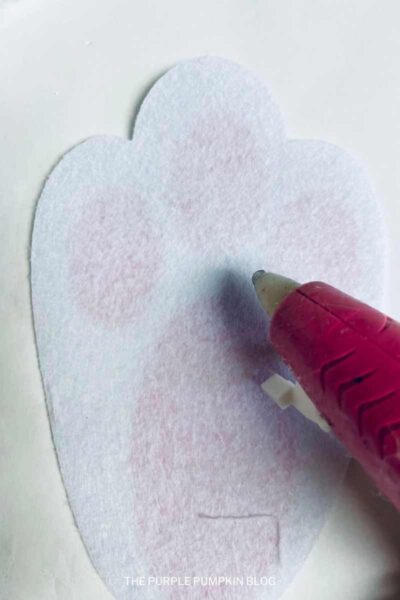
Step 2 – Attach Feet: Add hot glue to the back side of the felt bunny feet and stick them to the bottom section of the wreath.
NOTE: Lay the bunny feet before gluing to decide their placement.
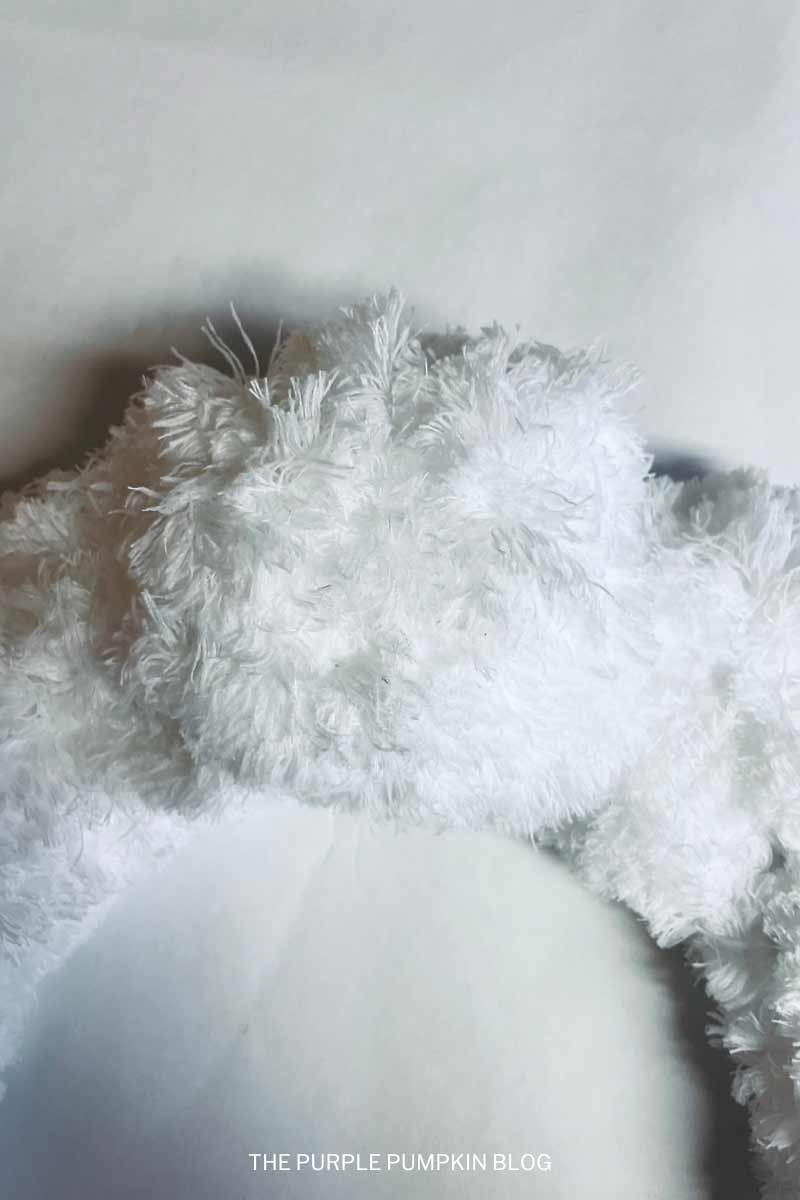
Step 3 – Create Bunny Tail: Glue 5 large pompoms in a circle at the top center of the wreath.
Lay a microfiber cloth over the top of the pompoms to create the bunny tail. Cut around the cloth to the correct size to cover and wrap under the pompoms, then add hot glue to secure.

Step 4 – Add Hanging Loop: Cut a length of ribbon and fold it to form a loop. Hot glue it to the back of the wreath, and once dried, hang the bunny butt wreath on your door!
More Easter Crafts
Looking for more Easter crafts to do? Right-click and open these in a new tab to read next!
- A Trio of Flowerpot Chicks Craft for Easter and Spring
- Super Cute Flowerpot Easter Bunny Craft with Free Printable Pattern
- How To Make Easter Egg Animals – A Fun Easter Craft for Kids
- Decorating Easter Eggs with Sharpie Pens
I’ve shared lots of great craft ideas on The Purple Pumpkin Blog over the years, in fact, there are 100+ crafts to make and do at home for you to try!
Printable Bunny Butt Wreath Tutorial Card
To save ink, any demonstration photos do not print on the tutorial card.
Easter Bunny Butt Wreath
This Easter, take your DIY skills to the next level by making a fluffy Bunny Butt Wreath!
Materials
- 14-inch (35cm) Wire Wreath Form
- Printed Felt Bunny Feet
- Large White Pompoms
- White Microfiber Duster Cloths
- Ribbon
Tools
- Scissors
- Hot Glue Gun and Glue Sticks
Instructions
- Lay a microfibre cloth face down and place the top of the wreath form on it. Add hot glue to the wire and fold the cloth over to stick it to the wreath. Repeat this process around the wreath with more microfibre cloths. You will need to pull the cloth to shape it around the wreath form.
- Add hot glue to the back side of the felt bunny feet and stick them to the bottom section of the wreath.

- Glue 5 large pompoms in a circle at the top center of the wreath. Lay a microfibre cloth over the top of the pompoms to create the bunny tail. Cut around the cloth to the correct size to cover and wrap under the pompoms, then add hot glue to secure.
- Cut a length of ribbon and fold it to form a loop. Hot glue it to the back of the wreath, and once dried, hang the bunny butt wreath on your door!

Recommended Products
As an Amazon Associate and member of other affiliate programs, I earn from qualifying purchases.