How To Make Cookie Dough Scented Bath Bombs with Cupcake Sprinkles
Home » CREATE » Crafts » Homemade Cosmetics » Bath Bombs »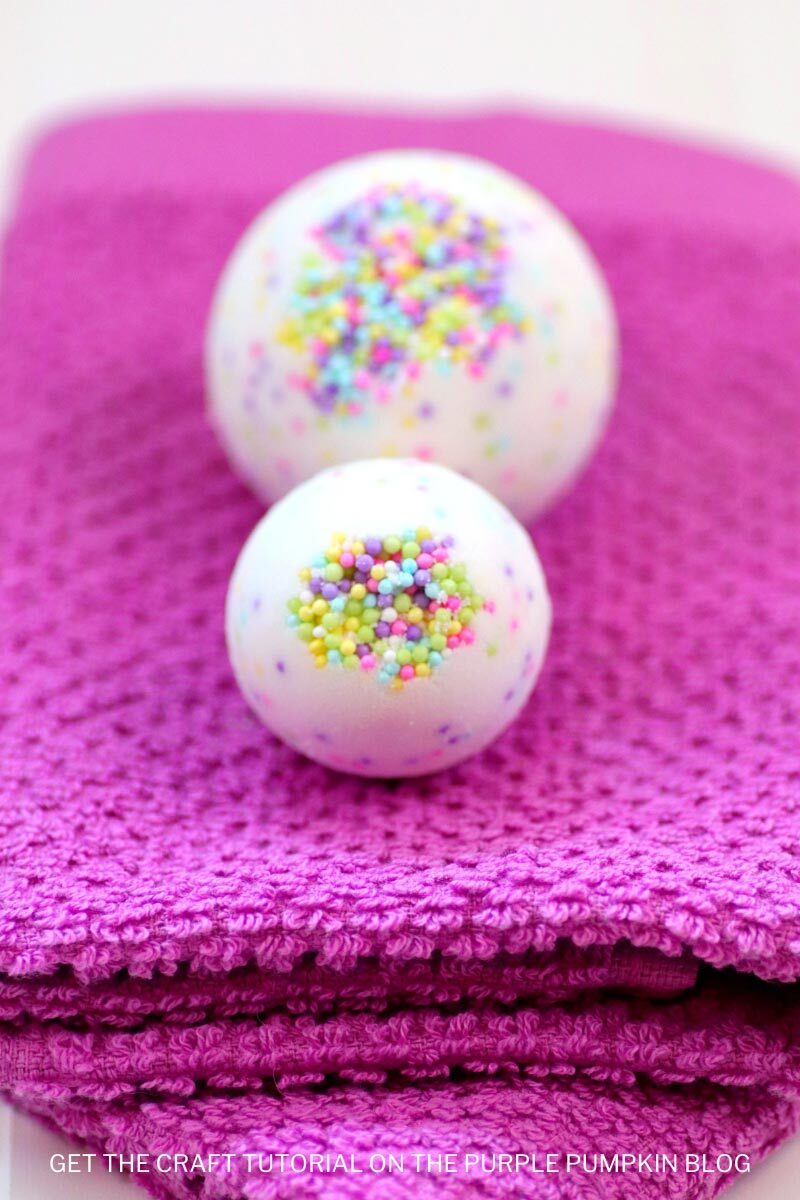
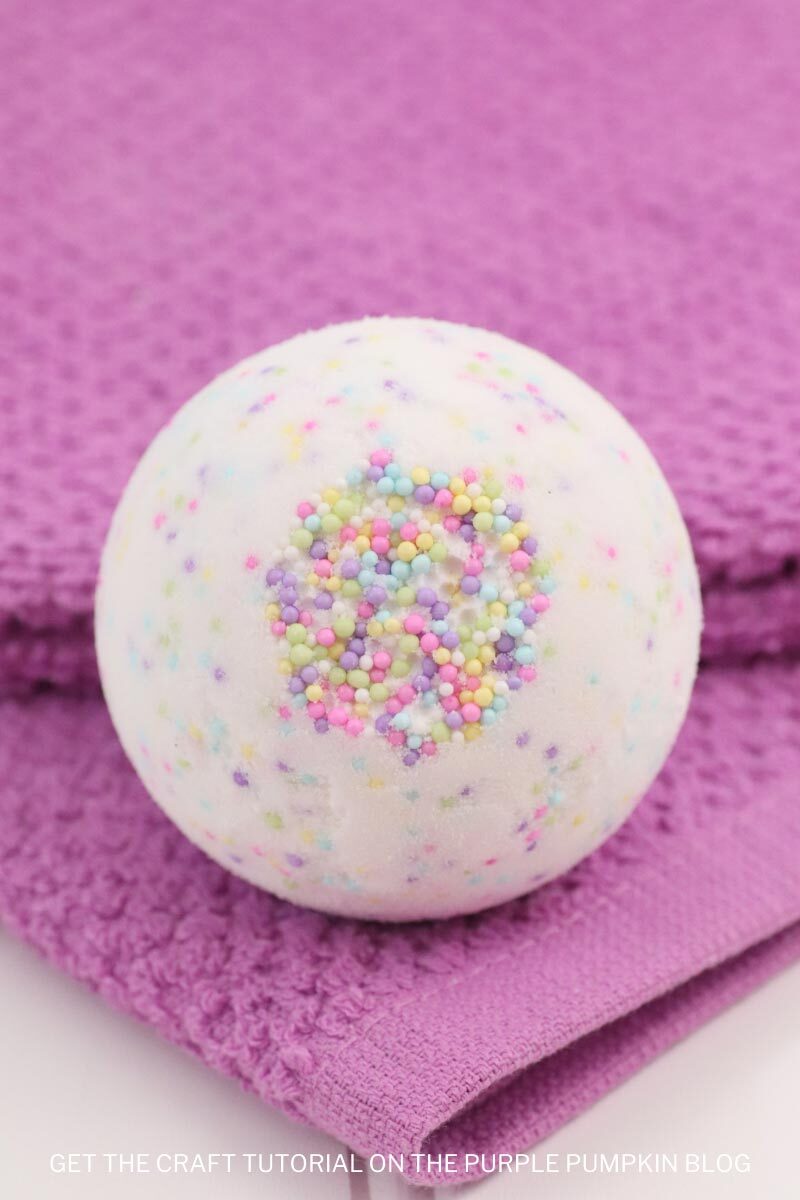
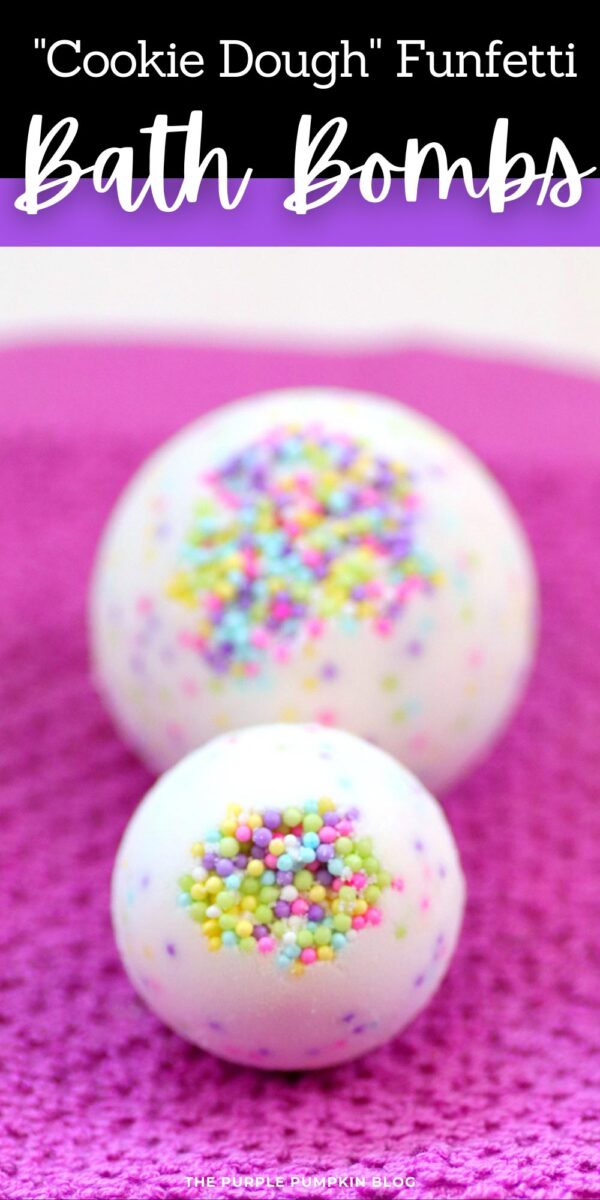


These Cookie Dough Scented Bath Bombs with cupcake sprinkles are made with ingredients that include Himalayan bathing salts, pastel nonpareils sprinkles, and cookie dough scented oil. Pop them in a beautiful gift box and make someone you care for very happy!

Affiliate Disclosure
We have included affiliate links to products and services related to this post.
We may earn a commission if you purchase after clicking on those links.
As an Amazon Associate, I earn from qualifying purchases.
Read Our Full Disclosure Policy and Privacy Policy
Cookie Dough Scented Bath Bombs
The full list of materials, tools, and instructions is found in the printable tutorial card at the end of this post. I highly recommend reading the blog post all the way through before starting this project to ensure that you have everything required and understand the steps and timings involved.
Nothing says how much you care more than giving a homemade gift. The time and effort you go to to create something from scratch is a gift in itself.
Bath bombs are all the rage right now and for good reason! They make your bathtub experience so much more fun and luxurious.
They can be a little bit expensive to buy, but they’re actually quite easy to make your own!
These bath bombs are cookie dough scented, and they are rainbow sprinkles in the mixture too.
If you’re just starting out with making your own cosmetics, the initial outlay may be higher, but the ingredients will make so many products, that they’ll soon pay for themselves!
A quick heads-up, the amount of time it takes for your bath bombs to dry will depend on the level of humidity and precipitation in your area.
It could take a minimum of 24 hours, but up to 48 or even 72! The rule of thumb is, if its bath bomb is hard to the touch, it’s good to use! Make sure you store them in an airtight container!
Materials & Tools Used in This Craft
The complete list of supplies, which may include basic crafting items that you already have can be found in the tutorial card at the end of this post. For your convenience, I’ve linked any notable materials and tools needed for this project to Amazon below.
- Baking Soda – also known as Bicarbonate of Soda. Can help to exfoliate skin.
- Citric Acid – The chemical reaction baking soda and citric acid produces the fizz and bubbles when the bath bomb hits the water.
- Cornstarch – also known as Cornflour. Can help to sooth skin irritations.
- Cream of Tartar – gives a silky feel and bulks out the citric acid. Helps to add frothy bubbles.
- Pink Himalayan Bathing Salts – provides a relaxing and calming experience.
- Coconut Oil – binds all the ingredients together.
- Mango Butter – binds all the ingredients together and helps to moisturize your skin.
- Pastel Colored Nonpareils
- Cookie Dough Scented Oil
- Stainless Steel Bath Bomb Molds
- Rubbing Alcohol – in a spray bottle
- Mixing Bowl
More Homemade Cosmetics
Looking for more homemade cosmetics to make? Here are some more for you to check out! Just right-click and open a new tab to read next!
- Maleficent Cupcake Bath Bombs with Whipped Soap Frosting!
- Handmade Lemon Lime Soap Bars
- 30+ DIY Body Scrubs & Bath Bombs – Lovely Homemade Gifts!
- At Home Spa Day Ideas + Recipes | Pamper Ideas When Staying At Home
I’ve shared lots of great craft ideas on The Purple Pumpkin Blog over the years, in fact, there are 100+ crafts to make and do at home for you to try!
How Do I Make Cookie Dough Scented Bath Bombs?
Just check out the how-to card below with full materials, tools, and instructions. Any demonstration photos do not print out to save your ink.
“Cookie Dough” Bath Bombs
Materials
- 2 cups baking soda
- 1 cup citric acid
- ¼ cup cornstarch
- ¼ cup cream of tartar
- ¼ cup pink Himalayan bathing salts
- ⅓ cup coconut oil
- ¼ cup mango butter
- 2 Tbsps pastel colored nonpareils divided
- 1 tsp cookie dough scented oil
TOOLS
- Stainless steel bath bomb molds
- Spray bottle filled with rubbing alcohol
- 1 large mixing bowl
Instructions
- In a large mixing bowl, add the baking soda, citric acid, cream of tartar, pink Himalayan salts, and cornstarch. Whisk dry ingredients together.
- Add the coconut oil. This binds all the ingredients together, so your bath bombs don’t crumble when you touch them!
- Mix in mango butter and scented oil.
- Add in 1 tablespoon of the pastel nonpareils and mix ingredients thoroughly. You may need to use your hands to break down any lumps and make sure everything is mixed in. The mixture is perfect when it holds together when you press it into your hands and feels like wet sand.
- Pour some sprinkles into one half of the mold, then fill both sides of the mold with the mixture, press molds together, and grind to remove the excess mixture. Gently tap each side of the mold to release the bombs. To avoid the bombs breaking during the drying phase, I put them in a muffin tin. They fit perfectly!
- Allow the bath bombs to dry for a minimum of 24 hours. If your climate is wet or cold, allow an additional 24 hours. My rule of thumb is that when it is hard to the touch, they are ready for the tub!
- Store in an airtight container until ready for use.