How To Make A Paper Fall Flower Wreath
Home » CREATE » Crafts » Autumn/Fall Crafts »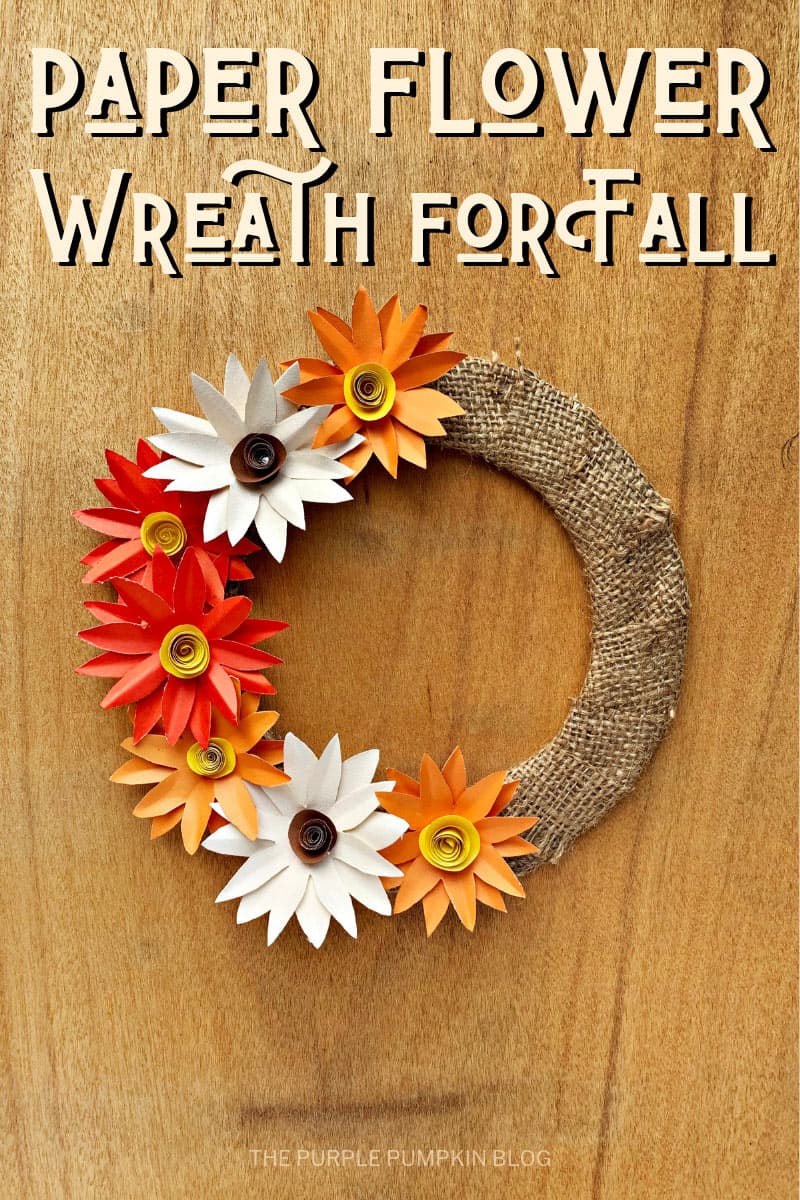
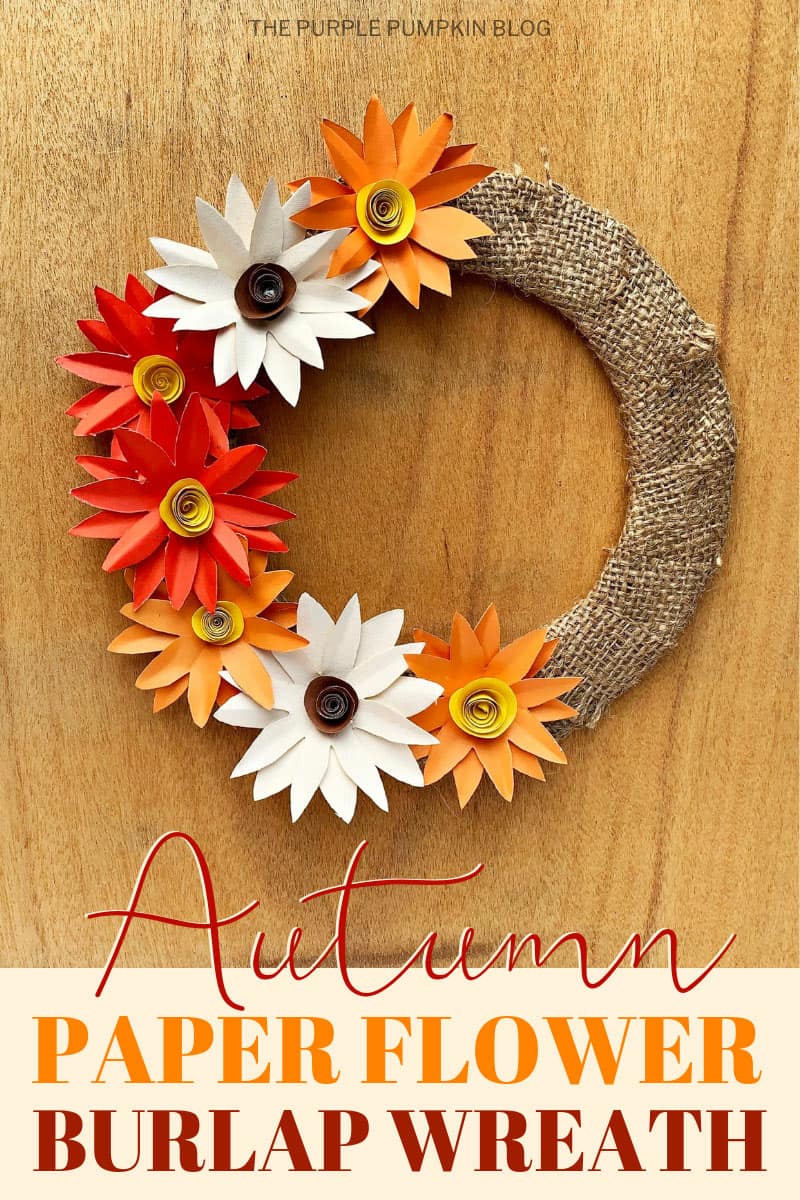
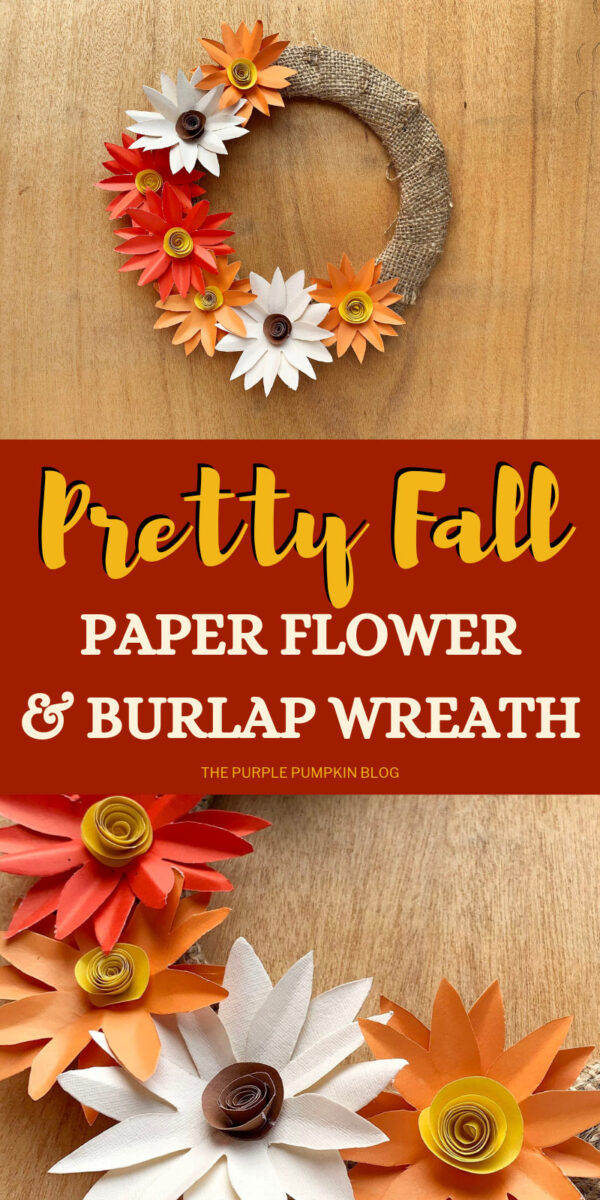
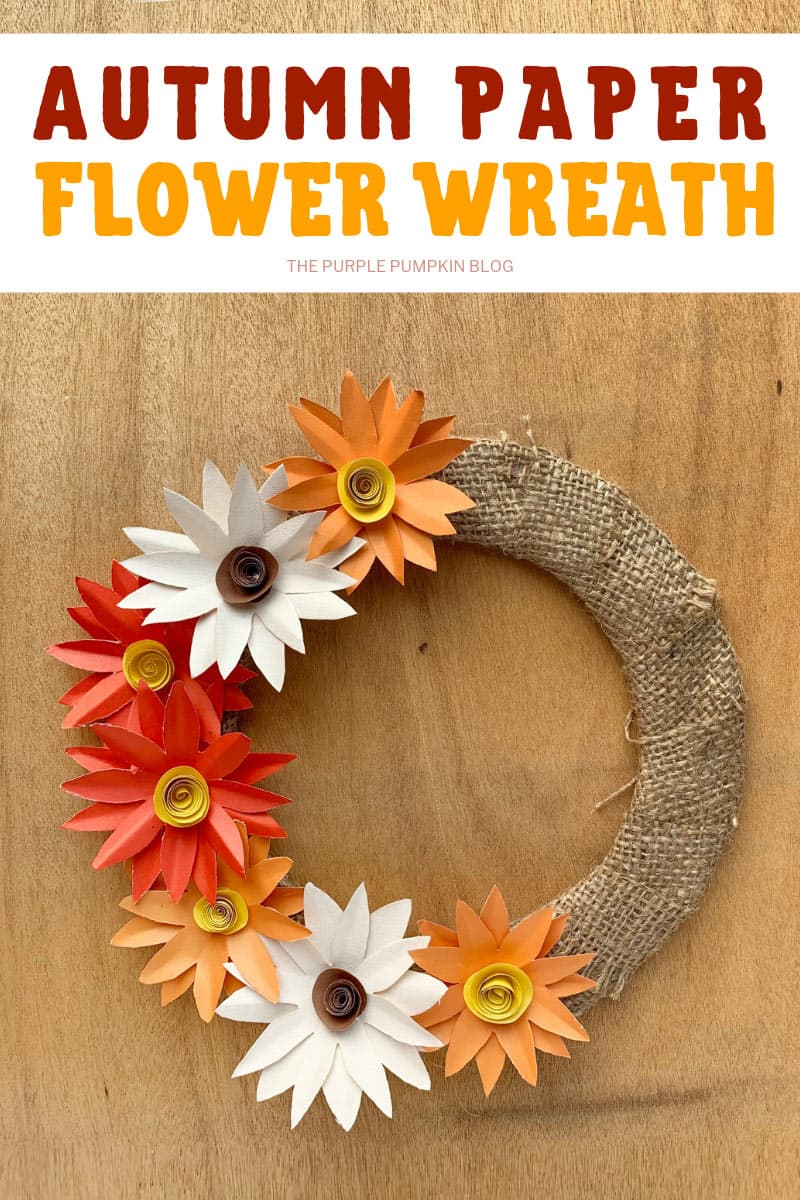
Do you love to decorate your home for autumn? Why not make a pretty Paper Fall Flower Wreath to display on your wall or front door and welcome in the season of change. The flowers on this wreath are made from paper, and they’re easy to make when you know how! Use autumnal colors to make your flowers and it is up to you if you want to cover just part of the wreath with paper flowers or fill the whole thing. How ever you decide to decorate your fall wreath, it’s going to look gorgeous!

I have got more Autumn Crafts for Adults that you might like to try out. Why not right click and open these other crafts in a new tab so that you can read them after this one!
Affiliate Disclosure
We have included affiliate links to products and services related to this post.
We may earn a commission if you purchase after clicking on those links.
As an Amazon Associate, I earn from qualifying purchases.
Read Our Full Disclosure Policy and Privacy Policy
Paper Fall Flower Wreath
I love making wreaths, I find the whole process so therapeutic! The flowers in this lovely autumn wreath are made from paper so you don’t have to worry about the flowers dying, and you can decorate with the wreath year after year.
I shared a paper flower wreath with you back in the summer, so if you made that, then you’ll be using the same technique to make the inner part of the fall flowers in this wreath. If you didn’t, don’t worry as you’ll learn how to make them in this tutorial.
Materials & Tools Used in This Craft
You only need some simple craft supplies to make this fall wreath – you may even have most of them in your craft stash!
- Craft paper – in a variety of autumn shades – orange, red, yellow, cream, brown, etc.
- Cardstock or a scrap piece of cardboard – to make the wreath base.
- Pencil
- Scissors
- Craft glue – I like to use white PVA/school glue as it dries clear
- Burlap ribbon – to wrap around the wreath base.
- You will also need to download the Fall Paper Flower Template Printable (opens in new window/tab) to trace out the flower patterns.
How To Make Fall Flower Wreath
I’ve got several step-by-step photos to guide you through making your autumn flower wreath, and there is also a slideshow video over on my YouTube channel that you can watch and save to your Playlists for future reference. (Don’t forget to subscribe while you are there!)
Wreath Base
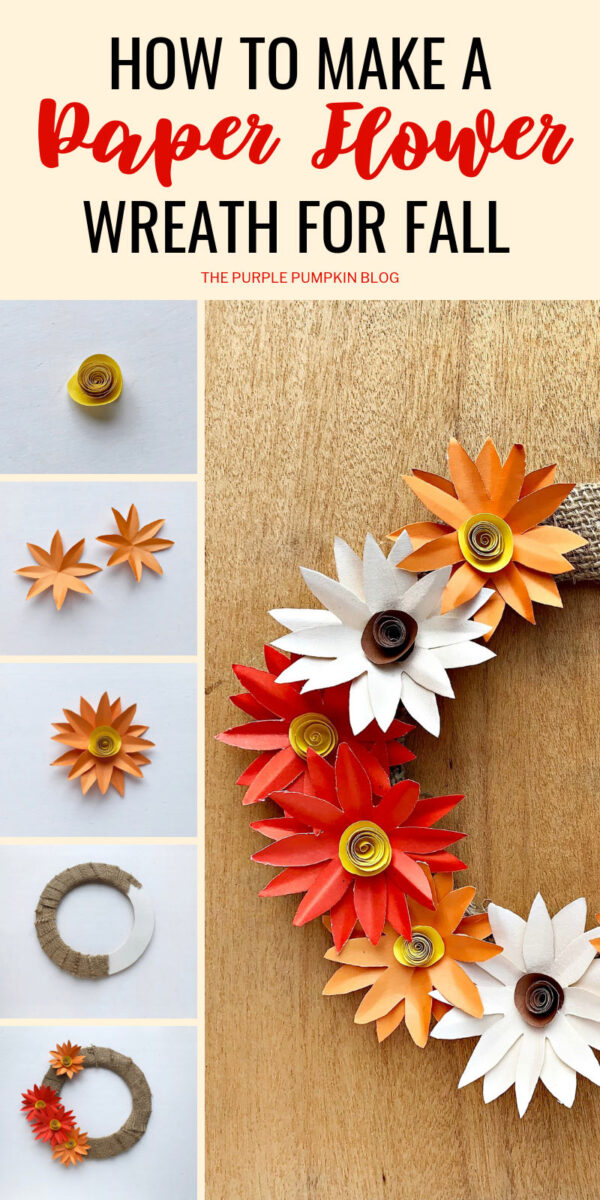
To make the wreath base, draw a large circle onto the card, and then a smaller inner circle to create a ring. Cut out with a craft knife or sharp scissors. I do have a wreath base template (7½” wide) that you can print and trace around. (Alternatively, use a large dinner plate and a smaller side plate.)
To cover the wreath base, glue one end of the burlap ribbon and stick in place. Wrap the burlap around evenly until the base is covered completely. Add some more glue to secure the end in place and cut off any excess.
If you want the base to be a little thicker, repeat covering with the burlap another one or two times. Alternatively, you could buy a foam wreath ring which will, of course, be thicker than a piece of card.
Paper Flowers
Print the flower template and cut them out. You will need two of the petal pattern, and one of the swirl pattern per flower. The swirl pattern is more of a guide than a template. However, you could print several and hold them in place as you cut the spiral out. (I do hope my description makes sense!)
Cut a selection of different size petals in a variety of colors. Make a crease down the center of each petal to give them some dimension.
Make the inner part of the flowers by rolling/coiling up paper spirals. It can be a bit fiddly to start with, but you’ll quickly get the knack!
To assemble the flowers, place one set of petals on top of another at a slightly different angle and glue together in the middle. Then glue the rolled paper part into the middle. Leave to dry completely.
Assemble the Wreath
I’ve not given a set number of flowers for you to make as it is entirely your choice. You could cover the whole wreath or just a part of it.
Experiment with the different flower sizes and colors that you have made by placing them on the burlap wrapped base, and switching everything around until you are happy with your layout.
Once you’ve decided how the flowers should be placed on the base, stick them down with glue.
When dry, tie a strip of burlap at the top to form a loop for hanging up and display your paper fall flower wreath to admire!
More Autumn Wreaths to Make
Once you’ve made this paper fall flower wreath, you might want to turn your hand to making more wreaths to decorate your home. Here are some for you to try out:
I’ve shared lots of great craft ideas on The Purple Pumpkin Blog over the years, in fact, there are 100+ crafts to make and do at home that you can try!
Homemade Paper Fall Flower Wreath
Materials
- Cardstock
- Burlap ribbon
- Craft construction paper in a variety of fall colors
Instructions
- Create a wreath base by cutting a ring from the cardstock (or piece of scrap cardboard).
- Wrap the burlap ribbon neatly around the base to cover, gluing in place on both ends. Repeat process if you would like a thicker wreath base.
- Print the flower template and guide and cut out. Use these to trace around the craft paper. You will need two of the petal shapes, and one of the spiral circles per flower. Use a variety of different colors as you can see in the demonstration photos.
- Make a crease along each of the petals, and roll the spirals up to form the inner part of the flower.
- To assemble a flower, place one set of petals on top of the other at a slightly different angle and glue in place. Glue the inner part in the middle and leave to dry completely.
- Continue making flowers until you have as many as you would like for your wreath. This will depend on their placement (full, or partial, as well as the size of the wreath base).
- Experiment with the placement of your flowers on the base, and when happy with your design, stick everything in place. Leave to dry.
- To hang your wreath, tie a piece of burlap around the top to form a loop.