Wooden Pumpkin Craft Made with Tumbling Tower Blocks
Home » CREATE » Crafts » Autumn/Fall Crafts »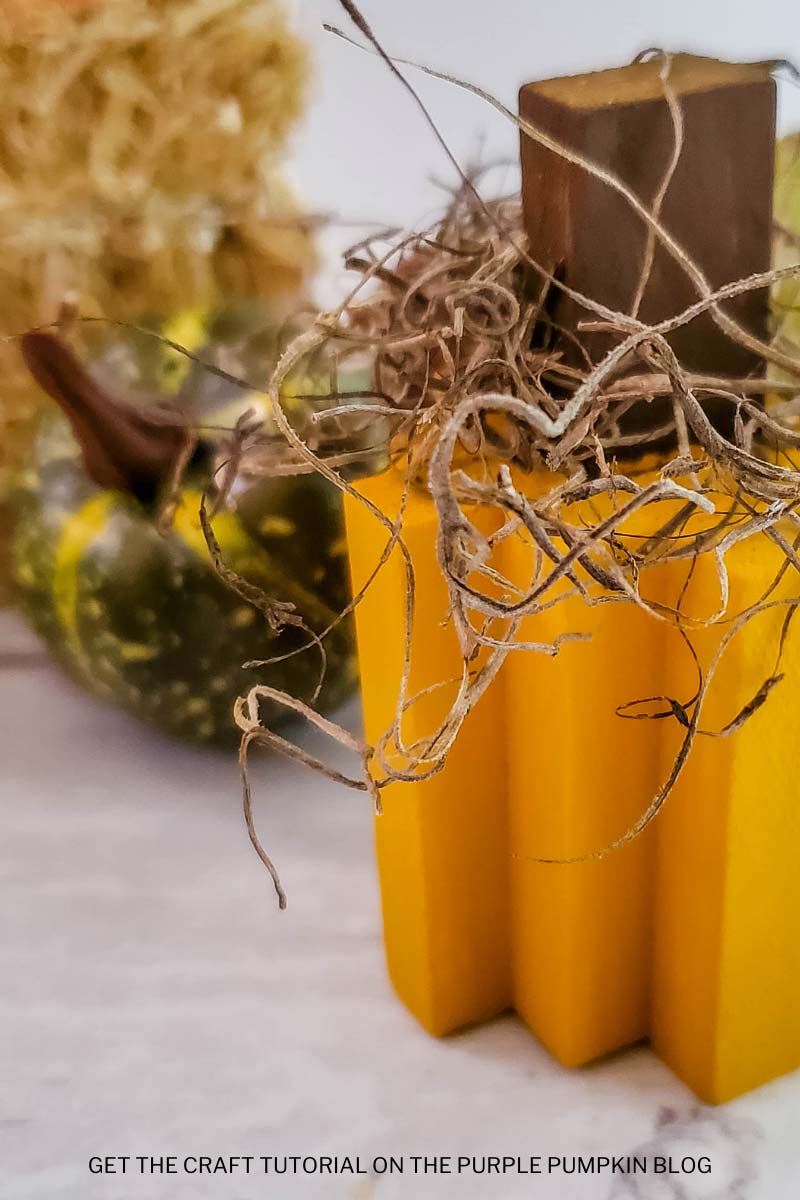
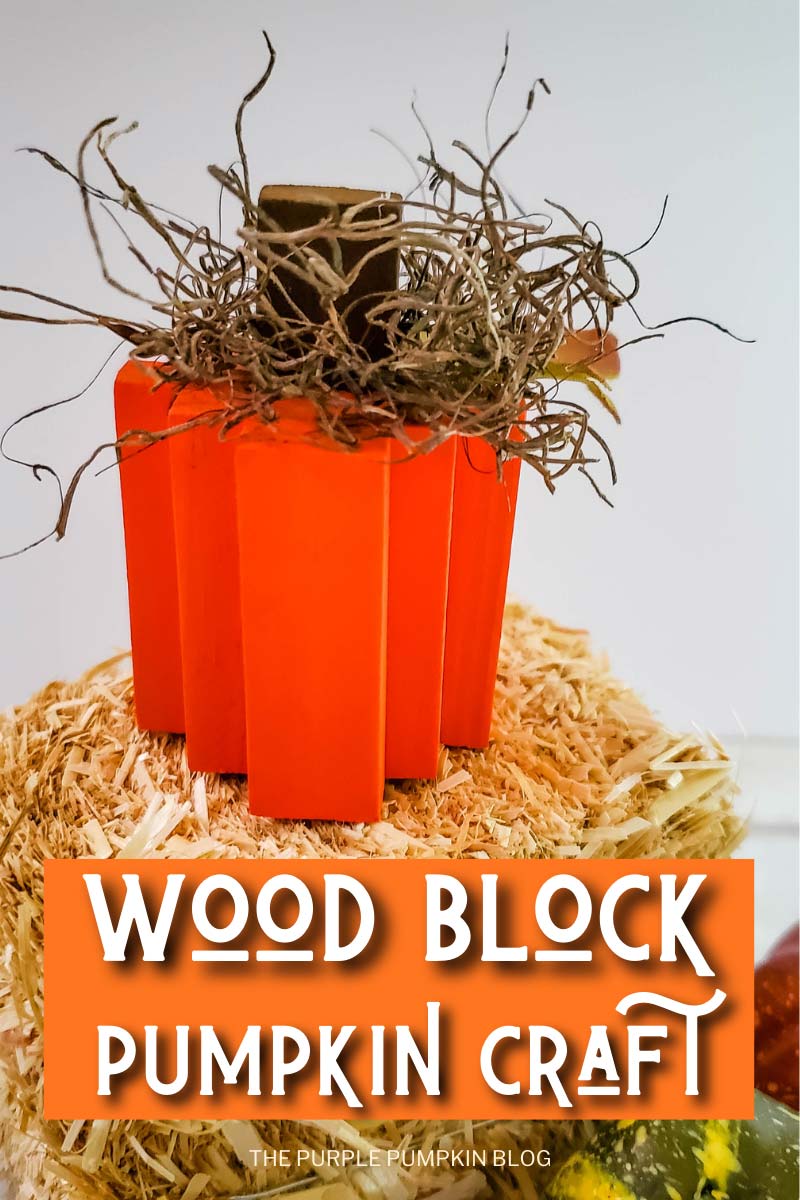
Looking for a fun and easy fall DIY project? Try making this Wooden Pumpkin Craft using tumbling tower blocks! This is a great project for kids and adults alike, and it’s perfect for adding some festive decor to your home. Follow the simple steps in this tutorial to create your own wooden pumpkin masterpiece.

Affiliate Disclosure
We have included affiliate links to products and services related to this post.
We may earn a commission if you purchase after clicking on those links.
As an Amazon Associate, I earn from qualifying purchases.
Read Our Full Disclosure Policy and Privacy Policy
Wooden Pumpkin Craft
The full list of materials, tools, and instructions is found in the printable tutorial card at the end of this post. I highly recommend reading the blog post all the way through before starting this project to ensure that you have everything required and understand the steps and timings involved.
Looking for a fun and easy fall craft project? Check out this wooden pumpkin craft made with tumbling tower blocks!
You might have an old game with missing blocks that would be perfect to use, or could pick up a non-branded game inexpensively (Dollar Store or similar).
Fortunately, you can buy wooden blocks for crafting with too, so making some wooden pumpkins to decorate your home for fall is gonna be a breeze!
This is an easy craft to do, you just need to make sure you glue the blocks together correctly (don’t worry, we’ve got step-by-step photos for you to follow!).
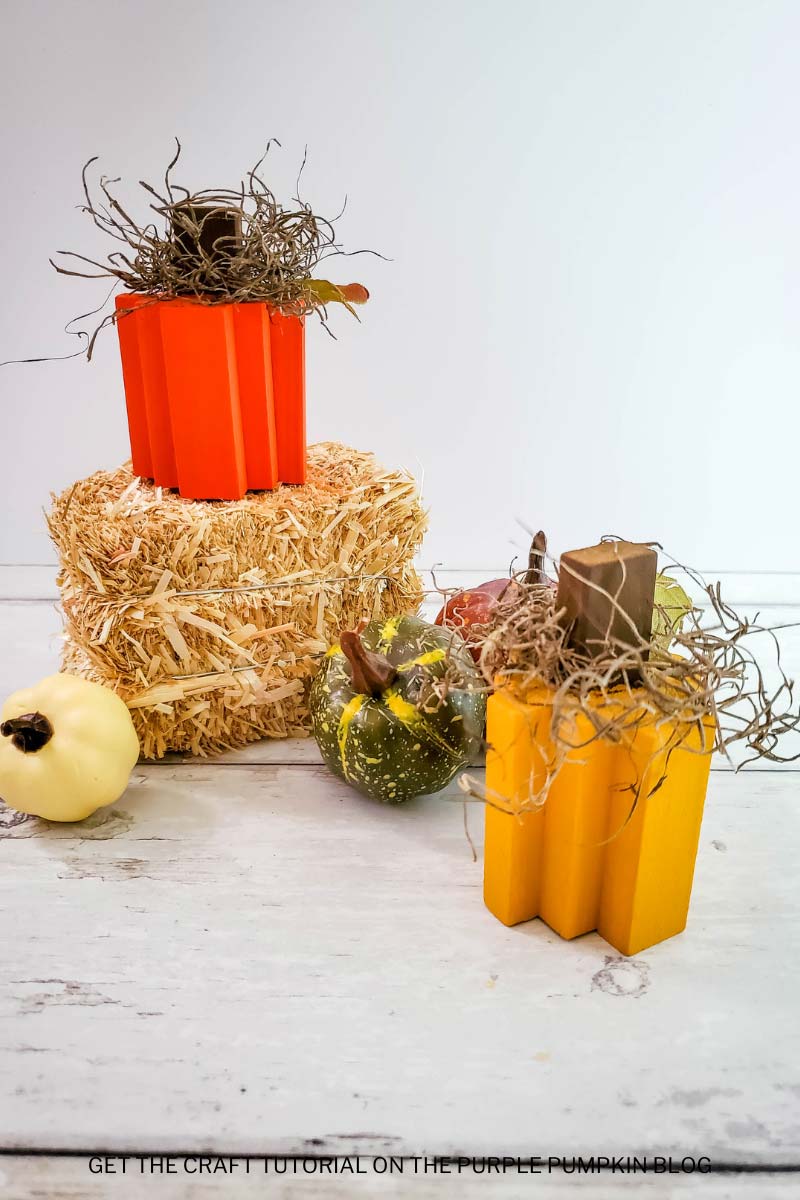
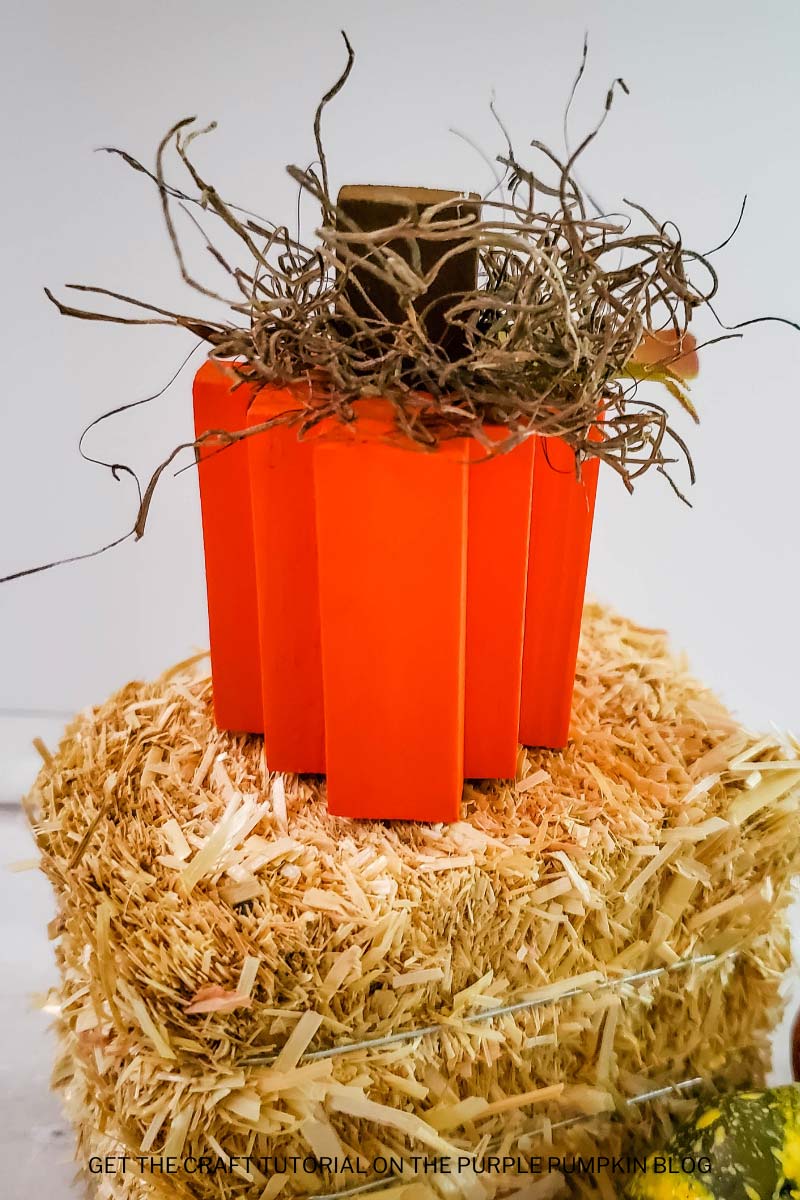
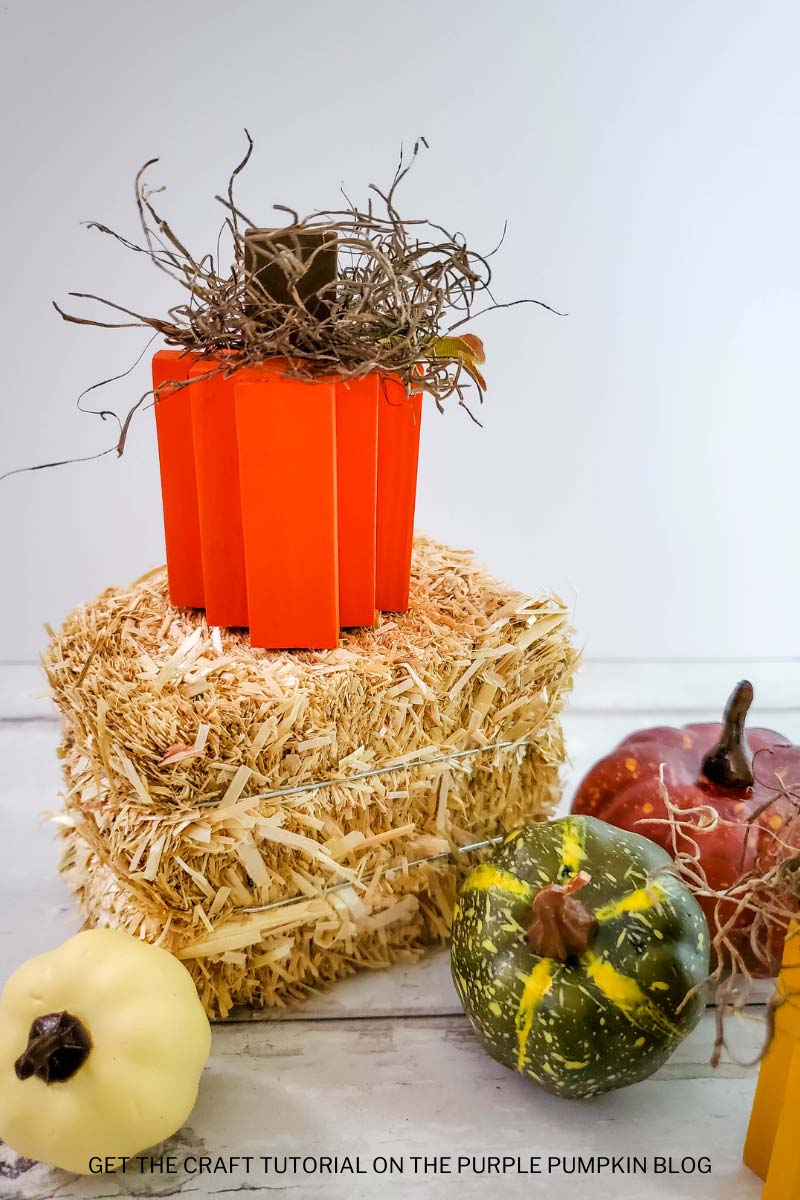
Once glued together, simply paint the pumpkin in the shade you want, and finish off with some artificial leaves and moss.
So, gather your supplies, and let’s get started!
The post is part of the Crafty October series on The Purple Pumpkin Blog and is filled with free printables, crafts, recipes, and more for Halloween! You can check out Crafty October from 2022, 2021, 2020, 2019, 2018, 2017, 2016, 2015, 2014, 2013, and 2012 for tons of awesome Halloween ideas and inspiration!
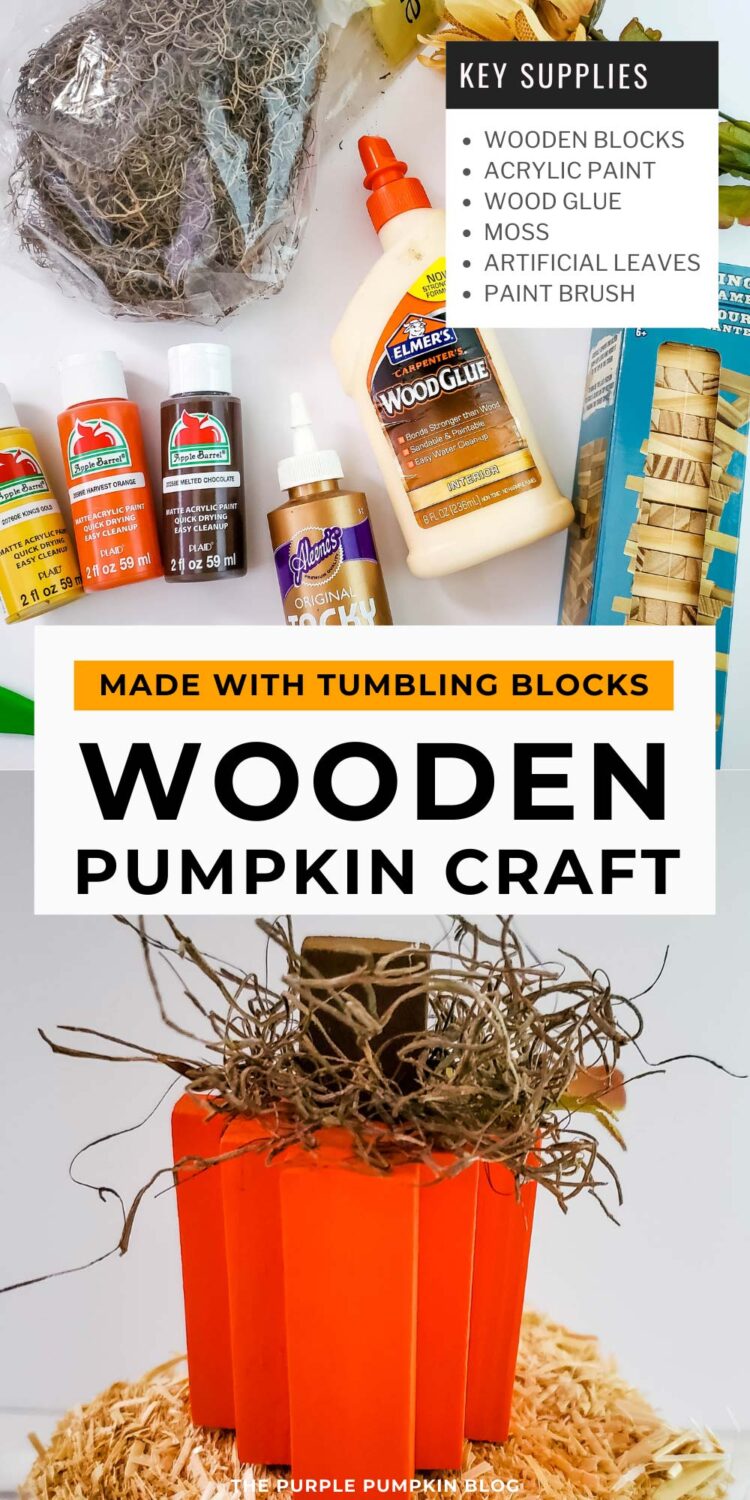
Materials & Tools Used in This Craft
For your convenience, I’ve linked [some of] the materials and tools needed for this project to Amazon below. The quantities are on the tutorial card at the end of this post.
- Wood Blocks – about the size of a Jenga/tumbling tower game block.
- Wood Glue
- Acrylic Paints – yellow, orange, and brown. The colors we used were the brand Apple Barrel: Kings Gold, Harvest Orange, and Melted Chocolate.
- Paint Brush
- Tacky Glue
- Spanish Moss
- Artificial Leaves – we used ones from some artificial sunflowers
- Scissors
Cheap Craft Supplies
A great thing about this craft idea is that it can be budget-friendly using supplies you may already have or can be purchased cheaply in stores:
If you’re in the USA, check out your local Dollar Store or Dollar Tree; and if you’re in the UK, the Poundshop, The Range, Wilko, and Baker Ross are great places to shop for cheap and inexpensive craft supplies. The rest of the world reading this – I don’t know every cheap store – sorry! But hunt the ones out in your location for crafting bargains!
More Pumpkin Crafts
Looking for more pumpkin crafts to do? Right-click and open these in a new tab to read next!
I’ve shared lots of great craft ideas on The Purple Pumpkin Blog over the years, in fact, there are 100+ crafts to make and do at home for you to try!
How Do I Make Wooden Pumpkins?
Just check out the how-to card below with full materials, tools, and instructions. Any demonstration photos do not print out to save your ink.
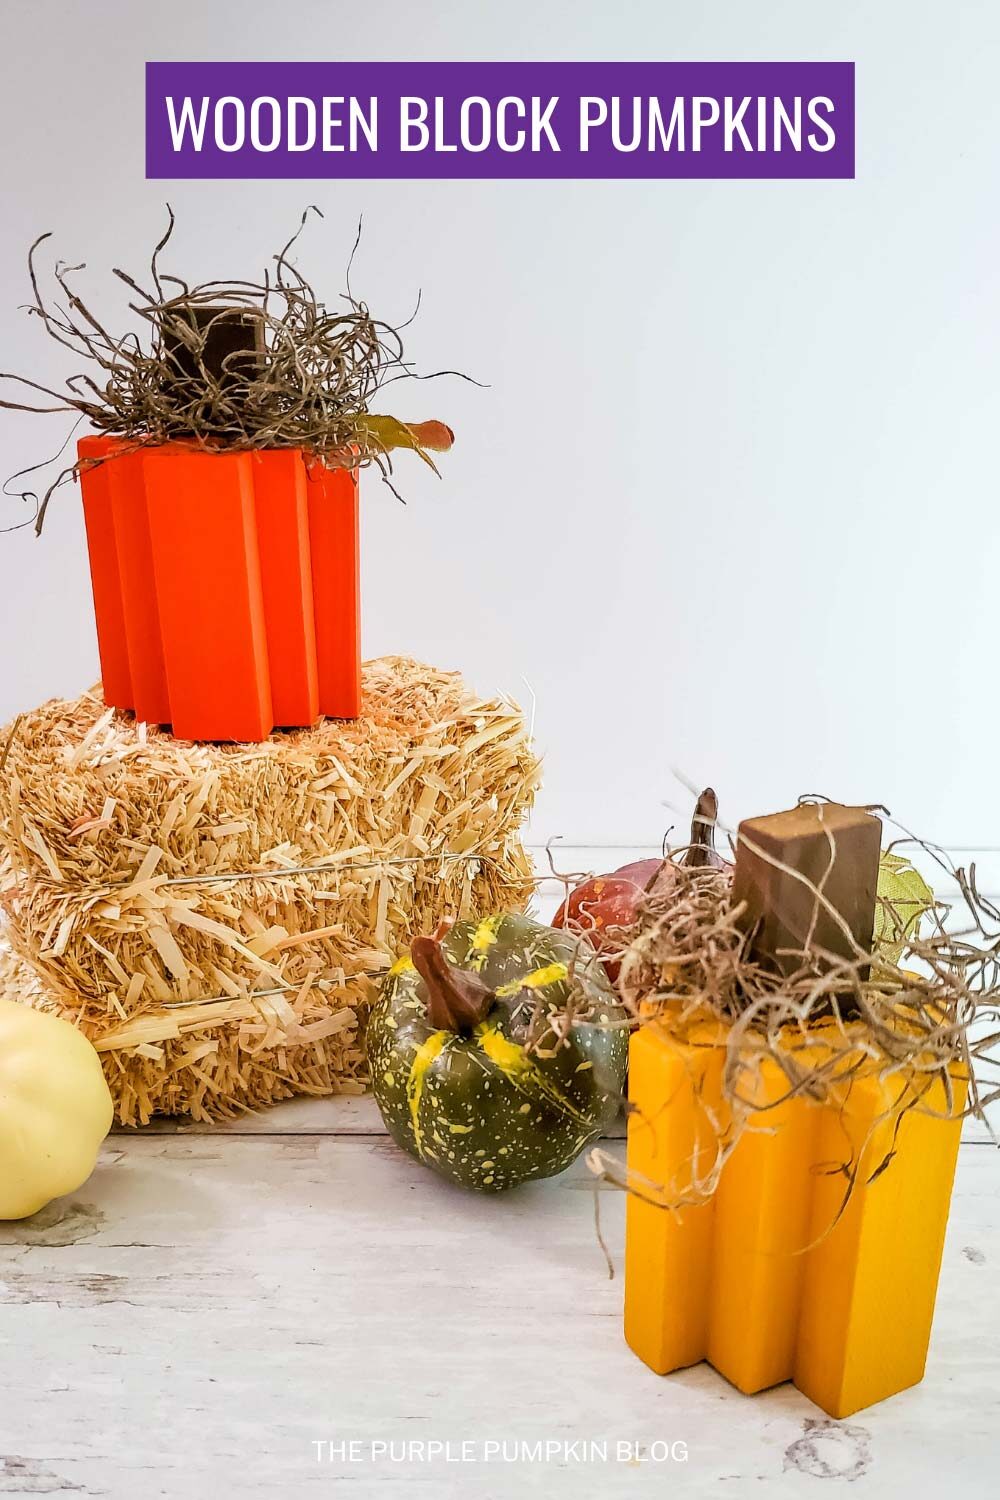
Wooden Block Pumpkins
Materials
- Wood Blocks – about the size of a Jenga/tumbling tower game block.
- Wood Glue
- Acrylic Paints – yellow orange, and brown. The colors we used were the brand Apple Barrel: Kings Gold, Harvest Orange, and Melted Chocolate.
- Tacky Glue
- Spanish Moss
- Artificial Leaves – we used ones from some artificial sunflowers
TOOLS
- Paint Brush
Instructions
- Using the wood glue and a small paint brush, apply glue to the entire front surface of one block.
- Set two blocks on top of that block, each half on the block, and half overhanging.
- Apply glue to the sides and top of the two blocks that you just glued to the other block.
- Set one block in the center of those two blocks, halfway up, on the glued portion. This will be the stem.
- Set two more blocks on either side of that stem, flush with the top and bottom of the two blocks you glued in step 2, but overlapping the sides slightly.
- Apply glue to the inner sides of the two blocks you just glued and the bottom portion of the stem that sticks up from step 4.
- Set two blocks centered between those three blocks.
- Apply glue to the middle of those two blocks.
- Set one block, centered between those two blocks. You’ve made the pumpkin form. Stand upright to allow the glue to completely dry.
- Using Kings Gold or Harvest Orange paint, paint the entire pumpkin, except for the one block that sticks up.
- Using Melted Chocolate paint, paint the stem.
- Remove the leaves from the flower stems.
- Cut each of the three leaves off of the main leaf bunch.
- Using the tacky glue and a small paintbrush, add a small amount of glue to the bottom of the back of the leaf.
- Attach it behind the stem, slightly off to the side.
- Gather a small amount of moss, and bunch it together, then slip it over the stem. Display where desired!
This post is part of my long-running Crafty October series on The Purple Pumpkin Blog. Since 2012, I’ve shared Halloween recipes, printables, and crafts every October. While I don’t officially run the series anymore, all my new Halloween posts are still part of this decades-long celebration of spooky fun! Browse past Crafty October years for even more inspiration: 2024, 2023, 2022, 2021, 2020, 2019, 2018, 2017, 2016, 2015, 2014, 2013, and 2012.