Quick & Easy Easter Cards + Free Printable!
Home » CREATE » Crafts » Easter Crafts »Make these quick and easy (and not to mention, super cute) Easter cards with the free Easter Bunny printable included with the tutorial. Add some glitter glue, or other embellishments to bring your card to life. It makes a great Easter activity for the kids!
Head over here for more Free Easter Printables!
Easy Easter Cards
When my son was a little boy, Baker Ross was my go-to for affordable craft supplies, and it still is, even though he’s now a young man of nearly 20! Instead, I buy bits for me to use in crafts, but especially to keep in my craft stash for when my 5 year old niece visits.
She loves to craft so much, and I have to make sure I have an almost never-ending supply of stuff for her to create things with. For a while now she has been into make cards – there doesn’t have to be a reason at all, she just loves to make them!
Baker Ross kindly sent me some Easter/Spring supplies, and other crafting essentials (picked by me!) so that we could make something for Easter.
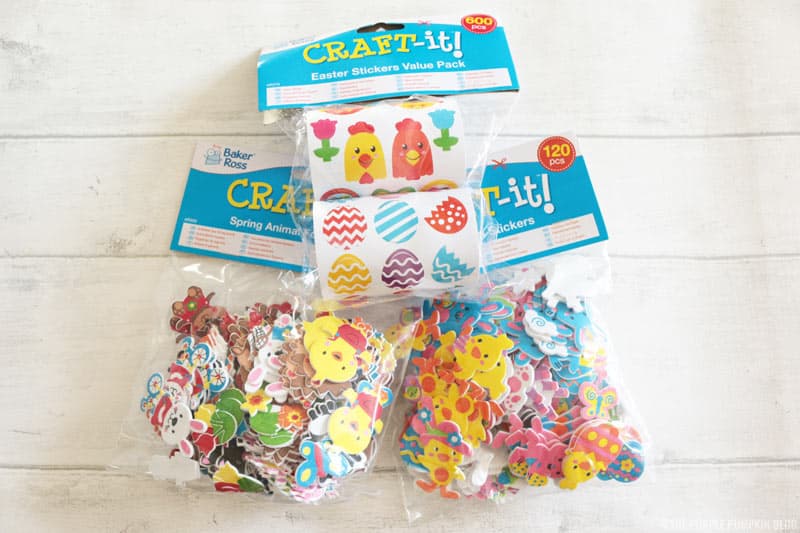
It took me an absolute age to decide what to choose! The are hundreds, if not thousands of items in the Easter and Spring section alone! In the end I picked a selection of items that I know Sephy would love to use:
- Stickers – foam type, and regular type
- card blanks + envelopes
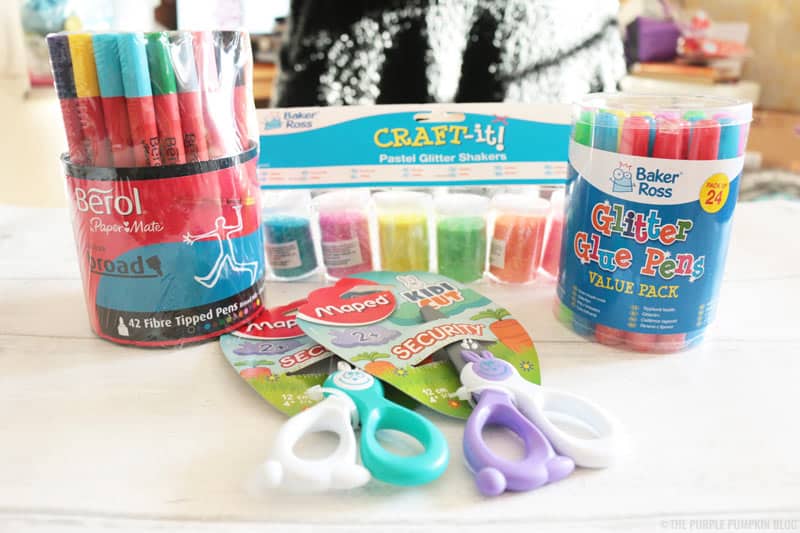
- Colouring pens
- Glitter
- Glitter glue
- child safe scissors
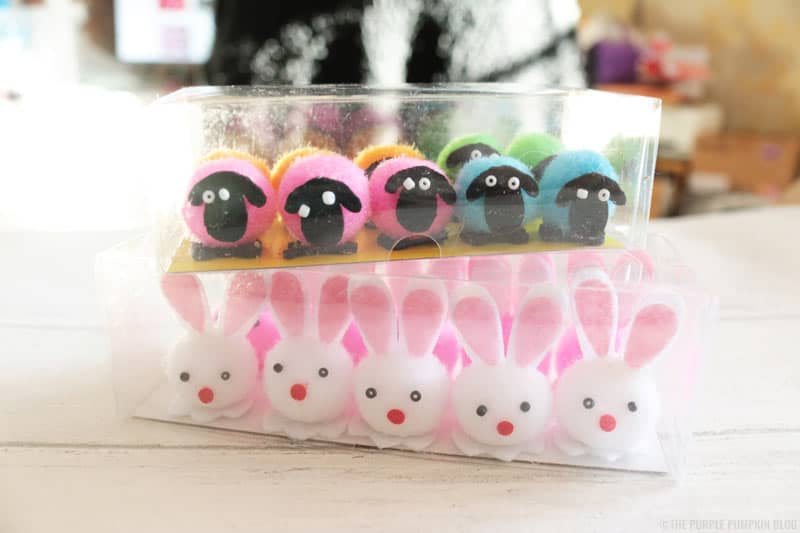
- fuzzy sheep and bunnies
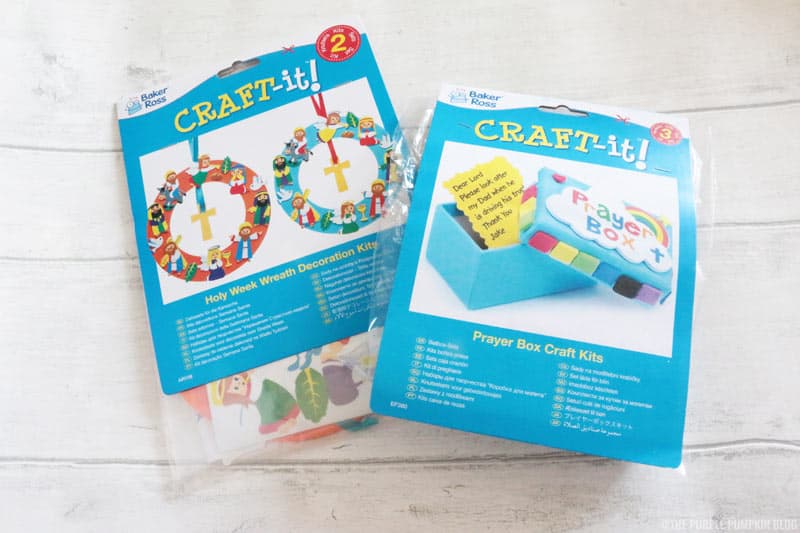
- Holy Week wreath set
- Prayer box craft
Between all these goodies arriving, and me posting today, I’ve seen Sephy but once. I’ve been poorly, she’s been poorly, and the days rush by. Her visit was a flying one with her mummy (my sister) and we had a go at making the Holy Week wreath – which I thought I took a photograph of, but it would seem I haven’t. One for me to add later. There were actually two in the pack, so we’ll make that one at the weekend.
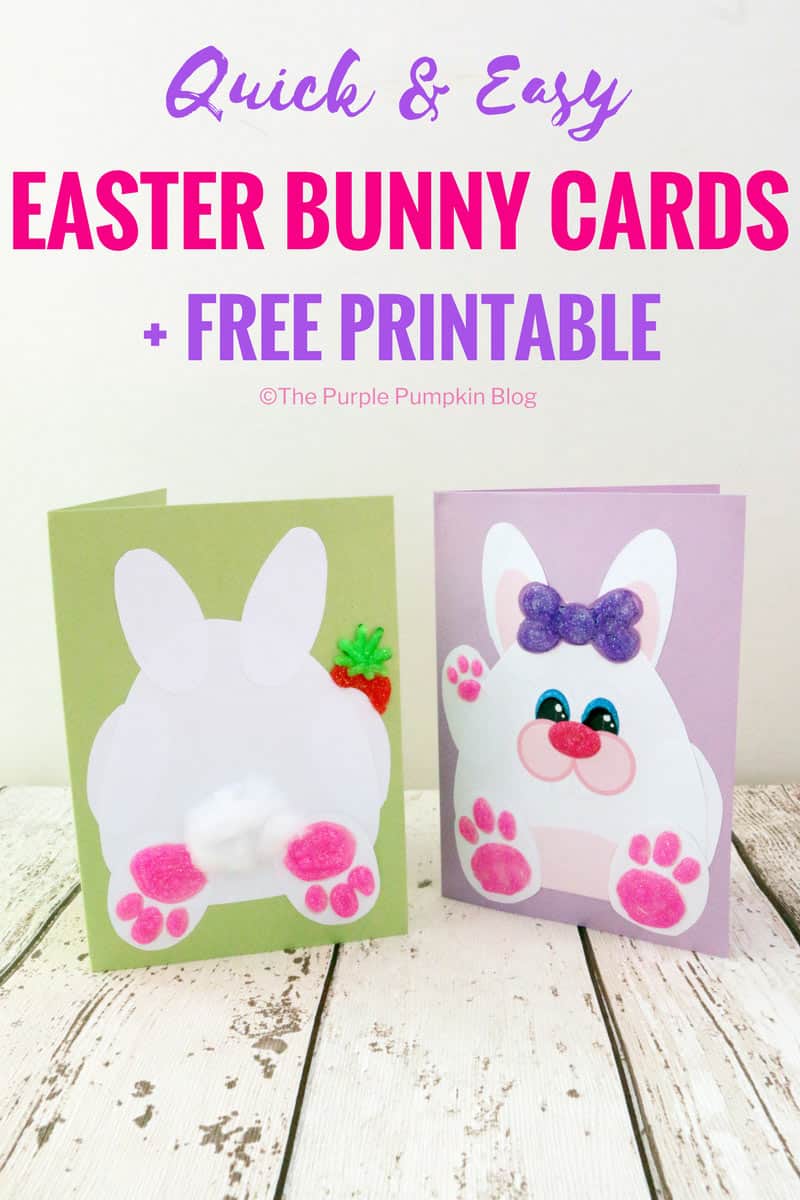
While I wait for my niece to come visit, I have designed some quick and easy Easter cards that you can make at home, using some of the supplies from Baker Ross, as well as my own printable – which I’ve included for you to download for free too!

You can keep the Easter card simple – just by sticking the pieces of the bunny onto the front. Or you could jazz it up with some glitter – either glitter glue pens (the easiest and less messy!) or with glue and loose glitter.
My free Easter Bunny printable has enough pieces to make 4 bunnies – two facing forward, and two facing backward – or you could draw on your own faces on the blank pieces. I’ve included the paws for the feet and “arms” as well as little feet pieces if you want to make the bunny stand up. If you are familiar with my animal designs, you will know that I make them anthropomorphic, which basically means that they’ll have human traits – like standing on two legs instead of four.
As with all my printables, they come in two paper sizes – A4 for the UK, and 8.5 x 11″ for the USA (and other countries that use these paper sizes as standard).
You will need…
- Coloured card blanks with envelopes – about A6 / 4×6″ size
- Glue of choice – I would advise a glue stick, or a glue tape (I used the latter)
- Glitter glue pens – pink, purple, blue, orange, green
- Cotton wool ball
- Easter Bunny Printable – A4 or Easter Bunny Printable – 8×11.5″
To assemble…
Forward facing bunny:
- Cut out head/body, ears, feet, belly, arms, and bow from the printable.
- Arrange on the front of the card, and when happy with layout, stick down into place.
- Add glitter glue to highlight features. E.g., feet pads, nose, eyes, bow.
- Leave to dry (allow up to 24 hours)
- Write greeting inside and place in envelope for recipient!
Backward facing bunny:
- Cut out the body, backs of the ears, arms, feet, carrot and cotton tail.
- Arrange on the front of the card, and when happy with layout, stick down into place.
- Add glitter glue to highlight features. E.g., feet pads, carrot.
- Add a blob of glue and some cotton wool to the cotton tail.
- Leave to dry (allow up to 24 hours)
- Write greeting inside and place in envelope for recipient!
Aren’t they just adorable?!
I also came up with an even easier and quicker design using some Easter Egg stickers, as well as some felt marker pens. If you’re little one can follow a lined pattern they can attempt this one themselves. Younger children may just want to go bonkers placing stickers everywhere! Sephy still loves to do that, even though she enjoys structure!
Simple draw a pencil line around a small glass onto the front of the card, and cover over with egg shaped stickers. I also added a broken egg with a chick popping out.
Your littlun’ can then write their own greeting, or you can write it for them if they’re not able to yet. I did a bit of faux calligrapher with the markers.
Have fun making these cards – I know I did! As soon as Sephy and I make some more, I’ll be sure to add them this post!
Ingrid
January 14, 2020 @ 1:22 pm
bonjour,
c’est super, merci beaucoup