Pool Noodle Baby Shark Craft!
Home » CREATE » Crafts »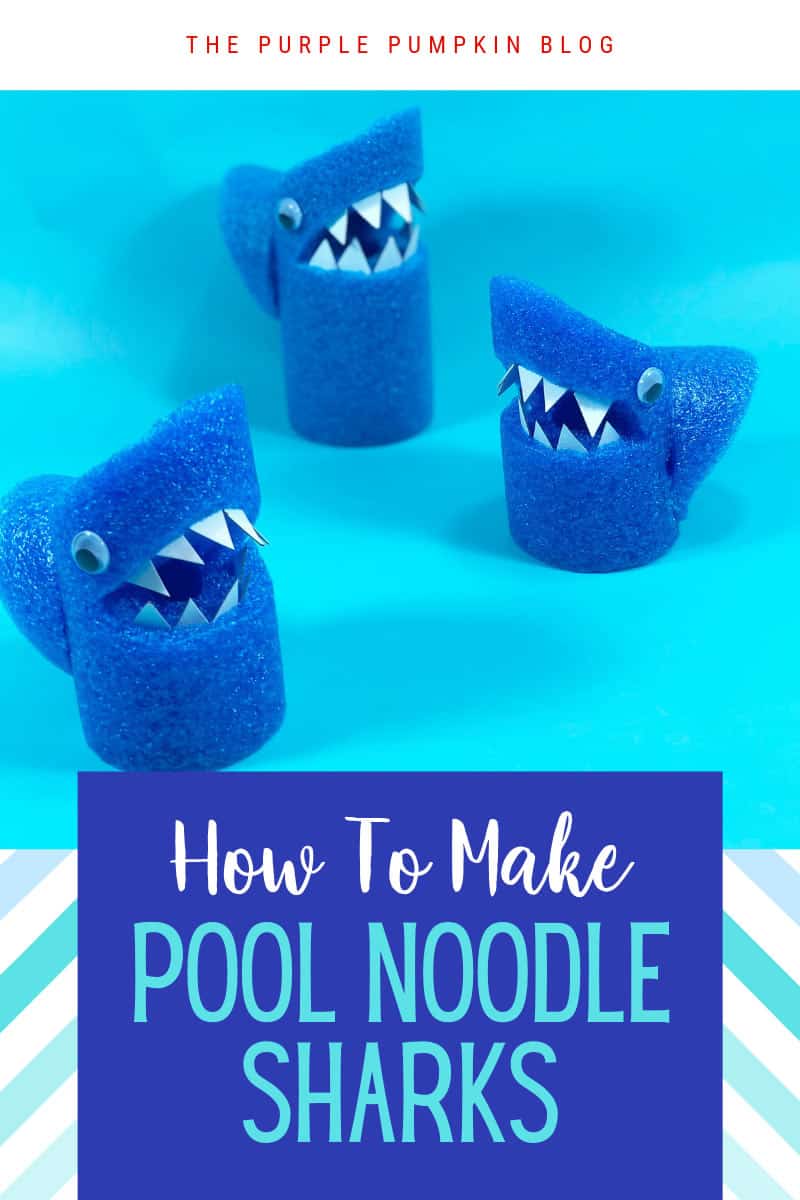
This Shark Craft is so much fun and encourages motor skills and creative play. The sharks are made from pool noodles with googly eyes, and cardboard teeth, and you can make them in a variety of sizes (and colors!). Make these pool noodle sharks as an activity for Shark Week, as a decoration for Baby Shark parties, or if your kids just love sharks!

I’ve shared lots of great craft ideas on The Purple Pumpkin Blog over the years, in fact, there are 100+ crafts to make and do at home that you can try!

Affiliate Disclosure
We have included affiliate links to products and services related to this post.
We may earn a commission if you purchase after clicking on those links.
As an Amazon Associate, I earn from qualifying purchases.
Read Our Full Disclosure Policy and Privacy Policy
Shark Craft
I made these awesome sharks for my nephew’s Baby Shark party that I hosted for his 2nd birthday. I will be sharing more about that party, so make sure you are a member of The Pumpkin Patch to get the updates as they happen!
In the photo below you can see my pool noodle sharks lined up in the background – protecting the Baby Shark cupcakes!
Materials used in this craft
To make these baby sharks – or mummy sharks, or daddy sharks, or grandma sharks, or grandpa sharks(!) – you are going to need a few simple craft supplies.
- Blue Pool Noodle – you may find this in Dollar Stores or Pound Shops (always awesome when you can get cheap materials!). You can also buy pool noodles on Amazon – make sure you buy the hollow ones, rather than the solid type.
If you can’t buy a pool noodle, then don’t panic, you can still make these sharks! Head to your local DIY store and pick up some foam pipe insulation/lagging. These come in several widths, so you can make a whole range of different size sharks. You can also paint the pipe lagging with acrylic paint, and make a whole rainbow shark family!
- Googly Eyes – again, another cheap shop find, but also something you can also buy online.
An alternative to googly eyes would be hole reinforcements that you use on paper in ring binders. This was my husband’s idea! My nephew still likes to put everything in his mouth, so we thought it was safer to make our party sharks with the hole reinforcements instead of googly eyes. We used a black marker to create the pupil.
- Cardboard – To make the teeth you will need white cardboard, or you can paint some regular cardboard with white acrylic paint. Everyone has a scrap piece of card lying around – even if it is from the side of a cereal box.
Tools used in this craft
- If you are painting anything in this craft, of course you are going to need paintbrushes.
- Serrated kitchen knife
- Scissors
- Low temp glue gun and glue sticks (a hot glue gun will melt the pool noodles). The low temp glue will make it safe for kids to do themselves.
- Ruler
- Pencil
Making the Pool Noodle Sharks
While this is a kid-friendly craft, adult supervision is required. An adult will need to cut the pieces of each shark, but the assembly, with the use of a low temp glue gun, is just fine for kids to do. Of course, you know your children the best, so work with their skill level.
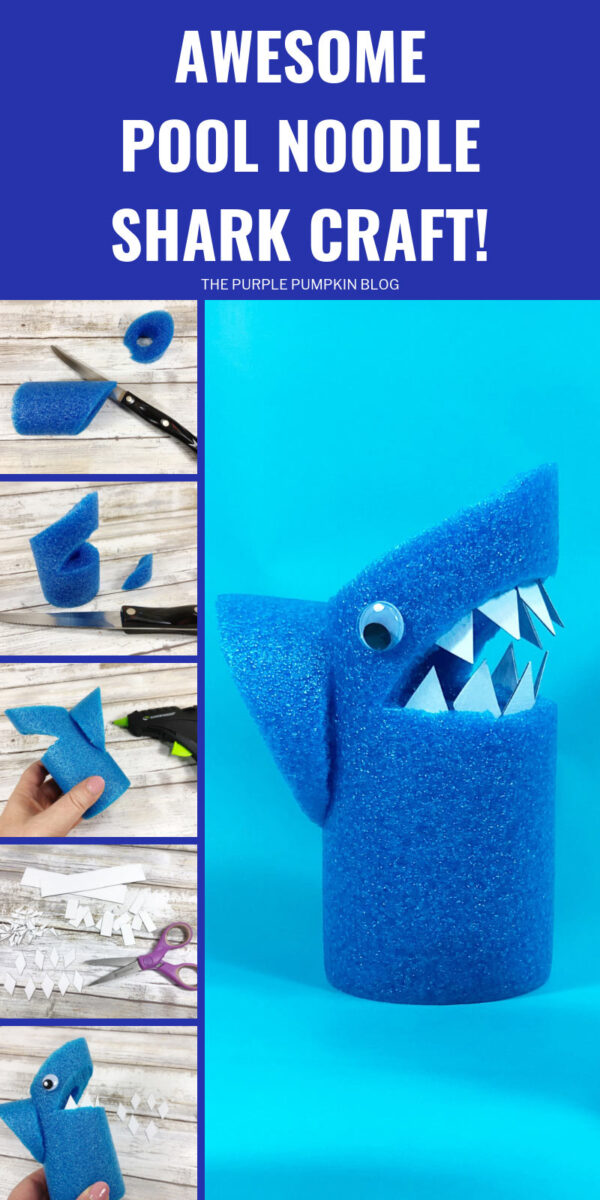
You will need to make some specific cuts into your pool noodle to create these sharks. I suggest preparing all the pieces of the sharks first, so that your kids have everything they need to make their shark craft. Use the photos below as a guide.
First, cut the noodle into 4″ to 6″ sections. You can decided how tall or short you want your sharks to be, and this will also determine how many sharks you get out of one pool noodle.
You will then cut the top off at an angle – this piece will become the fin.
Part way down, make a horizontal cut for the bottom of the mouth – don’t cut all the way through! Then make a diagonal cut, meeting the horizontal one, to create the top of the mouth. You can discard this cut piece.
Now slice a thin sliver from the back of the body – this is where the fin will be attached.
TIP! If you are using pipe insulation/lagging to make your sharks, I recommend cutting them and attaching the fin first, and then painting them. Leave to dry completely before continuing with the rest of the steps.
To make the shark’s teeth, cut 1″ strips of white cardboard (or that you have painted white). Then cut the strips into ½” rectangles, and snip off the four corners to create diamond shapes for the teeth.
Drawing the teeth lines onto the card with a ruler and pencil for the kids will be a great guide for them to practise their cutting skills.
All of the steps for making this shark craft can be found in the printable tutorial below – have fun!
Pool Noodle Shark Craft
Materials
- Blue Pool Noodle
- Googly Eyes
- Cardboard – scrap piece
- Acrylic Craft Paint – white
TOOLS
- Low Temp Glue Gun and Glue Sticks (Hot Glue will melt the Pool Noodles)
- Paint Brush
- Serrated Kitchen Knife
Instructions
- Have an adult cut the pool noodles into 4" to 6" sections with serrated kitchen knife to create the shark bodies.
- Cut the top off at an angle – this piece will become the shark fin.
- Part way down the body, make a horizontal cut – don't cut all the way through! This will be the bottom of the shark’s mouth.
- Make a diagonal cut to meet the horizontal cut. This will be the top of the shark's mouth.
- Cut a long sliver at the back from the back of the shark body.
- Attach the fin to the back of the shark body with glue gun. Hold in place until set.
- Attach one googly eye to either side of shark head, just above the jaw, with glue gun.
- Paint a scrap piece of cardboard with white acrylic craft paint on both sides. Let dry completely.
- Measure and cut 1” strips of cardboard. Then cut the strips into ½” rectangles. Cut all four corners off each rectangle creating diamond shapes. These will become the shark’s teeth.
- Insert shark’s teeth into the top and bottom of the shark’s mouth. Use the tip of an open pair of scissors to
make a slit in the pool noodle foam if you have any difficulty inserting the shark’s teeth.
Handy Tips & More Ideas
More Summer Crafts
When you’ve made these pool noodle sharks, here are some more fun summer crafts for you to try!
- How To Make A Dreamcatcher
- Patriotic USA Wooden Sign
- How To Make Story Stones with Uni-ball Posca Pens
- Colorful Flip Flop Hello Sign – A Fun Easy Summer Craft!
And here are 50+ Fun Outdoor Activities for Families on Twinkl.