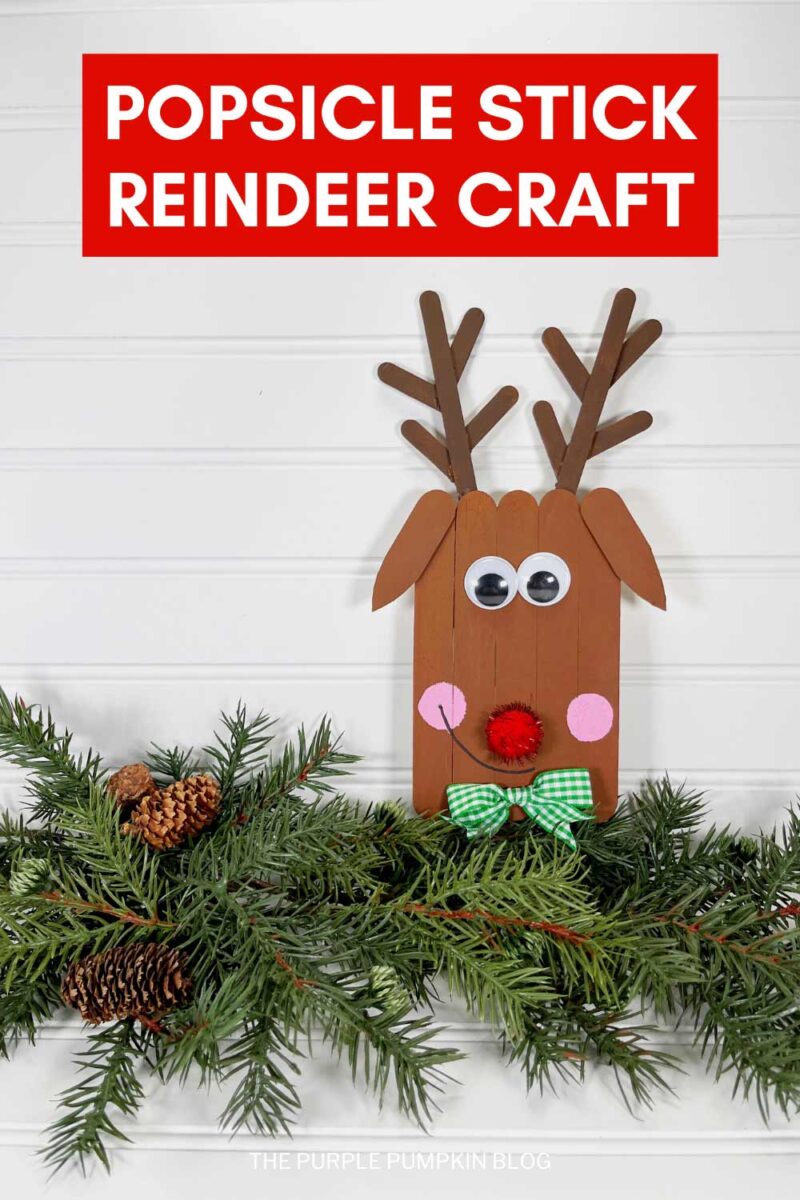
Fun Popsicle Stick Reindeer Craft Idea For the Holidays!
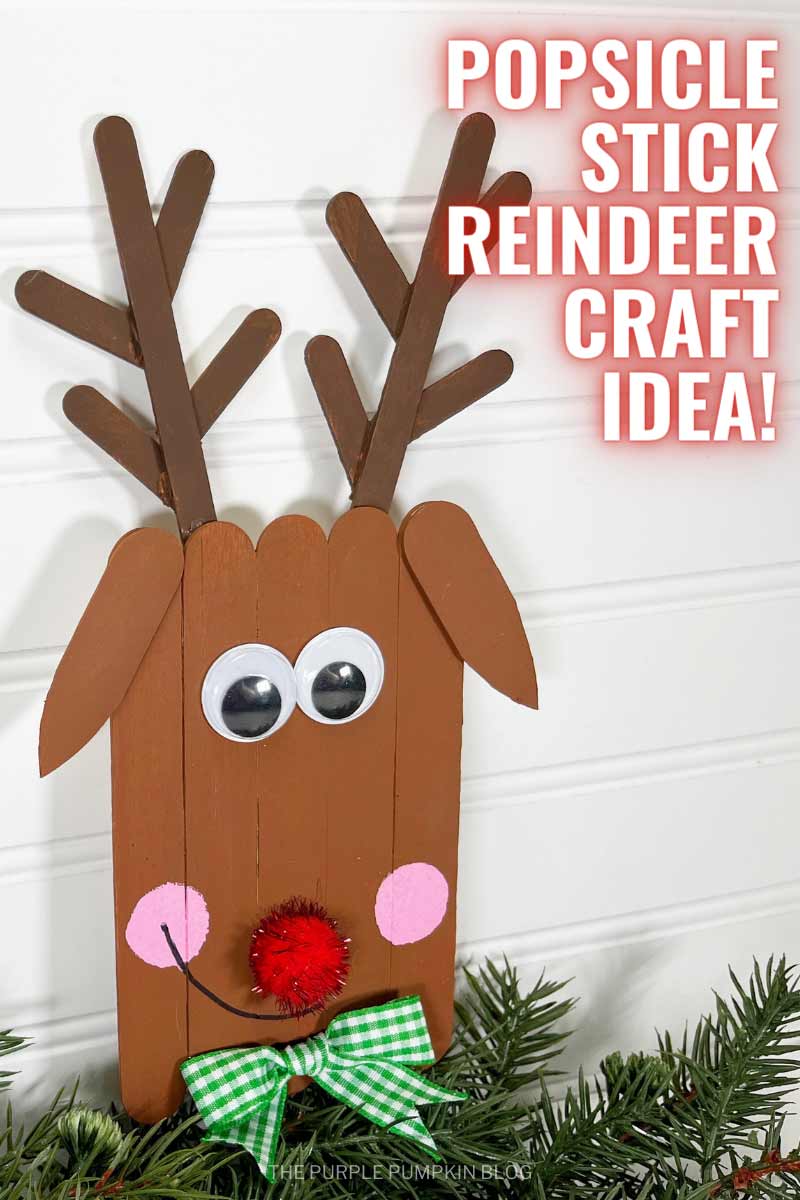
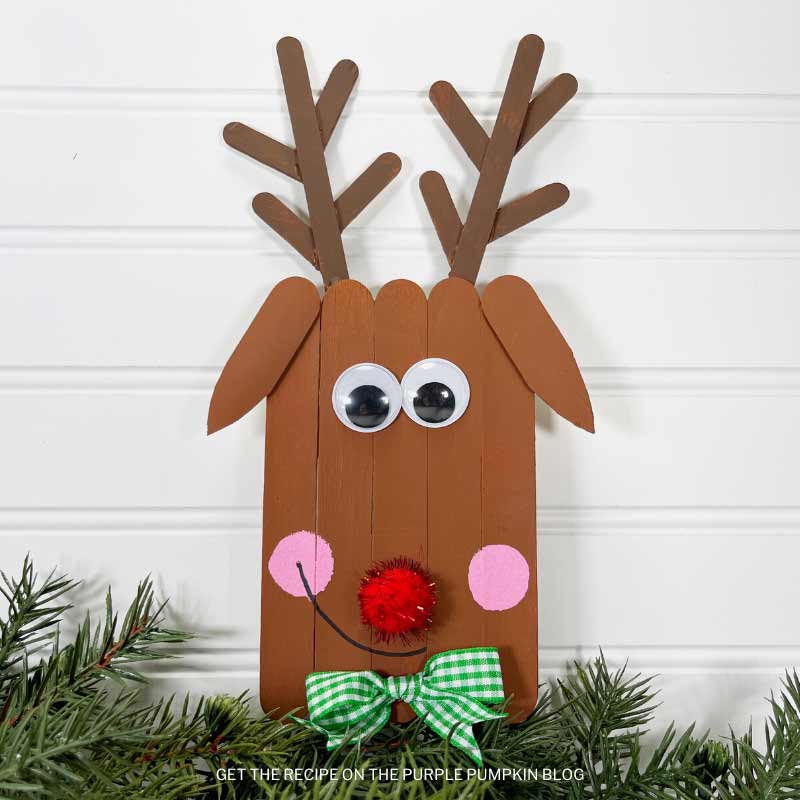
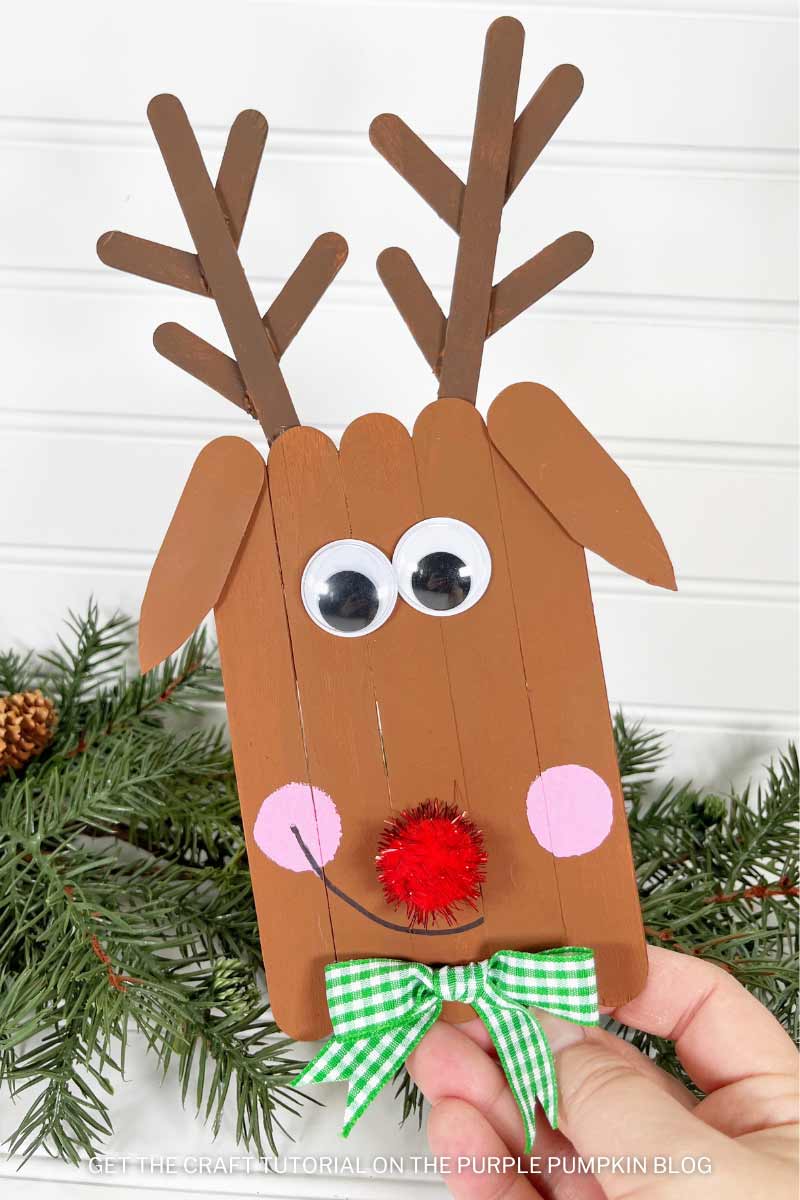
Home » CREATE »Get ready to get crafty this holiday season with this adorable Popsicle Stick Reindeer Craft!
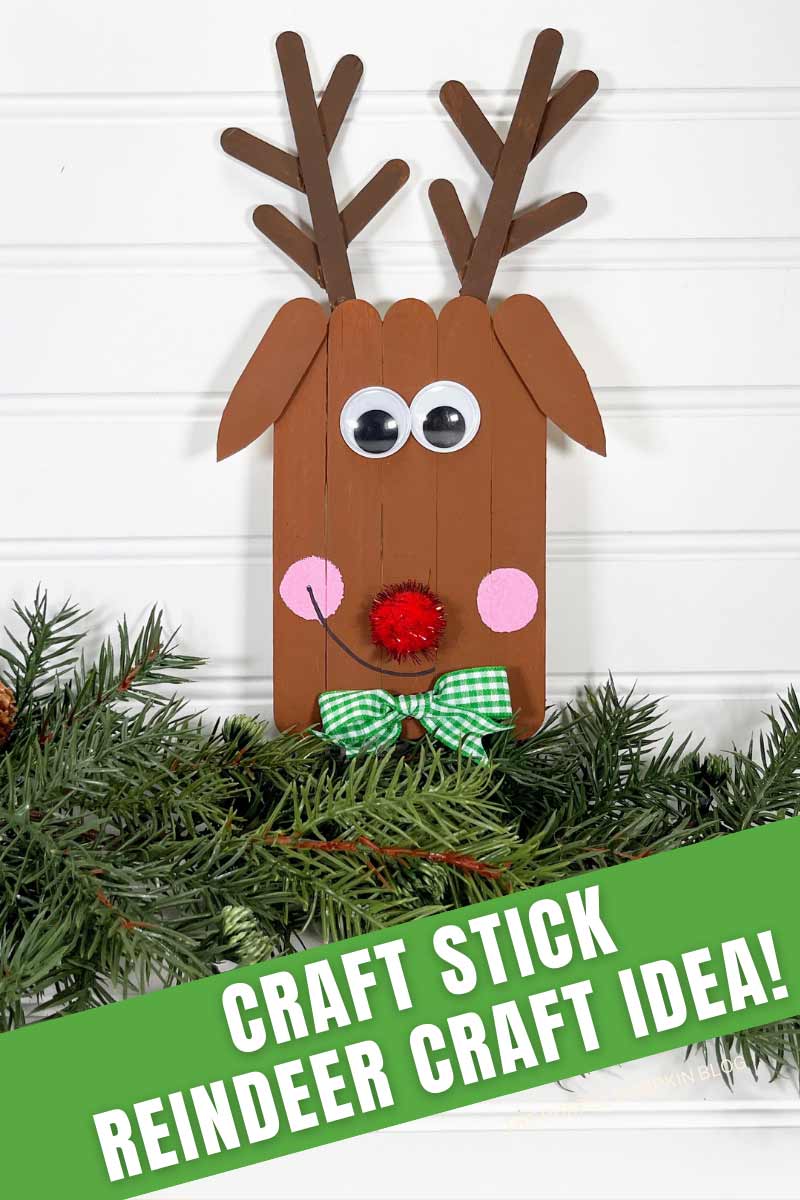
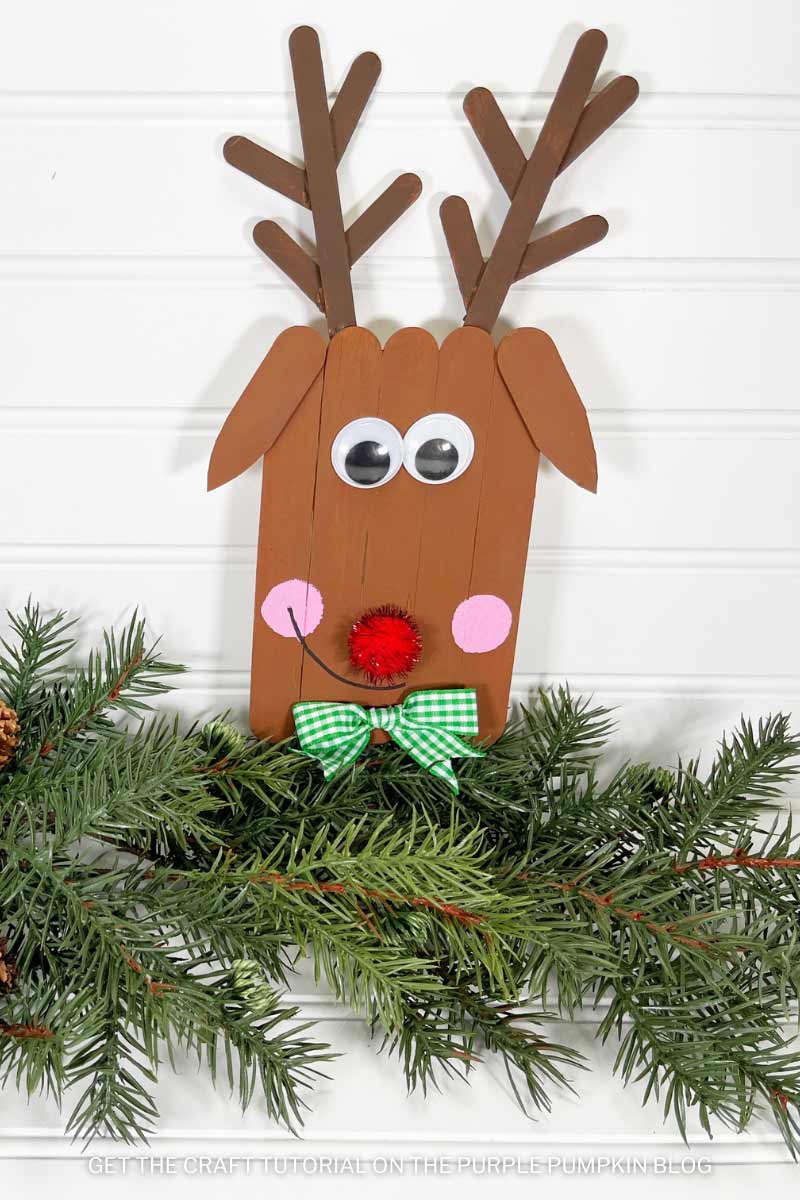
If you’re looking for a fun, festive activity that the whole family can enjoy together, then look no further – this step-by-step guide will show how to create a reindeer with craft sticks in around 30 minutes!
Here are more Reindeer Crafts and Recipes for you to enjoy! Right-click and open a new tab to read next.
Affiliate Disclosure
We have included affiliate links to products and services related to the topic of this post.
This post contains affiliate links, and we will be compensated if you purchase after clicking on those links.
As an Amazon Associate, I earn from qualifying purchases.
Read Our Full Disclosure and Privacy Policy
Popsicle Stick Reindeer Craft
The full list of materials, tools, and instructions is in the printable tutorial card at the end of this post. I highly recommend reading the blog post all the way through before starting this project to ensure that you have everything required and understand the steps and timings involved.
Time to break out the craft supplies and get creative!
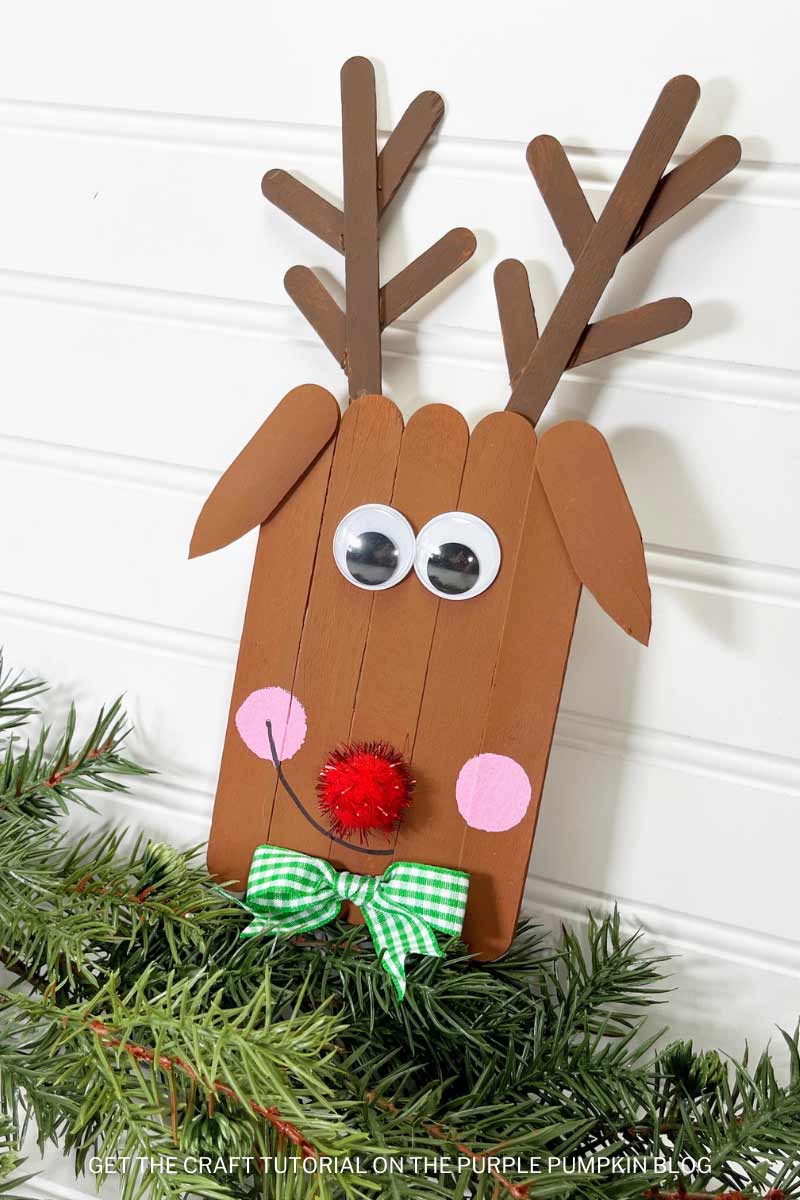
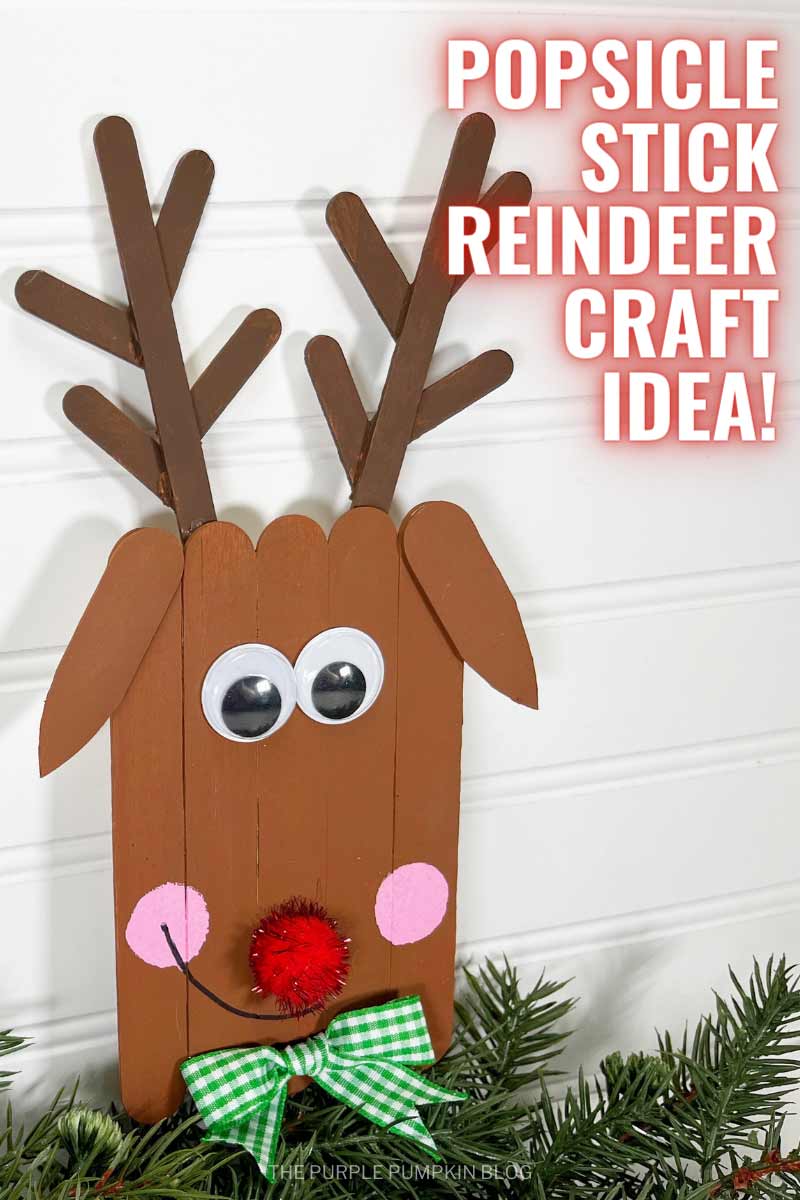
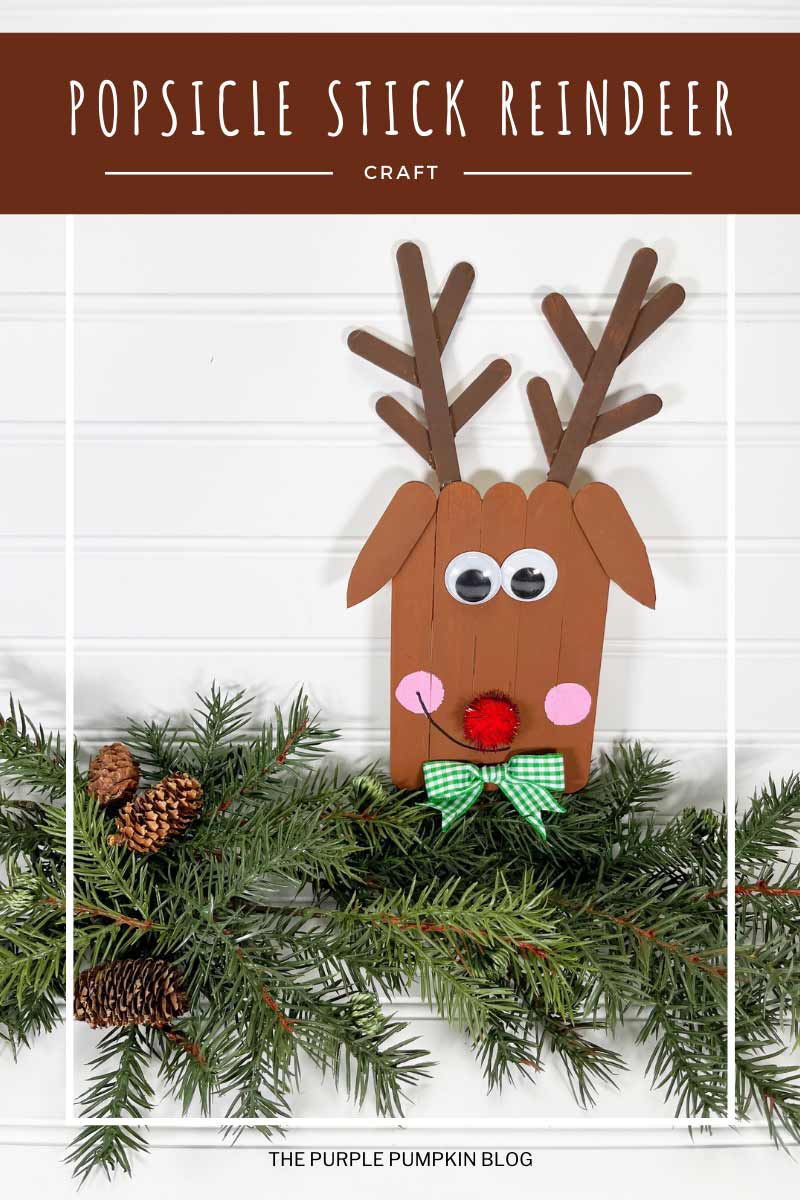
This adorable craft stick reindeer is a fun craft for the holidays that the whole family can get involved with.
From gathering the supplies to painting and assembling the reindeer, there are plenty of activities along each stage of the way so work as a team and make some awesome holiday memories!
Additionally, it’s a great activity to work on shapes, cutting, color, and counting with the kiddos, and make learning FUN!
Why not make a herd of reindeer and add names with a marker to create fun place cards for Christmas dinner?
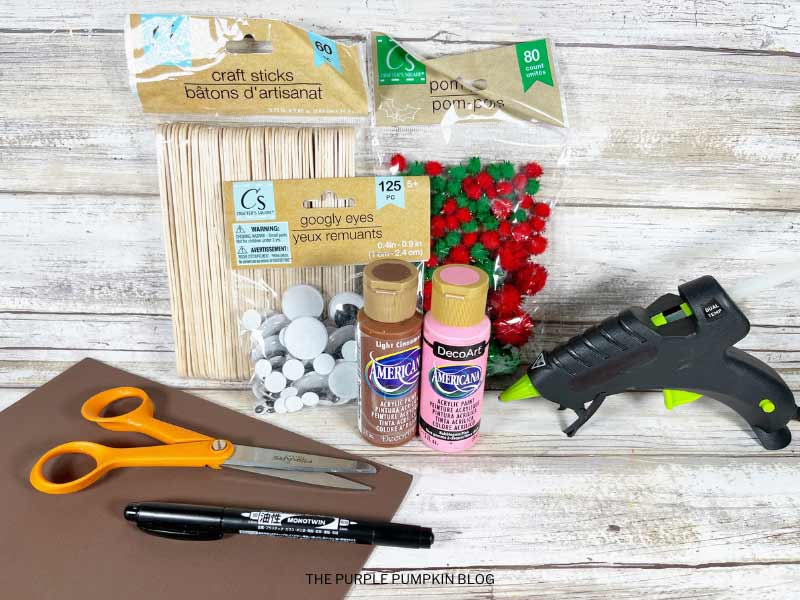
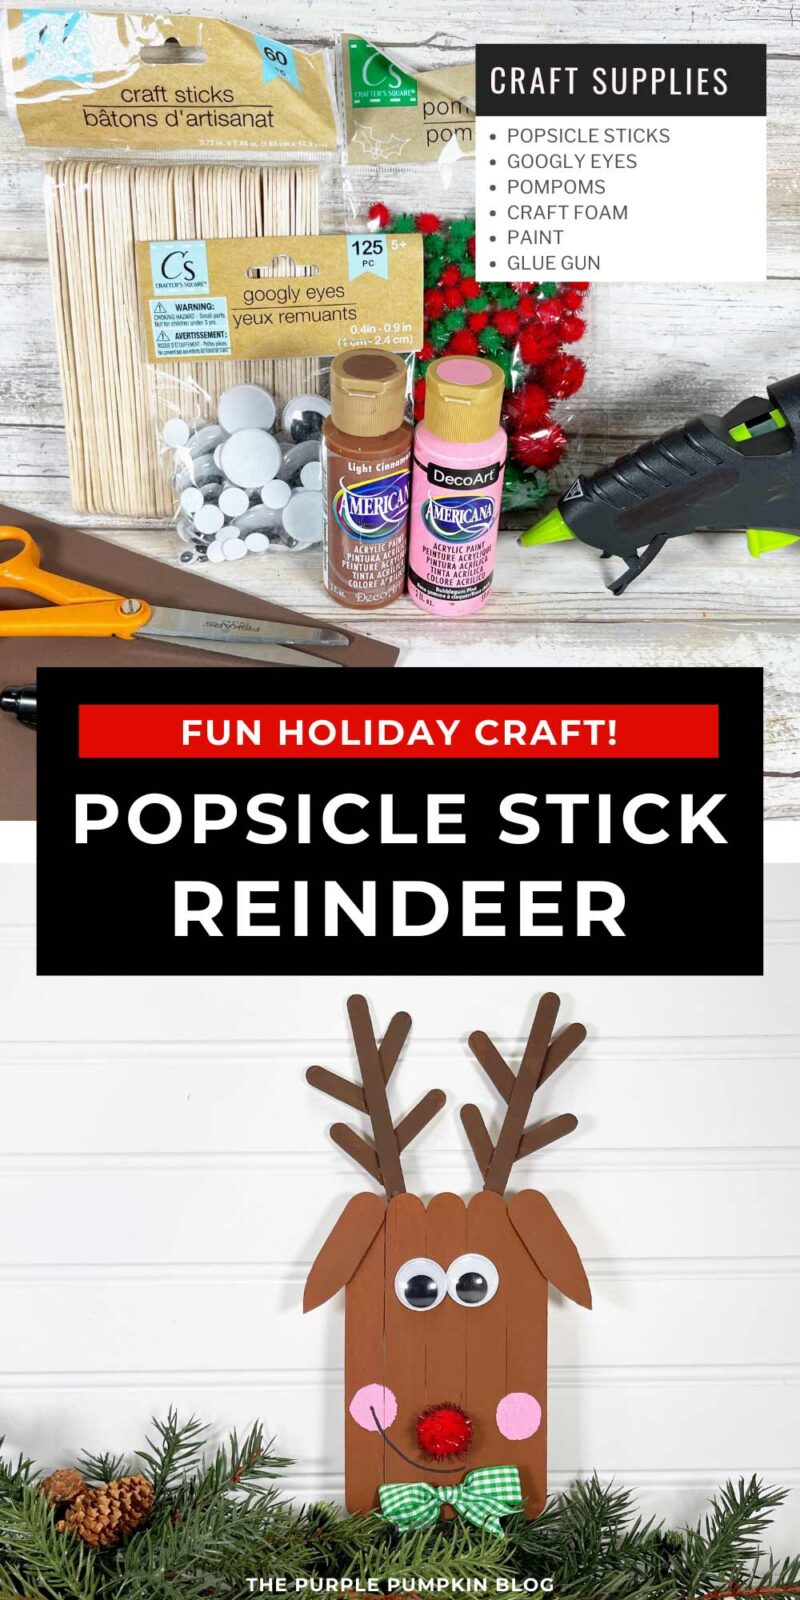
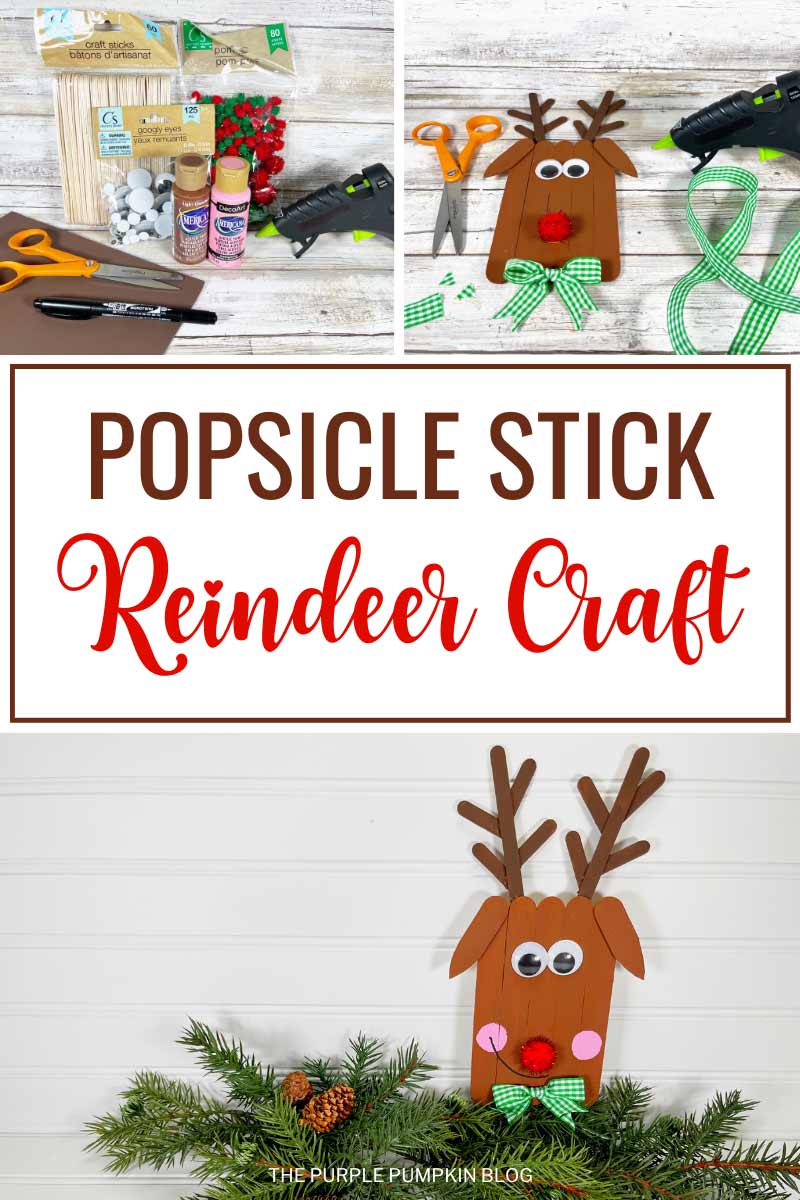
Materials & Tools Used in This Craft
For your convenience, I’ve linked [some of] the materials and tools needed for this project to Amazon below. The quantities are on the craft tutorial card at the end of this post.
- Jumbo Popsicle Sticks/Craft Sticks – for the reindeer’s head.
- Regular Popsicle Sticks/Craft Sticks – for the reindeer’s antlers.
- Red Tinsel Pompoms – you can use a regular pompom if you can’t find the tinsel ones.
- Googly Eyes
- Sponge Dabber – this is for dabbing pink paint for the reindeer’s cheeks.
- Green Gingham Ribbon – or any festive ribbon you like.
- Permanent Black Marker
- Hot Glue Gun and Glue Sticks – you can use liquid craft glue for this project, but you will have to wait for it to dry.
- Acrylic Paints – in the following colors: Medium Brown, Pink, Dark Brown
- Paintbrush – this is a set of paintbrushes of various sizes and types for different types of paint and glue.
- Scissors
Cheap Craft Supplies
A great thing about this craft idea is that it can be budget-friendly using supplies you may already have or can be purchased cheaply in stores:
If you’re in the USA, check out your local Dollar Store or Dollar Tree; and if you’re in the UK, the Poundshop, The Range, Wilko, and Baker Ross are great places to shop for cheap and inexpensive craft supplies.
To the rest of the world reading this – I don’t know every cheap store out there – sorry! But please do hunt the ones out in your location for crafting bargains!
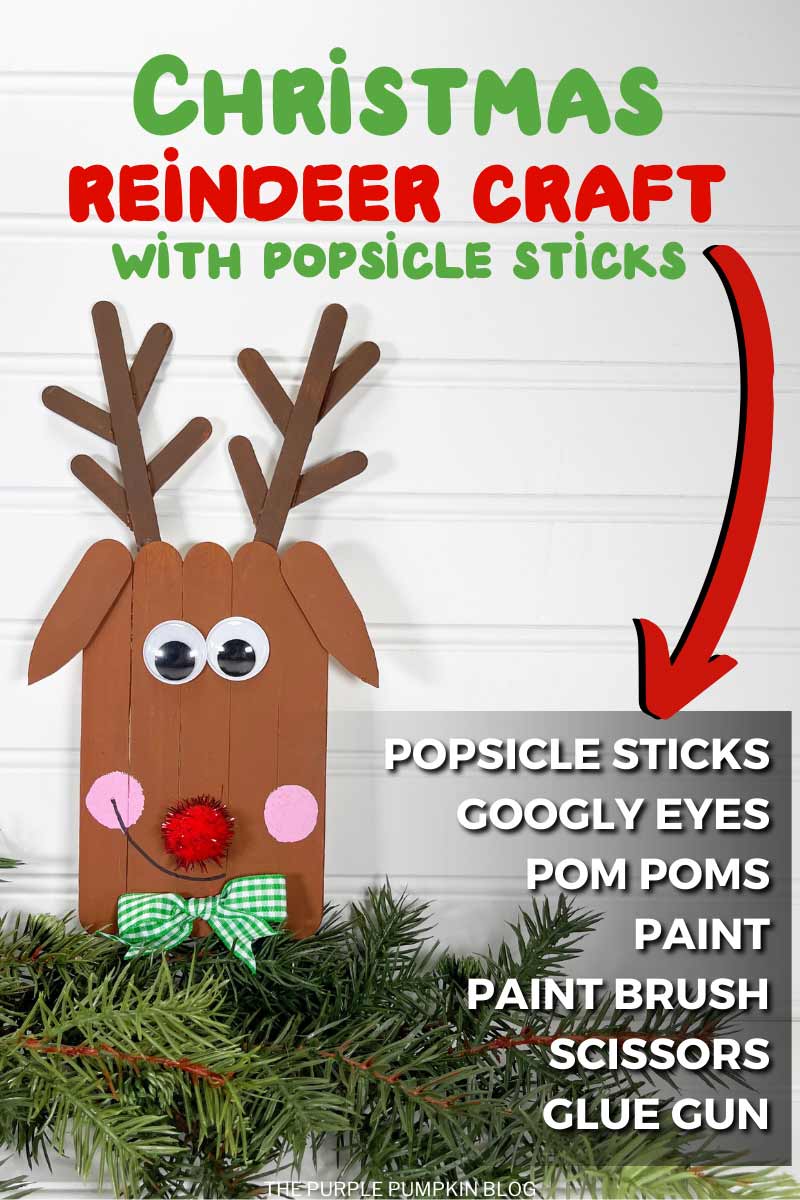
How Do I Make A Popsicle Stick Reindeer?
The printable craft tutorial card can be found at the end of this post.
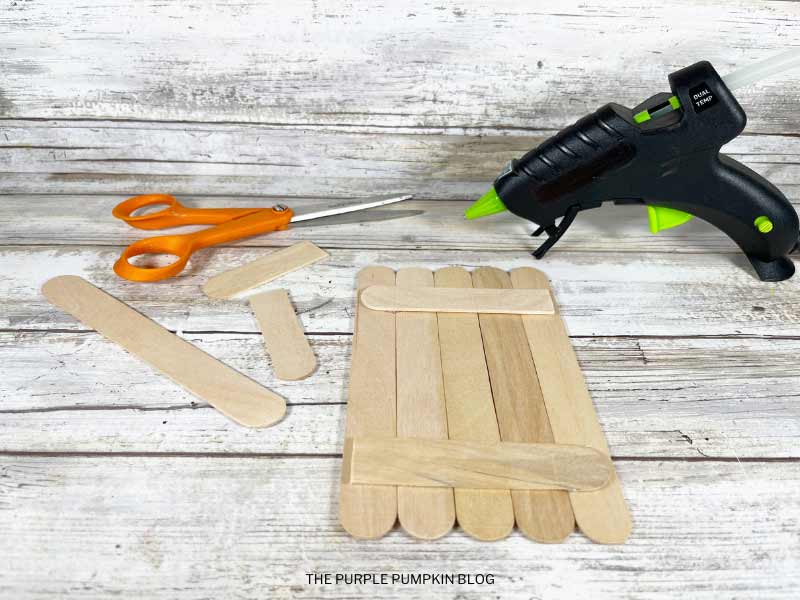
Step 1: To create the reindeer, line up five jumbo popsicle sticks on your work surface.
Use scissors to trim additional jumbo popsicle sticks to the width of the reindeer and attach them with a glue gun and glue sticks. Set it aside.
Cut the two discarded pieces of jumbo popsicle sticks into pointed reindeer ears. Set them aside.
Step 2: Cut four regular popsicle sticks in half so you have eight pieces.
Glue four pieces at angles to a full-size, regular popsicle stick, and repeat with the remaining pieces on another stick to create the antlers. Set them aside.
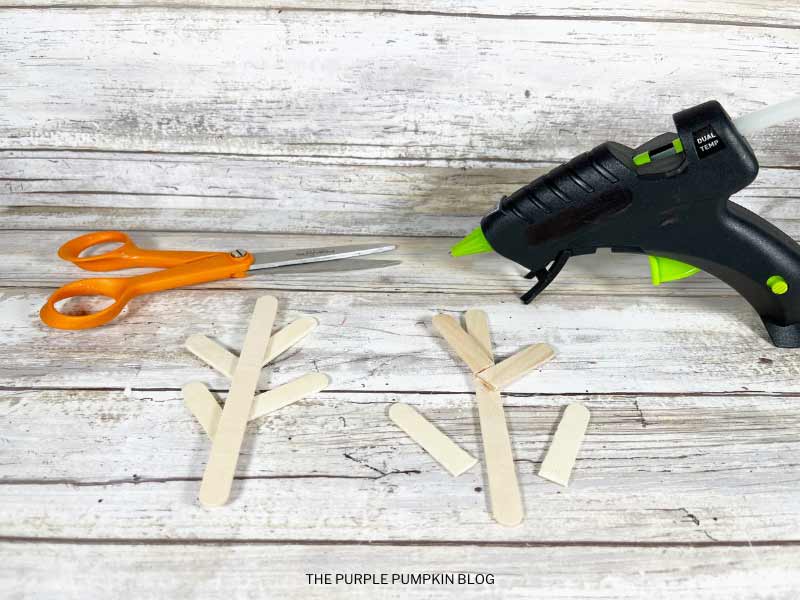
Step 3: Paint the front and sides of the reindeer and the ears with medium brown paint. Set aside to dry and apply a second coat if necessary.
Paint the front and sides of the antlers with dark brown paint. Set aside to dry and apply a second coat if necessary.
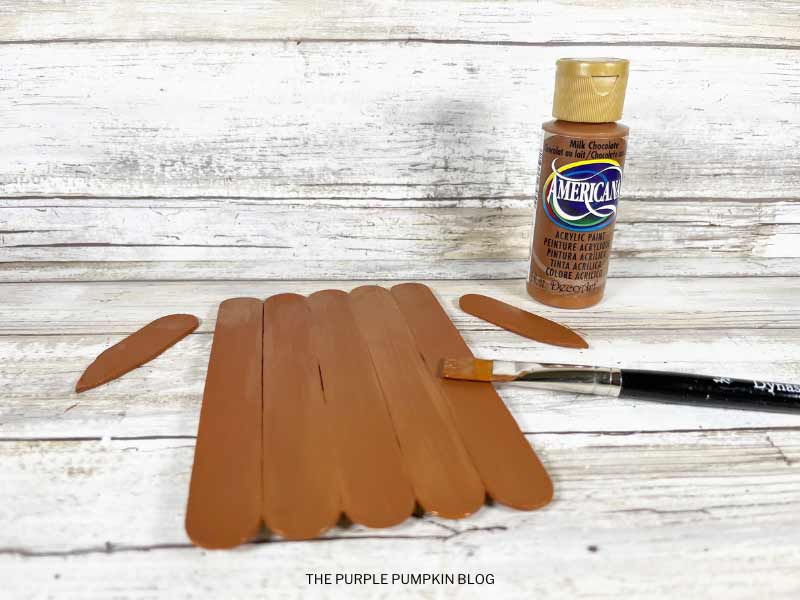
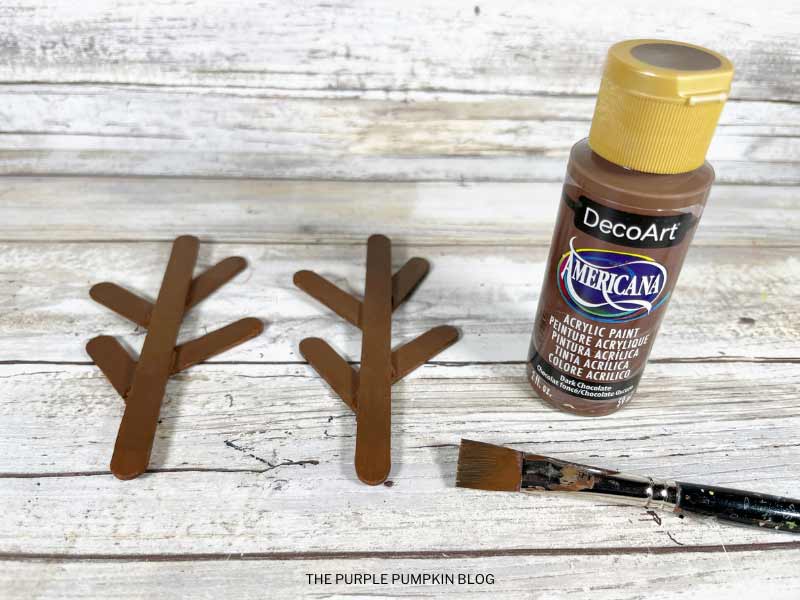
Step 4: When the painted pieces are dry, glue the two antlers to the back of the reindeer.
Flip the reindeer over and glue the ears to the top right and left sides.
Glue a large red tinsel pompom to the center of the reindeer about one inch from the bottom, then attach two googly eyes about an inch from the top.
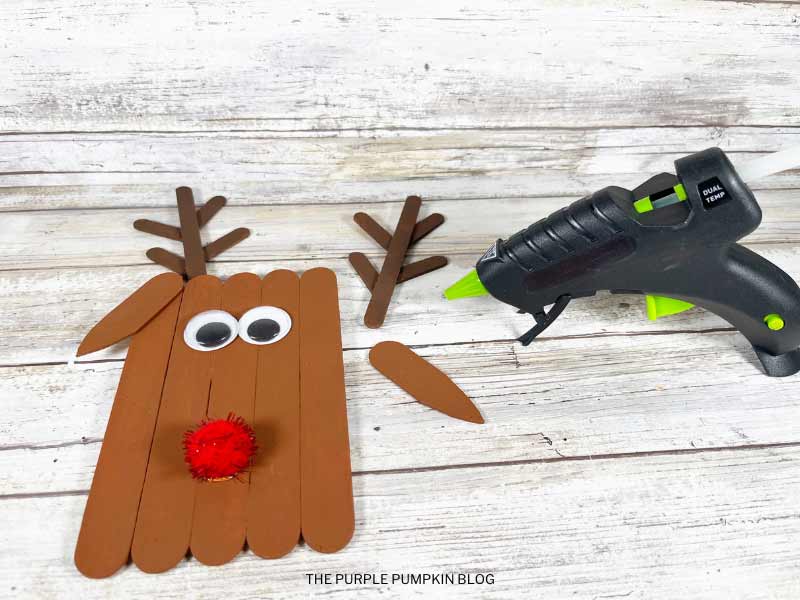
Step 5: Tie the green gingham ribbon into a small bow, using scissors to create dovetail ends if desired. Glue the bow to the bottom of the reindeer.
Trimming the ends of the ribbon not only finishes the bow but also prevents the ribbon from fraying.
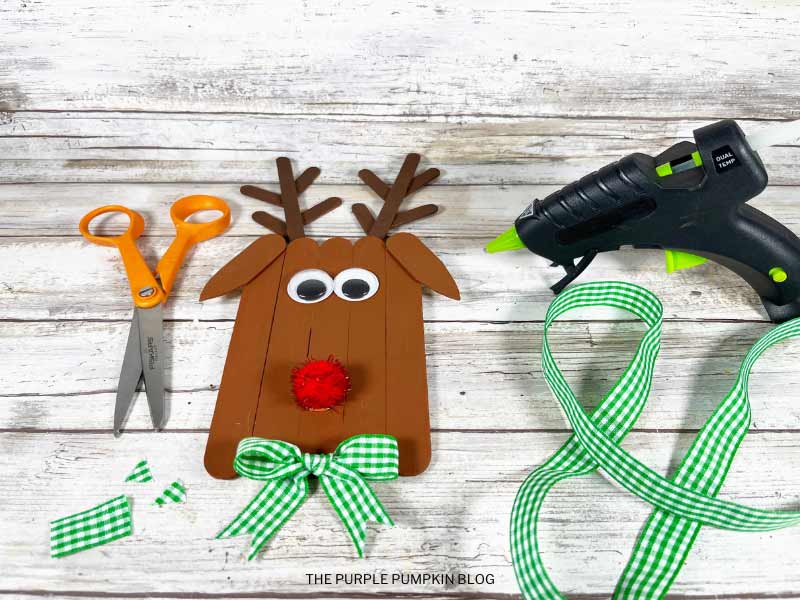
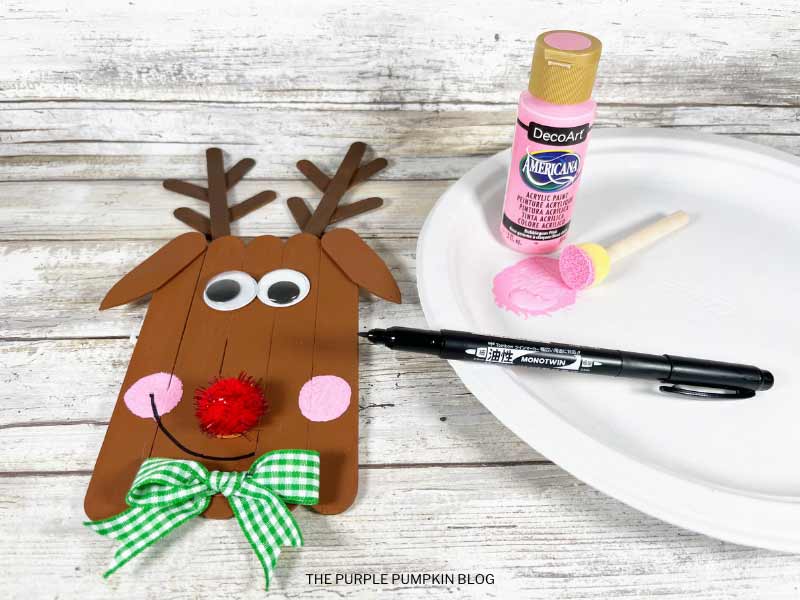
Step 6: Use a round sponge dabber to create cheeks on either side of the reindeer’s nose. When the paint has dried, draw a half smile with a permanent black marker.
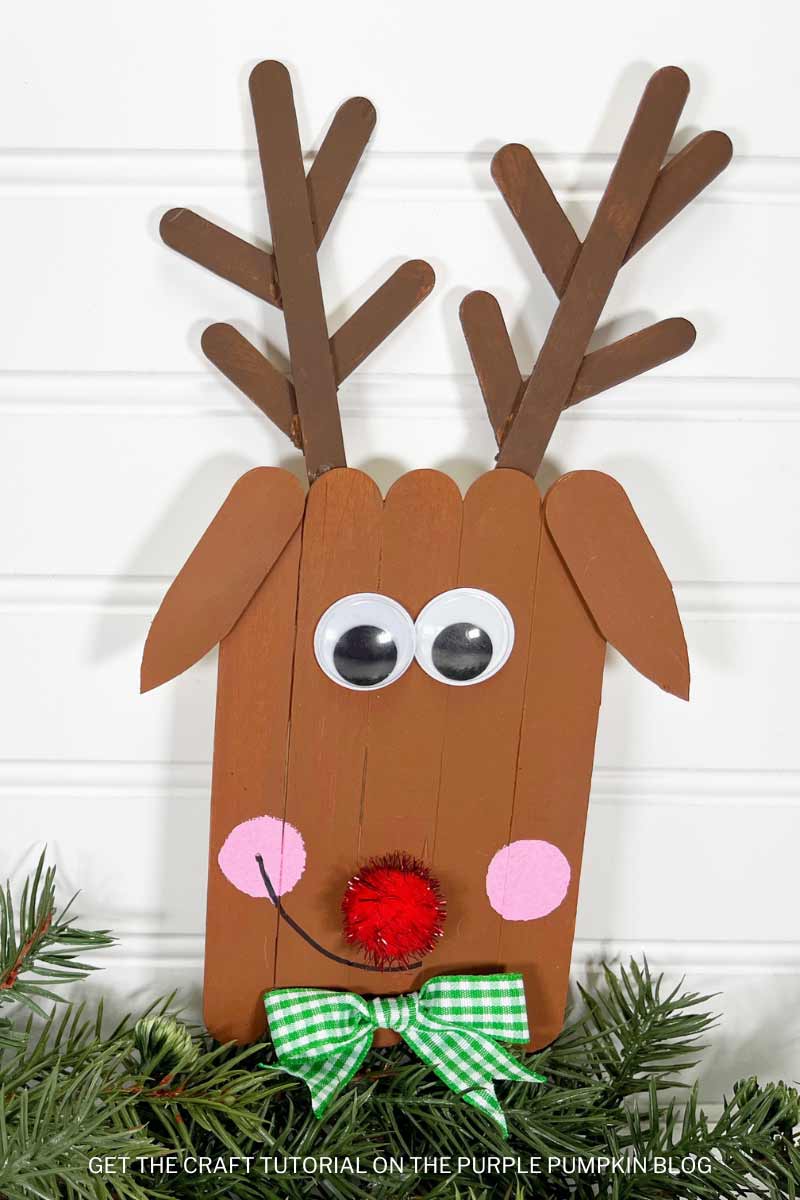
Display your reindeer where desired.
An optional extra would be to create a hanging loop and glue it to the back to hang your reindeer up!
More Reindeer Crafts
Looking for more reindeer crafts to try? Right-click and open these in a new tab to read next!
- Reindeer Ornament Craft Using Cricut Cutting Machine
- Rudolph the Red-Nosed Reindeer Craft
- Pipe Cleaner & Pom Pom Reindeer Craft
I’ve shared lots of great craft ideas on The Purple Pumpkin Blog over the years, in fact, there are 100+ crafts to make and do at home for you to try!
Popsicle Stick Reindeer Craft Tutorial Card
The printable how-to card below with the full list of materials, tools, and instructions. To save ink, any demonstration photos do not print.
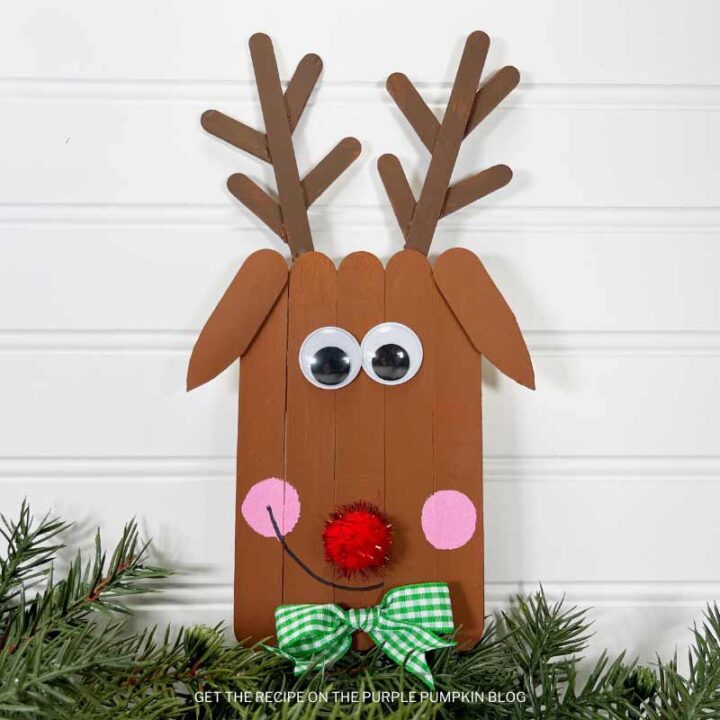
Popsicle Stick Reindeer Craft
If you’re looking for a fun, festive activity that the whole family can enjoy together, then look no further – this step-by-step guide will show how to create a reindeer with craft sticks in around 30 minutes!
Materials
- Jumbo Popsicle/Craft Sticks (7)
- Regular Popsicle/Craft Sticks (6)
- Medium Brown Acrylic Craft Paint
- Dark Brown Acrylic Craft Paint
- Pink Acrylic Craft Paint
- Red Tinsel Pompom (1)
- Googley Eyes (1)
- Green Gingham Ribbon
Tools
- Scissors
- Glue Gun and Glue Sticks
- Paintbrush
- Round Sponge Dabber
- Black Permanent Marker
Instructions
- To create the reindeer, line up 5 jumbo popsicle sticks vertically on your work surface. Use scissors to trim additional jumbo sticks to the width of the reindeer and attach them to the top and bottom of the lined-up sticks using a glue gun and glue sticks. Trim the two discarded pieces into pointed reindeer ears. Set reindeer and ears aside.

- To create the antlers, cut four regular popsicle sticks in half with scissors. Glue four of the halves, at angles, to one full-size regular stick. Repeat with the second set of halves and one full craft stick to create the antlers. Set antlers aside.

- Paint the front and sides of the reindeer and ears with medium brown paint and the front and sides of the antlers with dark brown paint. Set aside to dry and apply a second coat if necessary.


- Glue the two antlers to the back of the reindeer. Flip the reindeer over and glue the ears at angles at the top. Then glue a large red tinsel pompom about 1 inch from the bottom and center of the reindeer. Attach two googly eyes about 1 inch from the top of the reindeer.

- Tie the green gingham ribbon into a small bow and trim the ends into a dovetail. Glue the bow to the bottom of the Reindeer, leaving space between the nose and the bow for the reindeer's smile. Trimming the ends of the ribbon not only finishes the bow but also prevents the ribbon from fraying.

- Use a round sponge dabber to create cheeks with pink paint. Leave it to dry then draw a half smile with a black permanent marker. Display where desired!

Recommended Products
As an Amazon Associate and member of other affiliate programs, I earn from qualifying purchases.
The Create the Holidays series on The Purple Pumpkin Blog features free printables, crafts, recipes, and more for Christmas and the Winter Holidays. Check out Create the Holidays (formerly Create Christmas) from 2023, 2022, 2021, 2020, 2019, 2018, 2017, 2016, 2015, 2014, 2013, and 2012.

