Cute Upcycled Cardboard Cactus Craft + Free Printable Template!
Home » CREATE » Crafts » Summer Crafts »This beautiful Cardboard Cactus Craft is the ideal activity for upcycling any cardboard that you have lying around and turning it into something colorful and creative. It’s a fun craft that will keep you busy for around an hour, and you end up with some pretty home decor to display!

Affiliate Disclosure
We have included affiliate links to products and services related to the topic of this post.
This post contains affiliate links, and we will be compensated if you purchase after clicking on those links.
As an Amazon Associate, I earn from qualifying purchases.
Read Our Full Disclosure and Privacy Policy
Cardboard Cactus Craft
The full list of materials, tools, and instructions is found in the printable tutorial card at the end of this post. I highly recommend reading the blog post all the way through before starting this project to ensure that you have everything required and understand the steps and timings involved.
This cardboard cactus craft is a great craft for kids and adults alike!
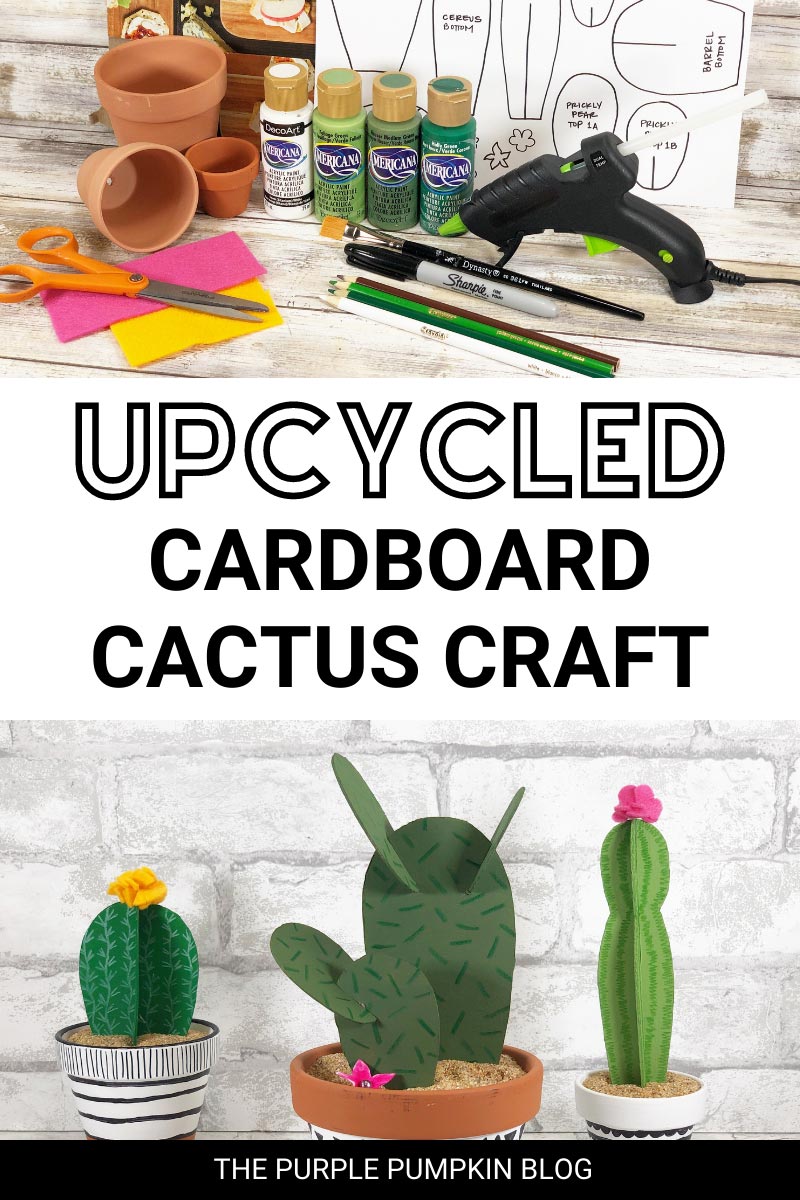
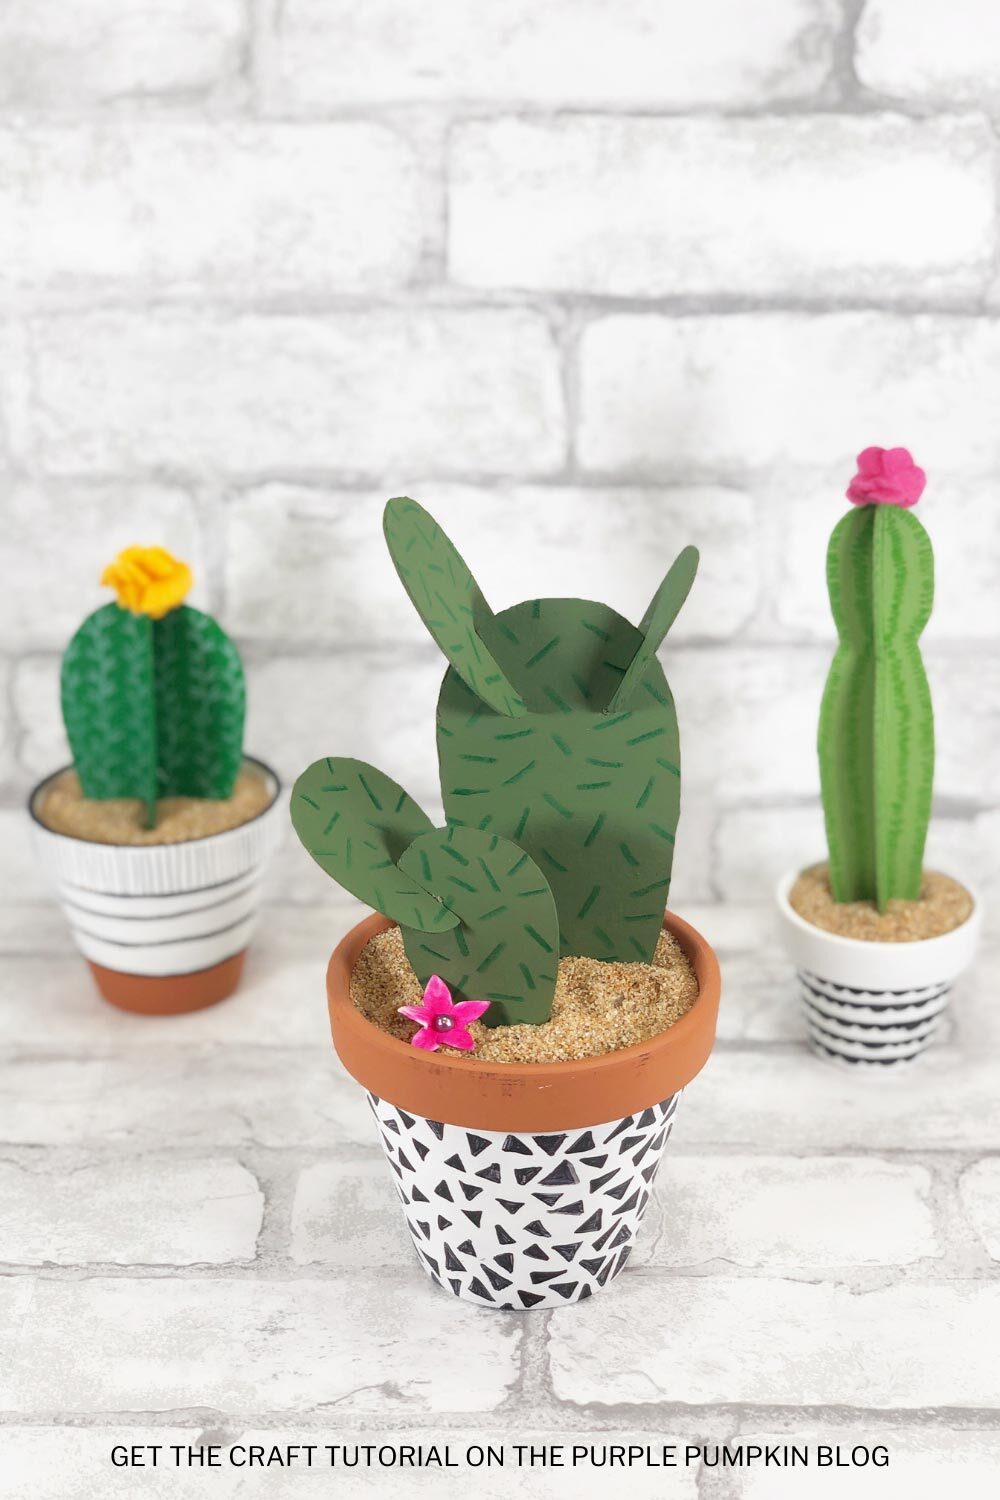
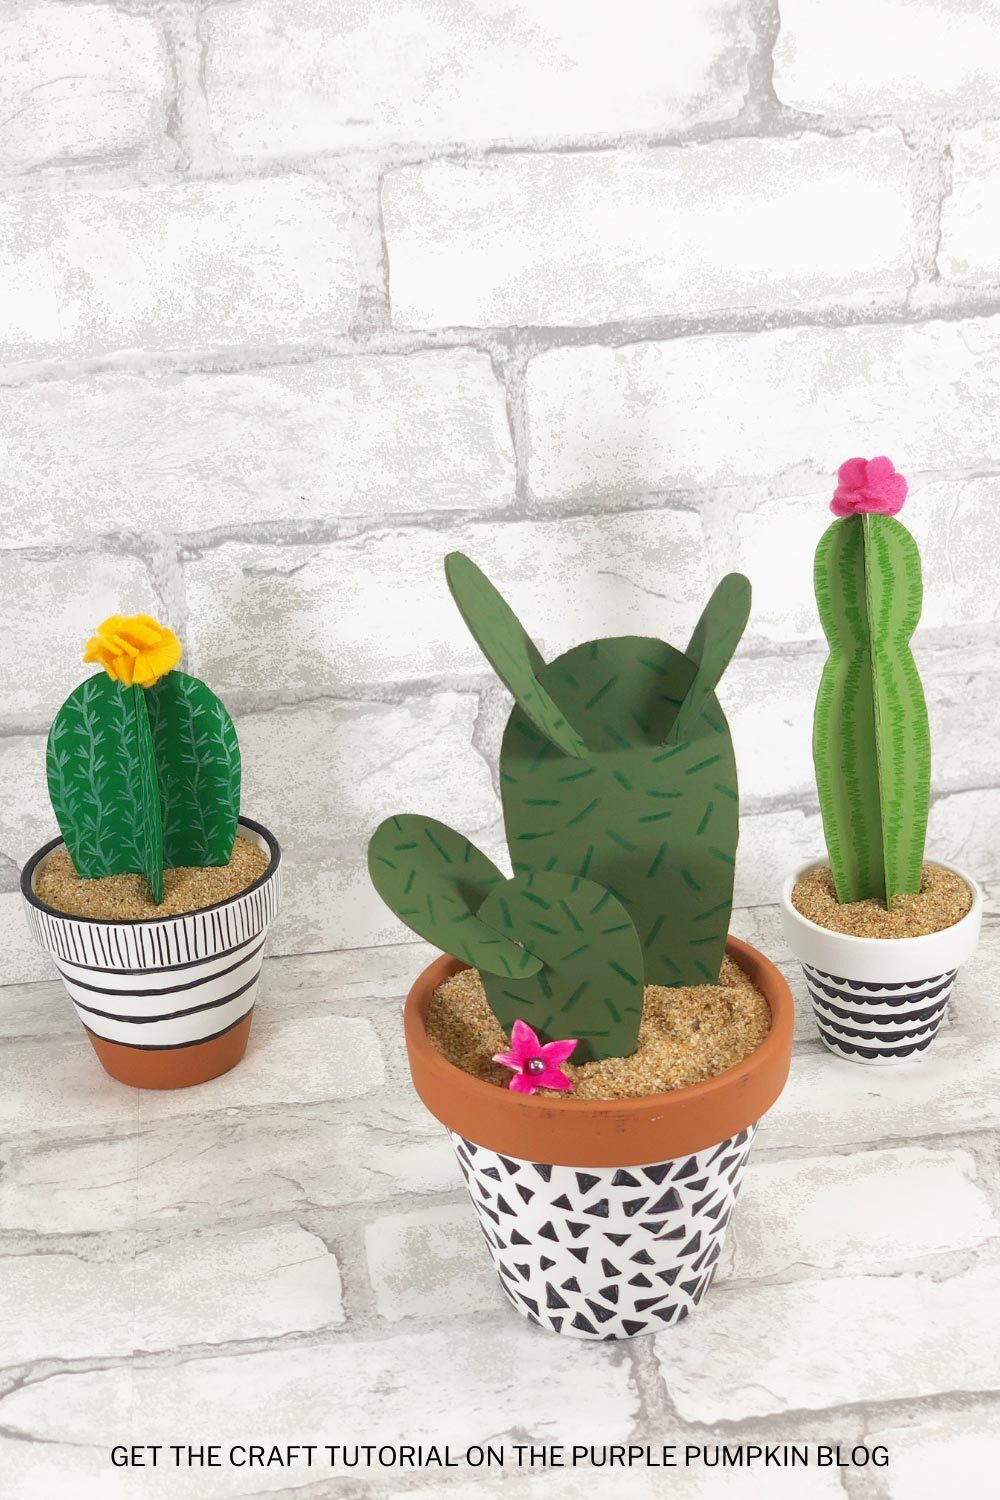
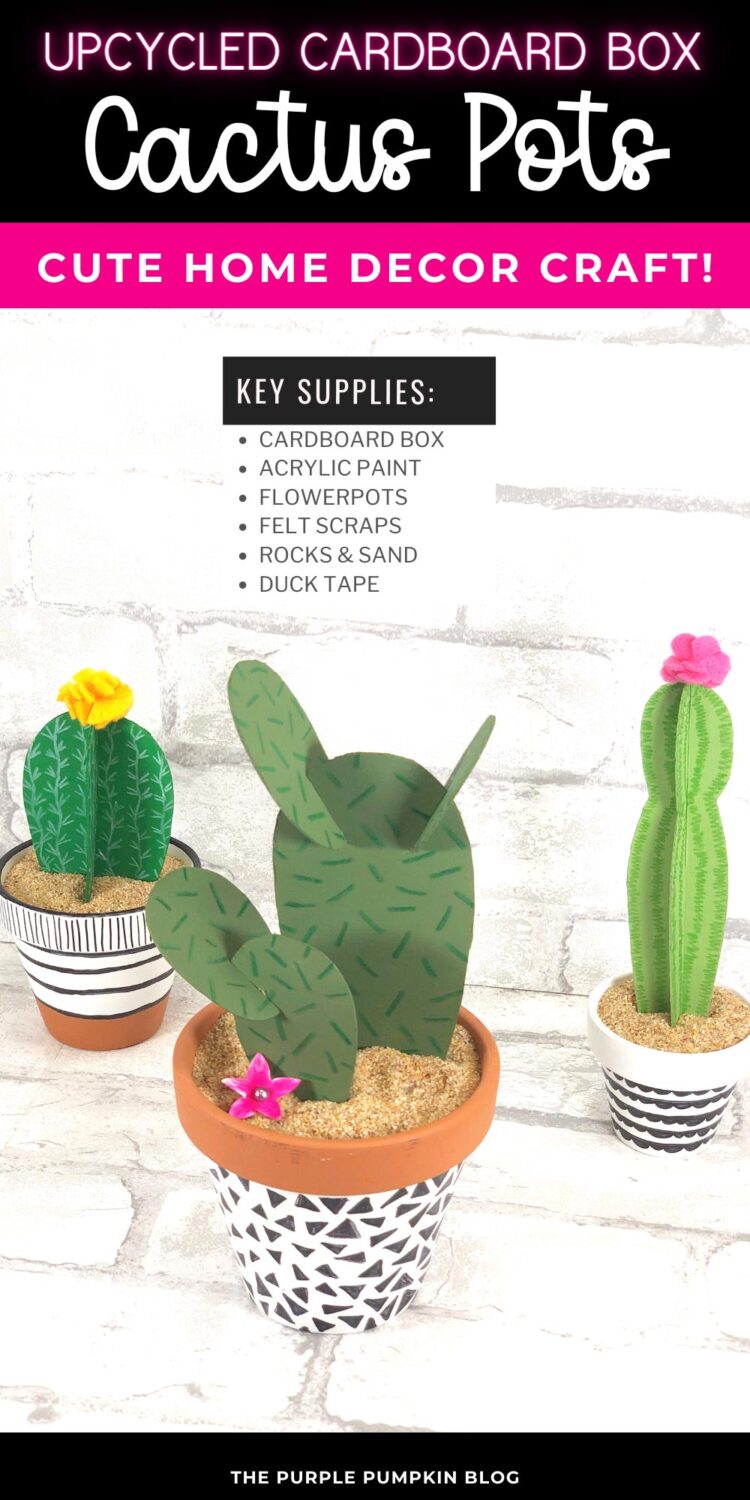
Transform an ordinary cardboard box into a trio of upcycled cacti with supplies including acrylic craft paint, colored pencils, and a set of free printable patterns.
It’s an awesome activity to make with the kiddos. Get creative and use a variety of materials from your recycle bin to spark inspiration.
You could also do some online research on cacti and then draw your own patterns for even more crafting fun!.

Materials & Tools Used in This Craft
For your convenience, I’ve linked any notable materials and tools needed for this project to Amazon below. (It may not include basic crafting supplies such as glue or scissors, as you may already have those.) The complete list of ALL supplies required can be found on the tutorial card at the end of this post.
- Cardboard Box – a delivery box would work great.
- Acrylic Craft Paints – White, Bright Green, Medium Green, Dark Green.
- Clay Flowerpots – in three sizes, approximate diameter – 2.5″/6cm, 3.5″/9cm and 4.5″/12cm
- Felt Scraps – in bright colors to make the cactus flowers. You could use colored paper or craft foam if you have that in your craft stash.
- Small Rocks
- Sand
- Duct Tape – to cover the hole in the base of the pots.
- Colored Pencils – to add detail to the cacti.
- Black Permanent Marker – to add patterns to the painted pots.
- Upcycled Cardboard Cactus Pattern Template – click to download the free printable (opens in new tab)
Cheap Craft Supplies
A great thing about this craft idea is that it’s budget-friendly using supplies you may already have or can be purchased cheaply in stores:
If you’re in the USA, check out your local Dollar Store or Dollar Tree; and if you’re in the UK, the Poundshop, The Range, Wilko, and Baker Ross are great places to shop for cheap and inexpensive craft supplies. The rest of the world reading this – I don’t know every cheap store – sorry! But hunt the ones out in your location for crafting bargains!

More Home Decor Crafts
Looking for more crafts to decorate your home with? Here are some more for you to check out – right-click and open a new tab to read next!
- How To Make a Paperback Book Pumpkin – Fall Decor Craft!
- Red, White & Blue Patriotic Wreath Craft Using Felt Scraps
- Summer Flip Flop Sign Craft – Life Is Better In Flip Flops!
I’ve shared lots of great craft ideas on The Purple Pumpkin Blog over the years, in fact, there are 100+ crafts to make and do at home for you to try!


How Do I Make Cardboard Cactus in Pots?
Just check out the how-to card below with full materials, tools, and instructions. Any demonstration photos do not print out to save your ink.

Cardboard Cactus Craft
This beautiful Cardboard Cactus Craft is the ideal activity for upcycling any cardboard that you have lying around and turning it into something colorful and creative.
Materials
- Free Printable Cactus Pattern Template
- Cardboard Box
- Acrylic Craft Paint in White, Bright Green, Medium Green, Dark Green
- Clay Flowerpots in three sizes, approximate diameter - 2.5"/6cm, 3.5"/9cm and 4.5"/12cm
- Felt Scraps in Bright Colors*
- Small Rocks
- Sand
- Duct Tape
Tools
- Colored Pencils
- Black Permanent Marker
- Glue Gun and Glue Sticks
- Paintbrush
- Scissors
- Pencil
Instructions
- Download, print, and cut out the cactus template, making sure to cut the slits. Flatten a corrugated cardboard box or chipboard food box. Trace patterns onto the cardboard with a pencil. Flip-up the cactus patterns to trace the slits.

- Cut out all the cactus patterns with heavy-duty scissors. Double cut the slits to the width of your cardboard. Then slide both pieces together to make sure the cactus shapes fit.


- Basecoat the smallest clay flowerpot completely with white acrylic craft paint, let dry. Paint the medium size clay flowerpot top, leaving a one-inch section natural at the bottom. Basecoat the largest clay flowerpot bottom, leaving the rim natural. Let paint dry, and apply a second coat, if necessary.

- Paint all sides of the Prickly Pear Cactus pattern pieces with medium green acrylic craft paint. Basecoat front, back, and sides of the Barrel Cactus pattern pieces with dark green acrylic craft paint. Paint all sides of the Cereus Cactus pattern pieces with bright green acrylic craft paint. Let paint dry, and apply a second coat, if necessary.

- Doodle designs onto the clay flowerpots with a permanent black marker. Think modern patterns like triangles, scallops, and a mix of horizontal and vertical lines.

- Once dry, lay all cactus pieces flat and draw needle patterns on each cactus with different shades of colored pencils. Assemble each cactus, securing all pieces with a small dot of glue from a glue gun.


- Trace flower patterns onto brightly colored scraps of felt, and then cut them out with scissors. Attach the flower layers together with a glue gun and glue sticks, pinching in the center to create dimension. Then attach the flowers to the top of the cactus.

- Apply a piece of duct tape to the hole at the bottom of each flower pot.

- Fill with rocks and sand.

- Finally, “plant” the upcycled cardboard cactus into the pots and display them where desired!

Notes
- *You can use colored paper or craft foam if you prefer.
Recommended Products
As an Amazon Associate and member of other affiliate programs, I earn from qualifying purchases.


Donna @ Modern on Monticello
July 19, 2022 @ 9:22 pm
I think this is a wonderful idea. Anything that recycles materials is a win in my book. I think kids will love this project too. Pinned. This post will be a feature this week. Thanks for sharing it. #HomeMattersParty