Chocolate and Cherry Cupcakes
Home » COOK » Recipes » Baking » Cupcakes »I follow @FoodNetwork_UK on Twitter and yesterday they tweeted about it being ‘Cake Monday’ in the office, so I tweeted them with a ‘challenge accepted’ type tweet: “Cake Monday you say? I’ll be whipping up a batch chocolate cherry cupcakes in your honour today”. I’ve not had a ‘Make It Monday‘ on my blog for a while owing to being just so busy, and thought it was ideal time to give me that kick to make something on a Monday!
So after cooking up a storm in the kitchen late afternoon (my morning/early afternoon was taken up with website work) I had cooked my cupcakes, taken a photo and shared on Twitter via Instagram…and @FoodNetwork_UK replied saying that they looked fab, and asking how they tasted…well they got my husband’s seal of approval, and now I’ll share with you how I made them!
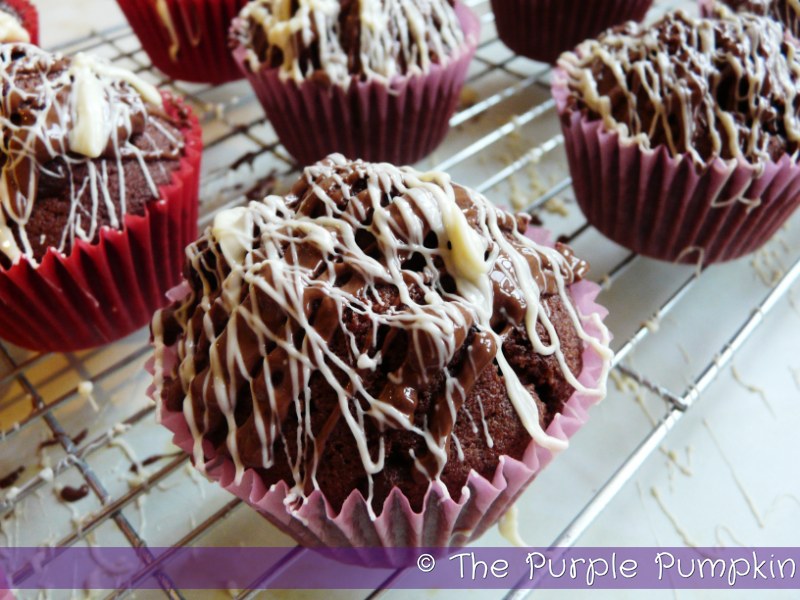
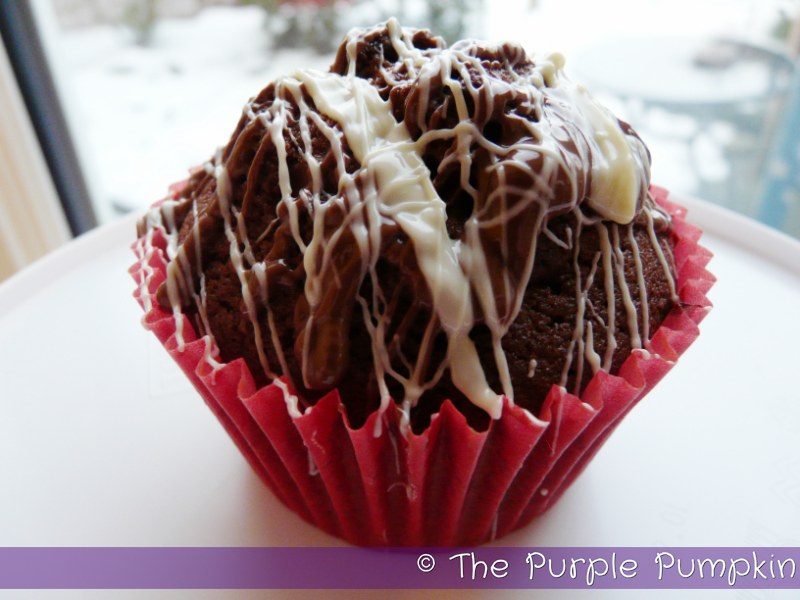
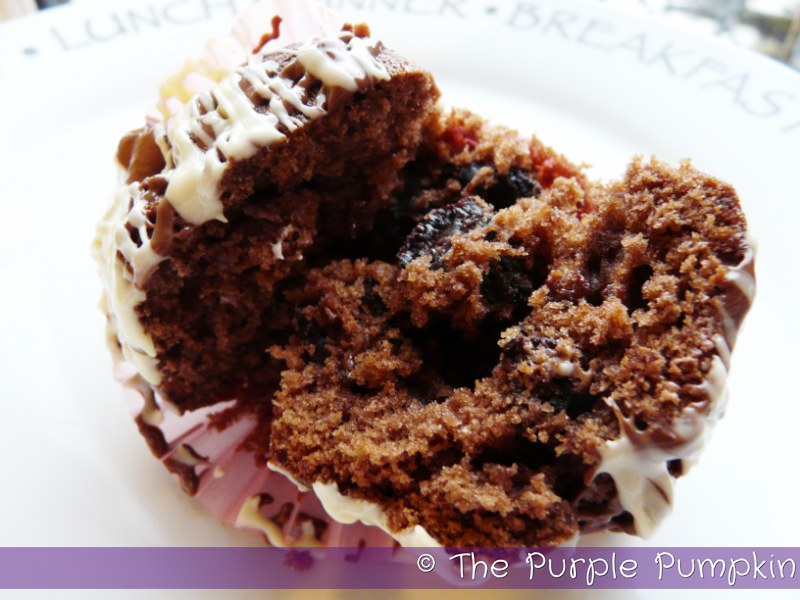
I used a basic chocolate cupcake recipe, added dried cherries and chocolate chips and drizzled them with white and milk chocolate. If I was making them again, for even more of a cherry kick, I’d add a tablespoon of Kirsch, which is a cherry liqueur.
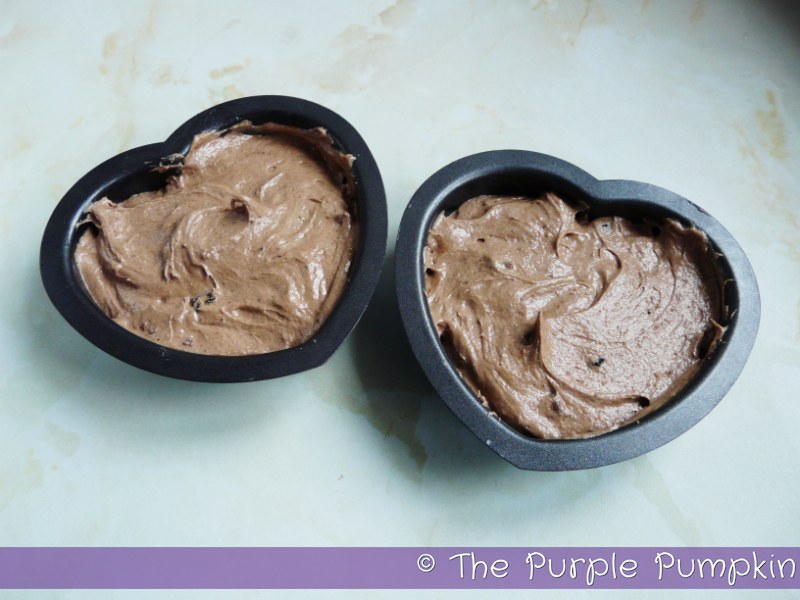
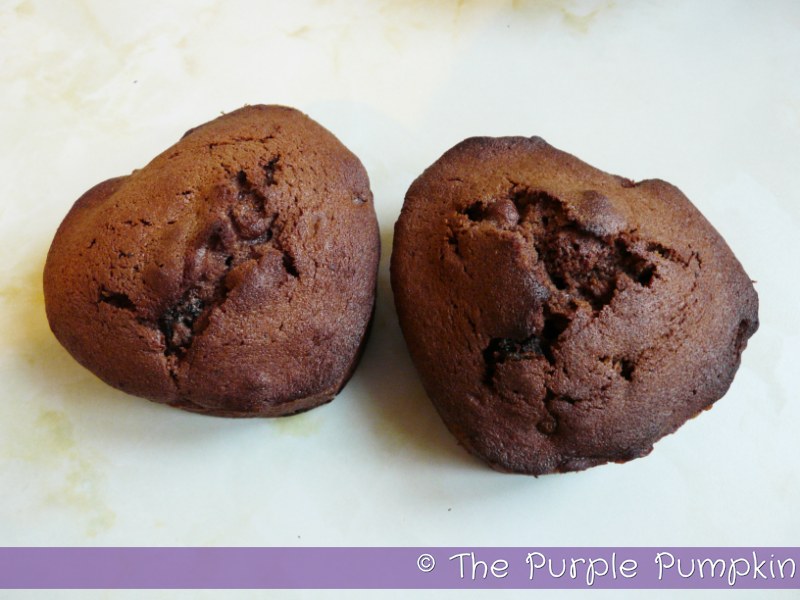
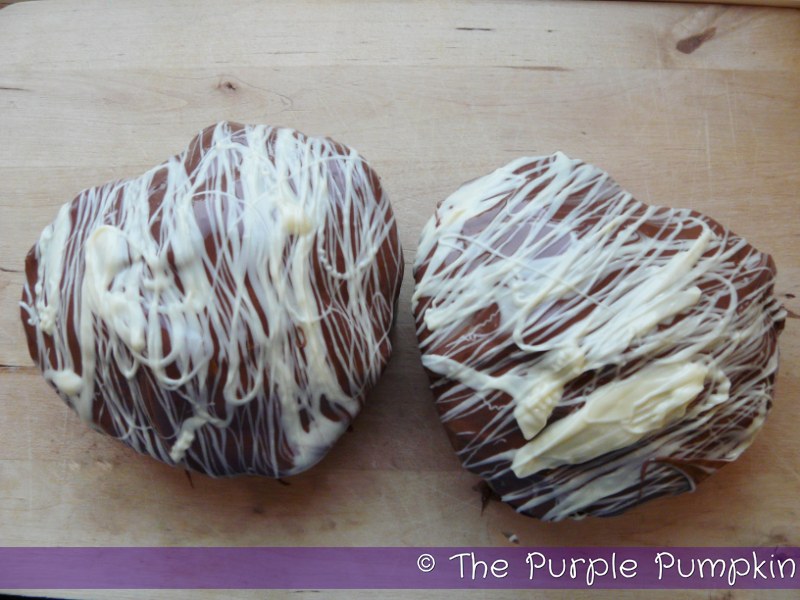
This cupcake batter will make about 18 cupcakes. I actually made 12 and then used two heart shaped pans to use up the rest of the mixture – ideal for Valentine’s Day coming up! ❤
We have many more Cupcake Recipes for you—why not take a look at them next?

I started by heating my fan oven, which is insanely hot (I need a new one really…) to 150C.
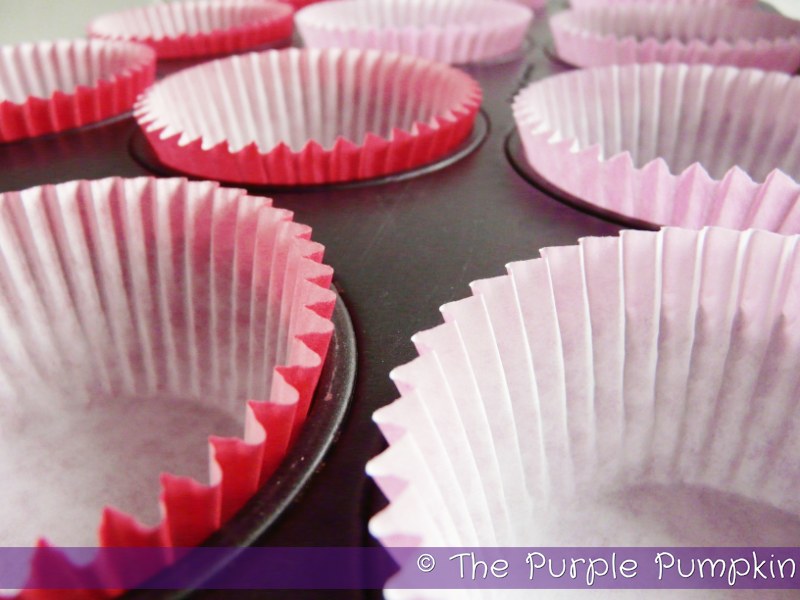
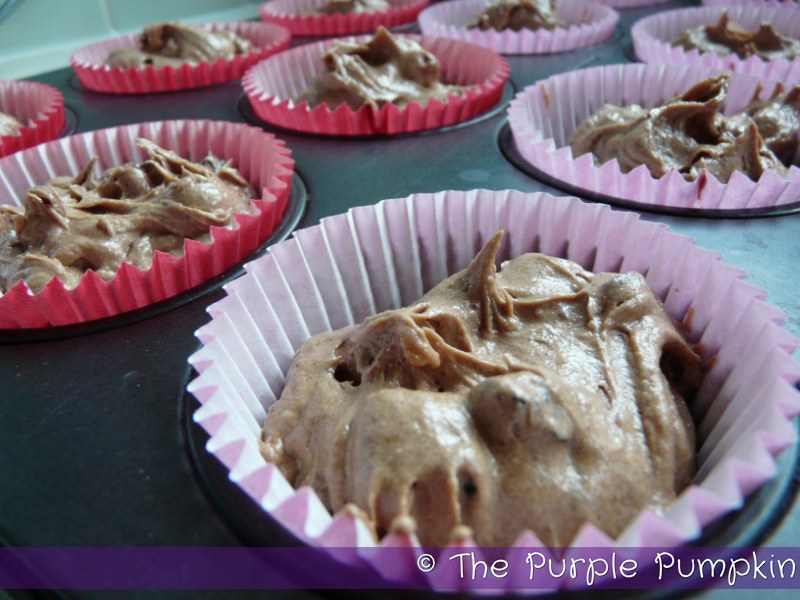
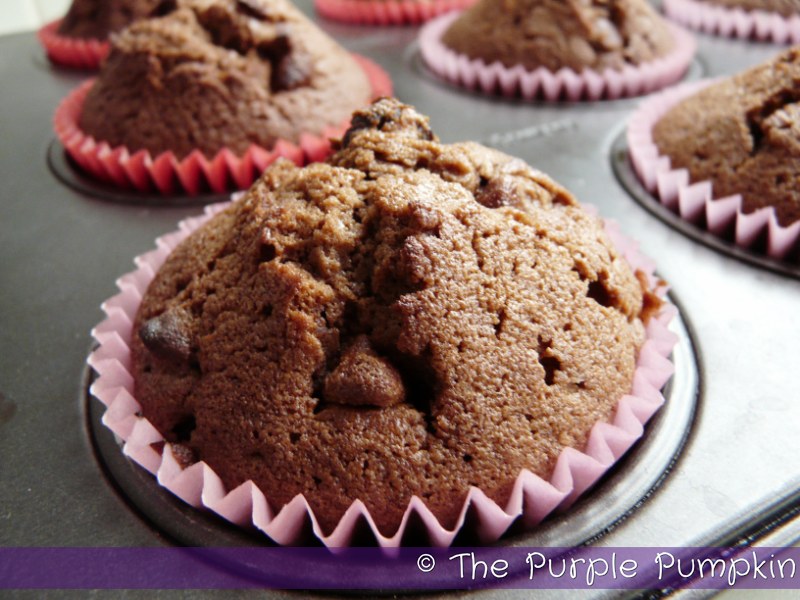
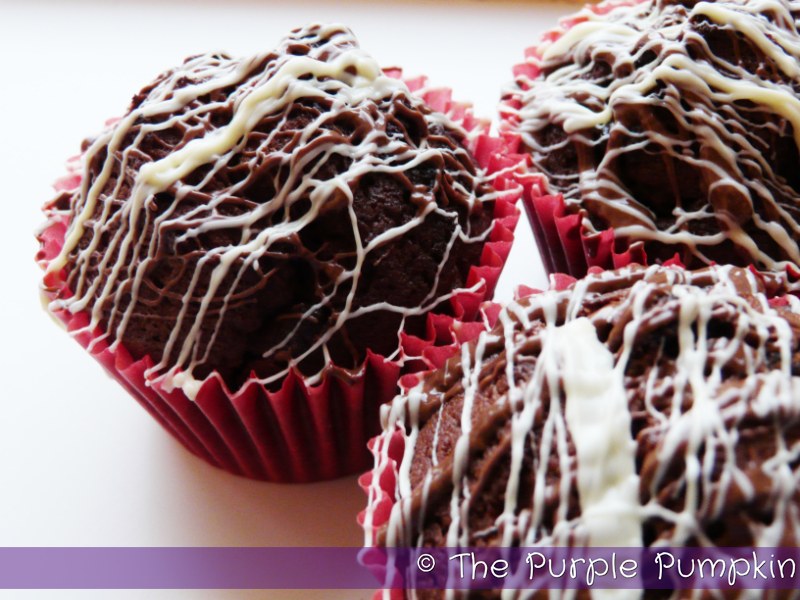
And then lined a cupcake tin with 12 cupcake cases – 6 pink and 6 red, and greasing my two heart shaped tins with cake release.

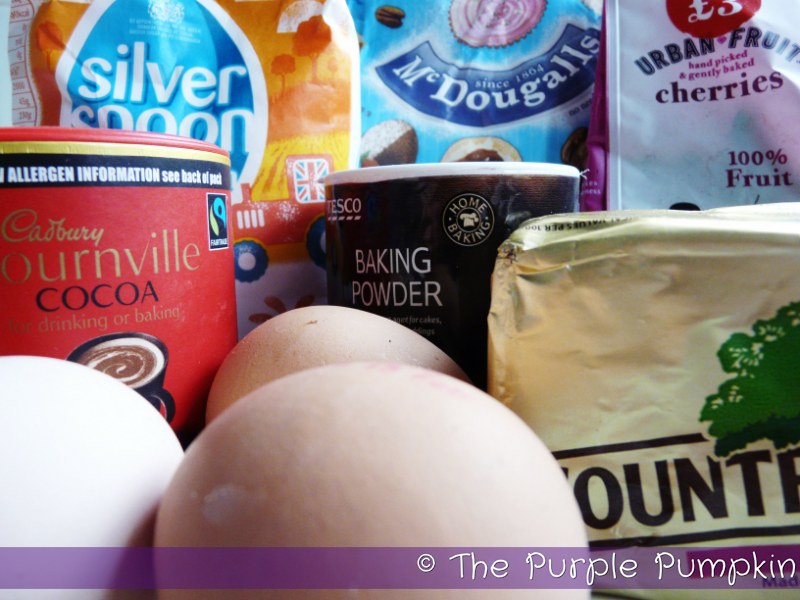
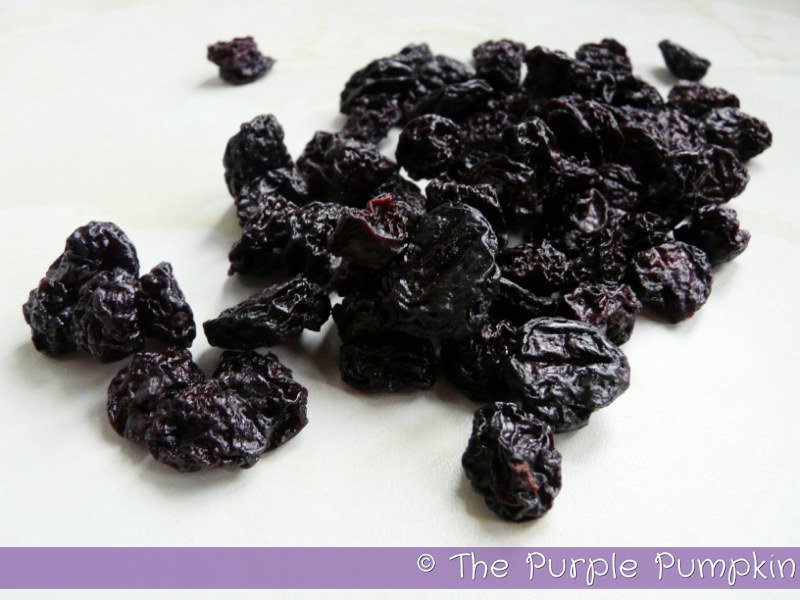
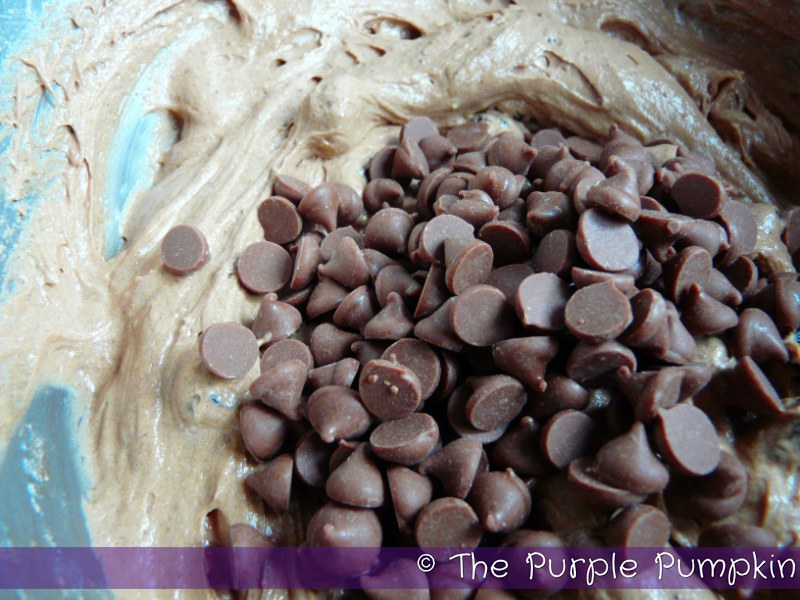
Then I got my ingredients together – unsalted butter, caster sugar, self-raising flour, baking powder, cocoa powder, eggs and vanilla. Plus dried cherries (that I bought at Christmas, but didn’t get round to using). As I was searching my cake ingredient cupboard for chocolate to decorate with, I discovered some chocolate chips, which also went in, but aren’t pictured!
This is a really easy cake mix to make – everything in, beaten and decanted into cupcake liners!
So first the butter…

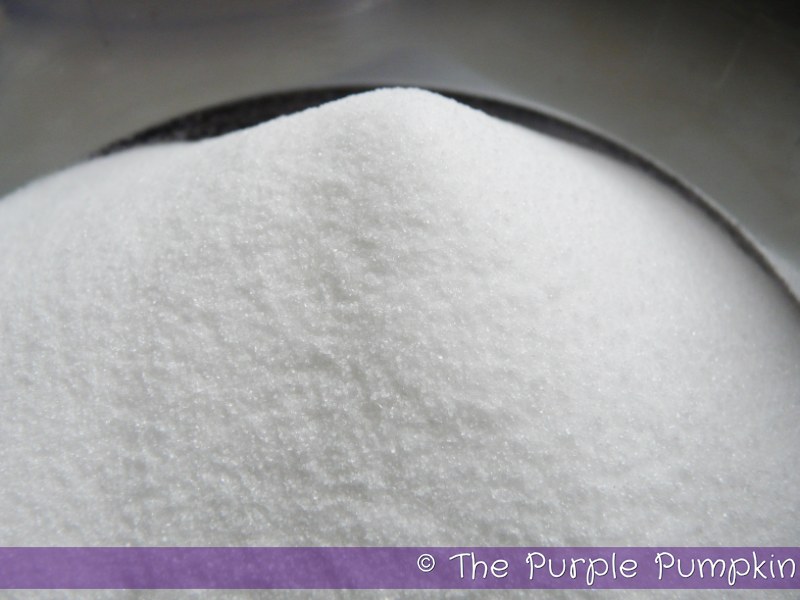
Then the sugar…
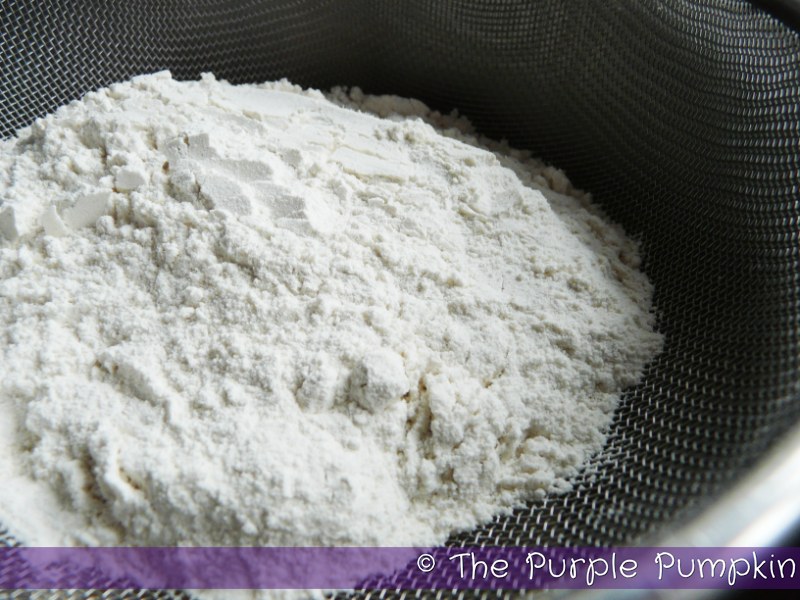
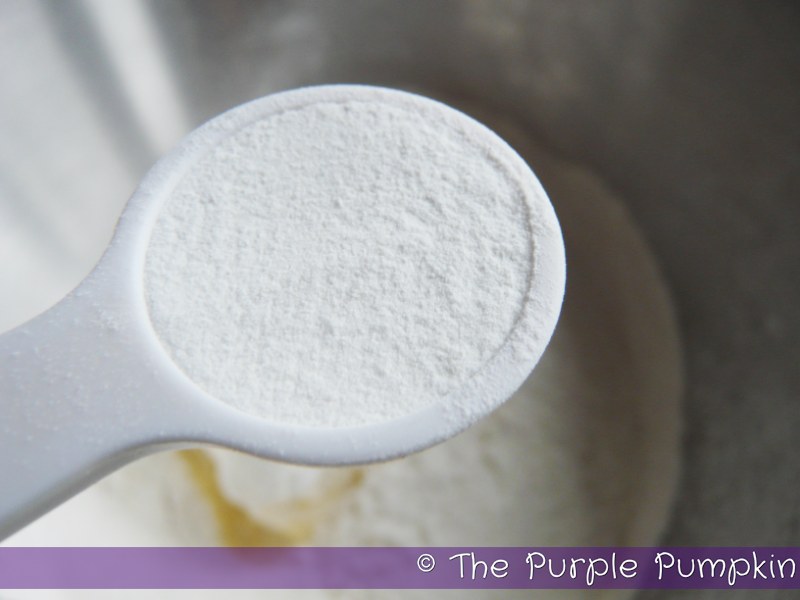
Then the self-raising flour…
Then the baking powder…
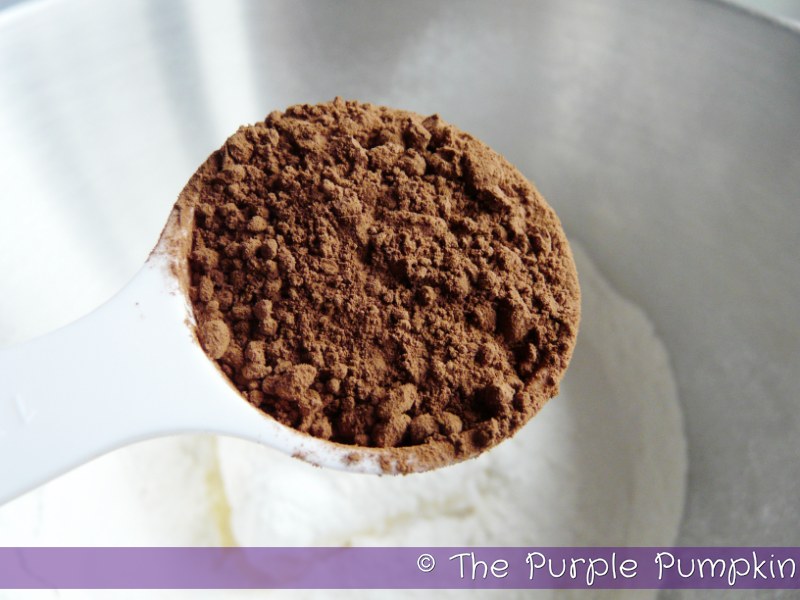
Then the cocoa powder…
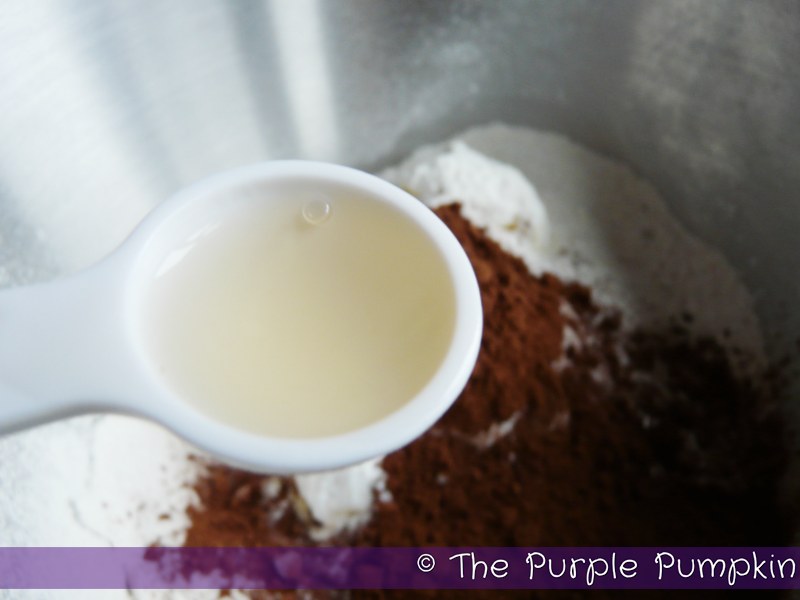
Then the vanilla extract…
And finally the eggs…
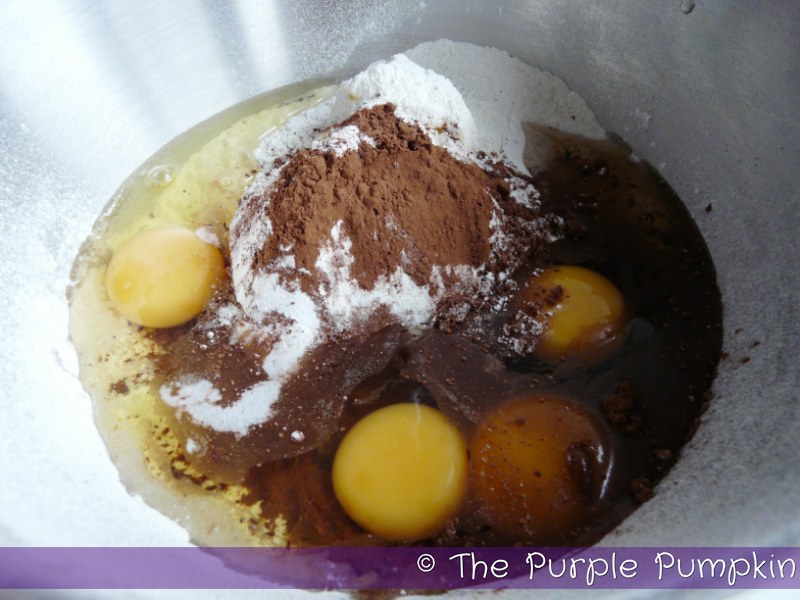
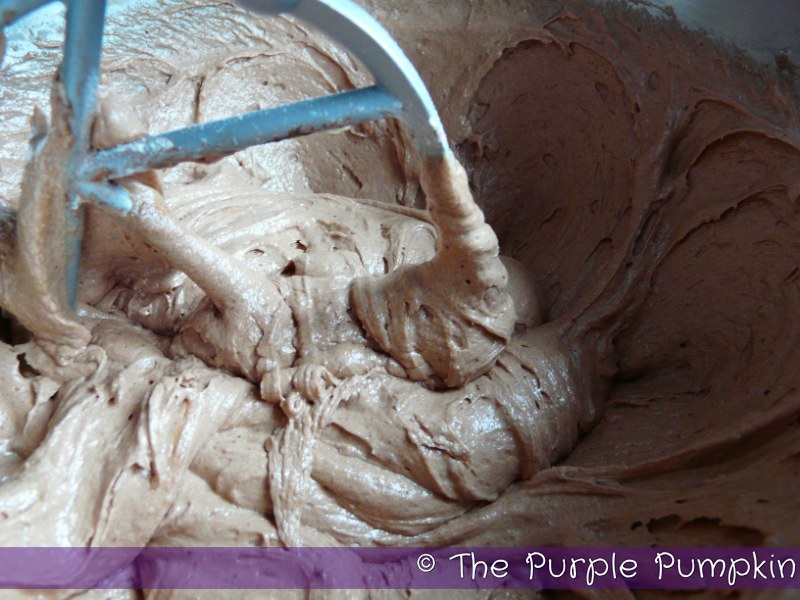
With everything in the mixing bowl, I attached my ‘k’ beater to my Kenwood mixer, attached the lid and switched it on. Starting slowly at first and then turning it up to high and letting the mixture get light and fluffy.
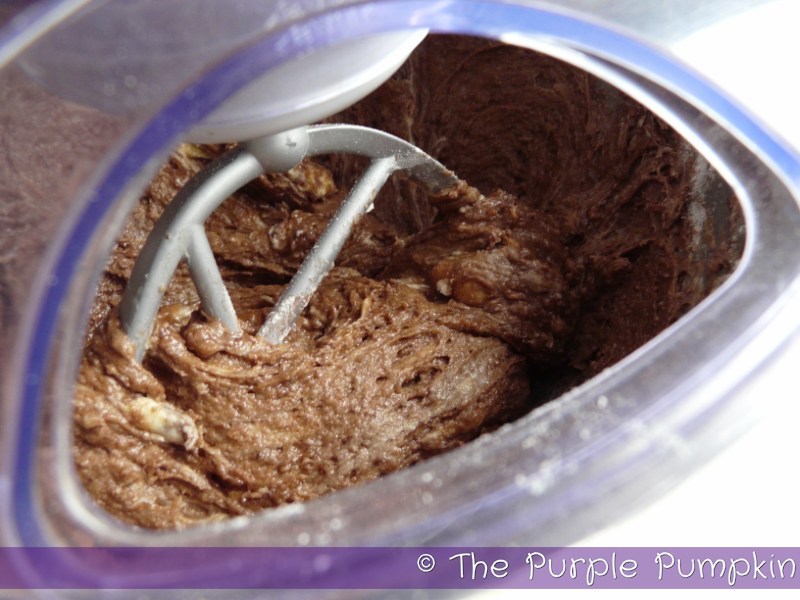
I then took the beater out and added my dried cherries and stirred in gently with a spatula.

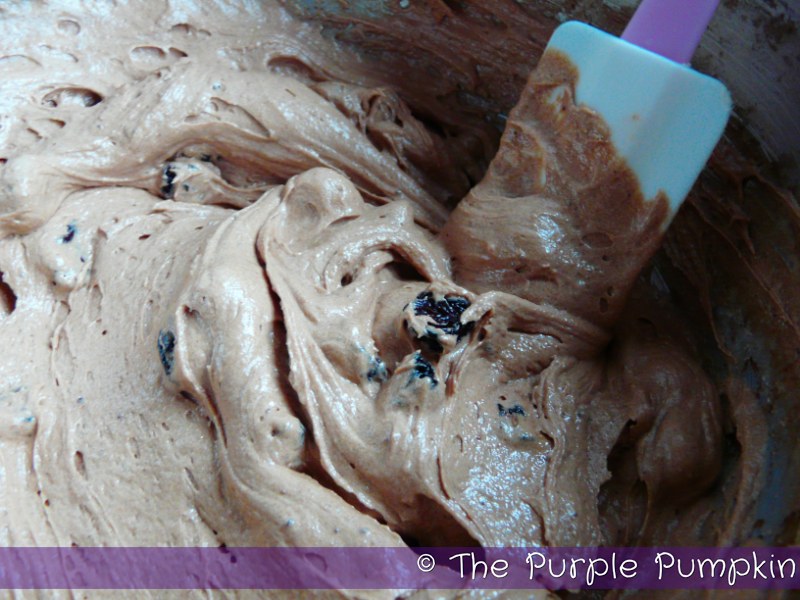
I then discovered the chocolate chips, which I threw into the mix and folded in.

I divided the mixture between my 12 cupcake cases – a heaped dessertspoonful was plenty.
And the remaining mixture was divided between my two heart shaped pans – they’re quite small – about 4 inches across the widest part.
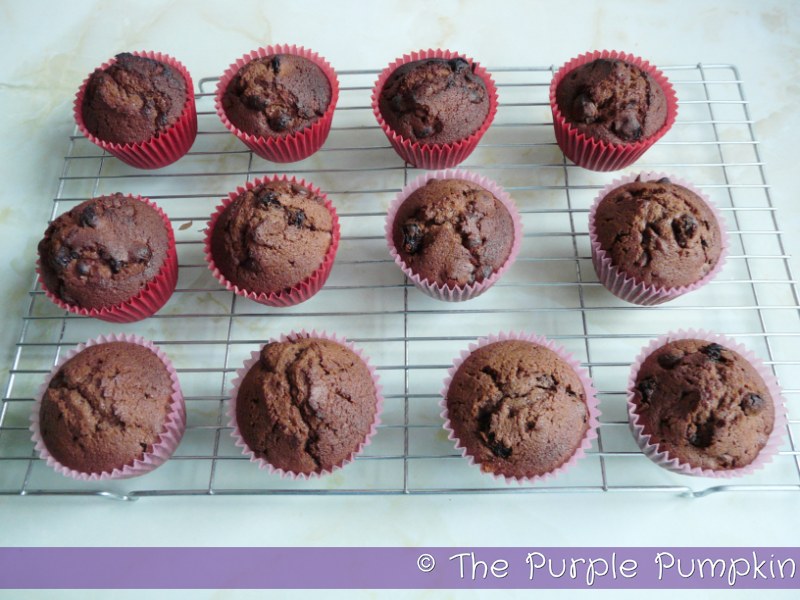
Into the oven for 20 minutes, after which time I checked to see they were cooked through by inserting a cocktail stick to see if it came out clean…it did…they were cooked!
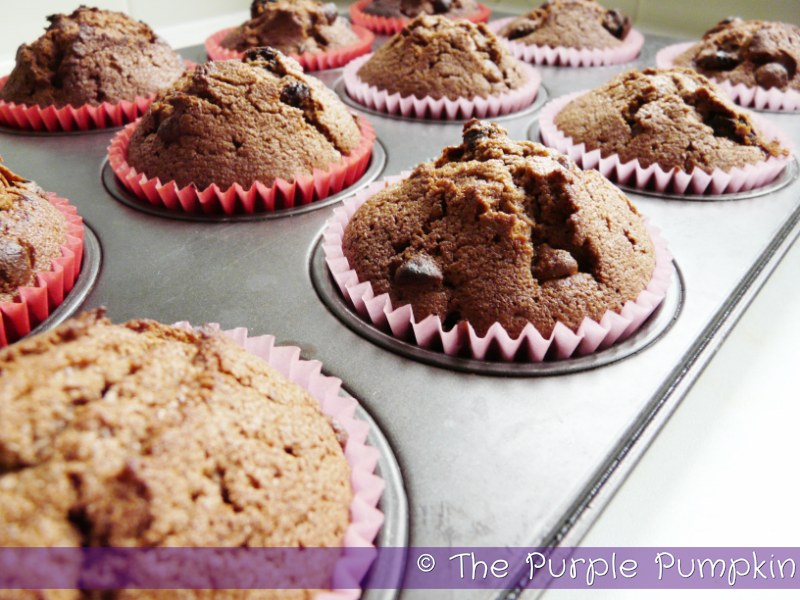

Out of the oven for 5 minutes to cool and then onto a wire rack to cool down completely.
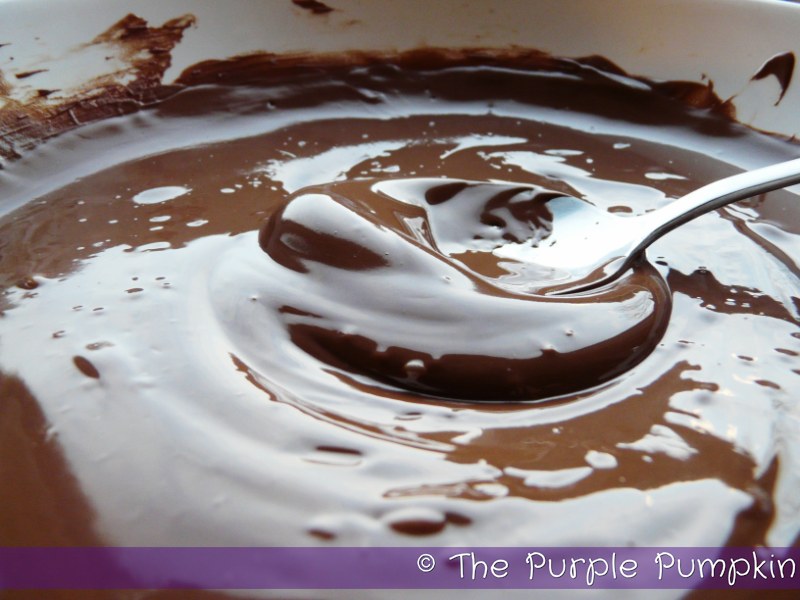
When the cakes were cool, I broke up some milk chocolate and melted it in the microwave in short bursts – I start with 30 seconds, give it a stir, another 30 seconds, give it another stir, and then in 10 second bursts till it was completely melted. I’m lazy like that because I couldn’t be bothered to set up a double boiler, but you can melt chocolate in a bowl over a pan of simmering water – but don’t let the water touch the bowl, nor allow water to get into the chocolate as this will make it seize up and render it unusable.

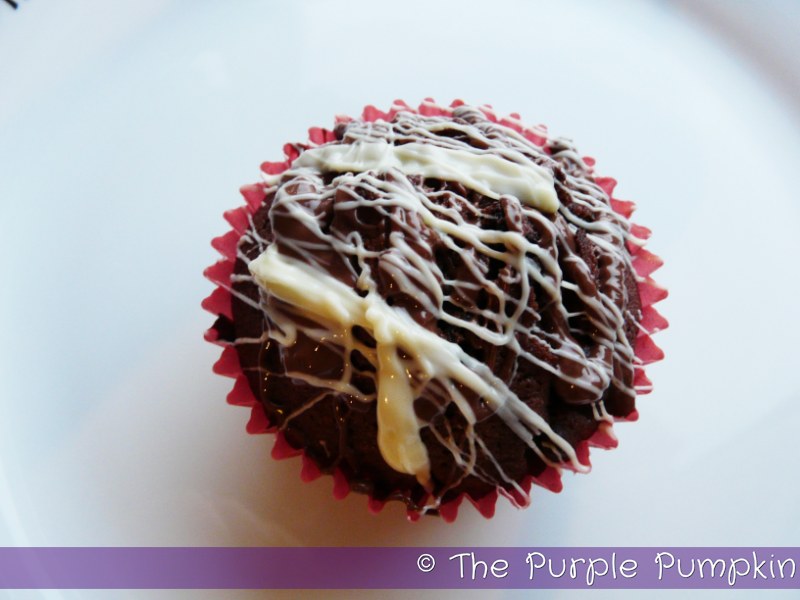
Leaving my cupcakes on the wire rack, I picked up a spoonful of silky melted chocolate and let it run off for a bit into the bowl so that it ran smoothly and not in big clumps. I then used a flickering motion with my wrist and added lines of milk chocolate to the cupcakes. I hope you can understand what I mean – I couldn’t take a photo of myself doing that :D
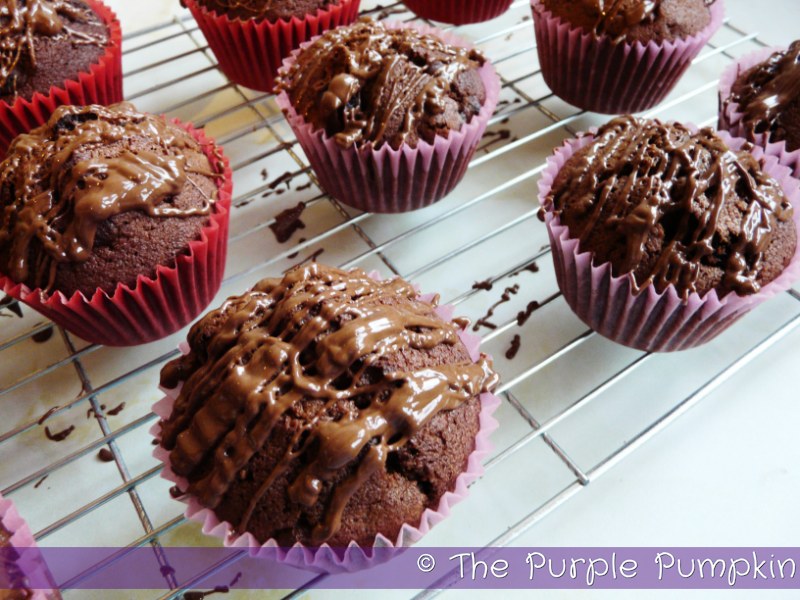
I then did exactly the same with the white chocolate, but tried to go in the opposite direction. My cheapy white chocolate wasn’t as easy to flick as the milk chocolate, but I got there in the end!


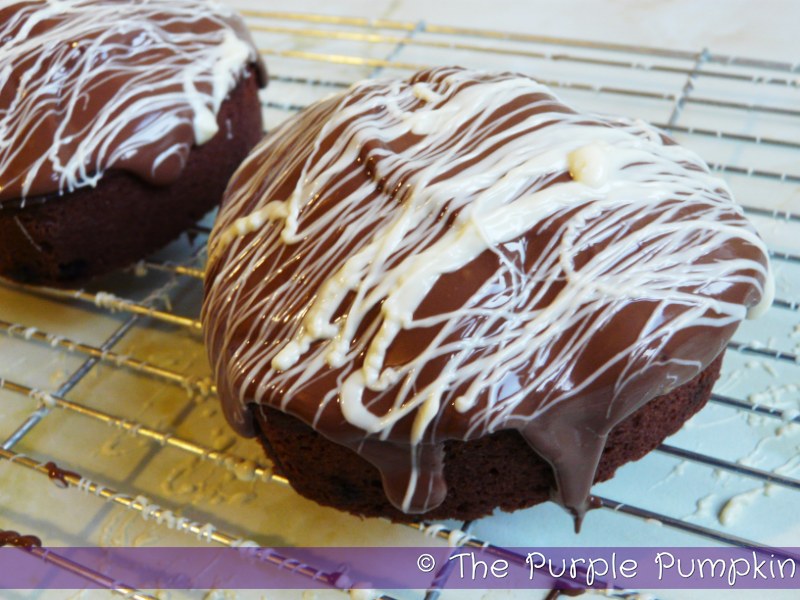
To decorate my heart shaped cakes, I covered them completely with milk chocolate (I had a lot left, and it disguised the ugly bump on the top of each cake!) I then flicked white chocolate in stripes over the top and left everything to set.


So easy, so moist and so chocoaltey! A quick recipe to make for your Valentine!


So, there you have it…my first ‘Make It Monday’ of 2012!
I will endeavour to get back on track with this, but no promises it will be every week as I know I’ve got a few events up my sleeve to think about!
Chocolate and Cherry Cupcakes
Makes 18 Cupcakes
Ingredients
- 225g unsalted butter, softened
- 225 caster sugar
- 225g self-raising flour
- 1 tsp baking powder
- 4 tbsp cocoa powder
- 4 medium eggs
- 1 tsp vanilla essence
- 180g dried cherries
- 100g chocolate chips
- 1 – 2 tbsps Kirsch (optional)
For the decoration
- 100g milk chocolate, melted
- 100g white chocolate, melted
Method
- Preheat the oven to 175C (155C fan)/350F/Gas 4.
- Place 18 cupcake cases into a cupcake tin.
- Combine the butter, sugar, flour, eggs, vanilla, cocoa and baking powder in a mixing bowl and with an electric whisk beat until smooth, light and fluffy – about 2 – 3 minutes.
- Fold in the cherries and the chocolate chips until well mixed.
- Divide between the cupcake cases and bake for 20 minutes.
- Remove from the oven, allow to cool for 5 minutes in the tin before transferring to a wire rack to cool completely.
- To decorated, melt the chocolate in a microwave in short bursts, or in a bowl over a pan of simmering water.
- Using a spoon, drizzle over the cupcakes.
- The cupcakes can be stored without the icing for up to two days in an airtight container.

Kristy Leanne Brown
January 28, 2014 @ 9:54 am
OOhhh, have saved this page for later! These look so scrummy that I just have to try them!