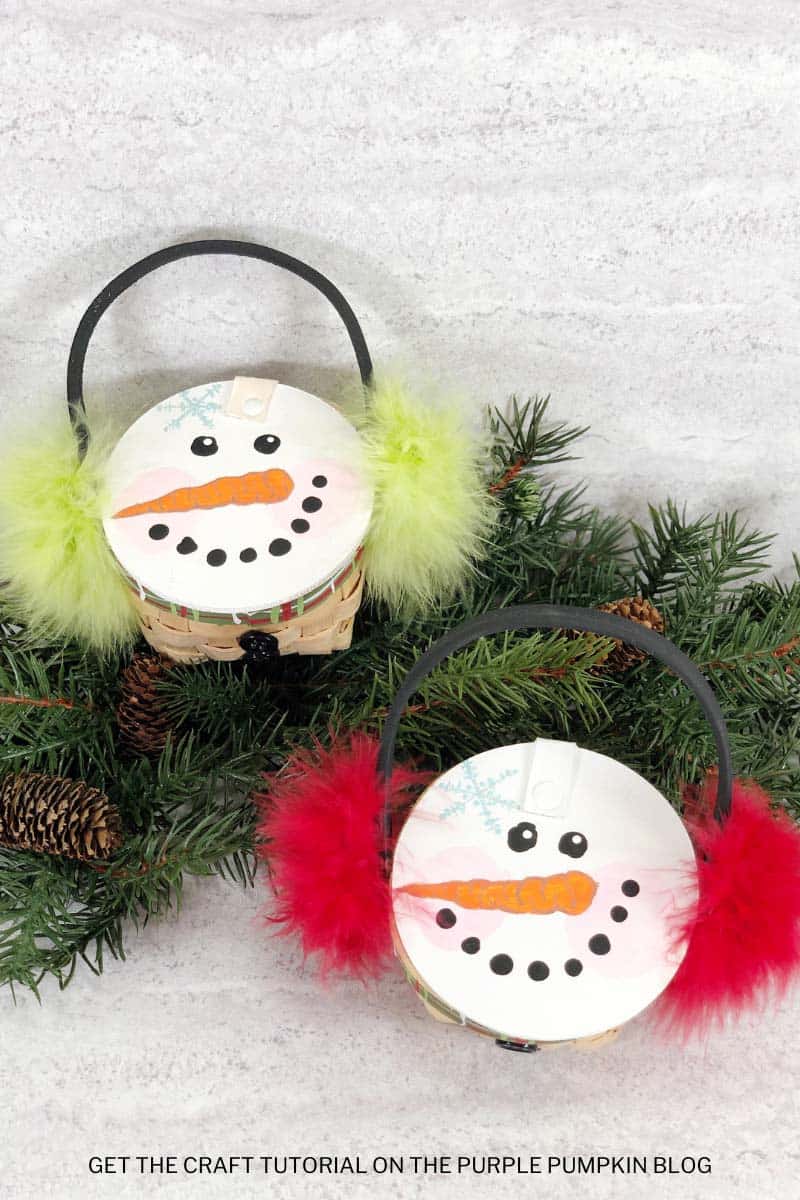
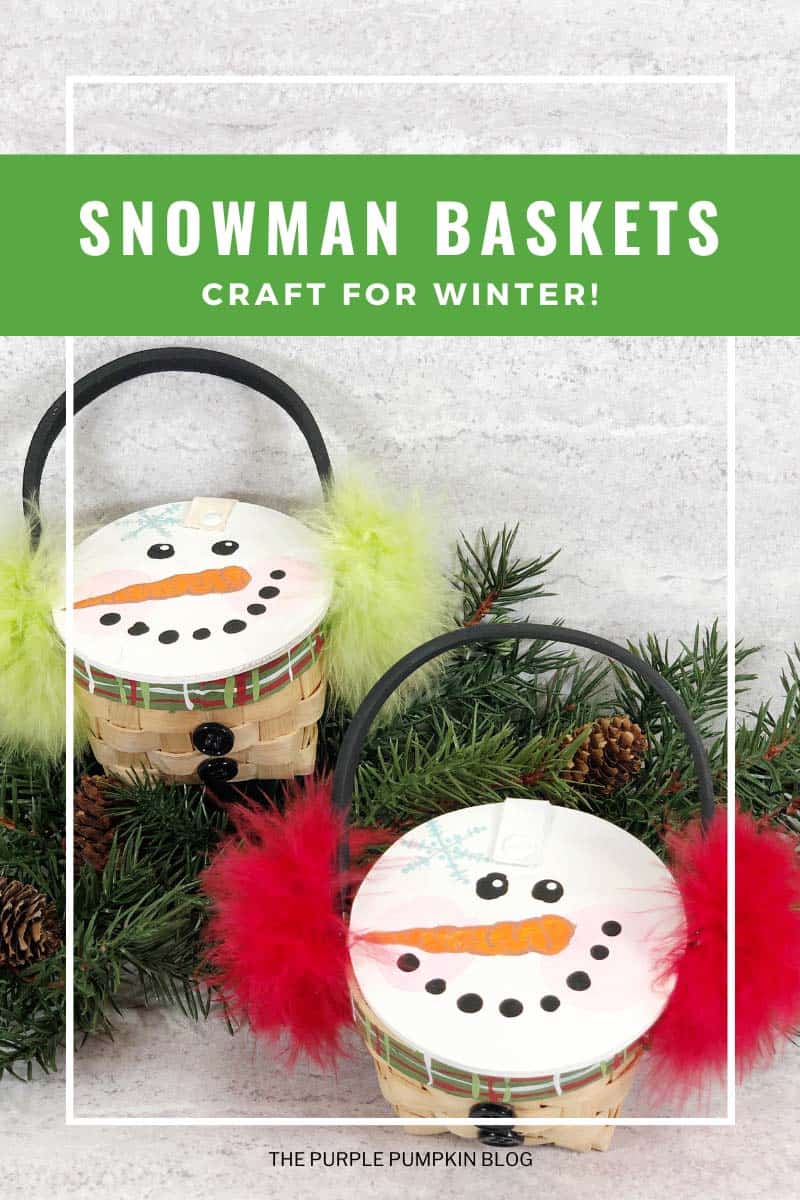
Snowman Basket Craft For Holding Treats!
Home » CREATE »It’s officially wintertime, which means colder weather and lots of snow! (Depending on where you live of course!)
If you’re looking for a fun winter activity to do with your kids, why not try this Snowman Basket Craft?
It’s perfect for holding small gifts or treats and it’s simple to make too.
I’ve got more Snowman Crafts & Recipes for you to try out. Right-click and open a new tab to read next!
Affiliate Disclosure
We have included affiliate links to products and services related to the topic of this post.
This post contains affiliate links, and we will be compensated if you purchase after clicking on those links.
As an Amazon Associate, I earn from qualifying purchases.
Read Our Full Disclosure and Privacy Policy
Snowman Basket Craft
The full list of materials, tools, and instructions is found in the printable tutorial card at the end of this post. I highly recommend reading the blog post all the way through before starting this project to ensure that you have everything required and understand the steps and timings involved.
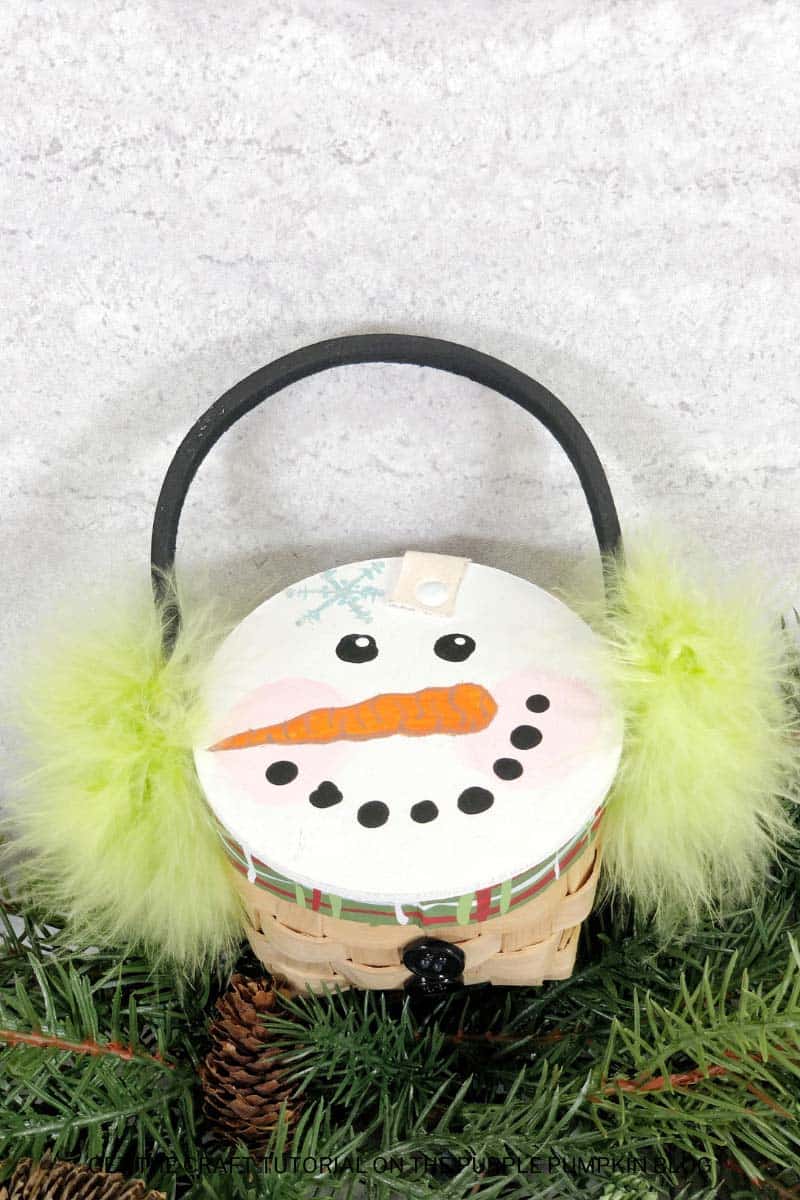
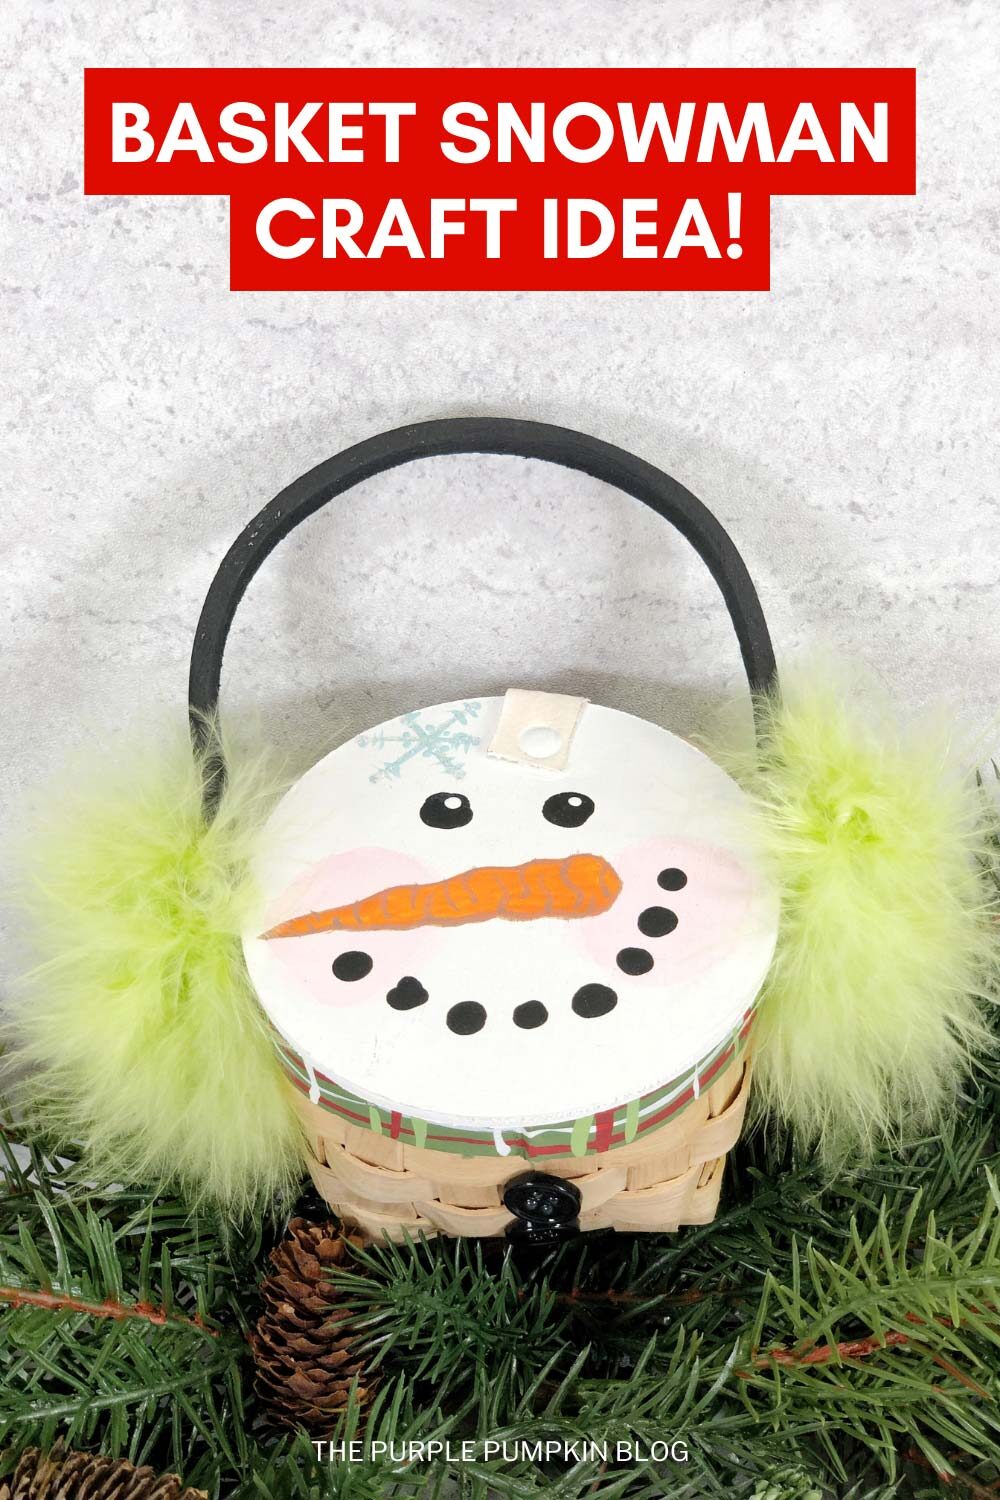
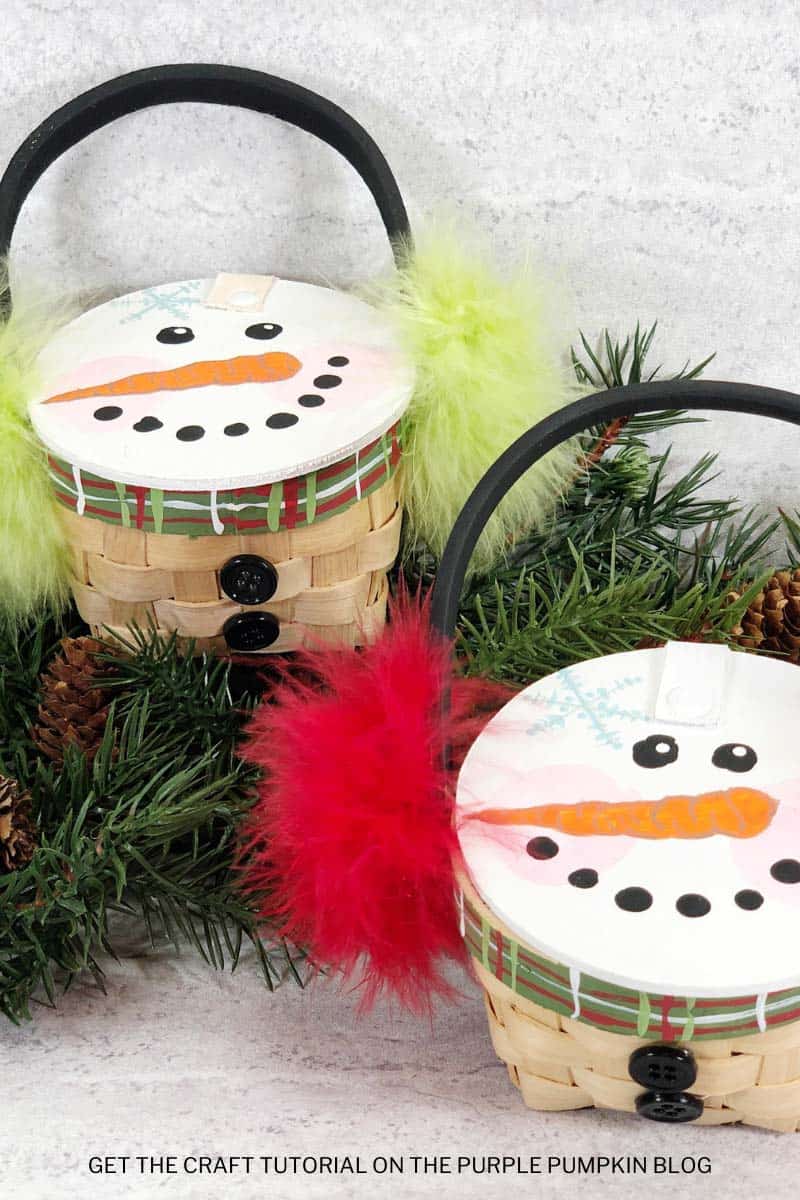
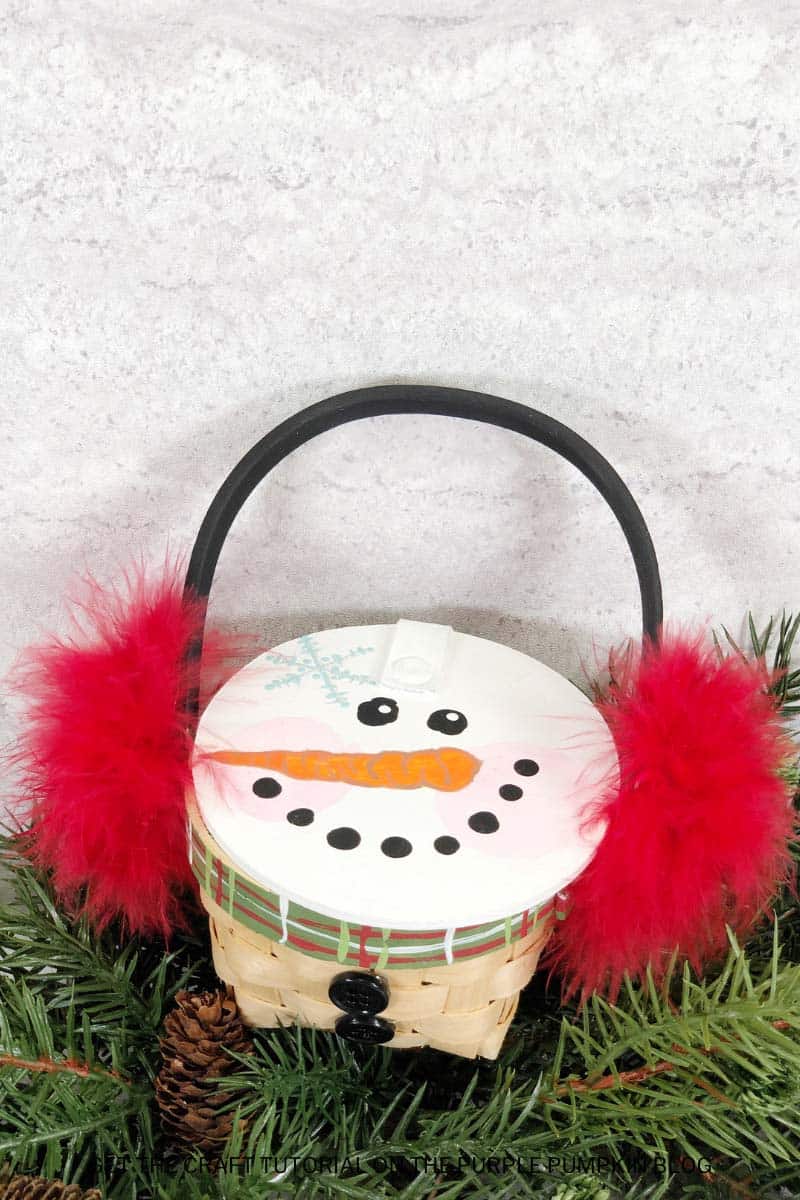
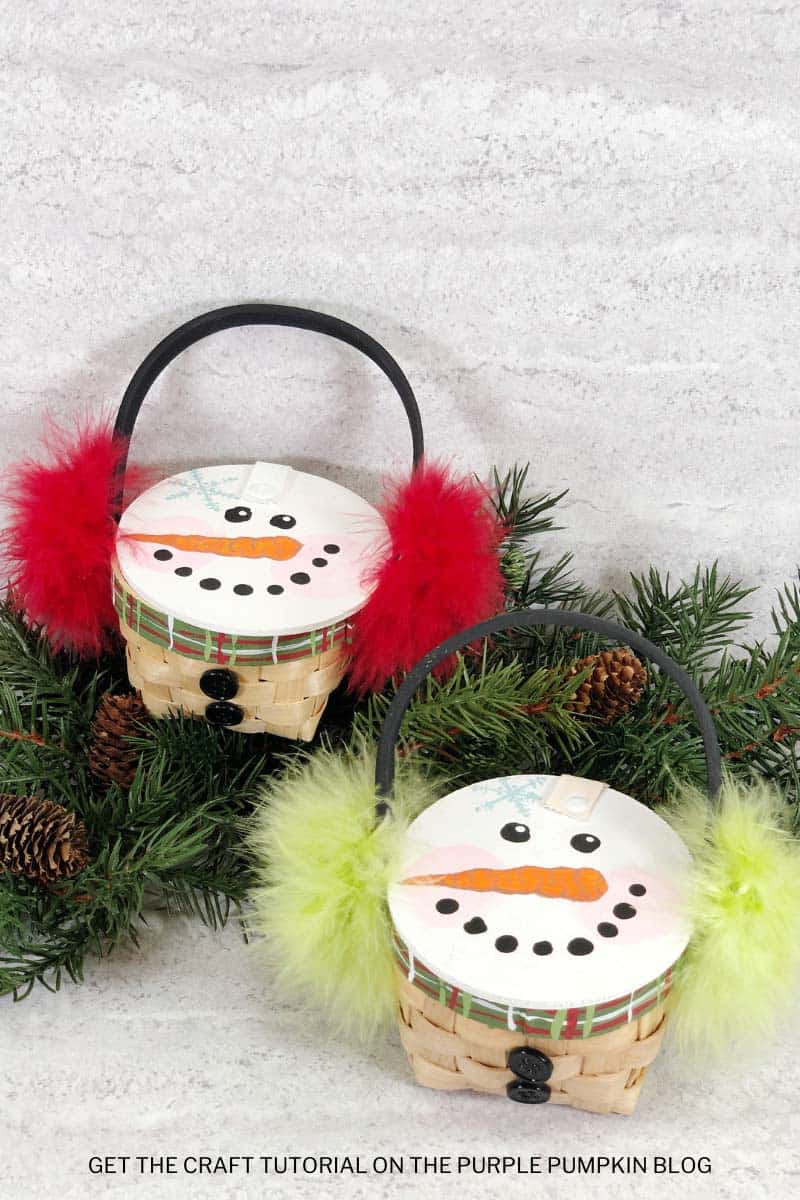
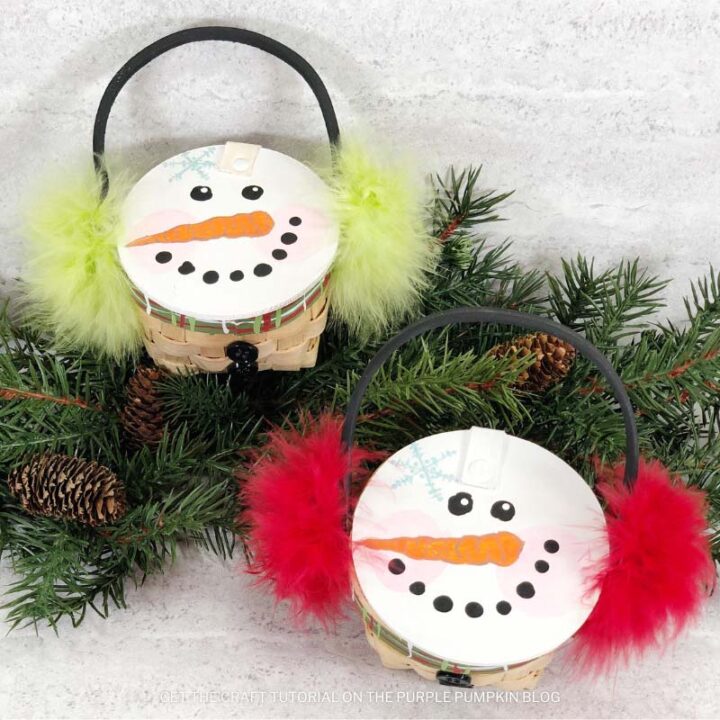
How cute is the snowman basket craft?!
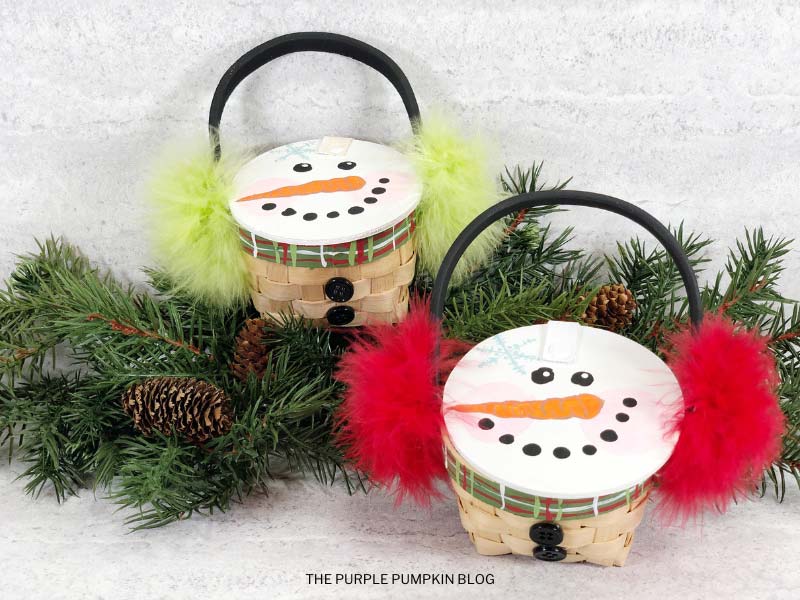
A simple basket is turned into a snowman with paint and a fluffy feather boa!
The baskets we used had a little wooden lid which is where we painted the snowman’s face, but I give you some options in the materials section below.
If you’re the sort of person who keeps stuff to use later and has some baskets lying around, it’s a perfect time to upcycle them!
This is a fun winter craft to make with the kiddos, or for tweens and teens to craft on their own.
Filling the baskets with treats would make the basket snowmen a perfect hostess, teacher, or neighbor gift for the holiday season.
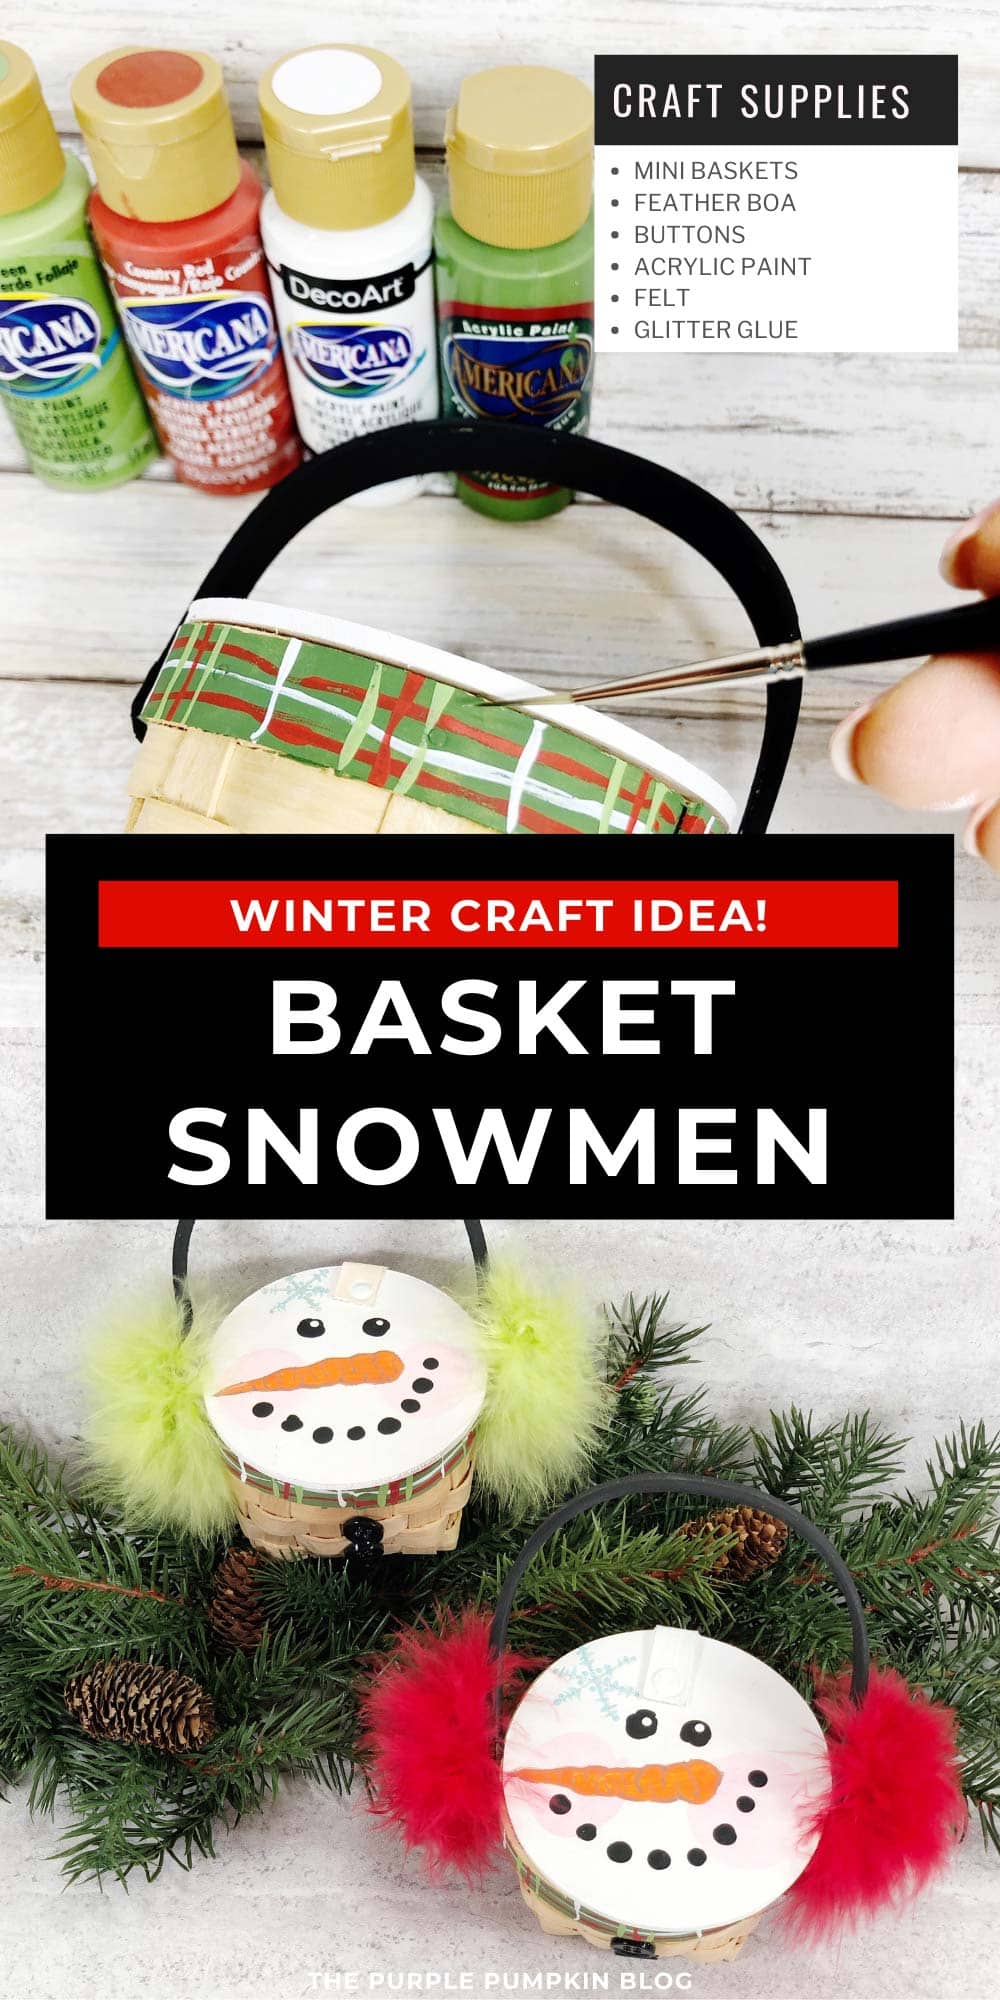
Materials & Tools Used in This Craft
For your convenience, I’ve linked [some of] the materials and tools needed for this project to Amazon below. The quantities are on the craft tutorial card at the end of this post.
- Small Baskets – with a handle and lid (the latter if possible). The size doesn’t matter too much, it will depend on what you want to use it for. The ones I’ve linked here are mini baskets, only a few inches in size. These would be fun to make as holiday favors or classroom gifts. Larger baskets would be great for general gifting. If you can’t source baskets with a lid, you can cut a piece of thick cardstock to size and use that instead. Balance it in place if filling the basket with treats, but if not, attach it to the basket with glue.
- Fluffy Feather Boa – along with some felt to make the earmuffs. We used red and green, but you can use any color that you like. You could cut circles from some fluffy material instead.
- Felt – you will need scraps of red and green to create the backing for the earmuffs.
- Black Buttons – you will need two per snowman basket.
- Acrylic Paints – in the following colors: White, Orange, Black, Pink, Light Blue, Dark Green, Light Green, and Red.
- Paintbrush – this is a set of paintbrushes of various sizes and types for different types of paint and glue. For this project, you will need a small flat brush and a skinny round brush.
- Iridescent Glitter Glue
- Hot Glue Gun and Glue Sticks
- Scissors
Cheap Craft Supplies
A great thing about this craft idea is that it can be budget-friendly using supplies you may already have or can be purchased cheaply in stores:
If you’re in the USA, check out your local Dollar Store or Dollar Tree; and if you’re in the UK, the Poundshop, The Range, Wilko, and Baker Ross are great places to shop for cheap and inexpensive craft supplies.
To the rest of the world reading this – I don’t know every cheap store there is – sorry! But please do hunt the ones out in your location for crafting bargains!
More Snowman Crafts
Looking for more snowman crafts to do? Right-click and open these in a new tab to read next!
- “Let It Snow” Snowman Sign Craft using a Cricut
- Easy To Make Snowman Charm Bracelet Craft Using Beads
- Simple & Rustic Wood Block Snowman Craft (Jenga Block Craft)
I’ve shared lots of great craft ideas on The Purple Pumpkin Blog over the years, in fact, there are 100+ crafts to make and do at home for you to try!
Craft Tips
- Fill the baskets with sweet treats and gift them to family members and friends this holiday season.
- A great craft project for tweens and teens to create on their own or with younger kids.
- You can transfer some of the techniques here to other containers such as jars or paint cans.
How Do I Make Snowman Baskets?
Just check out the how-to card below with full materials, tools, and instructions. Any demonstration photos do not print out to save your ink.
Snowman Basket Craft
If you're looking for a fun winter activity to do with your kids, why not try this Snowman Basket Craft?
Materials
- 2 Mini Baskets with Lid and Handle*
- Feather Boa - Red and Green
- 4 Black Buttons
- Acrylic Craft Paint - White, Orange, Black, Pink, Light Blue, Dark Green, Light Green, Red
- Scraps of Felt - Red and Green
- Iridescent Glitter Glue
Tools
- Paintbrushes – Small Flat Brush and Skinny Round Brush
- Glue Gun and Glue Sticks
- Scissors
Instructions
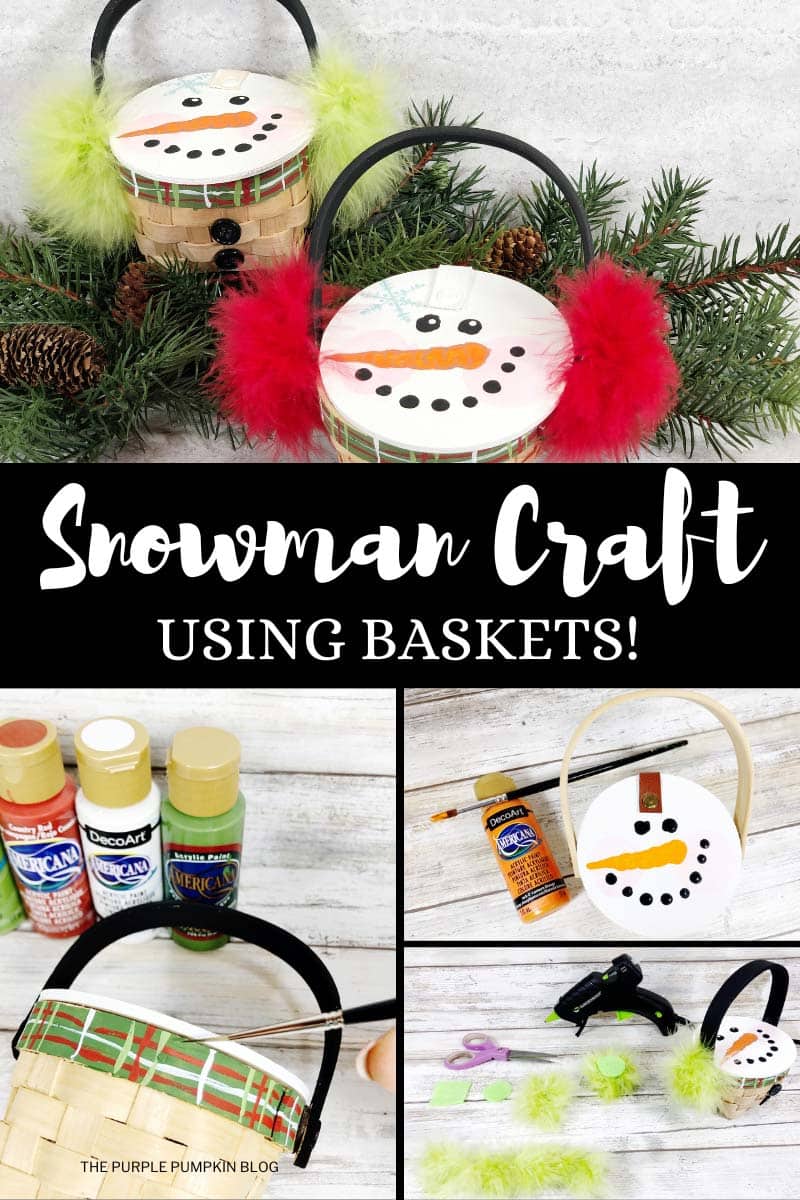
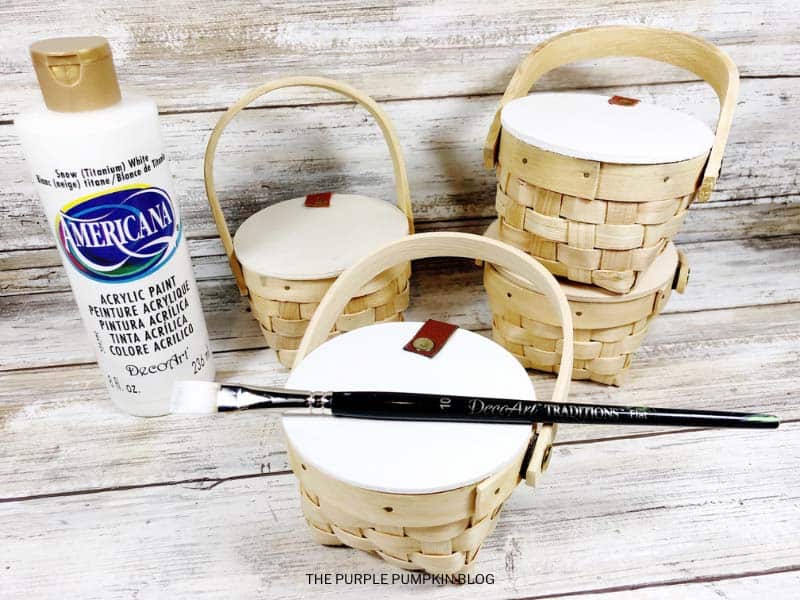
- Use the flat brush to paint the wooden lid of the mini basket with white paint. Paint the wooden handle of the mini basket with black paint. Apply second coats of paint, if necessary, and then set aside to dry.
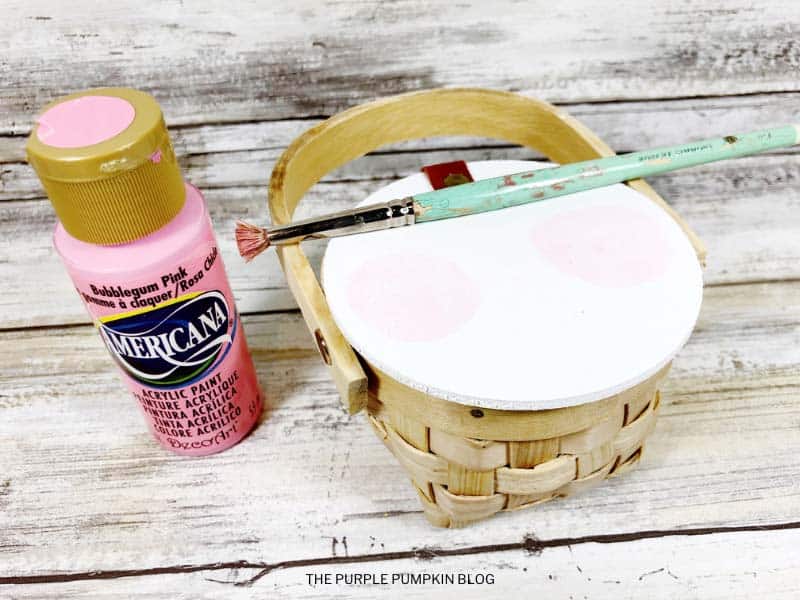
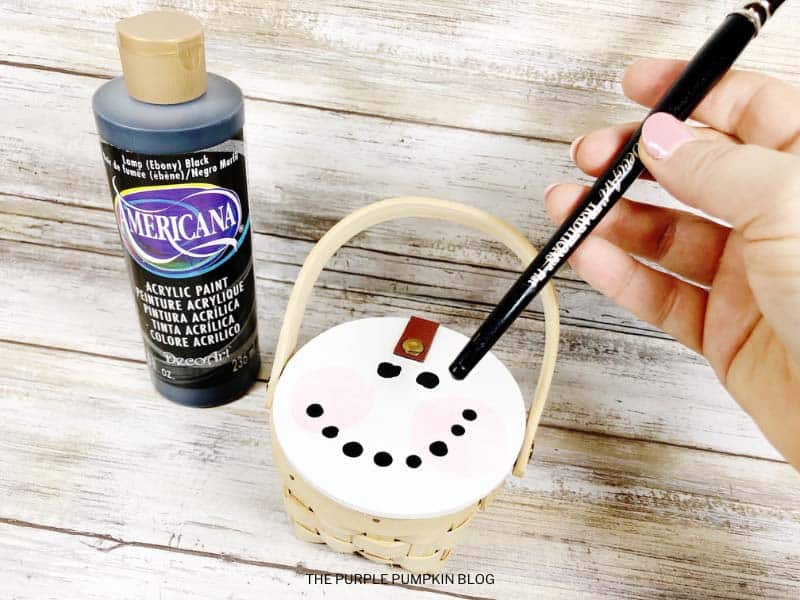
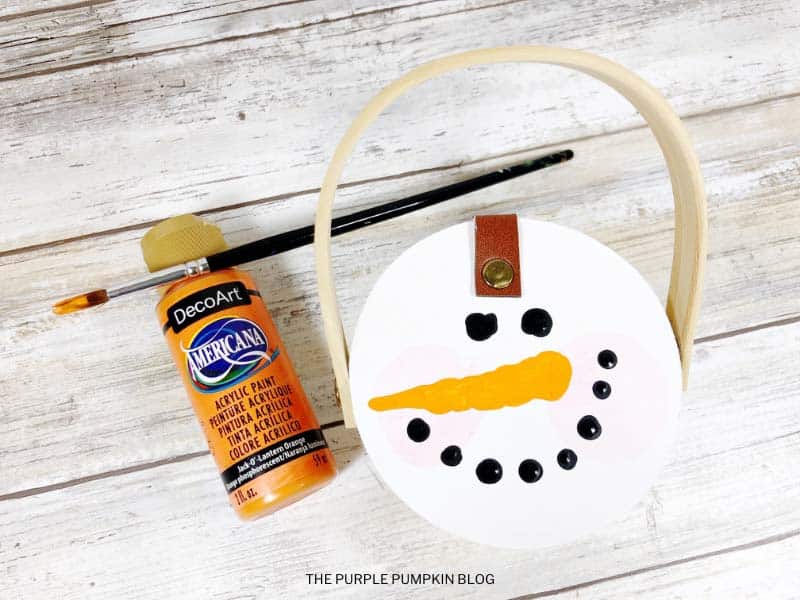
- Apply rosy cheeks to the snowman with light pink paint diluted with a bit of water. Dip the end of a paintbrush into black paint and dot on snowman eyes and mouth. Use the same technique to add white highlights to the eyes. Paint an irregular triangle for the snowman's carrot nose with orange paint. Use the skinny round brush to add an outline around the carrot nose with black paint diluted with a bit of water.
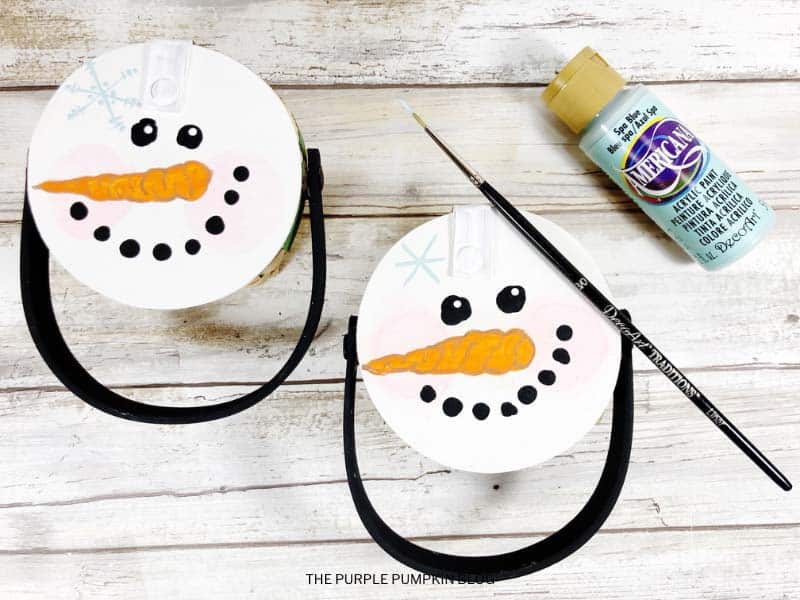
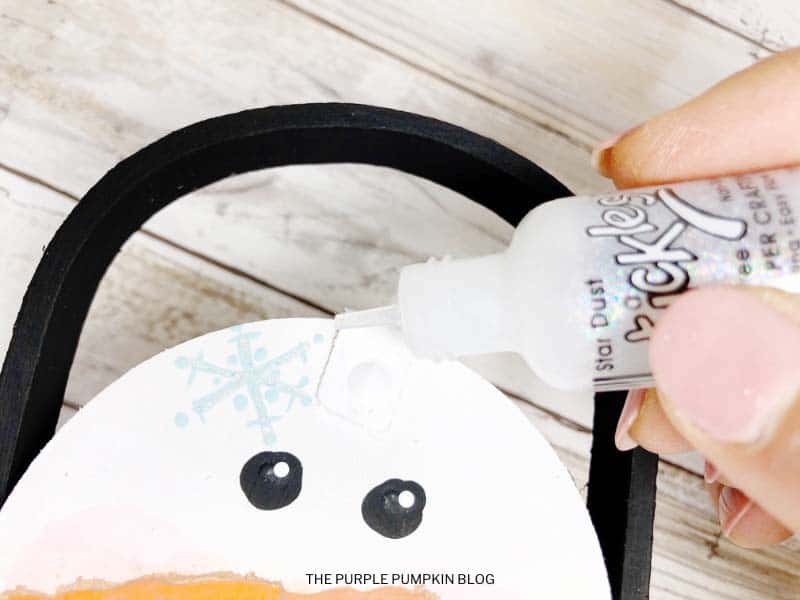
- Paint a small snowflake at the top of the snowman's face with light blue paint and the skinny round paintbrush. Once the paint is dry, outline with iridescent glitter glue. Set aside to allow glitter glue to dry.
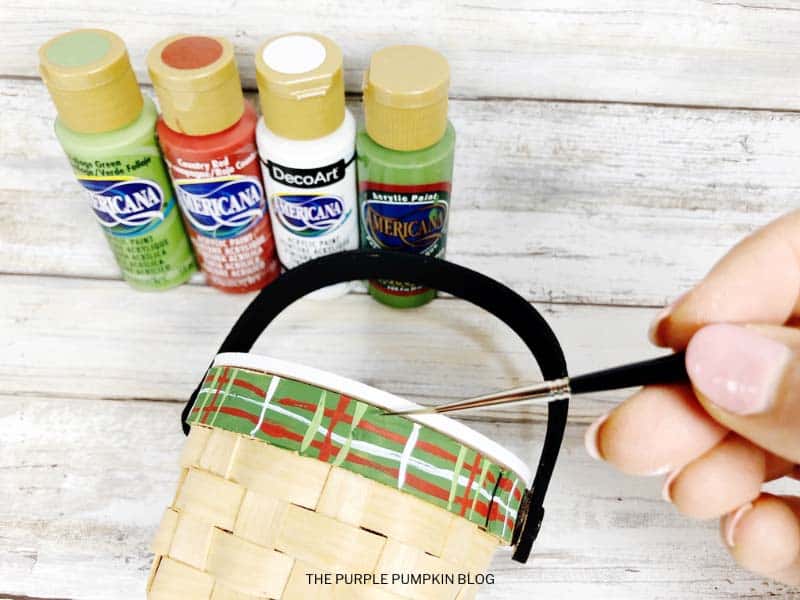
- Basecoat the band at the top of the basket with dark green paint. Apply a second coat of paint, if necessary, and then set aside to dry. Using the skinny round brush create a plaid pattern with white, red, and light green paint. Allow each color to dry before adding the next color.
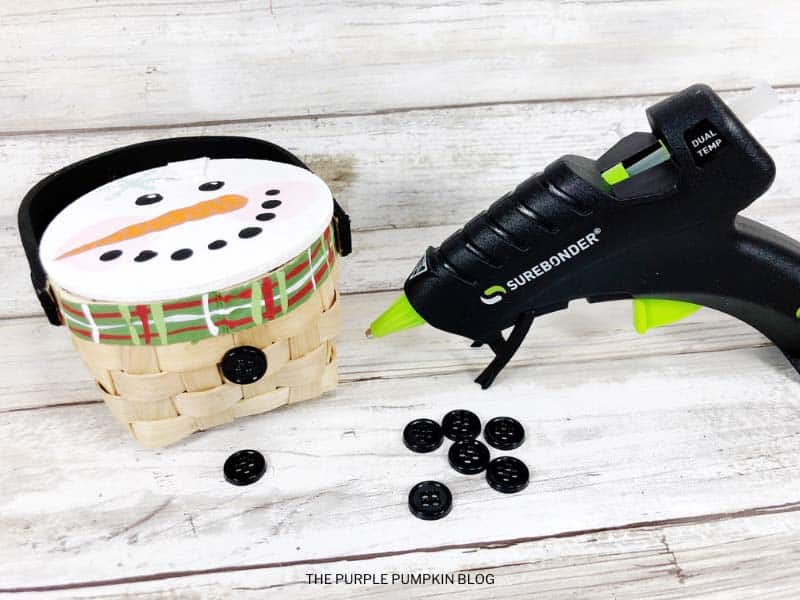
- Attach two black buttons to the front of the basket with a glue gun and glue sticks.
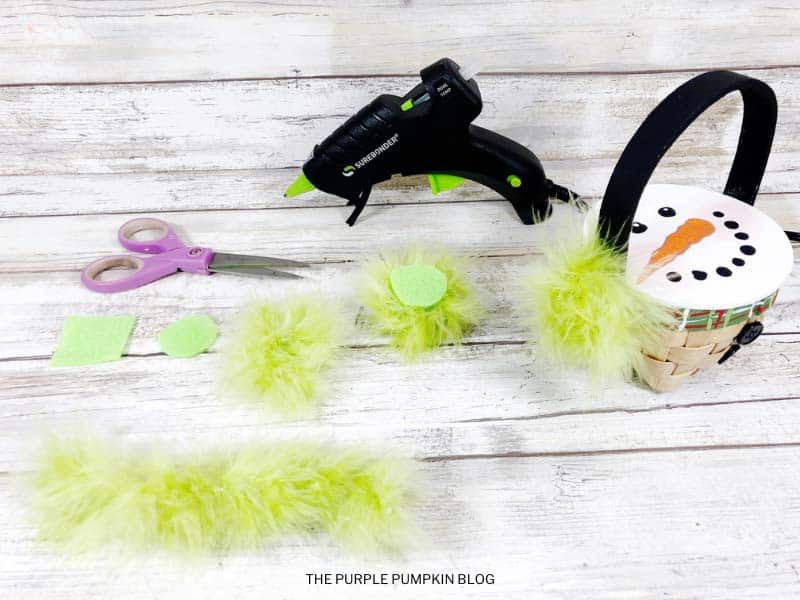
- To create the earmuffs cut two one-inch (5cm) circles from craft felt. Measure and cut two eight-inch (20cm) lengths of feather boa trim and glue to the felt in a spiral fashion making sure to secure the ends with a glue gun and glue sticks. TIP: Use the tip of your scissors to hold the feather boa trim down until the hot glue cools.
- To finish, glue the earmuffs to either end of the basket handle. You can display your basket snowman where you like, or fill it with treats as a lovely gift!
Notes
*If you can't find a basket with a lid (which form's the snowman's face), you can use a piece of white card stock, placed on top. If not using the basket to hold treats, you can glue the card in place.
Recommended Products
As an Amazon Associate and member of other affiliate programs, I earn from qualifying purchases.
The Create the Holidays series on The Purple Pumpkin Blog features free printables, crafts, recipes, and more for Christmas and the Winter Holidays. Check out Create the Holidays (formerly Create Christmas) from 2023, 2022, 2021, 2020, 2019, 2018, 2017, 2016, 2015, 2014, 2013, and 2012.

This craft features in Twinkl’s Christmas Things To Do Guide, 2022 blog.
