Easy To Make Snowman Charm Bracelet Craft Using Beads
Home » CREATE » Crafts » Christmas Crafts »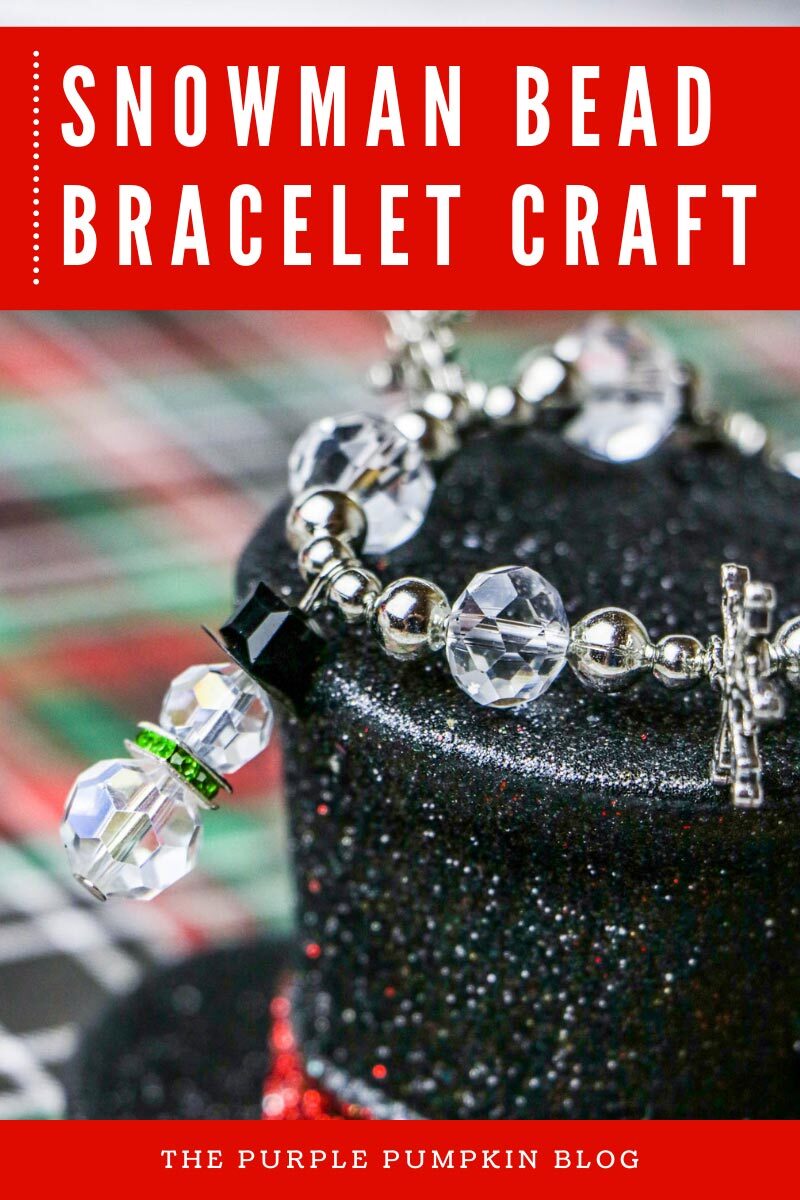
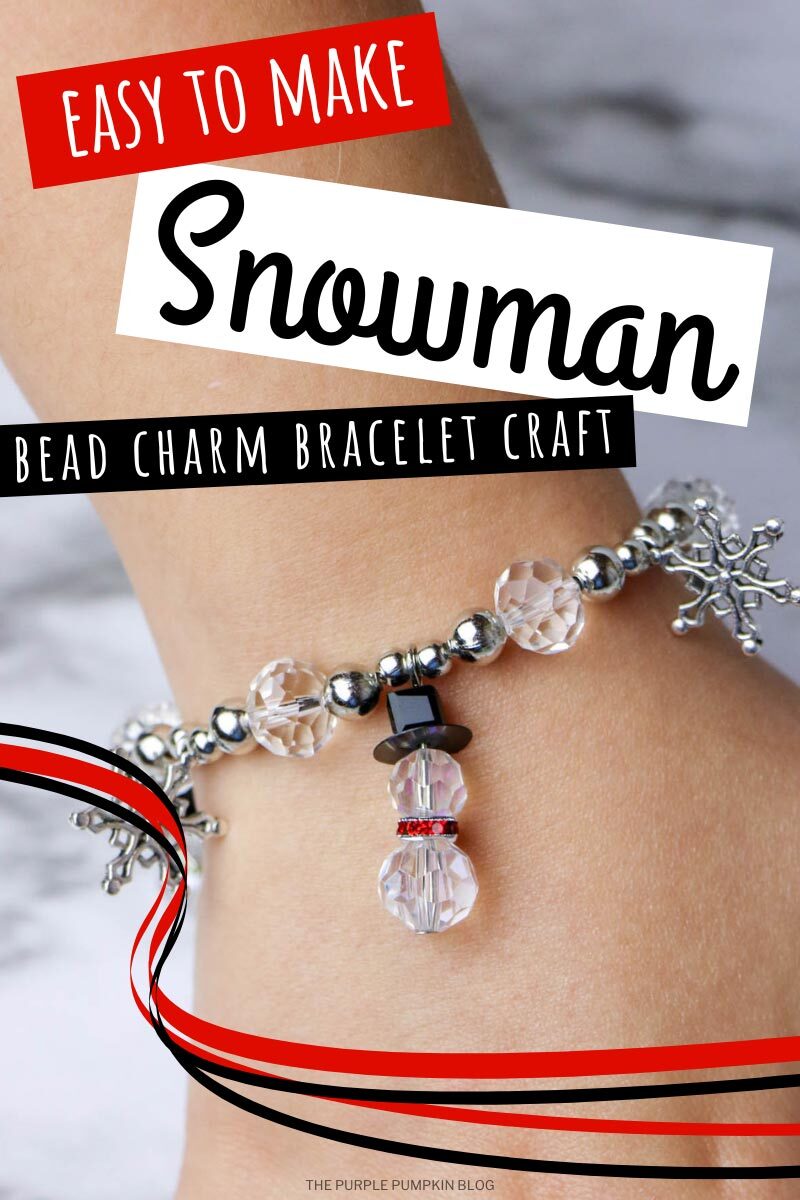
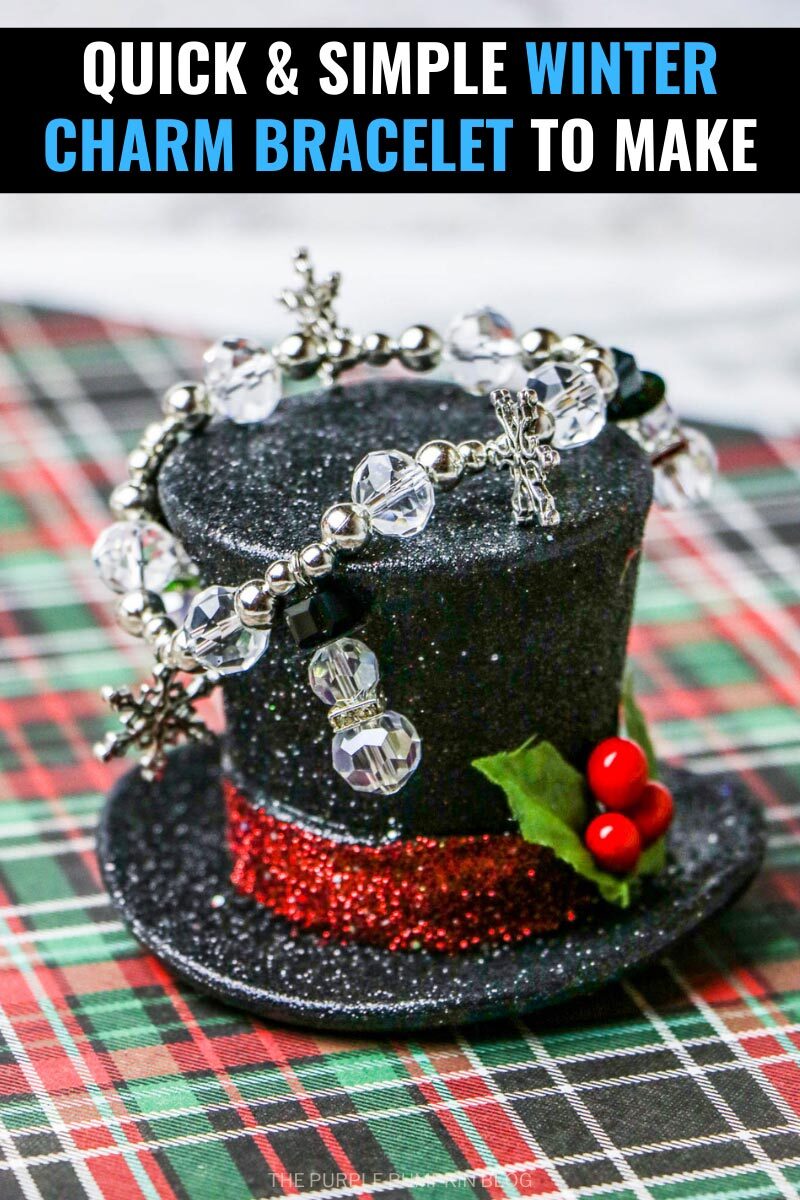
This Snowman Charm Bracelet Craft is made using beads and charms and is a fun crafting project for kids and adults alike. The charm bracelet is an easy introduction to jewelry making and can be assembled very quickly. The pretty bracelets make a fab gift for someone or for yourself!

I’ve got more Snowman Crafts & Recipes for you to try out – right-click and open these other activities in a new tab so that you can read them after this one!
Affiliate Disclosure
We have included affiliate links to products and services related to this post.
We may earn a commission if you purchase after clicking on those links.
As an Amazon Associate, I earn from qualifying purchases.
Read Our Full Disclosure Policy and Privacy Policy
Snowman Charm Bracelet Craft
The full list of materials, tools, and instructions are found in the printable tutorial card at the end of this post. I highly recommend reading the blog post all the way through before starting this project to ensure that you have everything required and understand the steps and timings involved.
I used to LOVE making jewelry when I was a younger. My sister and I would go into London, to the Covent Garden Bead Shop and stock up on lots of different beads to make our own necklaces, earrings, and bracelets.
It’s one of those hobbies that I have, that I like to pick up from time to time as it can be quick and easy, and gives you a lovely thing at the end that you can wear.
It’s such a simple project that young kids can have a go at making a bracelet too (as long as they’re past the “putting everything in their mouths” stage!). Actually, it’s a pretty good task for improving fine motor skills.
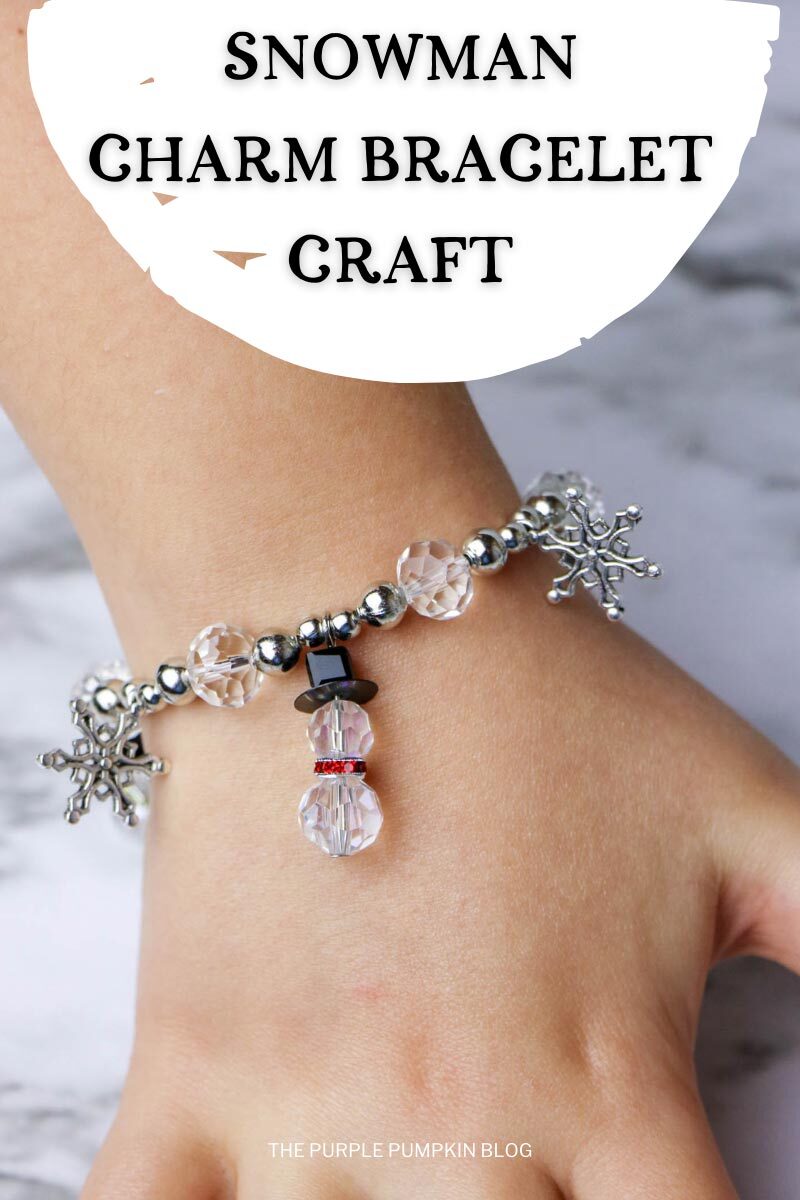
No specialised equipment is needed to make this winter bracelet as the beads and charms are strung onto bracelet elastic, so all you need is some scissors.
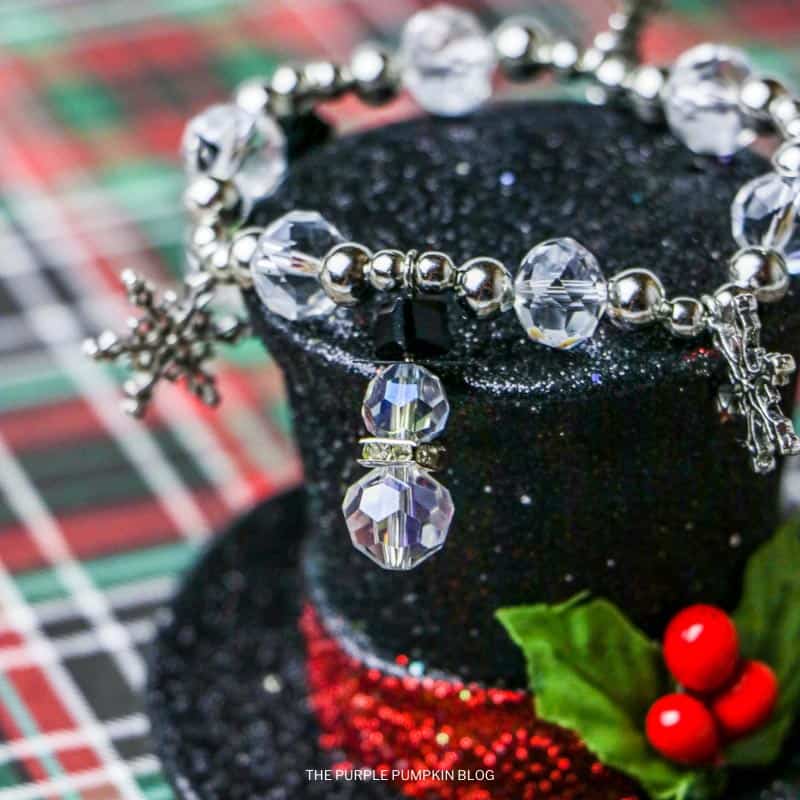
This sweet snowman charm bracelet is made using a variety of different beads and charms. I’ve made some suggestions in the materials list, but you could use any type you like, or adjust depending on where you live and what you are able to source online or in stores.
Whatever type of beads you use in your bracelet I hope you have fun making it, and don’t forget you can always share with me on social media – find all my details in the footer of this post!
This post is part of Create the Holidays (formerly Create Christmas) – a series of festive recipes, crafts, printables, and more on The Purple Pumpkin Blog!
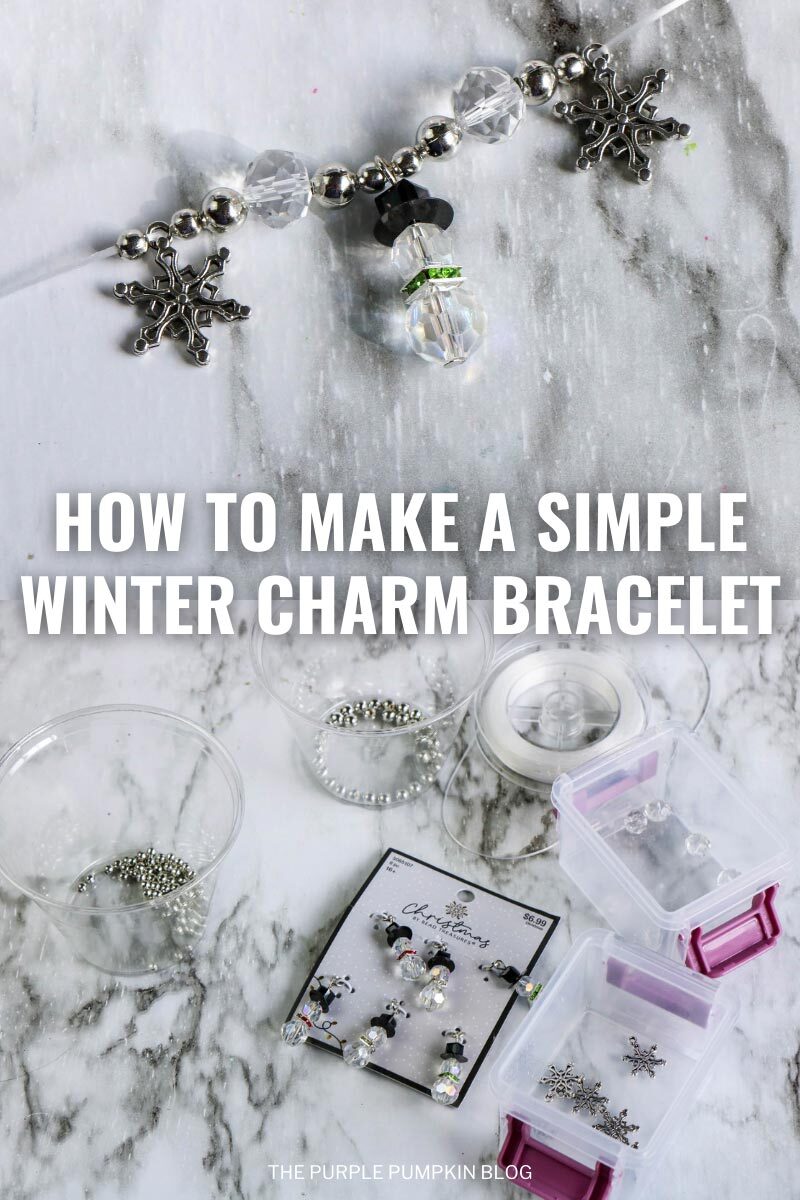
Materials & Tools Used in This Craft
For your convenience, I’ve linked any specialized materials and tools needed for this craft to Amazon below. The full list of supplies, which may include basic crafting items that you already have can be found in the tutorial card at the end of this post.
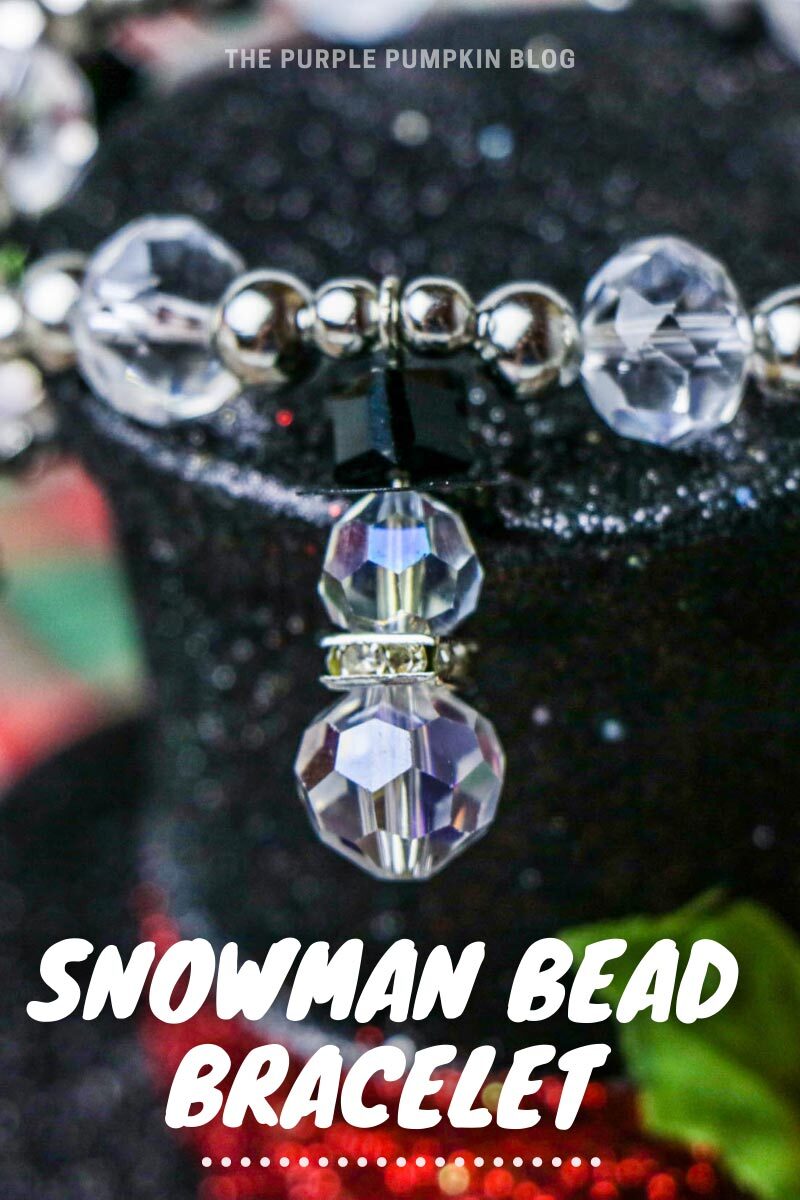
- Snowman Bead Charms – this bead kit from Amazon contains the beads to make little snowmen if you can’t find whole charms. Or you could use silver charms like the ones in this set of different Christmas designs. If you live in the US, these ones are from Hobby Lobby and the ones pictured in this post.
- Snowflake Charms
- Glass Faceted Beads – you can use clear beads or colored beads.
- Silver Beads
- Elastic Bracelet String
More Winter Crafts
Want some more crafts to do during the winter and holiday season? Check these out next:
- Rudolph the Reindeer Poop Soap – A Fun Stocking Stuffer Idea!
- Free Printable Polar Bear Paper Craft
- Tissue Paper Christmas Wreath
I’ve shared lots of great craft ideas on The Purple Pumpkin Blog over the years, in fact, there are 100+ crafts to make and do at home that you can try.
How Do I Make a Snowman Charm Bracelet?
Just check out the how-to card below with full materials, tools, instructions and demonstration photos. You can print the card out too (don’t worry, the pics don’t print to save your ink!).
Snowman Charm Bracelet Craft
TOOLS
Instructions
- Measure the bracelet string around the wearer’s wrist, plus an extra 4"/10cm to allow for tying off the bracelet. Cut with scissors.
- To start the bracelet, loosely tie one silver bead to the end of the bracelet. This will stop the beads from falling off the end when you string them on.
- Use the various beads to layout a pattern of choice and when you are happy with it, string onto the elastic.
- Tie off the bracelet and then trim the excess string with scissors.
- Slip the bracelet over your wrist and show off your new bracelet!
This post is part of my long-running Create the Holidays series on The Purple Pumpkin Blog. Since 2012, I’ve shared free printables, crafts, recipes, and more for Christmas and the Winter Holidays. While I don’t officially run the series anymore, seasonal inspiration will still be here! Browse past Create the Holidays (formerly Create Christmas) years: 2024, 2023, 2022, 2021, 2020, 2019, 2018, 2017, 2016, 2015, 2014, 2013, and 2012.