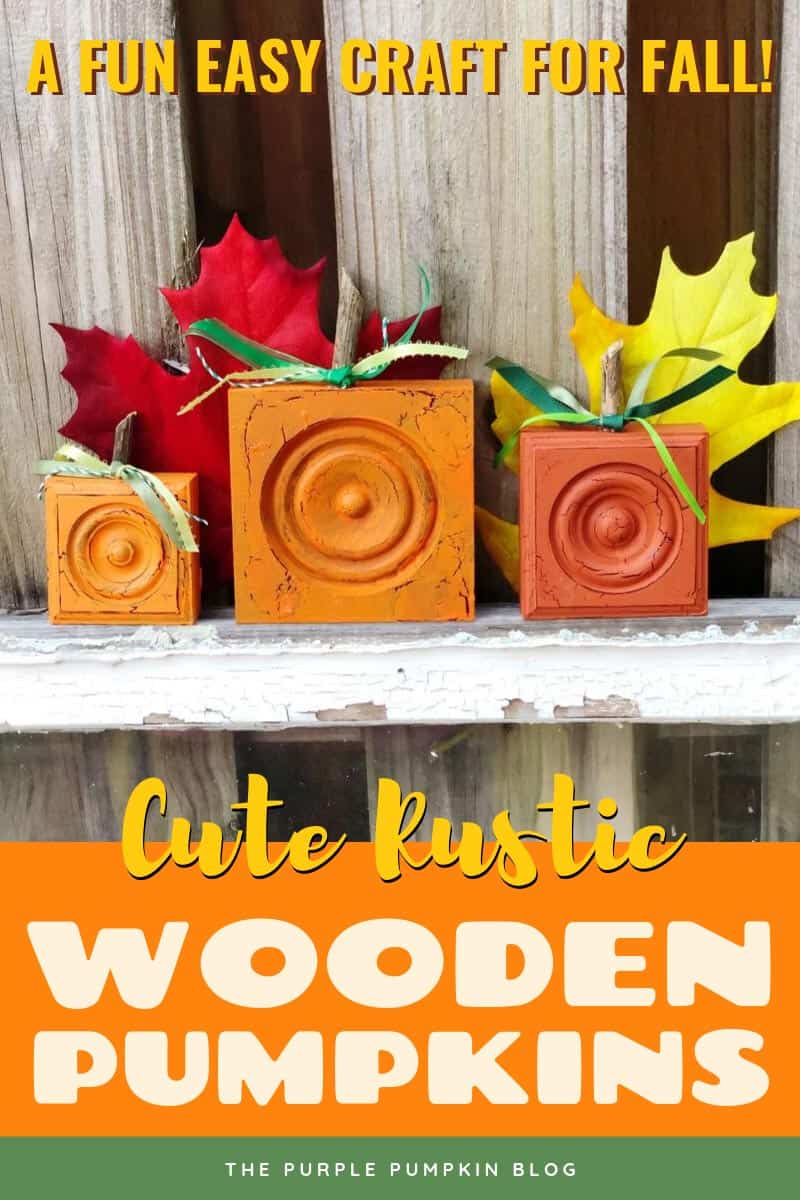
How to Make Rustic Wooden Pumpkins
Home » CREATE » Crafts » Pumpkin Crafts »You don’t visit a website called The Purple Pumpkin Blog without finding something related to pumpkins! Learn how to make rustic wooden pumpkins using new wooden blocks from the DIY home improvement store. They are given the vintage look with acrylic paint and crackle medium and will look gorgeous sat on the mantle, shelf, or even outside your front door on a porch or step.

I have got more Autumn Crafts for Adults that you might like to try out. Why not right click and open these other crafts in a new tab so that you can read them after this one!
Affiliate Disclosure
We have included affiliate links to products and services related to this post.
We may earn a commission if you purchase after clicking on those links.
As an Amazon Associate, I earn from qualifying purchases.
Read Our Full Disclosure Policy and Privacy Policy
Rustic Wooden Pumpkins
Over the years I’ve seen lots of different wood pumpkin crafts online, and it’s time to throw another one into the mix with this craft tutorial. And yes, I know pumpkins are round, and these are square… it’s called interpretive art!
When autumn rolls around I love breaking out rustic and vintage looking decorations to add the fall vibe to our home, and these rustic wooden pumpkins really fit the bill.
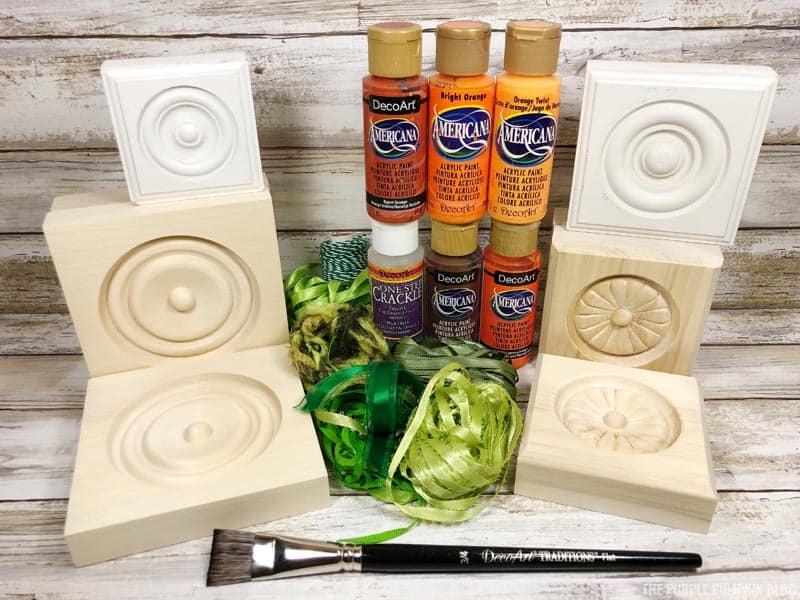
Materials & Tools Used in This Craft
Let’s have a chat about the materials and tools that you will need if you want to make this pumpkin craft.
- Wooden Blocks – in three different, staggered sizes (2 ½”, 3 ½”, and 4 ½”). The ones you see have got a rosette in, and you will find them in DIY stores. They might be called slightly different things in your home country (plinths, architrave, moulding). If you can’t find blocks in this style, don’t panic, just use plain ones instead.
- Americana Acrylic Paint – from DecoArt in the colours listed below. If you can’t buy this brand, then you will need three slightly different shades of orange.
- Americana Weathered Wood Crackle Medium – this is a product that gives you that aged, weathered, cracked paint effect – without having to wait years for it to happen naturally!
- Ribbons – assorted scraps of green – they don’t have to match
- Paintbrushes – 1″ flat wash (wash paintbrushes leave fewer brush marks)
- Low Temp Glue Gun and Glue Sticks
- Scissors
- Thick stick/twig – from your garden/yard
- Garden Pruning Shears – to cut the tree stick

How to make wood pumpkins
I’ve got several step-by-step photos to guide you through making these rustic pumpkins, and there is also a slideshow video over on my YouTube channel that you can watch and save to your Playlists for future reference. (Don’t forget to subscribe while you are there!)
Full instructions are found in the printable tutorial card at the end of this post, but here is a quick outline so you know what to expect from the craft. I highly recommend always reading everything all the way through before starting any project so you understand all the steps required.
Step 1: Paint a base coat using Dark Chocolate on all your wood pieces and leave to dry – apply a second coat if required.
Step 2: Randomly apply the crackle medium with a different paintbrush. The size of the cracks (which will appear when you add the orange paint layer ) will vary depending on the thickness of your crackle medium application, and this is a good thing, so mix it up! Leave to dry for about 30 minutes.
Step 3: Apply a thick coat of orange paint (use a different shade for each block) over the dried crackle medium. Use a limited number of strokes and do not paint over the same area more than once. As the paint dries cracks will start appearing – large ones where the medium was applied thickly, and small cracks on the thinner applications.
Step 4: Use pruning shears to cut your stick into 1″ – 2″ pumpkin stalks and attach to the top, center of each pumpkin with a glue gun.
Step 5: Trim a selection of green ribbons into 6″ pieces and tie a knot in the center. Glue to the base of the pumpkin stalk and your rustic wooden pumpkins are complete!
More Pumpkin Crafts
So you’ve finished making your wooden pumpkins and want to try out some more pumpkin crafts? Here you go!
I’ve shared lots of great craft ideas on The Purple Pumpkin Blog over the years, in fact, there are 100+ crafts to make and do at home that you can try.
Rustic Wooden Pumpkins Craft
Materials
- Wooden Blocks/Rosettes – 2 ½” 3 ½”, and 4 ½”
- Americana acrylic paint from DecoArt – Dark Chocolate; Bright Orange; Jack-O-Lantern Orange; Burnt Orange
- Americana Weathered Wood Crackle Medium
- Ribbons – assorted scraps of green
- Thick stick/twig – from the garden/yard
TOOLS
- Paintbrushes – 1” flat wash
- Garden Pruning Shears
Instructions
- Paint a base coat on the wooden rosettes with Dark Chocolate and let dry. Apply a second coat, if necessary.
- Randomly apply crackle medium with a paintbrush. Apply heavy in some areas and thinner in others (which will result in a variety of cracks on the finished pumpkins). Allow medium to dry completely – about 30 minutes.
- Apply a thick coat of the orange paint (use a different shade per block) with a very limited number of strokes and do not paint over the same area more than once. As the paint dries it will crackle. Large
cracks will appear where the medium was put on thick and small cracks will appear where the medium was put on thin. - Cut twig/stick into 1" to 2" lengths with pruning shears and then attach to the top, center of each pumpkin with a glue gun.
- Gather a variety of green ribbons, trim them into 6” lengths and then knot in the center. Glue at base of pumpkin stalk.
Video
This post is part of my long-running Crafty October series on The Purple Pumpkin Blog. Since 2012, I’ve shared Halloween recipes, printables, and crafts every October. While I don’t officially run the series anymore, all my new Halloween posts are still part of this decades-long celebration of spooky fun! Browse past Crafty October years for even more inspiration: 2024, 2023, 2022, 2021, 2020, 2019, 2018, 2017, 2016, 2015, 2014, 2013, and 2012.