How To Make Pumpkin Mickey Ears!
Home » CREATE » Crafts » Disney Crafts » Mickey Ears »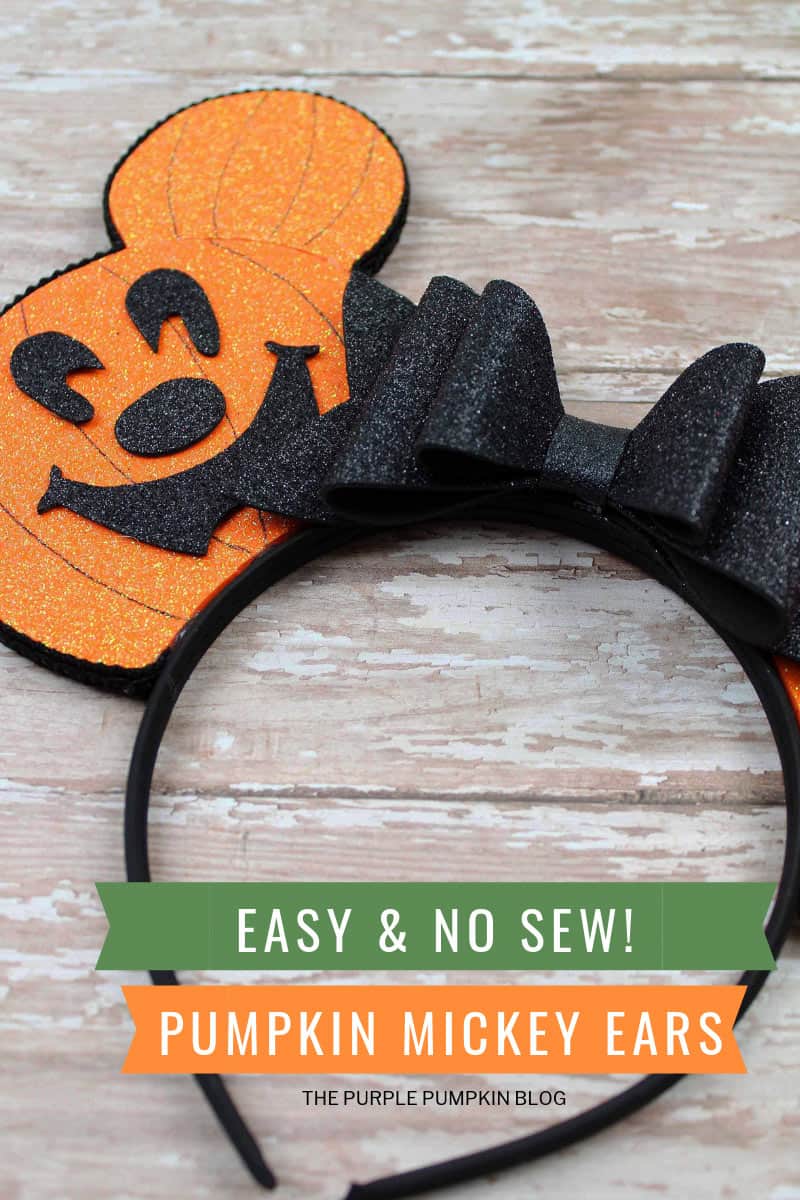
Make these adorable Pumpkin Mickey Ears and be the talk of the Halloween Party! If you love Mickey Ears at the Disney Parks and have always wanted to make your own pair, then this tutorial is for YOU!

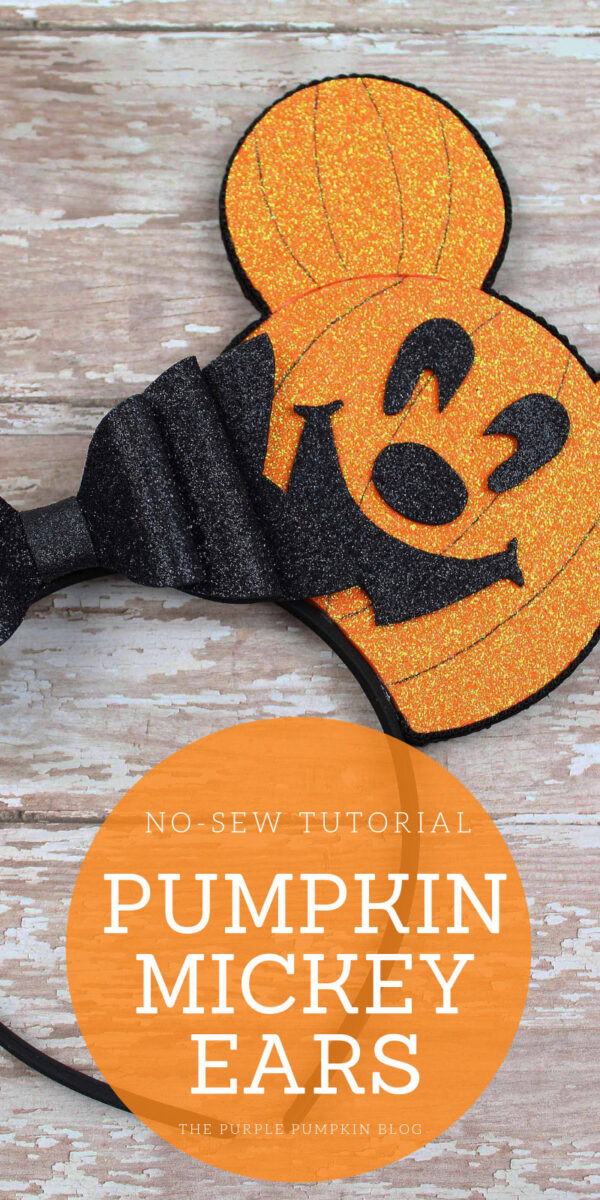
Don’t worry if you can’t sew, because these Mickey Ears are made using hot glue! And the end result is just awesome, don’t you think? These handmade Pumpkin Mickey Ears are perfect to wear at Mickey’s Not-So-Scary Halloween Party, or at any Halloween parties, you’ll be attending.
Affiliate Disclosure
We have included affiliate links to products and services related to this post.
We may earn a commission if you purchase after clicking on those links.
As an Amazon Associate, I earn from qualifying purchases.
Read Our Full Disclosure Policy and Privacy Policy
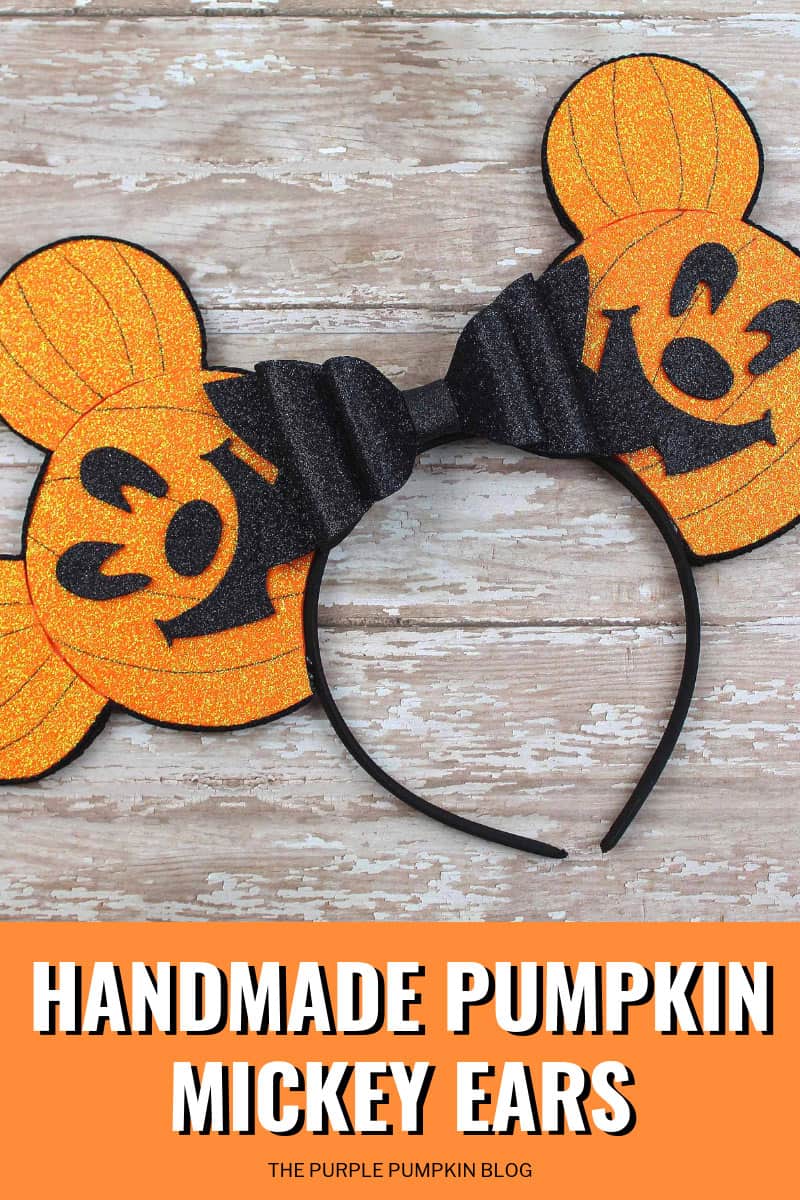
Pumpkin Mickey Ears
If you have seen my Maleficent Ears tutorial then you will know that I am a Disney Ears addict! I must have around 30 pairs, if not more!
Disney has really upped their Mickey Ear game recently, but they have also upped their prices too… starting at around $27 plus tax! So, if you don’t want to pay that much money for a pair of Disney Ears, or can’t get to a Disney Park, then you might want to make a pair of them yourself. And they’re easier to make than you think!
Continue reading to learn how to make these awesome DIY Disney Ears!
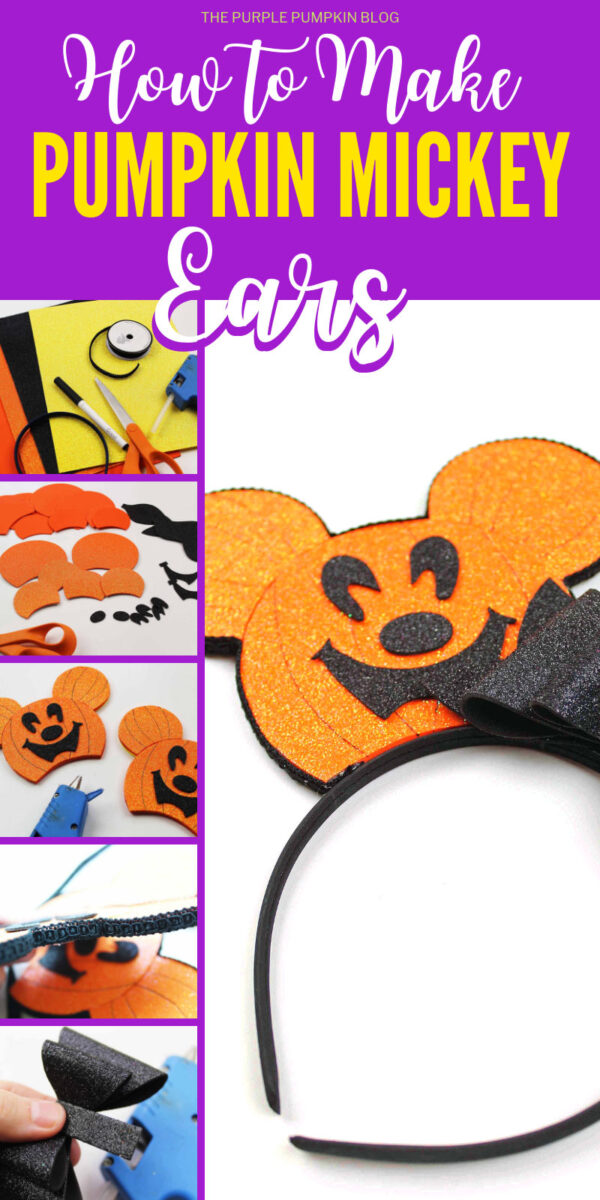
I’ve got a ton of step-by-step photos to guide you through making your Mickey Mouse Ears, and there is also a video tutorial over on my YouTube channel that you can watch and save to your Playlists for future reference. (Don’t forget to subscribe while you are there!).
Materials & Tools Needed
These Mickey pumpkin head ears are made with craft foam sheets – the regular kind, and the glittery stuff too. You could buy a big pack of colours as this is a great craft material to have on hand or buy the colours individually.
The pumpkin Mickey heads are three separate components – the head, and the two ears. Each of these components has three layers each of foam – the outer layers are glitter, and the inner one is just regular foam. The bow is made completely from glitter foam sheets.
- Foam Sheets in Black and Orange. (Yellow or Yellow Glitter, optional – see the tutorial for details.)
- Glitter Foam Sheets in Black, and Orange – or buy a multipack of glitter foam colours for future crafting.
- Scissors (or Craft Knife)
- Hot Glue Gun – I recommend a low temp glue gun and glue sticks so as not to melt the foam.
- Marker or Pen to trace the printable template (download below)
- Black Sewing Trim
- Black Headband
How Do You Make Pumpkin Mickey Ears?
Step 1: Download and print the Mickey Ears template (opens in a new window/tab), then cut all the pieces out.
Step 2: Trace around the template pieces with a marker pen onto the foam, then cut everything out. This is what you will need:
- 2 x plain orange pumpkin head
- 2 x plain orange pumpkin head ears
- 4 x glitter orange pumpkin head
- 4 x glitter orange pumpkin head ears
- 1 x large glitter black bow
- 1 x small glitter black bow
- 1 x small glitter black bow ribbon
- 2 x plain or glitter (your choice) black Mickey pumpkin face
- 1 x strip glitter black – to wrap around to form the bow
Step 3: Draw some pumpkin lines on all of the pumpkin head glitter foam pieces – front and back. Use the photos as a guide to what I mean!
Step 4: You now have to assemble each pumpkin head/ear part. To make one part of the pumpkin head take two glitter pieces and one regular piece and glue together with the glitter facing outwards. Repeat this until you have two pumpkin heads and four pumpkin ears. Leave to dry completely.
Step 5: Use your glue gun to attach the pumpkin ears to the pumpkin head. Space them evenly apart, and try to match them if you can! Glue on Mickey’s features too. Leave all to dry completely.
The Optional Steps! I mentioned yellow craft foam as an option. And while I don’t have photos for this part, my description should be enough to guide you. Instead of making black eyes/nose/mouth for Mickey, you could make them yellow instead to resemble a glowing Jack-o’-lantern.
Or, if you are feeling very skilled with a craft knife, you could sandwich a yellow layer of foam between the outer pumpkin head layers – but on one of these orange glitter layers, cut the features out with a craft knife so that it becomes a carved pumpkin Mickey head! Like I said, completely optional, but the idea is there if you want to do it!
Step 6: To assemble the bow, take the large black glitter bow piece, bring the two ends into the middle and glue in place. Do the same with the small black glitter bow piece. Place the small bow on top of the large one and wrap the strip of black glitter foam around the middle to keep the two bows together. Glue at the back to secure everything in place. Then glue the assembled bow to the black glitter bow ribbon and leave all to dry.
Step 7: When the pumpkin Mickey heads are completely dry it’s time to add a trim to hide the edges. Apply a layer of glue all around the outside edges and press the trim to cover. Leave to dry.
Step 8: When all the pieces are dry it’s time to assemble your Mickey Ears! Glue the pumpkin heads onto the top of the headband, then glue the bow in the center, and then leave to dry completely before wearing your DIY Pumpkin Mickey Ears!
There is a printable set of instructions at the end of this post for you to use offline.
More Disney Crafts
If you are looking for some more Disney crafts to do when you’ve finished making your Pumpkin Head Mickey Ears, then here are a few for you to check out:
- How To Make A Wooden Disney Sign With A Cricut Maker
- Make a Minnie Mouse Hair Bow using Duck Tape
- DIY Disney Vacation Countdown Chalkboard
- Disney Nail Art
More Pumpkin Crafts
And since it is Crafty October, here are some fun pumpkins crafts for you to try:
Visiting Walt Disney World for the first time? You need my Top Tips For Your First Walt Disney World Summer Holiday!
Pumpkin Mickey Ears Tutorial
Materials
- Black and Orange Foam Sheets
- Black and orange Glitter Foam Sheets
- Black Sewing Trim
- Black Headband
TOOLS
- Low Heat Hot Glue Gun + Glue Sticks
- Marker or Pen
Instructions
- Download and print the Pumpkin Mickey Ears template. Cut the pieces out.
- Trace around and cut the template pieces on the following foam colours: 2 x plain orange pumpkin head; 2 x plain orange pumpkin head ears; 4 x glitter orange pumpkin head; 4 x glitter orange pumpkin head ears; 1 x large glitter black bow; 1 x small glitter black bow; 1 x small glitter black bow ribbon; 2 x plain or glitter (your choice) black Mickey pumpkin face; 1 x strip glitter black – to wrap around to form the bow.
- Draw lines on the glitter pumpkin pieces so that they resemble pumpkins.
- Assemble each pumpkin head/ear part individually by taking two glitter pieces and one regular piece and gluing together with the glitter facing outwards. Repeat this until you have two pumpkin heads and four pumpkin ears. Leave to dry completely.
- Attach the pumpkin head ears to the pumpkin head with glue. Try to space evenly. Glue on Mickey’s features. Leave to dry.
- To assemble the bow, take the large black glitter bow piece, bring the two ends into the middle and glue in place. Do the same with the small black glitter bow piece. Place the small bow on top of the large one and wrap the strip of black glitter foam around the middle to keep the two bows together. Glue at the back to secure everything in place. Then glue the assembled bow to the black glitter bow ribbon and leave all to dry.
- Apply glue around the edges of the dried pumpkin Mickey heads and press trim to cover.
- To assemble your Mickey ears, glue the ears to the headband, and finish with the bow in the center.
- Leave to dry thoroughly and then your Pumpkin Mickey Ears are ready to be worn!
Notes
This post is part of my long-running Crafty October series on The Purple Pumpkin Blog. Since 2012, I’ve shared Halloween recipes, printables, and crafts every October. While I don’t officially run the series anymore, all my new Halloween posts are still part of this decades-long celebration of spooky fun! Browse past Crafty October years for even more inspiration: 2024, 2023, 2022, 2021, 2020, 2019, 2018, 2017, 2016, 2015, 2014, 2013, and 2012.