Halloween Haunted House Paper Craft For Kids + Free Template
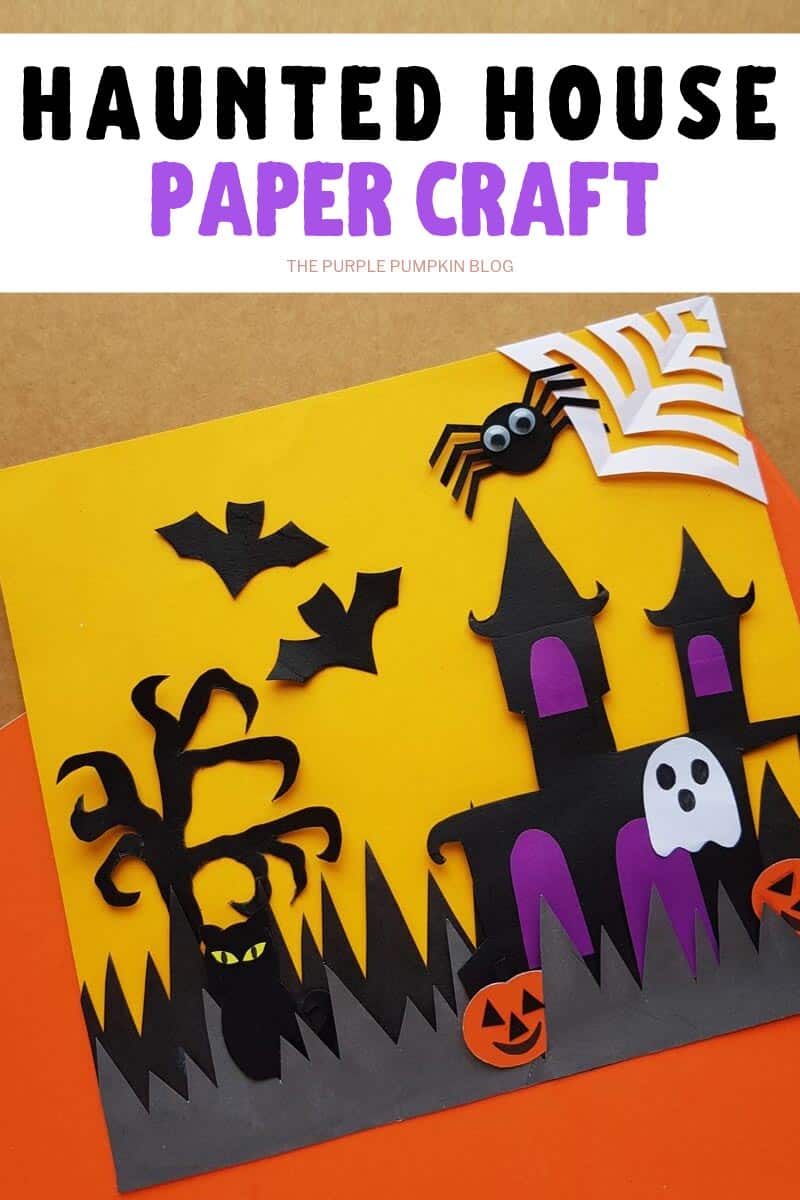
Home » CREATE » Crafts »This Haunted House Paper Craft is a fun Halloween activity for kids. It is made with just a few simple craft supplies, which you may already have in your craft stash! So grab the colored paper, scissors, and glue and let’s get making a haunted house scene for Halloween!

I’ve shared lots of great craft ideas on The Purple Pumpkin Blog over the years, in fact, there are 100+ crafts to make and do at home that you can try.
Affiliate Disclosure
We have included affiliate links to products and services related to this post.
We may earn a commission if you purchase after clicking on those links.
As an Amazon Associate, I earn from qualifying purchases.
Read Our Full Disclosure Policy and Privacy Policy
Haunted House Paper Craft
As well as the materials and tools listed below for this craft, you will also need the free printable template. As with all my printables, they come in two paper sizes – A4 and US Letter (8.5″ x 11″). You will find the download links below, surrounded by a purple box.
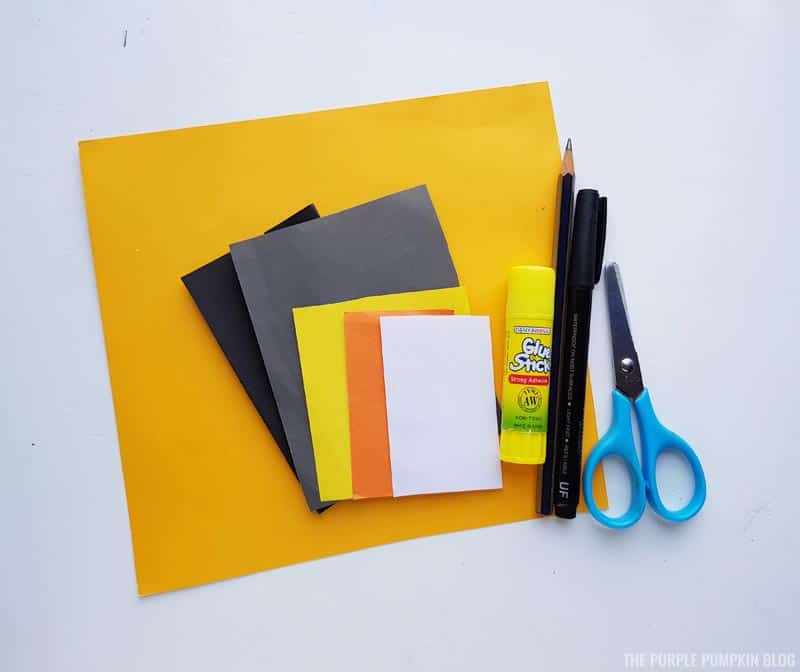
Materials & Tools Used in This Craft
- Construction Paper in the following colors:
- Black
- Gray
- Yellow
- Orange
- White
- Purple
- Cardstock for background in your color choice:
- We used a dark yellow, but you could use
- purple
- or blue
- Googly Eyes
- Pencil
- Scissors
- Craft Glue
- Sharpie Marker

Haunted House Template Downloads
The template includes the following pieces: haunted house, windows, cat, spider, bat, pumpkin, spider web, creepy tree, ghost, and grass.
Click the download link to save the printable file(s) to your computer.
The Shop opens in a new tab/window.
Visit The Purple Pumpkin Shop for both premium and FREE printables that you won’t find on my main blog!
How to Make a Haunted House Paper Collage
A printable tutorial card is available for you at the end of this post, and there is also the craft tutorial video over on my YouTube channel that you can watch and save to your Playlists for future reference. (Don’t forget to subscribe while you are there!)
Start by printing the template, cutting the pieces out and then tracing around them onto colored paper. You can use the photos as a guide, or make your own choices – it’s your haunted house!
Use the grass template to trace enough grass for the length of your background. Measure the length of the background card first, then cut two equal-length strips of paper – one in black and one in gray. Make the black one wider than the gray – you’ll see what I mean from the photo below, and the template.
When sticking down the grass, apply glue in a strip along the straight bottom edge and side edges, so that the ‘blades of grass’ are not attached – this is because the pieces of the haunted house scene are stuck behind and in between the sections of grass.
Draw a face onto the ghost with a black marker, and draw pupils onto the cat’s eyes. Add googly eyes to the spider, or alternatively, cut small circles out of white paper and use as eyes.
With all the pieces prepared, you can use the photo below as a guide to finishing your haunted house scene.
Give a 3-D effect to your craft by not sticking everything down flat. For the tree, just stick down the trunk and let the branches lift off the card. Apply glue just to the body of the bats and curl the wings up. Attach just the edges of the spider web, and tuck the spider in.
Don’t forget, you can always make your collage bigger and cut out more pieces and use more trees, bats, ghosts and more! It’s you [kids’] craft so let them have fun!
More Halloween Crafts for Kids
Once you’ve made this Haunted House Paper Craft I’m sure you’ll be looking for more Halloween crafts for kids, here are a few to check out.
- These Mummy Candle Jars are fun to make and so easy!
- Use the free printable and let the kids Build a Skeleton!
- Make Milk Bottle Ghosts using old milk bottles and glow sticks!
Haunted House Paper Scene
Materials
- Construction Paper in the following colors: Black Gray, Yellow, Orange, White, Purple
- Cardstock for background in your color choice.: Dark Yellow Purple, or Blue
- Googly Eyes
TOOLS
- Sharpie Marker
Instructions
- Download the haunted house template (link is in the blog post). Print onto white paper.
- Cut the pieces and use them to trace around the following construction paper colors: Black – tree, cat, bats, haunted house, spider, pumpkin features; Purple – windows; Orange – pumpkins; White – spider web, ghost; Yellow – cat’s eyes.
- Use the grass template to trace enough grass for the length of your background. Measure the length of the background card first, then cut two equal-length strips of paper – one in black and one in gray. Make the black one wider than the gray – you’ll notice in the template that one set of grass is higher than the other.
- Apply glue along the straight bottom, and side edges of the taller grass and stick it to the bottom edge of your cardstock background. Repeat with the other piece of grass, placing it on top. Leaving the ‘blades of grass’ free lets you place the pieces of the scene behind and between the grass sections.
- Prepare all the other pieces: Add the features and stems to the pumpkins; draw features with a marker onto the ghost; draw pupils on the yellow cats’ eyes and stick to the cat’s face; stick the windows to the haunted house; attach googly eyes to the spider.
- With all the pieces now ready, assemble your scene. Place them behind or between the grass layers, using the photo below as a guide. You can add a 3-D element by not sticking everything down flat. For example, just sticking down the bat’s body and gently folding up the wings.