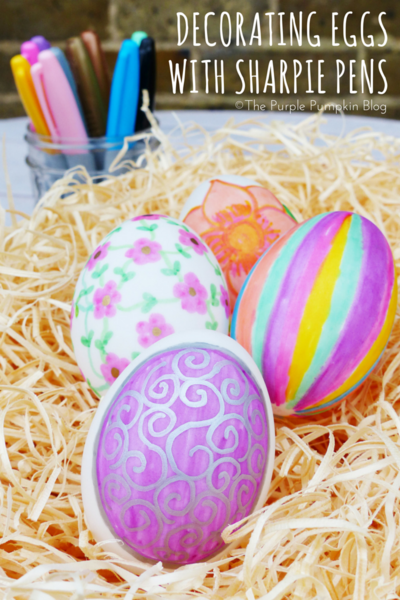
Decorating Easter Eggs with Sharpie Pens
Home » CREATE » Crafts » Easter Crafts »Decorating eggs with Sharpie pens is really fun and addictive, and you can be as creative (or not!) as you like! It makes a great activity for kids of all ages, as well as adults. Younger children could use plastic or polystyrene craft eggs, and older kids and adults can use real eggs – either hard boiled, or blown out.
I used real eggs to make these designs – I bought duck eggs, as these were the only eggs that I could find that were white. I also did a few practise goes on plastic eggs and polystyrene eggs that I had in my craft stash.
Decorating Easter Eggs with Sharpie Pens
Before decorating you will have to empty out your eggs – or as it’s called, blowing out eggs – as you are literally blowing the yolk and white out of the shell. If you don’t fancy blowing out eggs, you can hard boil them instead, but they will not last, so only good for a couple of days. My blown (and cleaned out) eggs have lasted for years.
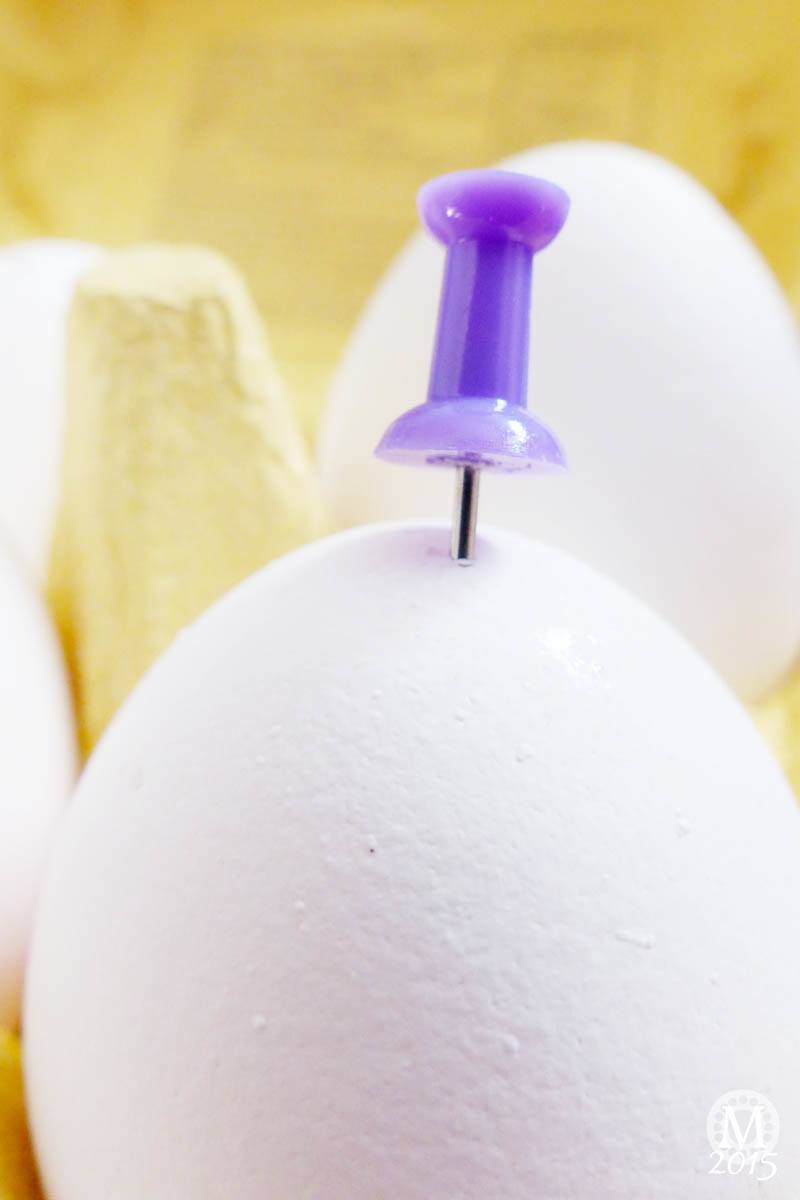
How to blow out eggs for decorating
It’s quite easy to do, and, eggs are actually pretty strong, so don’t panic at the thought of having to pierce a hole in the top and bottom of the egg.
Take a push pin (drawing pin) and gently push it into the top of the egg, swivel it about to create a small hole, then turn the egg upside down. Do the same, but make the hole a bit bigger.
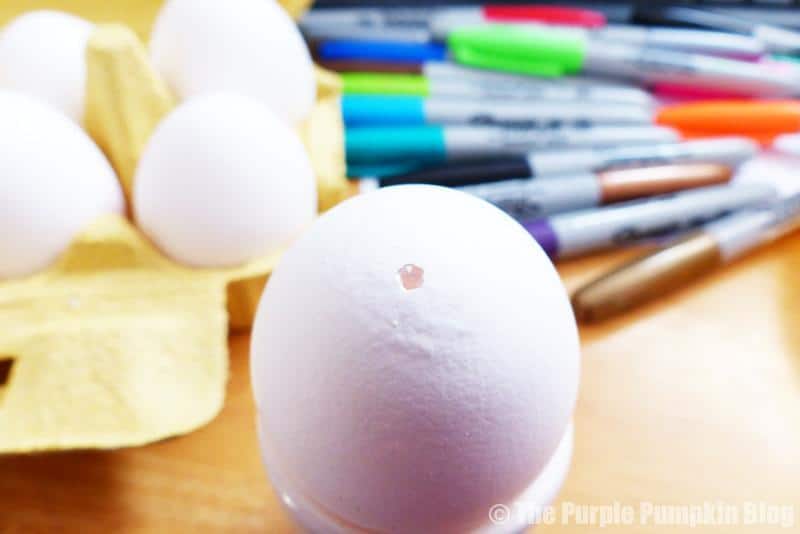
Use a cocktail stick to pierce the membrane of the yolk, and then, over a bowl, blow through the top hole and the insides will come out the other end. If you’re finding it a struggle, make the holes a bit bigger!
Once all the insides have been blow out, clean the egg by running hot water through it, and blow out any excess water. Leave to dry for at least 24 hours so that the insides are completely dry. You can then you can start decorating eggs with Sharpie pens!
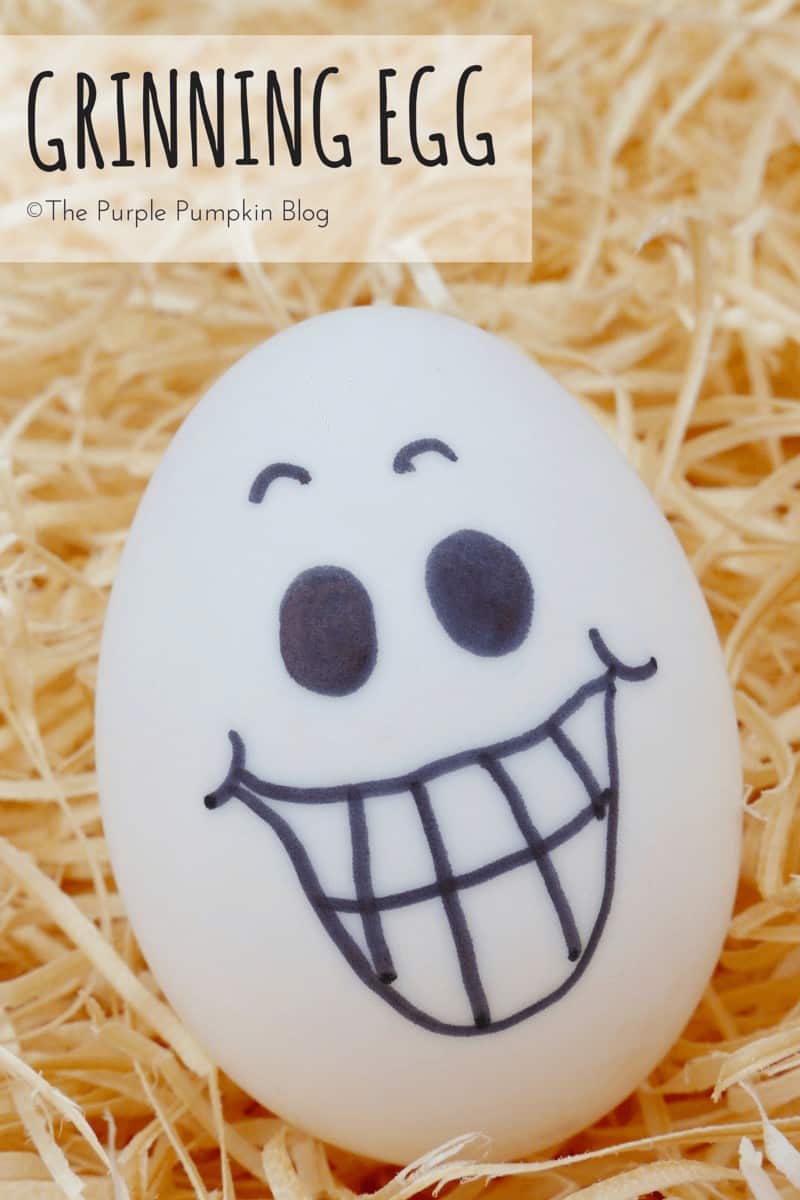
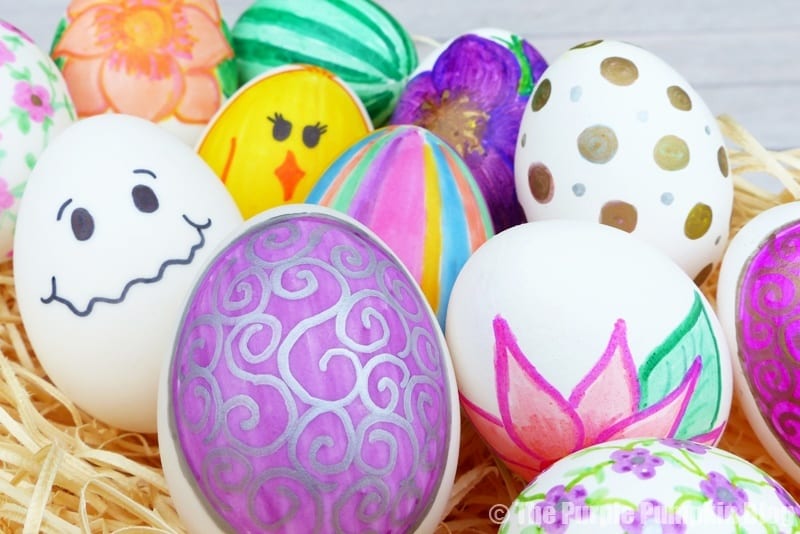
Simple Faces
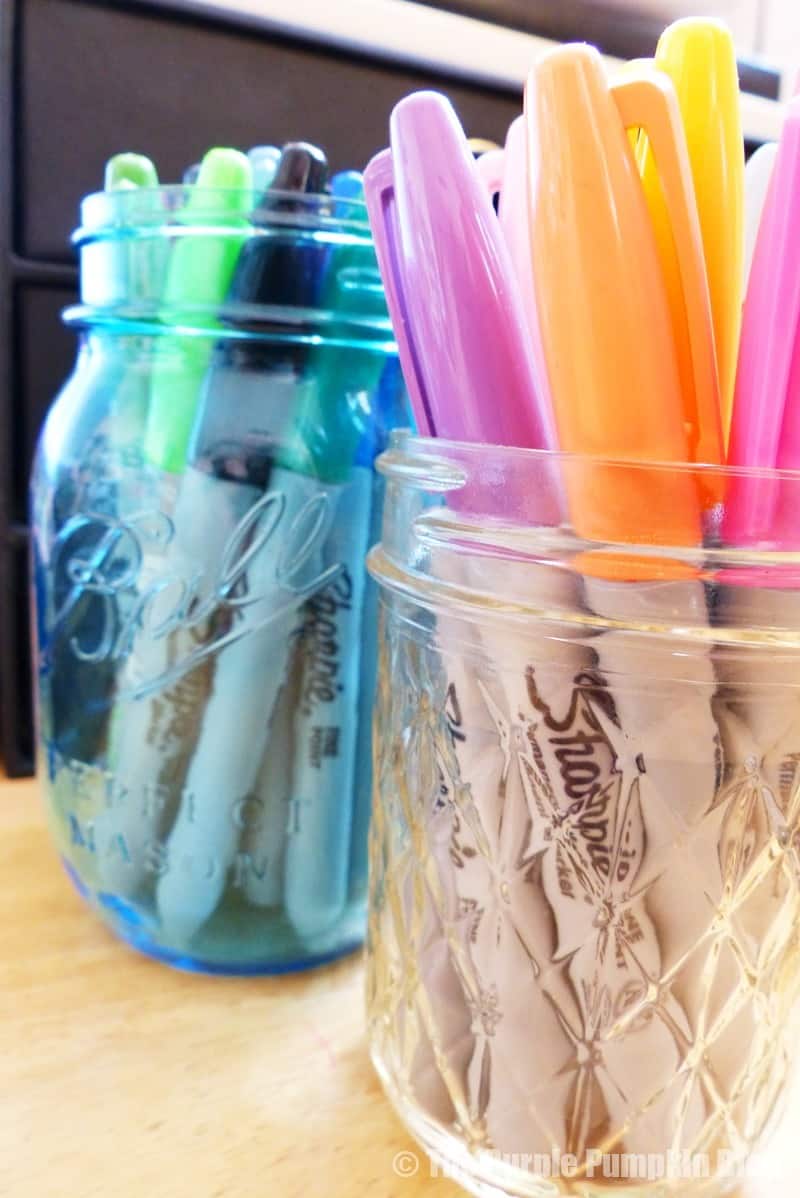
I’ve started off with some very simple faces! Use a single colour (I used a black Sharpie) – or several different colours and draw whatever face takes your fancy!

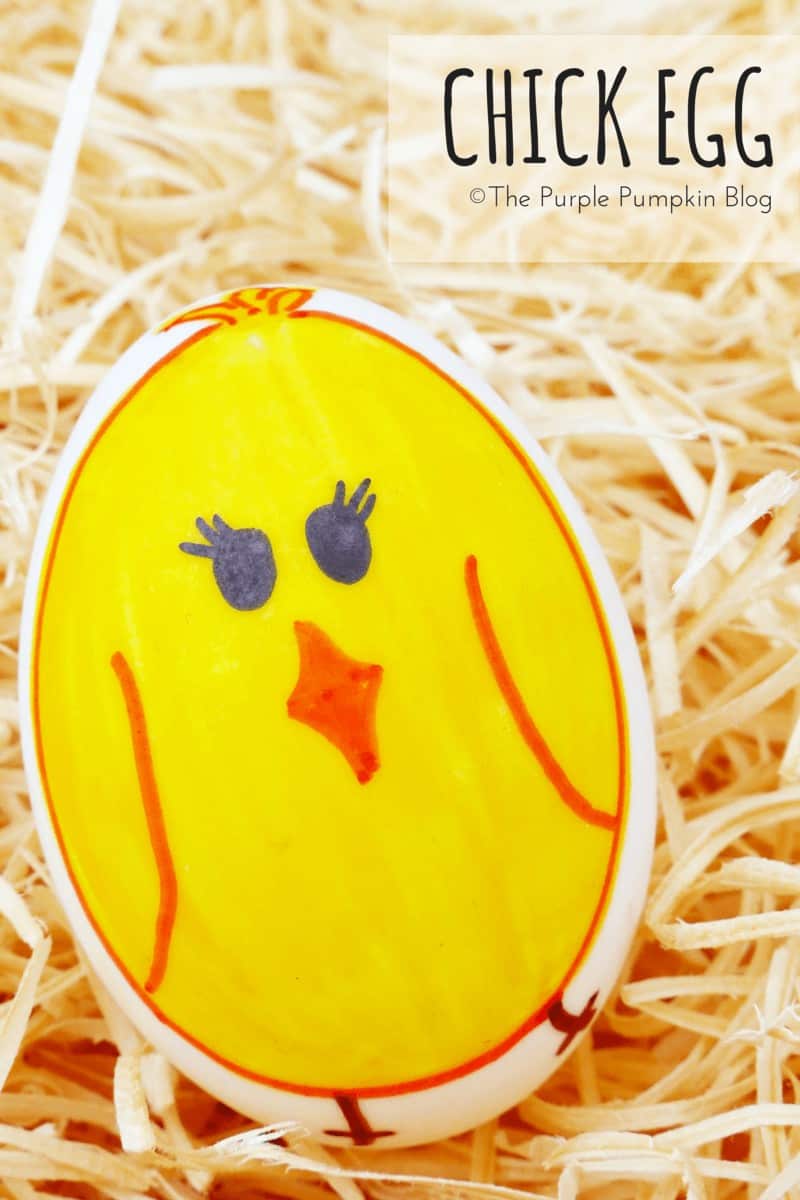
A Quick & Simple Chick
To draw a chick on an egg, you’ll need yellow, black, brown and orange Sharpie pens. Start off by drawing an oval shape in yellow on the front of the egg and colouring in. The pens dry quite quickly, but leave for a few seconds before drawing on top of the block of colour. Draw on some eyes, a beak and some feet – add a tuft of hair too if you like! Finally, draw on some wings with orange and outline the whole chick.
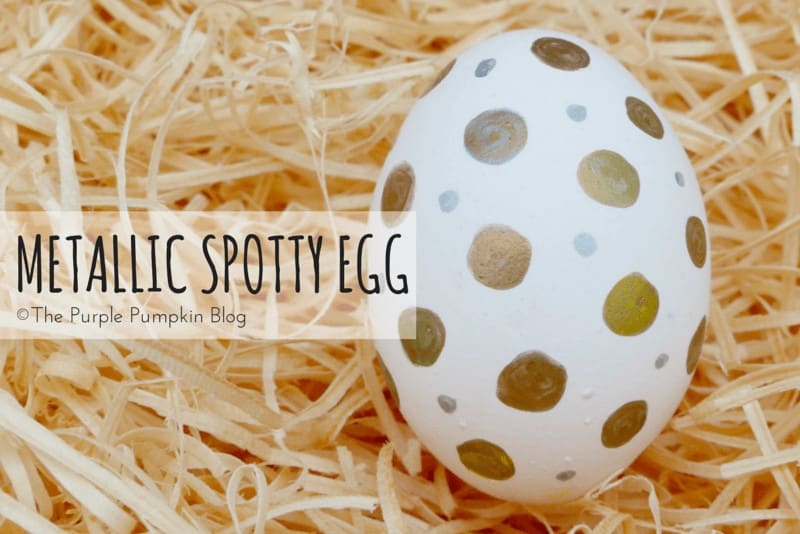
Metallic Spotty Egg
I don’t have a video tutorial for this one, but it’s pretty straight forward! Use some Metallic Sharpies (which come in silver, gold and bronze) to draw on the spots in various sizes!
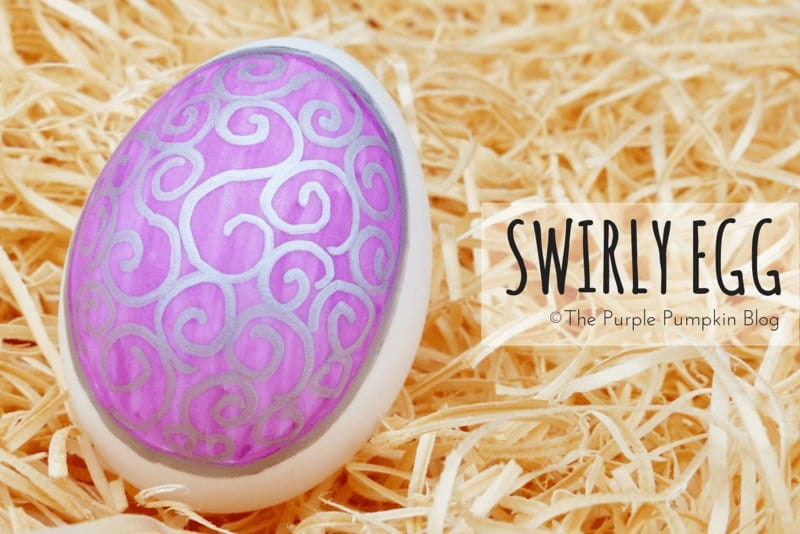
Swirly Egg
This is probably one of my favourite designs! I’m really drawn towards swirly patterns for some reason! I used both regular and metallic pens for these eggs – in the photos you can see silver and bronze swirls. You start with the coloured background first, carefully drawing an oval shape (or you could cover the whole egg if you wanted to). Then, starting from the centre, draw metallic swirls – big and small to fill in all of the space. Finally, outline the oval in the same metallic colour.

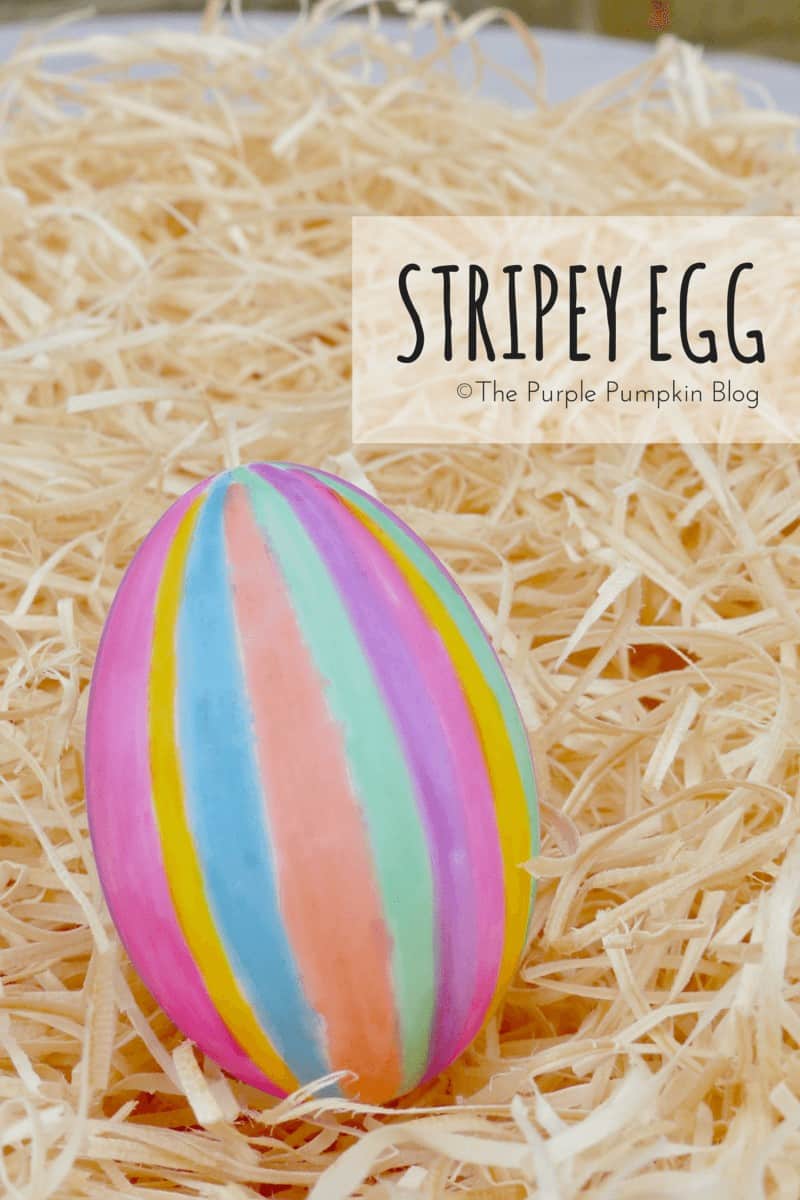
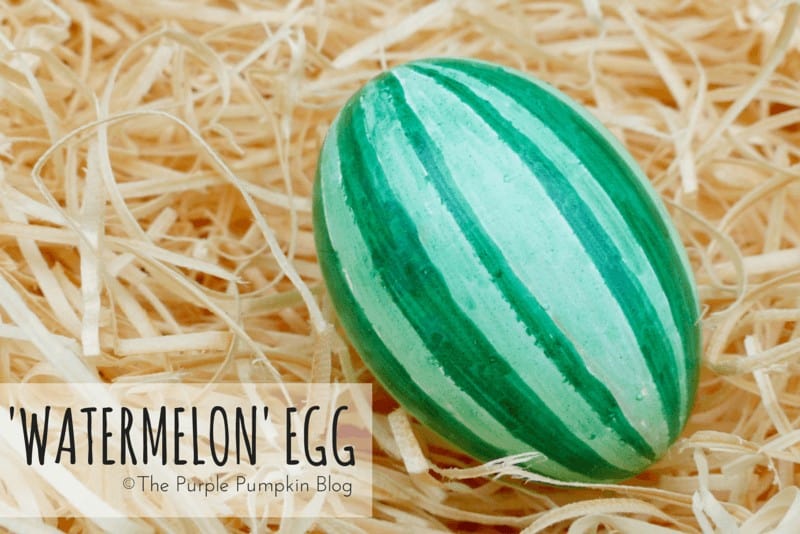
Stripey Eggs
To make stripes on the eggs, I used some washi tape, which is low tack and peels off easily from the shell. Create the first stripe by sticking the tape from top to bottom, as you’ll see in the video below. Then, move the tape along, creating another stripe. You can have them in various widths and colours, or shades of colours like I did with my ‘watermelon’ egg! I used pastel coloured Sharpie pens for the egg in the video – it kind of reminds me of a beach ball!
Flower + Vine Egg
This is another favourite of mine, and so easy to do! Draw on small flowers by starting with a small circle that you surround with five filled in circles. Draw as many or few flowers as you like. Fill the centre of the flowers with a metallic colour, then draw the vines from flower to flower with a light green Sharpie. Finally, draw a couple of leaves on each vine. Simple, yet so effective!

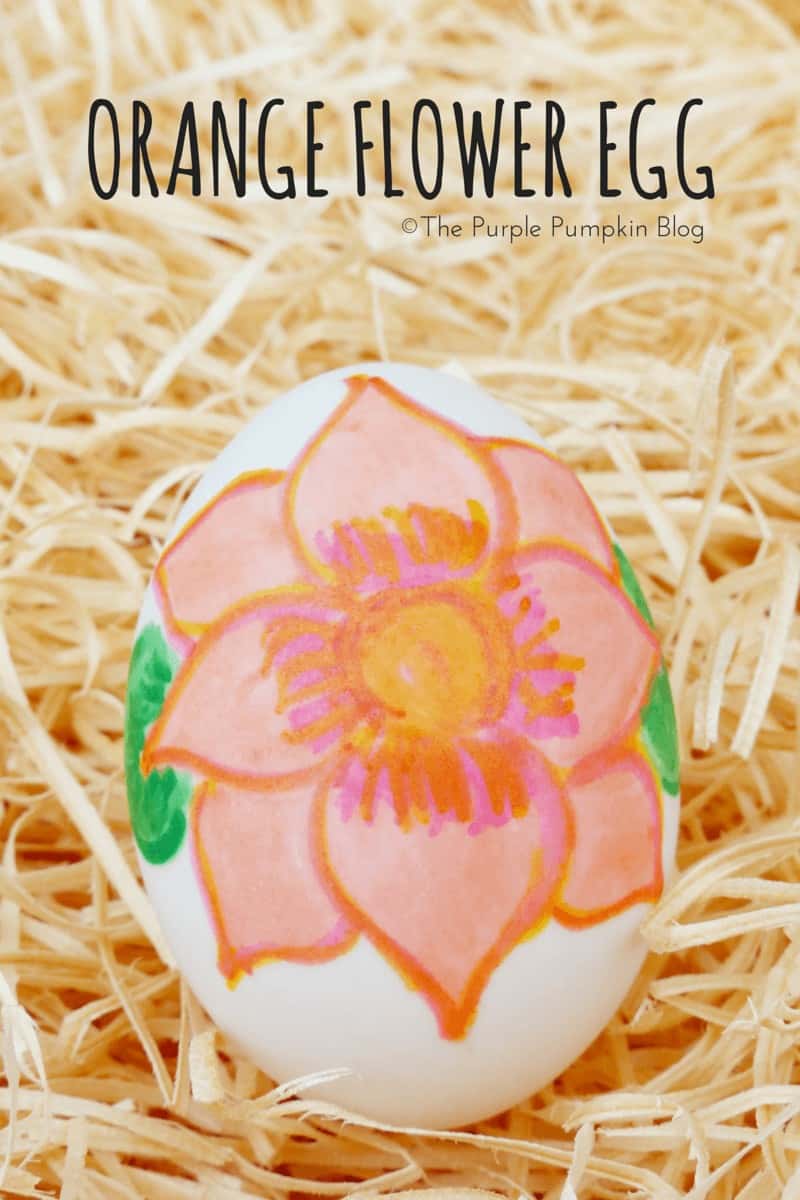
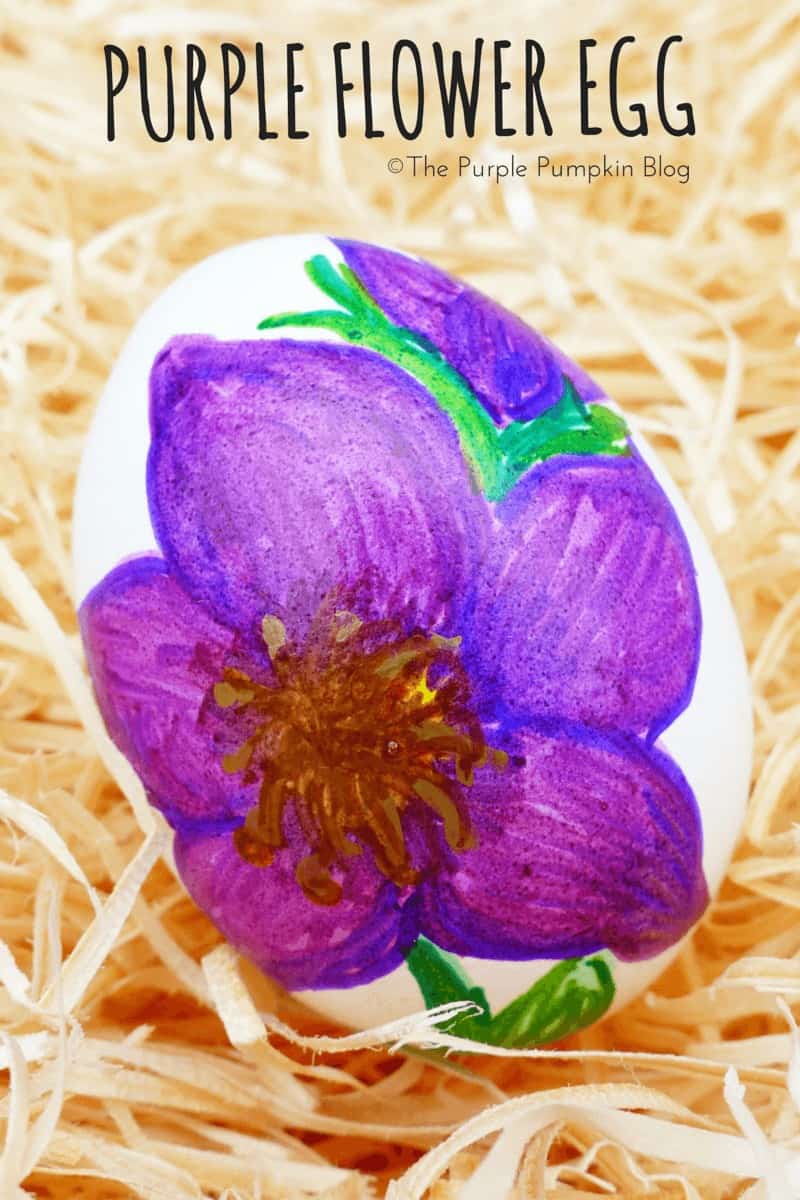
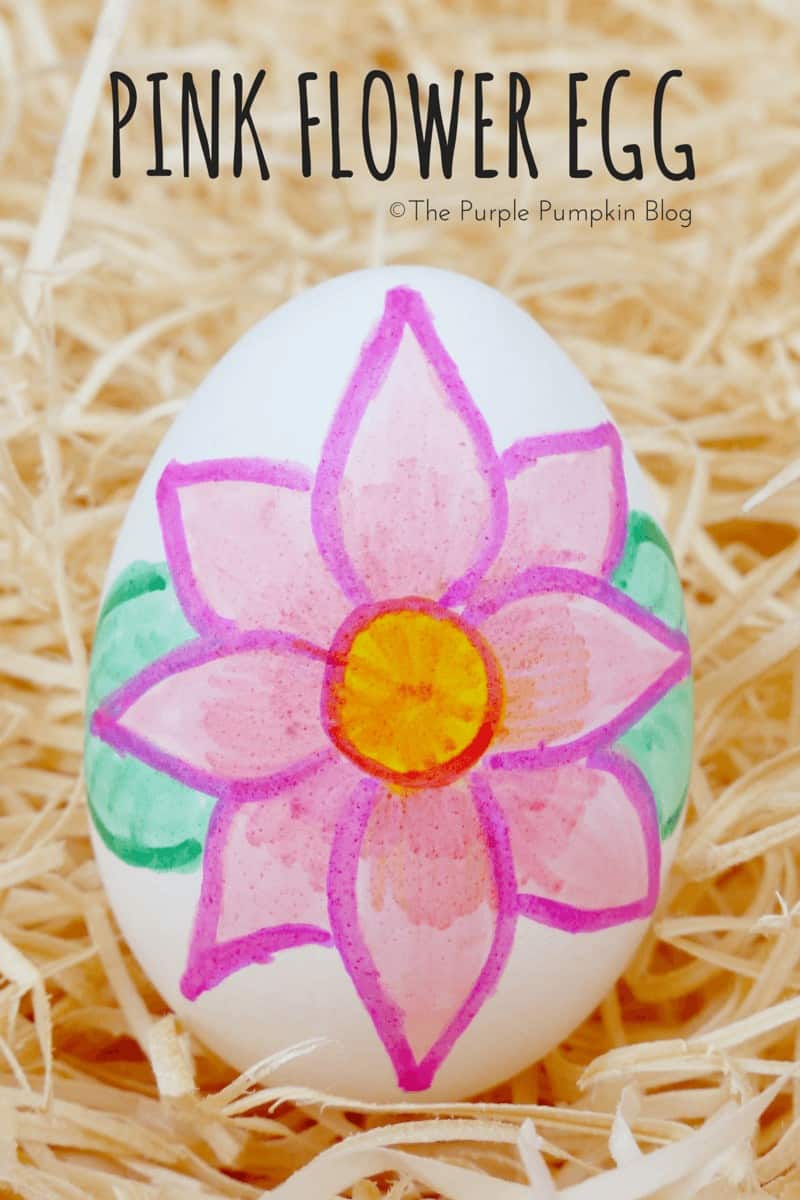
Flower Eggs
The final eggs have flowers drawn on them, and I made use of the blending capabilities of Sharpie pens in these designs! It’s best to just watch the video where I demonstrate how I drew the orange flower!
Decorating eggs with Sharpie pens is really addictive! I was quite disgruntled when I ran out of eggs to decorate!! The only limit is your imagination, and with the amount of colours that Sharpie has (I was actually amazed at how many shades there were!) you will have a lot of fun.

Julie
April 17, 2017 @ 8:38 pm
Great idea! very pretty the floral eggs!
Vaichin@RamblingThroughParenth
April 24, 2015 @ 6:35 pm
These look so pretty. The watermelon looks almost real.
Keri-Anne
April 8, 2015 @ 10:31 pm
An amazing idea. I adore those flower ones x
Michelle Ordever
April 9, 2015 @ 10:53 am
Thank you! I do love how some of these turned out x