Make Your Own DIY Baby Yoda Plush! Cute Mini Felt Baby Yoda Tutorial
Home » CREATE » Crafts » Disney Crafts » Star Wars Crafts »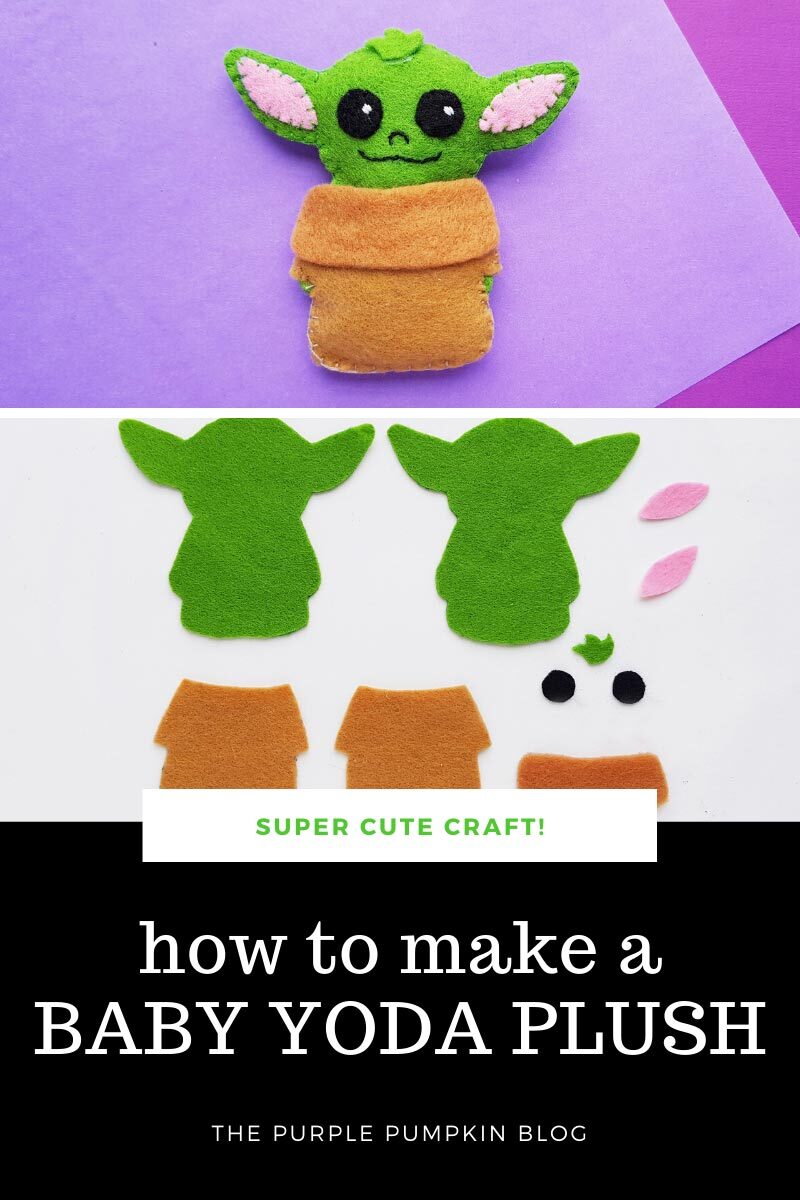
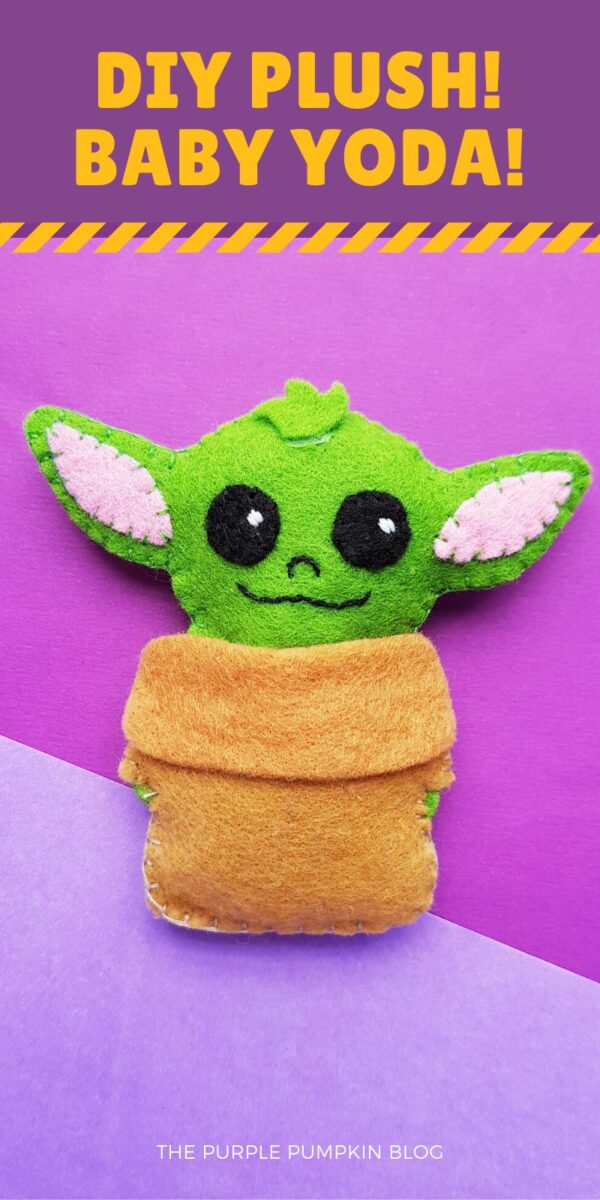
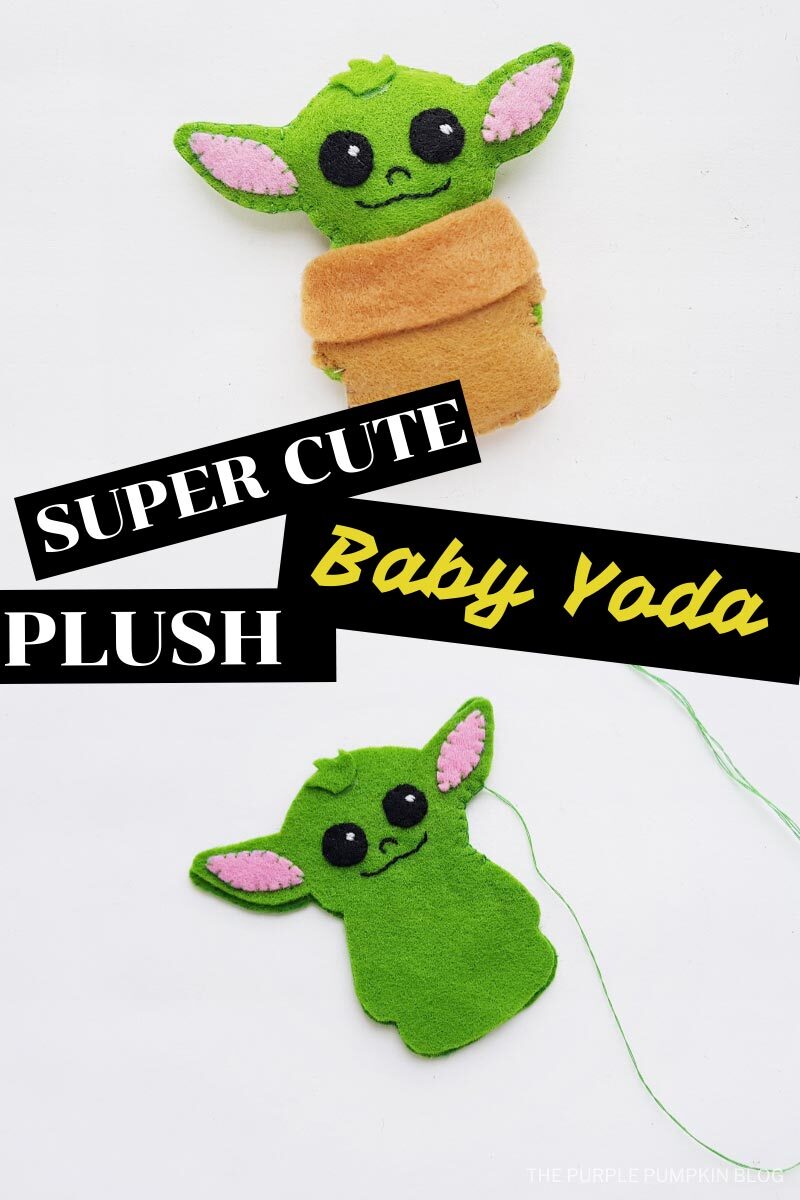
STOP EVERYTHING! You can make your own DIY Baby Yoda plush with this awesome tutorial! This craft is fun and simple and you end up with your very own cute mini felt Baby Yoda. So grab the free printable template, grab some felt fabric and start stitching!

Affiliate Disclosure
We have included affiliate links to products and services related to this post.
We may earn a commission if you purchase after clicking on those links.
As an Amazon Associate, I earn from qualifying purchases.
Read Our Full Disclosure Policy and Privacy Policy
DIY Baby Yoda Plush
Even if you have not watched The Mandalorian on Disney+, you can’t have escaped the frenzy around The Child – aka Baby Yoda.
The Child is the cutest, most adorable baby character I have ever laid my eyes on and I am completely smitten!
You may have already downloaded my Build-a-Baby-Yoda printable and if you haven’t, you totally should! Just right-click it and open a new tab to check it out after learning how to make your very own DIY Baby Yoda plush.
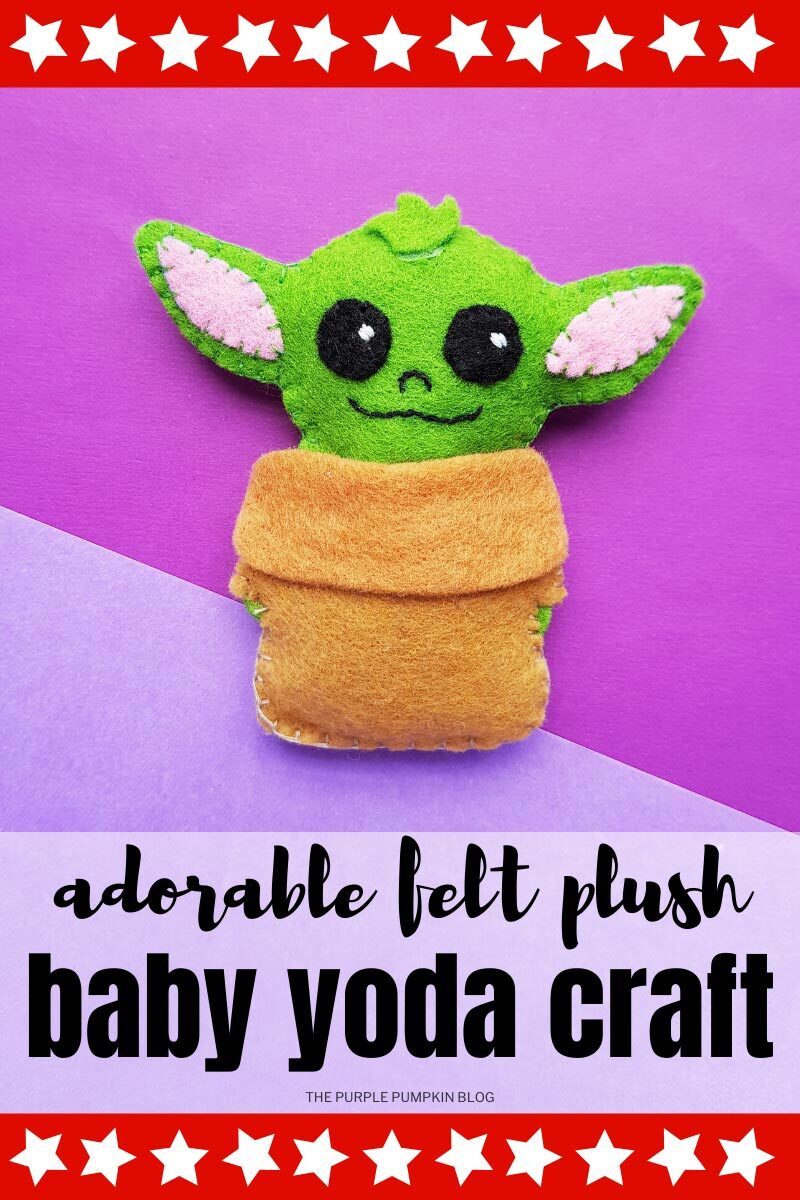
This most adorable craft is made with felt fabric and is so easy to sew together.
Keep him in your pocket, or add a ribbon loop to hang him up. Or you could even sew in a keychain fixing and have a Baby Yoda keyring.
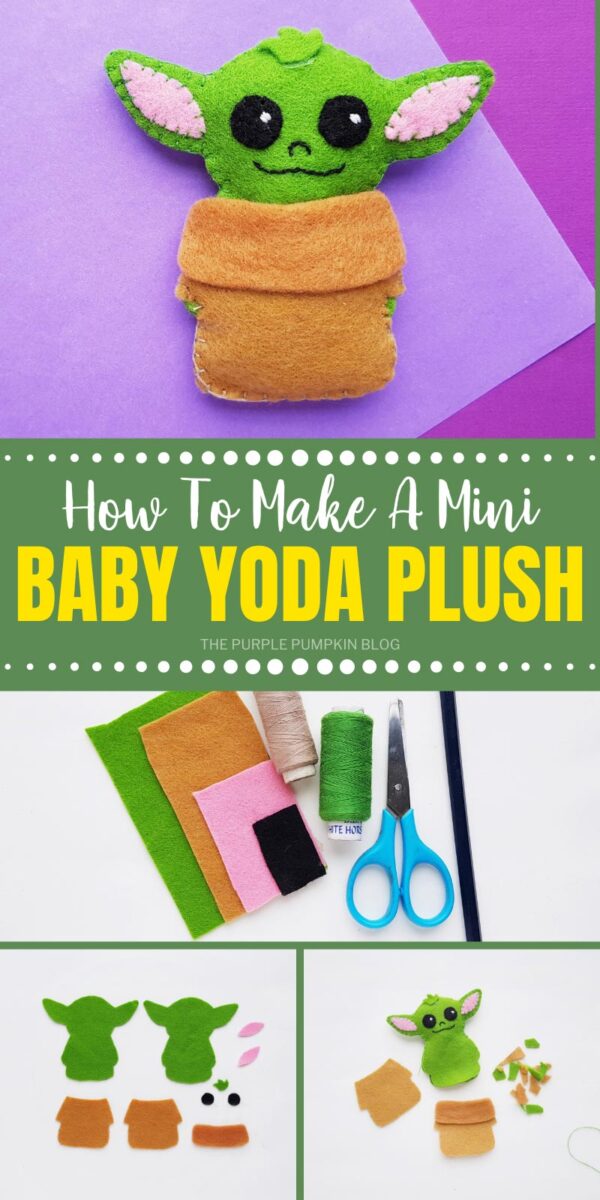
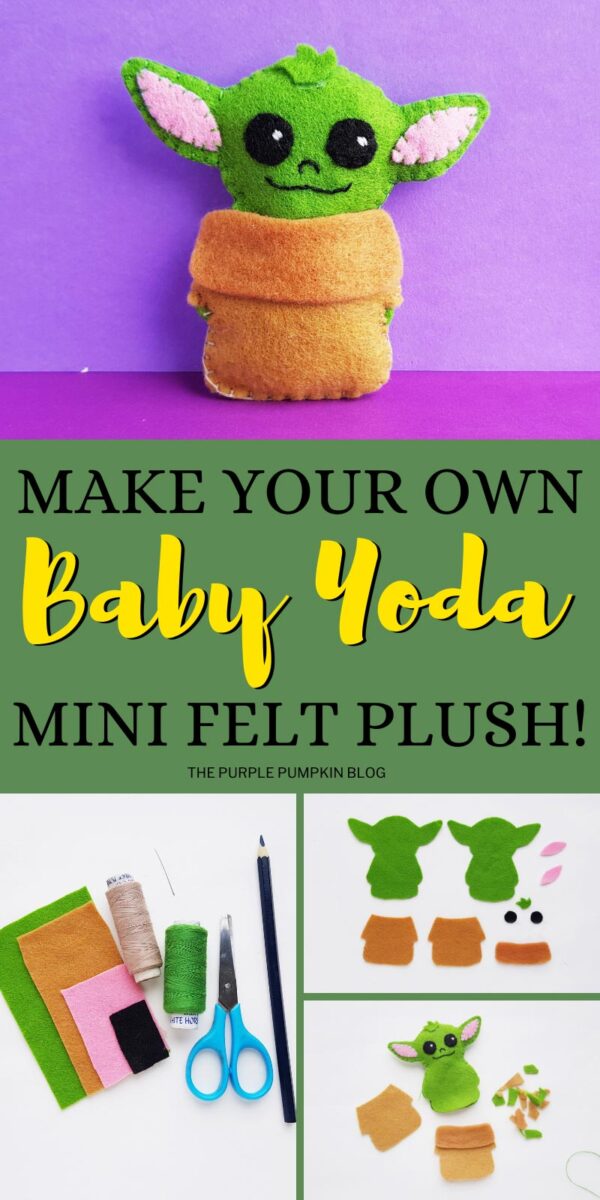
Materials & Tools Used in This Craft
Full instructions are found in the printable tutorial card at the end of this post, but here is a quick outline so you know what to expect from the craft.
I highly recommend always reading everything all the way through before starting any project so you understand all the steps required.
- Felt Fabric in the following colors:
- Pencil or fabric marker
- Scissors
- Needle & Thread – try to match the thread to the felt colors
- Sewing Pins – optional to hold the fabric together when sewing
- Soft Toy Stuffing – or scraps of felt or cotton wool balls
- Free Printable Baby Yoda Craft Template – find it before the tutorial card, surrounded by a purple box
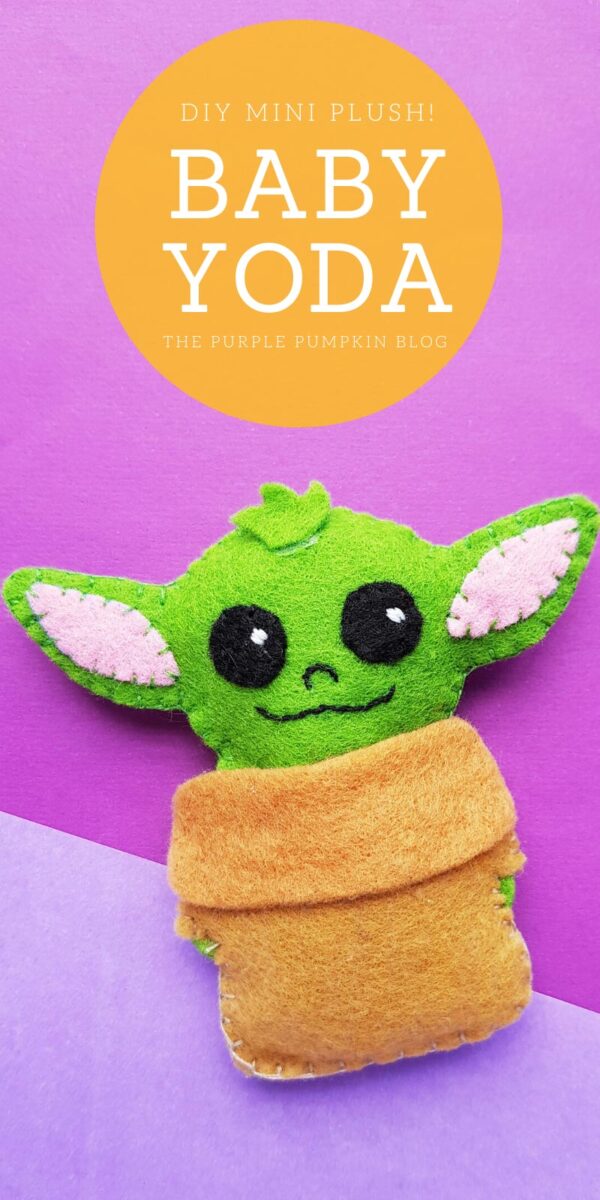
The printable template has two sizes. One makes a mini plush, which is about 3½”/9cm tall, a one slightly taller one at about 5″/12cm.
More Disney Crafts
Once you’ve made Baby Yoda you’ll be wanting to make more Disney crafts – here are some more for you to check out:
- How To Make A Wooden Disney Sign With A Cricut Maker
- How To Make Maleficent Ears!
- Disney’s Frozen Elsa Christmas Ornament Craft
I’ve shared lots of great craft ideas on The Purple Pumpkin Blog over the years, in fact, there are 100+ crafts to make and do at home that you can try!
How To Make A DIY Baby Yoda Plush
I’ve got several step-by-step photos to guide you through making a Baby Yoda which I hope you will find useful!
There is also the DIY Baby Yoda Plush tutorial video over on my YouTube channel that you can watch and save to your Playlists for future reference. (Don’t forget to subscribe while you are there!)
Download Baby Yoda Template
- Plush Template – Baby Yoda – A4 Size
- Plush Template – Baby Yoda – US Letter Size
Downloads open in new tab/window
DIY Baby Yoda Plush
Materials
- Felt fabric in the following colors:
- Green
- Brown
- Black
- Pink
- Free printable template – link in the blog post
Instructions
- Print and cut out the template.
- Trace the body and hair tuft pieces onto the green felt and cut them out.
- Trace the two circles onto black felt and cut out.
- Trace the inner ear pieces onto pink felt and cut them out.
- Trace the coat pieces onto brown felt and cut out.
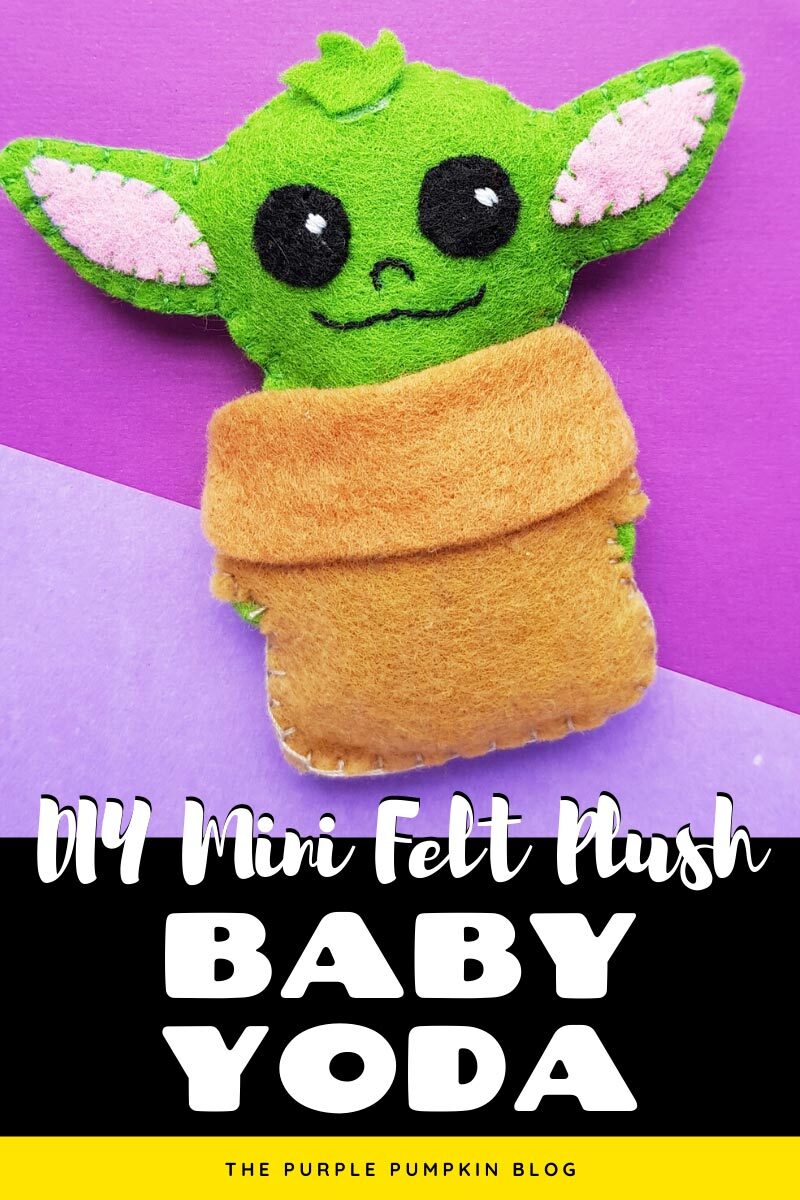
- Stitch the black circle eyes to the head of one of the green pieces with black thread. You can add a couple of white stitches for "shine" in each eye if you like.
- Lightly draw on a nose and mouth and stitch over with black thread.
- Stitch the pink inner ear parts and the hair tuft in place using green thread.
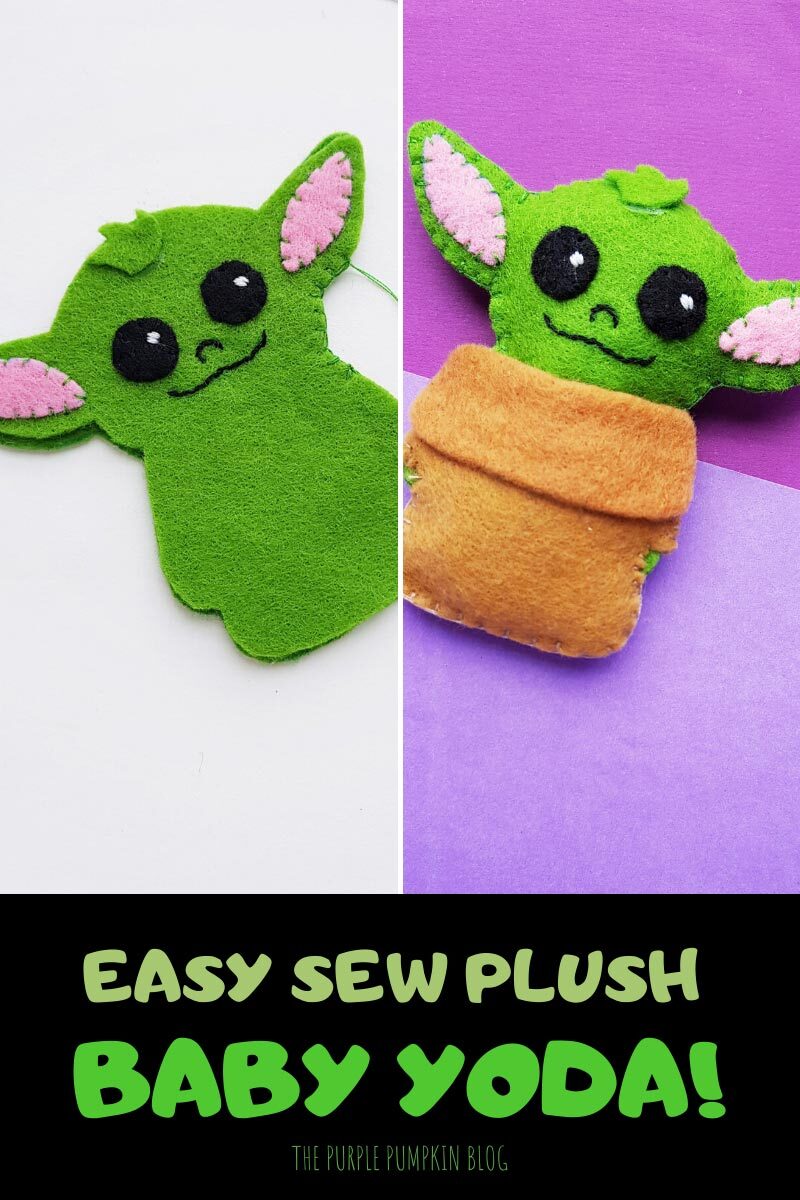
- Place the two green pieces together and stitch the head parts together with green thread. You can use sewing pins to keep the felt in place if you wish. Do not stitch all the way around!
- Use brown thread to stitch the collar to the top of one of the coat pieces to create the front of the coat.
- Place the back piece of the coat behind the body and the front of the coat on the front side of the body. Pin in place if using pins.
- Start to stitch the coat pieces together with the body leaving a gap for stuffing.
- You can stuff Baby Yoda with scraps of felt (cut them into small pieces for an even stuffing) or use soft toy stuffing, or even cotton balls. Use a pencil to help guide the stuffing into all the sections evenly.
- Stitch the open end to secure the stuffing inside and tie off the thread with a knot.
- Your DIY Baby Yoda Plush is complete! I hope you love him!
A
February 24, 2021 @ 5:46 pm
Amazing the yoda, my kids loved it.