Handmade Mother’s Day Card + Gemini Junior Die Cutting Machine Review
Home » CREATE » Crafts »I’ve got a beautiful Handmade Mother’s Day Card to share with you today, that looks like it was difficult to make, but was actually so easy! If you enjoy crafting, I’ve also got 100+ crafts to make and do at home that you might want to check out too.
I was sent a Gemini Junior Die Cutting & Embossing Machine from Crafter’s Companion to use in my crafts, and thought that a Mother’s Day card would be perfect. I’ve not used this kind of die cutting machine before, so it was exciting to try something completely new.
Read on to find out how I made this card, and how you can make your own handmade Mother’s Day card too.
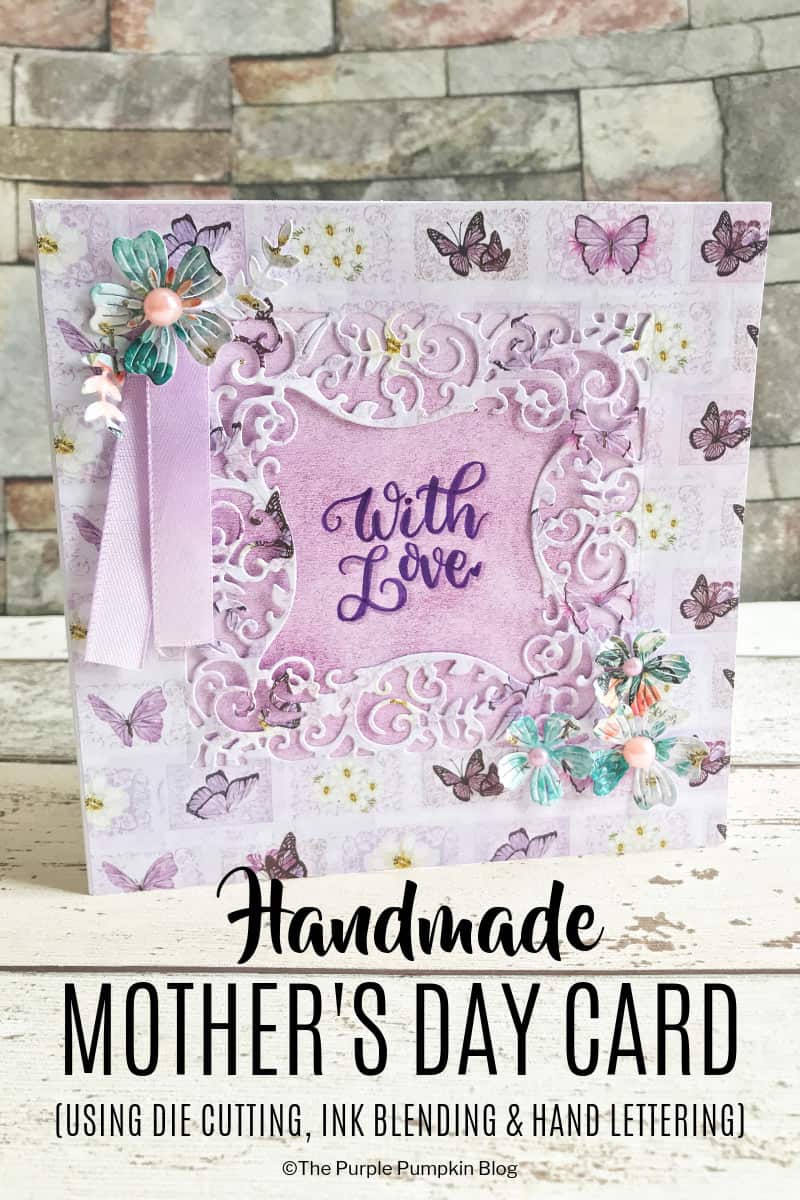
Handmade Mother’s Day Card
To make this card you will need a die cutting machine so that you can cut out the intricate patterns into the card/paper. If you don’t have one, not to worry, I’ll provide a work around so you can make a similar Mother’s Day card. If you are already using die cutting in your crafts and card making, please feel free to use my card as inspiration!
I have included links to some of the products that I used in this project. If you purchase via the links I may earn a small commission.
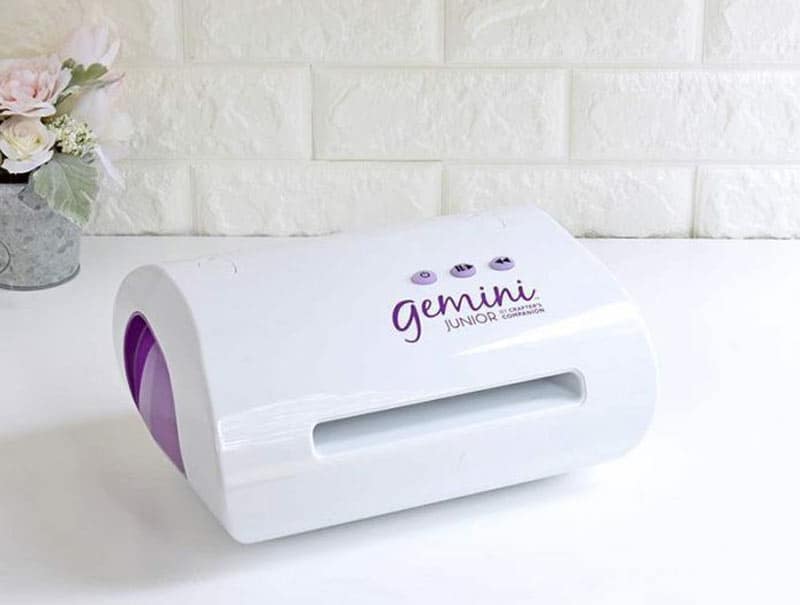
Gemini Junior Die Cutting Machine
I received the Gemini Junior for purposes of this craft and review.
Before I tell you about the machine, I want to tell you more about die cutting…
What is die cutting?
In the crafting world die cutting is essentially using a machine to mass-produce cut-out shapes from materials such a paper and card. With dies, you can cut the same shape over and over, exactly the same, without the need of scissors or a craft knife. Die cutting is popular in card making and scrapbooking.
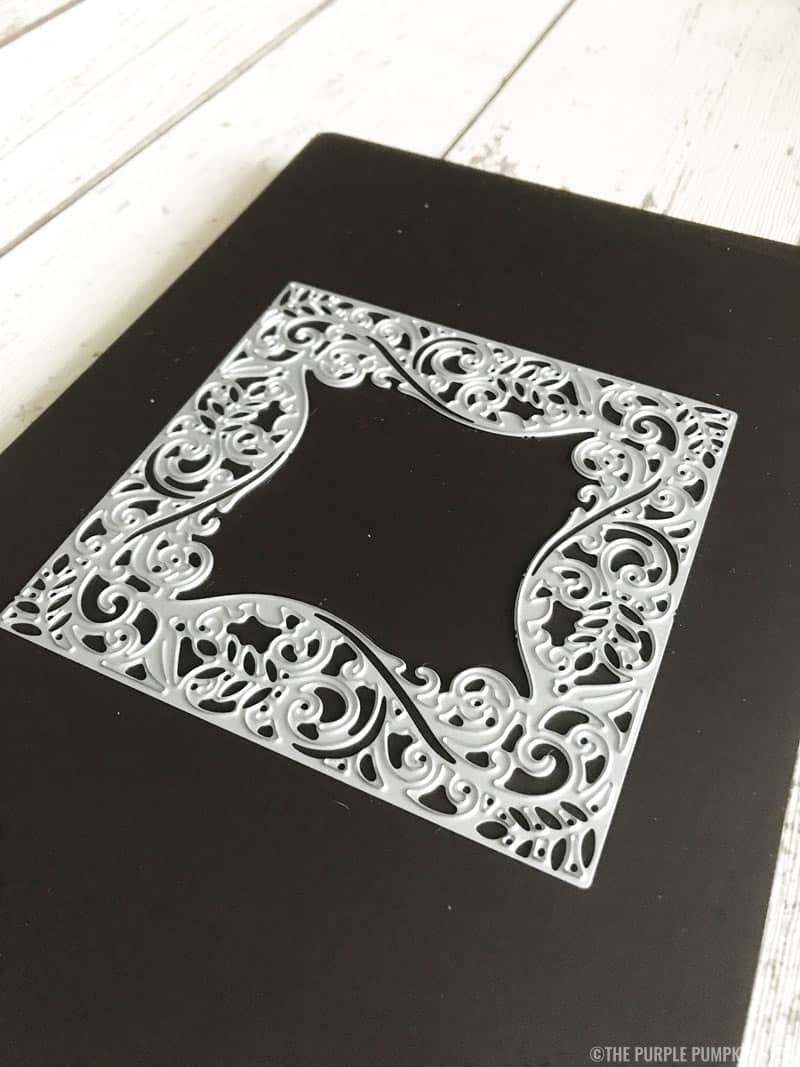
What are dies?
Dies are metal objects with a raised, sharp area for cutting. Dies are available in a huge variety of different shapes and sizes. I used two different types of die in my Mother’s Day Card – the ornate square one (photo above) which cut out all the curls and swirls, but not the square outside edge.
I also used different dies that cut out the shape of flowers and leaves. You can see them in the small bag next to the larger die in the photo below.

What is a die cutting machine?
It is essentially the machine that will make the dies cut through the material using pressure. To use a die cutting machine you place your die and paper (or other material) between plates which when combined are called a sandwich. The sandwich is then fed through the machine, and behold, your shape is cut!
What is the Gemini Junior?
The Gemini Junior is the perfect product for starting out in the world of electronic die cutting, or for those whose crafting space may be limited. Perfect for taking along to craft classes or weekends, this compact and portable machine does not compromise on power and performance, giving you perfect results even with the most intricate dies!
This space-saving machine is faster, lighter and quieter than other die-cutting machines and has a sleek, low-profile design. It has been designed for intricate dies as well as for cutting heavyweight cardstock, vinyl, foil and multiple layers of fabric (depending on the dies used). Gemini Junior also enables edge-to-edge cutting and also has the facility to pause, resume and reverse the plates within the machine. It’s platform size is 6″ x 9″ and is compatible with most thin metal dies and embossing folders. – Crafter’s Companion
How to use the Gemini Junior
Using dies and a die cutting machine is completely new to me, and I actually felt a bit worried about using the Gemini Junior before I unboxed it. Once I used it, however, I couldn’t believe how easy it was!
Each Gemini Junior Machine includes:
- Gemini Machine
- Clear Cutting Platform X 2
- Metal Cutting Platform
- Magnetic Shim
- Plastic Shim
- Rubber Embossing Mat
- 3D Embossing Folder
- Set of Dies
- User Guide
- Power Cord
The user guide was easy to understand, and I was die cutting within minutes of switching the machine on. The guide explains how to sandwich (layer) the different plates together, as well as examples of different sandwich combinations for different types of dies and materials which I thought was very helpful.
Since I was cutting paper, I just needed the basic set up which was:
- Clear Cutting Plate
- Material to be cut
- Die (blade side up)
- Magnetic Shim
- Plastic Shim
- Clear Cutting Plate
You can see my sandwich in the photo below all ready to go into the Gemini Junior. I used a piece of patterned paper, which I placed face down on the die. I’m not sure if this was the correct way to put it, as it didn’t actually tell you. However I tested both ways, and I don’t think it made a difference.
However, the Gemini Junior is also an embossing machine, so you can cut and emboss at the same time. You run it through twice – once to cut, and then you run it through again with a rubber embossing mat. So that tells me that you would cut pattern side down to get the embossing to show on your paper. I haven’t experimented with embossing as yet.
The video below literally captures the very first time I used the Gemini Junior, so you can see how it really is easy to use. I’m using a large die, and smaller individual dies. I’ve left the sound on of the machine working so that you can hear the noise level. It of course makes some noise as it is exerting pressure onto the plates to cut through the material, but I didn’t think it was overly loud or a nuisance. There is a pop sound at the end which is just as the sandwich finishes its pass through the machine.
I should also point out that it looks like I am pushing the sandwich through the machine. I’m actually not, doing that, I just wanted to make sure it caught between the rollers inside the machine. Similarly at the end, it looks like I’m pulling everything out of the Gemini Junior, but I’m actually just balancing and waiting for it to completely finish.
Top Gemini Junior Tips!
- The clear cutting plates should always be the top and bottom of the sandwich, as they are the only plates which should ever touch the internal rollers.
- Because of the high pressure of the machine, the plates do bow over time. It is recommended that you rotate and flip them with each use. The bowing does not affect the performance of the plates or the machine. Replacement plates can also be bought.
- For very intricate dies you can add the metal shim to increase the pressure and get a stronger cut.
- Keep dies in place on your material using a low tack tape.
- If you want to run a sandwich through several times, you can pause and reverse the machine using the buttons on top.
- A cocktail stick would come in really handy for poking out smaller cut pieces that haven’t fully come away. (I didn’t have one to hand so used the nearest thing I had to me, which happened to be the stylus for my iPad! It was enough for me to poke through that final flower towards the end of the video.)
Overall I found the Gemini Junior really easy to use, and was really impressed with how quickly, and cleanly it cut through the paper. The larger die had a fairly intricate patter, and it came out beautifully.
I can see myself using this die cutting machine when making cards or scrap booking – I’ll have to start buying dies for it though! The cost varies in price, but I’ve seen many dies that are inexpensive and I would add to my collection. Much like rubber stamping, I would imagine that buying dies would be like going down the rabbit hole!
It’s great that the machine comes with everything you need to get started with die cutting (except for craft materials like paper, card etc.,) so you don’t have to worry about buying the machine, and then having to by dies to start with this hobby.
Now onto how to make this card, which on first glance may look difficult, but I promise you it is so easy to do!
I had the benefit of also being sent a Crafter’s Companion Subscription Box which was filled with lots of card making supplies.
Naturally I used the supplies in my subscription box which included: card blanks and envelopes, decorative papers, rubber stamps, ribbon, sticky pearls, coloured card, and dies.
However, I could have easily made a card using my own crafting supplies, so please feel free to interpret this as you are able.
I did try searching the Crafter’s Companion websites for the exact dies and papers I used in this project, but there are so many products to look through, it was nigh on impossible! I mean, the number of dies alone was over 700! If you love crafting though, the site is well worth browsing. Not only for tools and materials, but also for ideas and inspiration.
Crafter’s Companion has sites in the UK, USA, and Europe, so please check your local site for purchasing the Gemini Junior and/or the Craft Subscription Box.
Making a Mother’s Day Card using the Gemini Junior
You will need:
- Gemini Junior + clear cutting plate, magnetic shim, and plastic shim
- 6″ x 6″ square blank card and envelope
- 4″ square decorative die (frame with aperture)
- 6″ square piece of decorative paper
- flower/leaf dies (approx 1″ and smaller) – these flower dies from Amazon are very similar to the ones in my sub box
- scraps of decorative paper to cut the flowers
- 5″ piece of ribbon (approx ½” wide)
- sticky pearls or gems
- [rubber stamping] ink
- old dry paint brush
- pencil
- eraser
- brush pen for lettering or
- rubber stamp for sentiment
- glue dots
- glue roller
- spray adhesive (optional)
- low tack tape
Instructions:
1. Position the square die in the center of the 6″ square piece of decorative paper and use low tack tape to keep in place. Sandwich as follows and run through the Gemini Junior. Place the die cut paper to one side.
- Clear Cutting Plate
- Material to be cut
- Die (blade side up)
- Magnetic Shim
- Plastic Shim
- Clear Cutting Plate
2. Position the flower and leaf dies on the smaller scraps of paper and sandwich as listed above and run through the Gemini Junior. Remove the cut pieces, and repeat for the number of flowers/leaves that you want to use. I used 5 varying sizes of flower and 2 leaf stems. Place the cut pieces to one side.
There was a gorgeous selection of decorative papers in my craft kit, some of which you can see below. They have a lovely floral and butterfly design throughout in a variety of complimentary colours. For the large die, I used paper with purple hues, and for the smaller flowers it was teals and greens. Choose whichever colours you like for your card.
3. Using a complimentary rubber stamp ink colour, and an old dry paint brush, stipple, dab and blend the ink on the front of the card – you don’t have to do the full card, just where it will be seen through the die cut frame.
I used Distress Ink in the color Seedless Preserves as this is the ink I had in my stash – but use whatever type of ink you have. I have read that the Distress Oxide inks blend very well, especially if you use a dauber. Something for me to experiment with in the future for sure.
4. Place the die cut frame paper on top of the card (do not stick down yet!) and with a pencil, lightly mark the edges of the inside frame so you can gauge what size to do your sentiment lettering, or what size rubber stamp to use.
I practised my hand lettering on a scrap piece of paper first, cut closely around that and placed it in the middle of the frame as demonstrated blow. I then marked out around the scrap very lightly with pencil, and wrote out the sentiment again in pencil first, before going over with a brush tip pen. I used the purple from the Tombow Fudenosuke Colors Set, but you can use your favourite brush pen. Once the ink was dry, I used an eraser to remove any visible pencil lines.
If you would like to see how I letter, check out my Instgram Story Highlights where I demonstrate.
If you are not confident with hand lettering, you can always use a rubber stamp instead. Maybe do a practise run first as I did with the hand lettering so that you can see what it looks like before committing the stamp.
5. Apply glue to the back of the paper frame – I used a glue roller and only applied that to the uncut edges. Spray adhesive would come in really handy here as you could also then glue down the decorative die cuts within the frame too.
Now on the final steps – embellishing the card with the flower die cuts, as well as ribbons and pearls (or gems). I love embellishing – it’s the most fun part of card making for me!
6. Fold the piece of ribbon in half and slightly off kilter as you can see in the photo above. I used glue dots to stick the ribbon to the card in the top left corner of the die cut frame.
TIP! Before sticking the paper flowers and leaves to the card, position them where you would like them to go to see if you like the layout – adjust as you see fit. You can also give the paper flowers some depth by using your finger to gently curl each petal upwards. Or you can leave them flat – it’s your card, do what pleases you!
Stick the flowers and leaves onto the card in your desired positions using glue dots. I placed a large flower and a couple of leaves in the top left (on top of the ribbon) and three flowers on the bottom right corner.
Then apply sticky-backed pearls or gemstones to the center of each flower.
And with those last embellishments your card is complete!
Other Ideas!
- You could hand letter or rubber stamp another sentiment inside the card
- If you can’t find/don’t have a decorative square die with an aperture in the center similar to the one I used, you could use any kind of shape frame die.
- If you don’t have a die cutting machine but want to make this card, you could make a simpler version by cutting a square out from the center of the paper using a craft knife, and the hand cutting some flower and leaf shapes (or use individual flower/leaf paper punches) and stick them around the inner edges of the frame to pretty up the straight edge.
I haven’t crafted for a while, and had so much fun making this card – I hope you have fun too!