Mickey Mouse Pretzel Rods – A Fun Disney Snack!
Home » COOK » Recipes » Disney Recipes »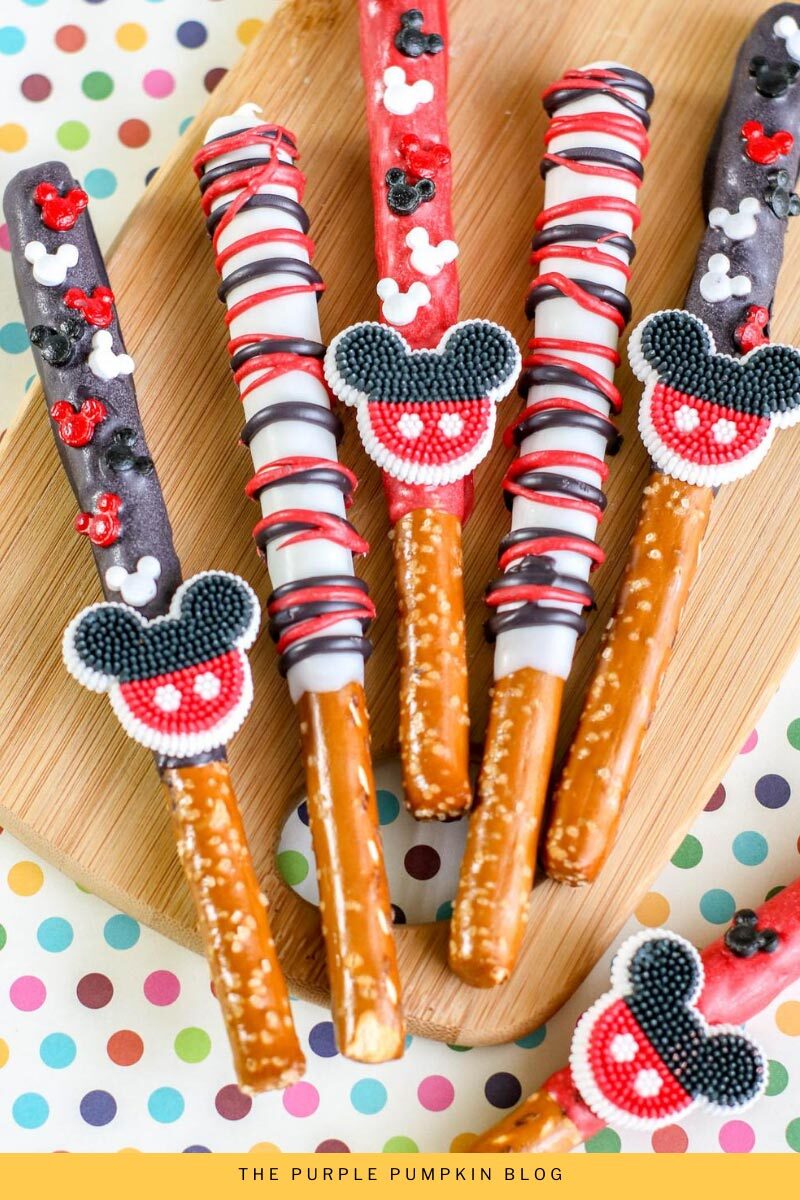
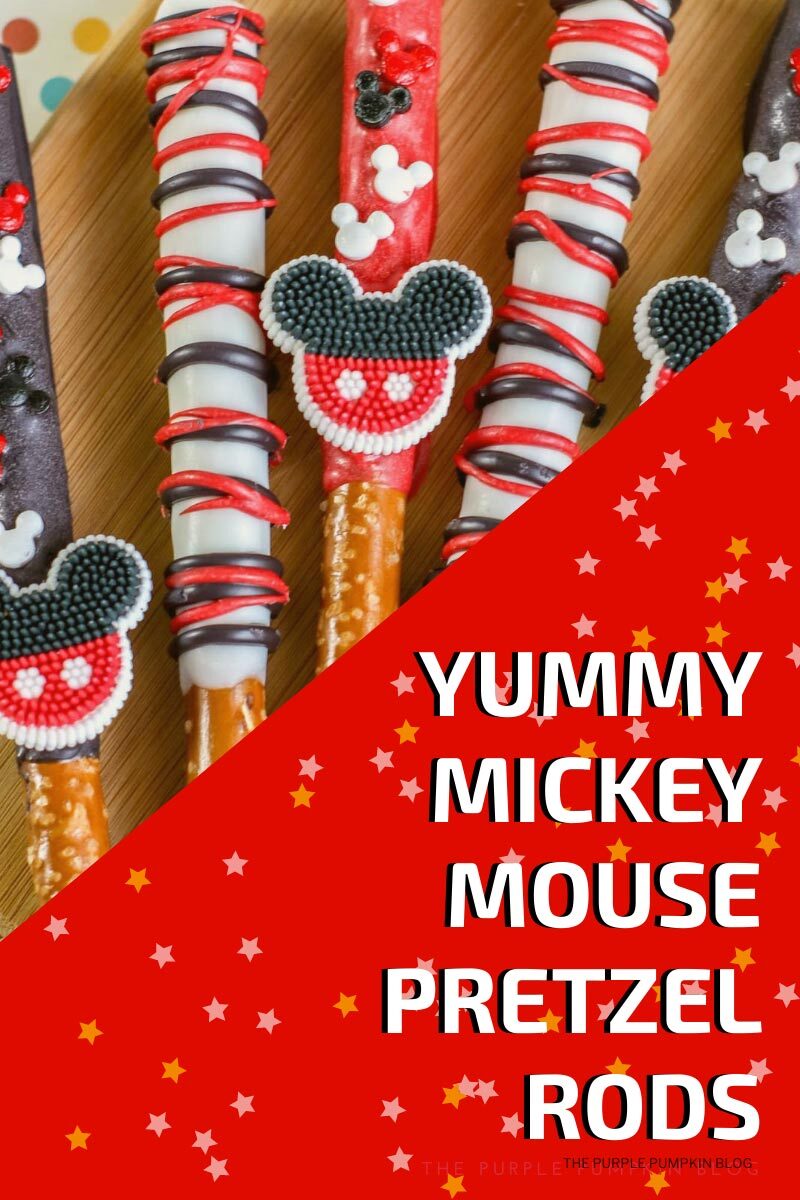


Want to learn how to make delicious Mickey Mouse Pretzel Rods? We have just what you’re looking for! Here is a super easy step by step recipe showing you exactly how to nail these pretzel rods on your first try. Make this fun Disney snack at home when you’re missing the Disney Parks!

Affiliate Disclosure
We have included affiliate links to products and services related to this post.
We may earn a commission if you purchase after clicking on those links.
As an Amazon Associate, I earn from qualifying purchases.
Read Our Full Disclosure Policy and Privacy Policy
Mickey Mouse Pretzel Rods
The full ingredients list and instructions are found in the printable recipe card at the end of this post. I highly recommend reading the blog post all the way through so that you don’t miss any tips or substitution suggestions and to ensure that you have all the ingredients and equipment required as well as understand the steps and timings involved.
If, like me, you are missing the Disney Parks to get your candy-dipped pretzel fix, then you need this recipe in your life!
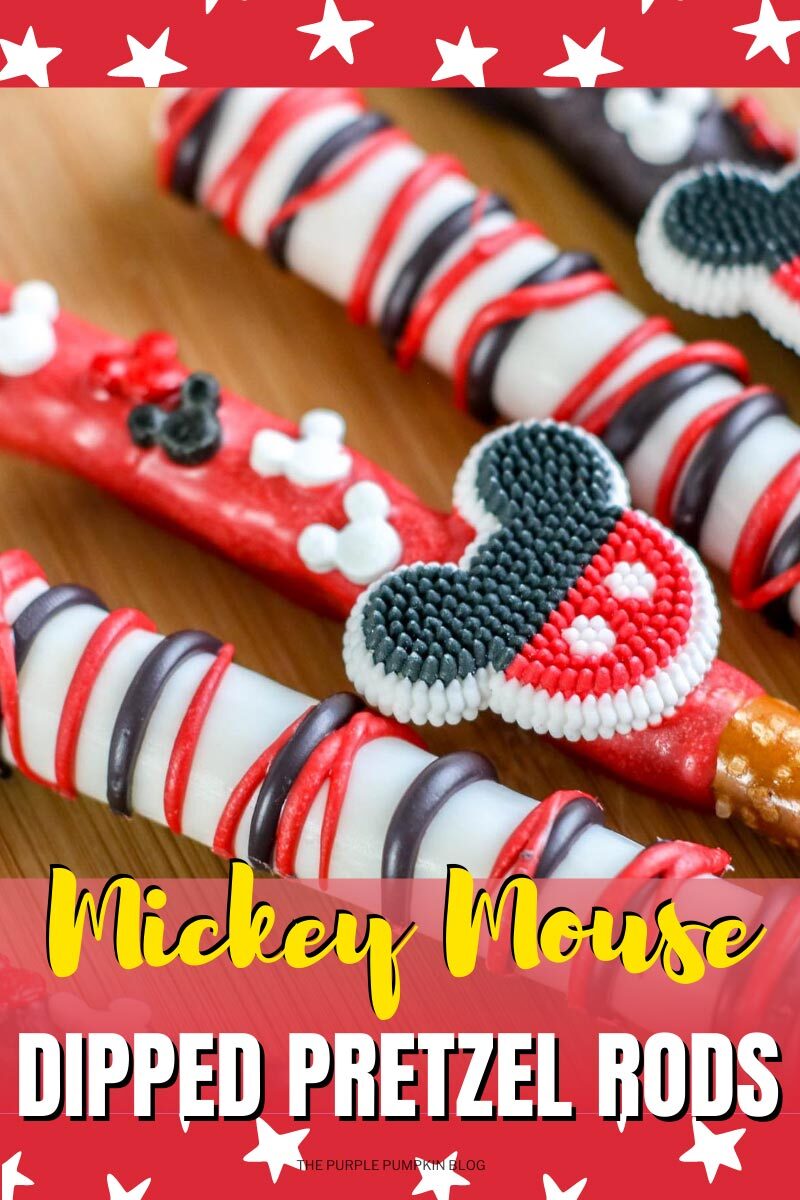
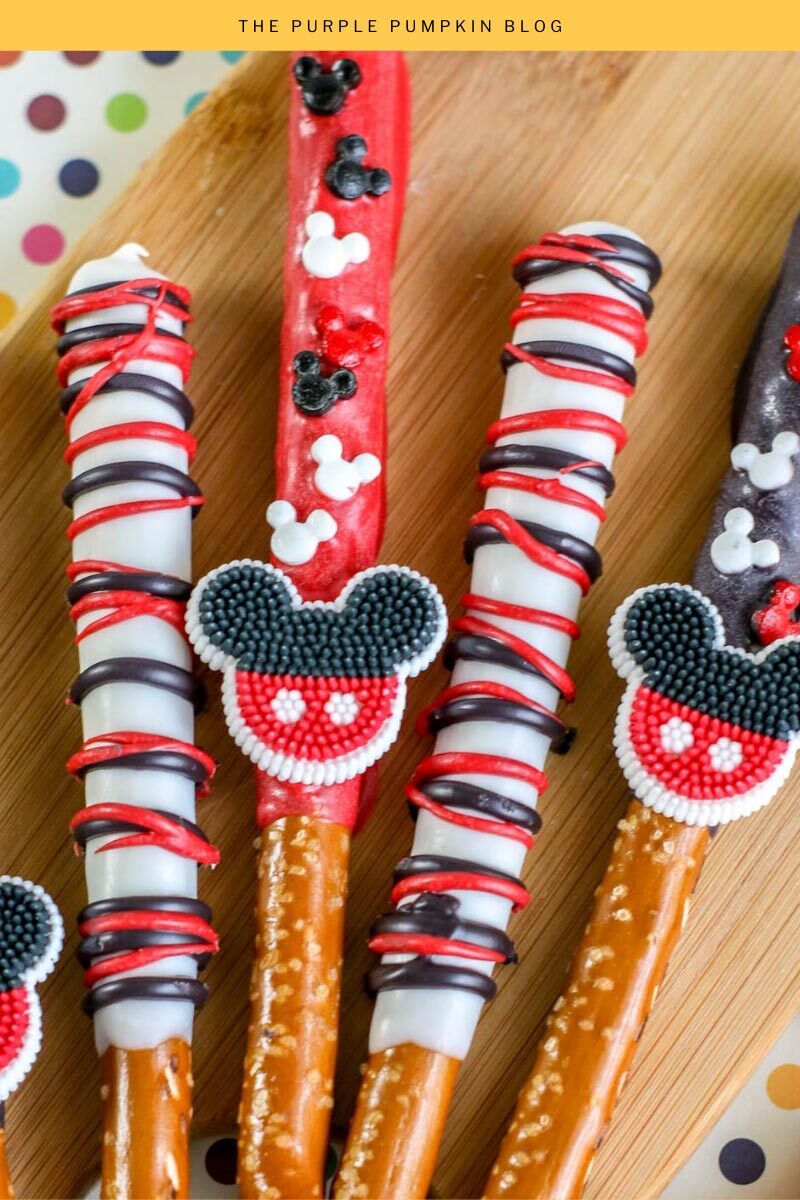
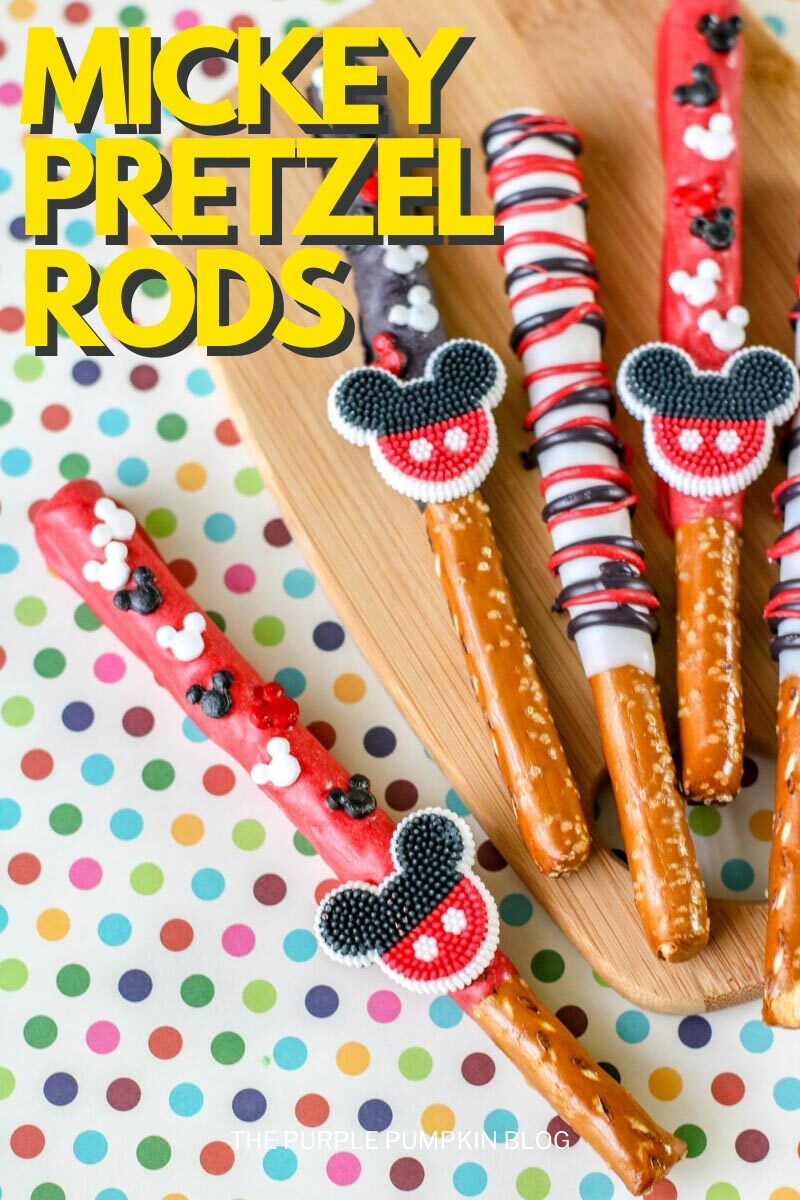
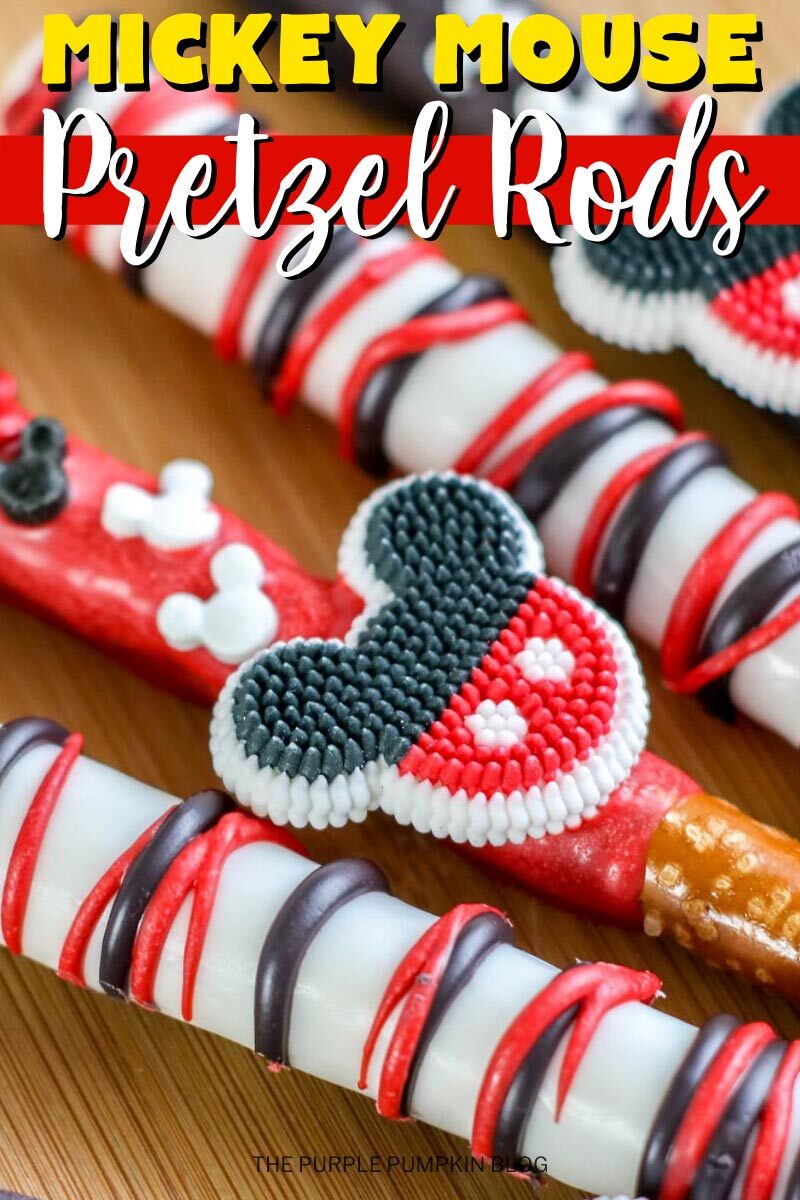
This Mickey Mouse inspired snack is the perfect combination of sweet and salty made with pretzel rods dipped in melted candy and covered with sprinkles!
They’ll be kid-approved and Disney fans of all ages will love ’em! In fact, get the kids involved and they can shake sprinkles over the pretzel rods after they’ve been dipped in candy.
Ingredients Used In This Recipe
Just three ingredients are needed in this recipe – pretzel rods, candy melts, and sprinkles!
For your convenience, I’ve linked any specialized ingredients needed for this recipe to Amazon below.
- Pretzel Rods
- Candy Melts – this recipe uses black, white, and red, but you could also add in yellow, or make Minnie Mouse pretzel rods and use red, pink, and white!
- Mickey Mouse Sprinkles – if you can’t find these, you could use a mixture of:
- Red, Yellow, and Black Sprinkles instead, Amazon have different mixes, or you could make your own.
- Mickey Icing Decorations – if you can’t source these in your country, just hit up your pretzel rods with more sprinkles!
For my UK readers: Pretzel rods are longer and chunkier than pretzel sticks – and the latter seems to be the kind that I see in our supermarkets.
The brand that I bring home from the USA is called Snyder’s of Hanover, and they sell a range of pretzel products, which I have seen on Amazon UK. However, pretzel rods do not seem to be one of them, which is super annoying!
You could check out stores like Aldi or Lidl which might carry larger pretzel sticks. Or if you can’t find pretzels in rod or stick form, just use this method on regular shaped pretzels! Or even plain breadsticks (just don’t use garlic or cheese ones because I can’t imagine that would be a good combo!!)
Equipment used in this recipe
You can melt candy melts/candy wafers in the microwave or a double boiler, or if you plan on making lots of candy covered treats in the future, I recommend investing in a candy melting pot as treat-making life is then so much easier!
Try this PME one if you’re in the UK, as the Wilton one is not available on Amazon.co.uk.
If you want to drizzle candy melts onto the pretzels you’ll need zip-top freezer bags or disposable piping bags to get the job done.
And some wax paper to lay the coated pretzel rods on so that they can set.
Melting Tips for Candy Melts Wafers
If you use the Wilton Candy Melting Pot, you can check out Wilton’s demo video on YouTube which is really helpful. They also give tips on how to melt candy melts in the microwave, as well as using the double boiler method.
The two most important things are
- Do not overheat – use an even melting temperature
- Do not add water – it makes the candy seize up and become unusable. Make sure the equipment used is completely dry, and avoid using utensils that retain moisture like a wooden spoon.
If you find that the candy is too thick, add vegetable shortening or (solid) coconut oil in 1 teaspoon increments, up to 1 tablespoon, and stir well.
Another reminder – do not add water. The very first time I used candy melts I managed to get water in the bowl and it was ruined. Learn from my mistakes! Additionally, do not use vegetable oil, butter, milk, or any other liquids as this will also make the candy seize up.
If you are using your microwave, test melt a small amount of candy melts first, to see how it works. You may need to adjust the temperature and time to suit your machine. Heat in 15-30 second increments, stirring the candy melts each time. They may not look melted, but they might have started melting from the inside. Stirring helps to distribute the heat.
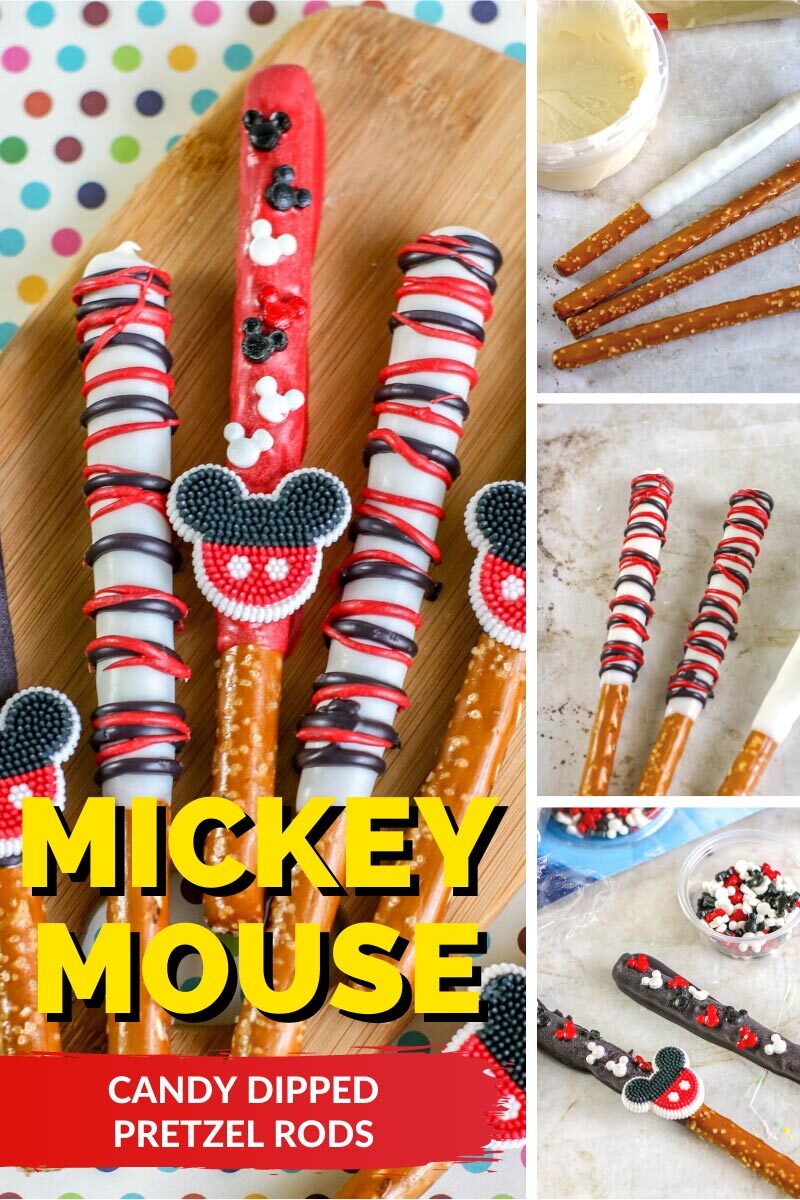
Pretzel Dipping Tips
You want to cover the pretzel rods about two-thirds, and I think it’s easiest if you can do that in one dunking.
My tip is to use a taller container – like a mug or glass jug – rather than a bowl. That way you can dip the pretzels into the melted candy, and voila, candy-coated pretzel rods! Or you can use a spoon to help you to cover.
Tap off any dipping excess candy. (Speaking of excess candy, any that is leftover can be transferred to an airtight container, and you can re-melt it for another recipe.)
Store the coated pretzels in an airtight container in a cool, dry place. Storing in the fridge may cause the pretzels to soften – not good when you want them to be a crunchy treat!
More Disney Recipes
Want to try more Disney-inspired recipes? Check these out:
How Do I Make Mickey Mouse Pretzel Rods?
Just check out the recipe card below with full ingredients, instructions, and demonstration photos. You can print the card out too (don’t worry, the pics don’t print to save your ink!).
Mickey Mouse Pretzel Rods
Ingredients
- 1 12 oz package pretzel rods (approx 20)
- 1 12 oz package white candy melts
- 1 12 oz package black candy melts
- 1 12 oz package red candy melts
- Mickey Mouse shaped sprinkles
- Mickey Mouse shaped icing decorations
SUGGESTED PRODUCTS
Instructions
- Line a large tray or baking sheet with wax paper.
- Melt the candy melts according to package directions giving special care not to overheat the candy as it will become too thick. If the candy is too thick, add vegetable shortening or coconut oil in 1 teaspoon increments, up to 1 tablespoon, and stir well. Do not add water or any other type of liquid as the candy will seize and harden and be unusable.
- Pour melted candy into a tall container to dip the pretzel rods about two-thirds – use a spoon to help cover if required. Shake gently to remove the excess candy.
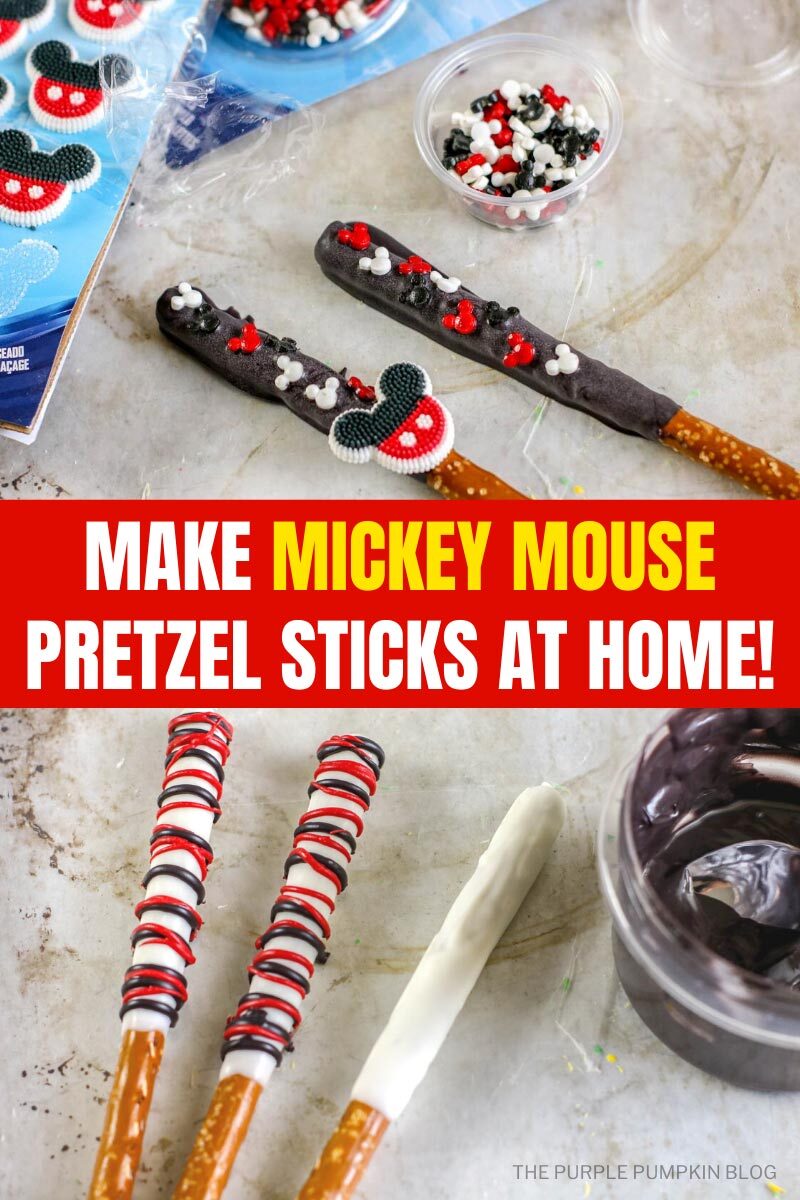
- If applying small sprinkles (such as nonpareils, jimmies, etc.,), do so immediately rotating the pretzel rods to coat all sides.
- Larger sprinkles work best if placed individually.
- Place candy-coated pretzel rods onto the wax paper to set.
- To add additional colored candy melts allow the first coating to set first.
- Place melted candy into a disposable piping bag or zip-top freezer bag with the corner snipped and drizzle the candy coating over the pretzel rods. Before te pretzel sets, gently pick up and move to clean wax paper.
- Let pretzel rods dry completely before packaging or serving.
- Store in an airtight container at room temperature. Placing in the refrigerator may cause the pretzel to soften.
Notes
Nutrition
Nutritional information is always approximate and will depend on the quality of ingredients used and serving sizes. If you need exact calories and macros, please do your own calculations.
Make It A Meal!
You’ve made the dessert, but what about the rest of the courses?
Here are additional recipes to make a full meal!
- Appetizer: Cheese-Stuffed Taco Meatballs on Sticks
- Main Dish: Chicken Parmigiana
- Side Salad: Giant Couscous Antipasti Salad
- Beverage: Buzz Lightyear Mocktail for Kids!
There are 500+ Recipes on The Purple Pumpkin Blog for you to enjoy – please feel free to check them out too!