How To Make Tropical Tissue Paper Flowers
Home » CREATE » Crafts »This shop has been compensated by Collective Bias, Inc. and its advertiser. All opinions are mine alone. #CollectiveBias

If you read my blog or watch my YouTube videos regularly, you will know that I’m turning 40 this year. You’ll also know we are headed on holiday to celebrate. However, I also need to have a birthday party!
I’m throwing a Hawaiian Luau to celebrate my birthday with my friends and family, and I just hope this tropical weather we are currently experiencing in the UK lasts until the big night!
In addition to the ready-made decorations that I have for this party, I also wanted to make some of my own. My go-to decoration is tissue paper flowers, because they are so easy to make, and the materials you need to make them are cheap too: win/win! Since my party has a tropical theme, I will be making lots of tropical tissue paper flowers.
Hobbycraft Supplies
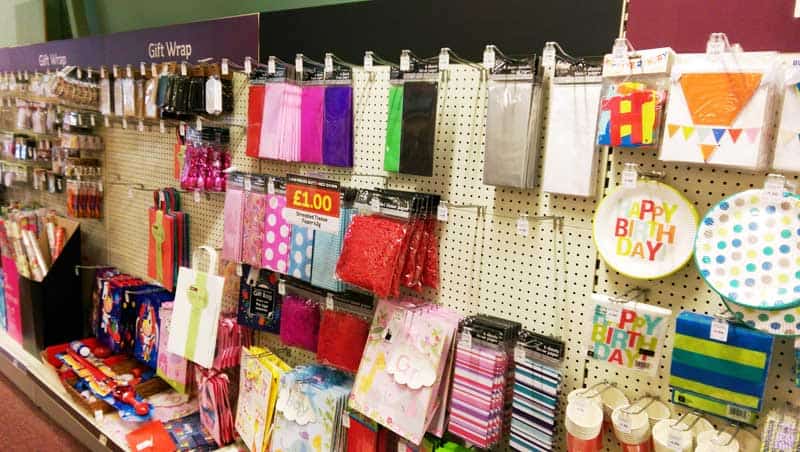
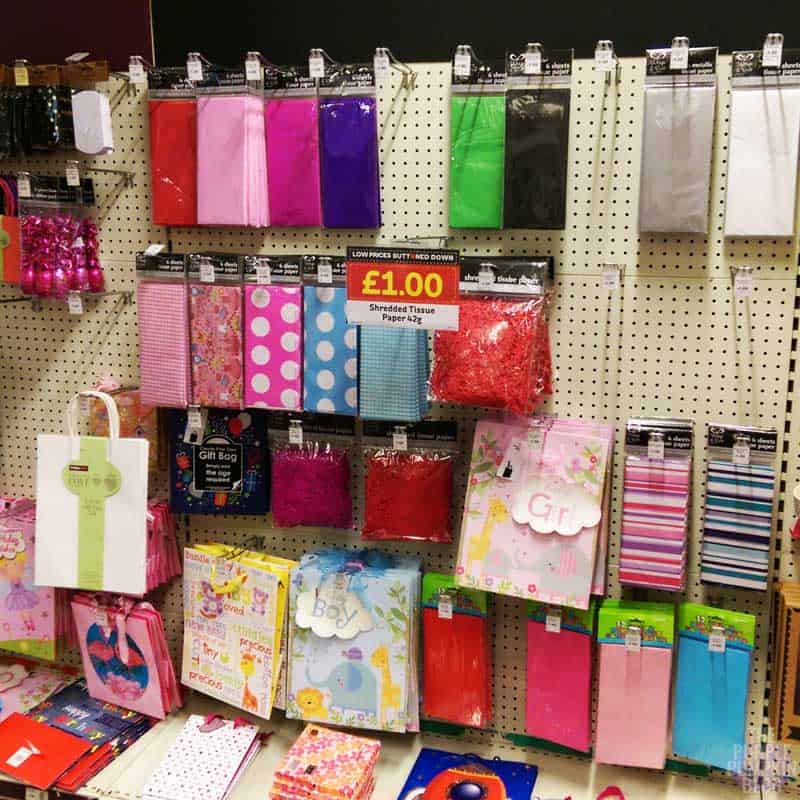
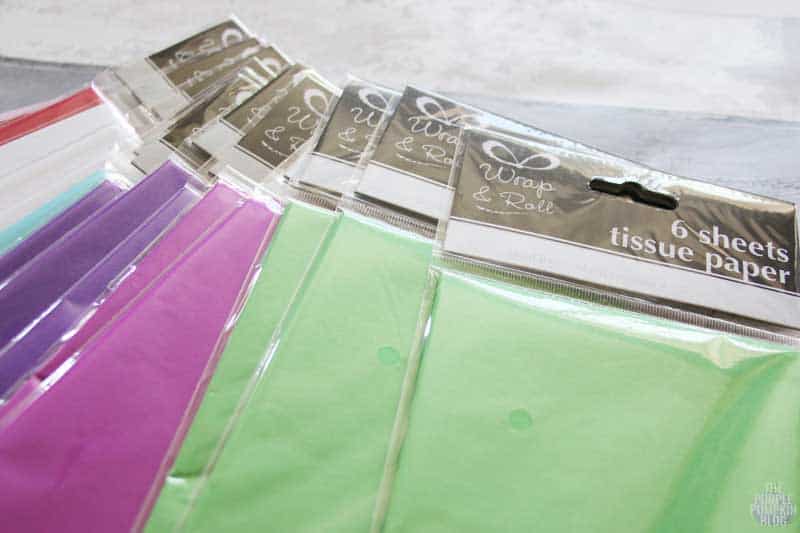
I took myself off to my local Hobbycraft store in town to buy lots of different coloured tissue paper. The single colour packs are just £1 for 6 sheets, and this is enough to make one large flower, or two smaller ones. You can use more sheets than this, to get a fuller flower if you like. Because I’m always so indecisive, I bought all the bright colours – any I don’t use, simply go into my craft stash for another time. You can find tissue paper in the Gift Wrap aisle, which in my store, is along the side wall.
I find it very easy to browse Hobbycraft for hours – it’s a crafters haven! Supplies for every craft imaginable can be found in store, and I would say that 90% of my craft stash has been bought from Hobbycraft!
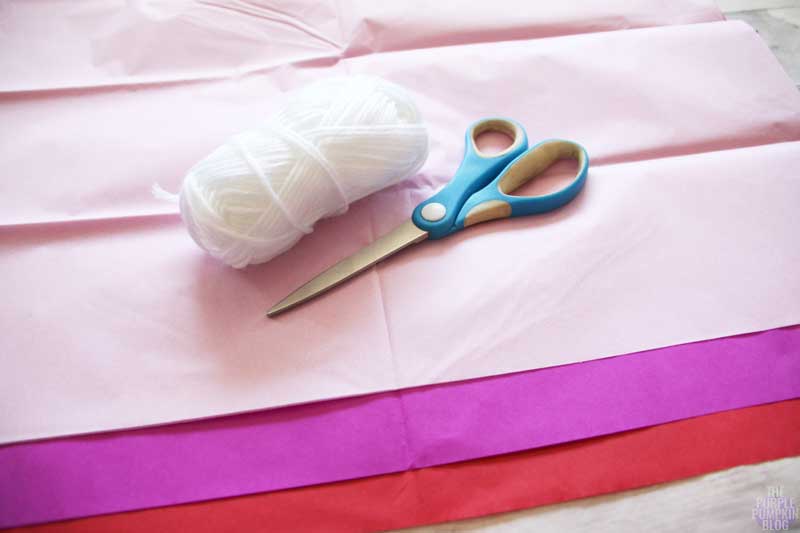
To make these tropical tissue paper flowers, I also needed scissors – which I already have at home, and something to fasten the flowers with – you can use several different things – wool, string, thread, pipecleaners, and even floristry wire. I’ve made them using all of the aforementioned fastenings – just use what you have to hand – the method of making them is exactly the same. The first thing I found in my craft stash on this occasion was wool, so that is what I used!
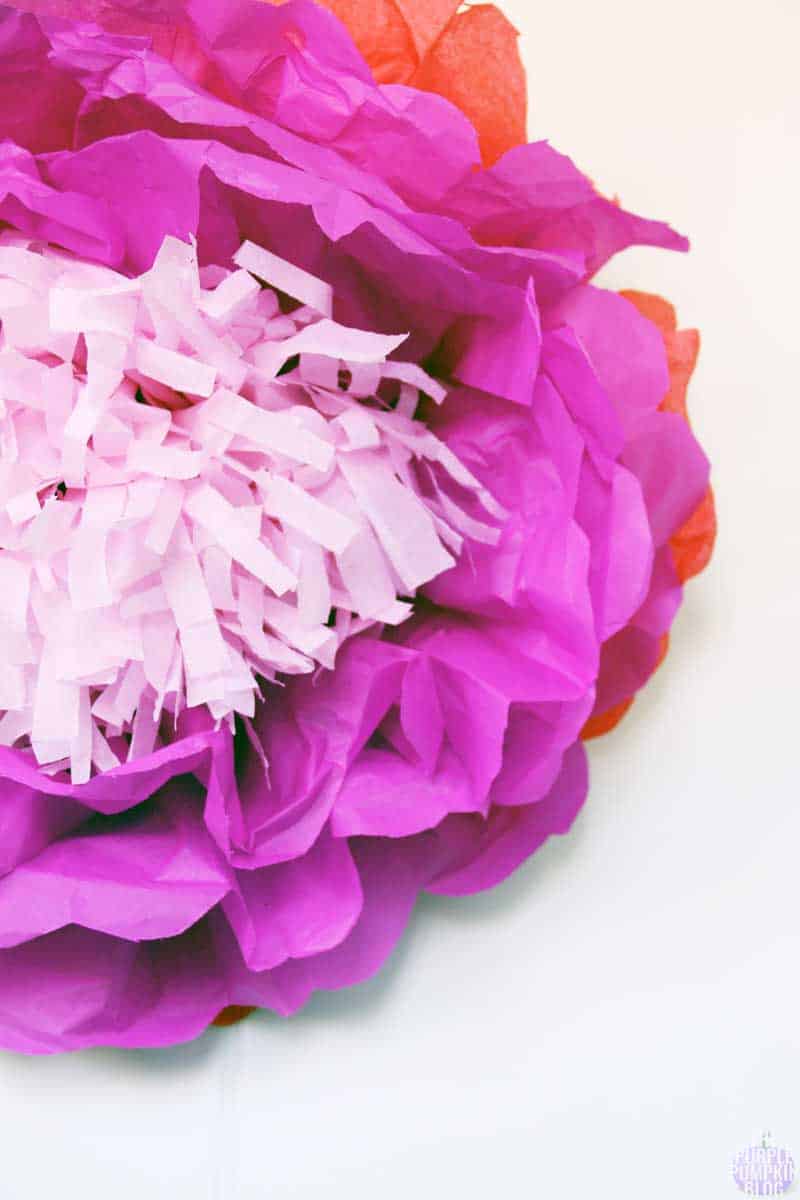
Since I like my tissue paper flowers to be extra floofy (it’s a word!) I used a total of 8 sheets of tissue paper in the pink flower that you can see below. The more layers of tissue paper you have, the slightly more difficult it is to separate them, and fluff them up. It’s so hard to explain, but as you start making these, you’ll see what I mean.

How To Make Tropical Tissue Paper Flowers
If you would like to make the exact same flowers as I have done, follow the colour order that I list below – or just use your own colour choice!
You will need…
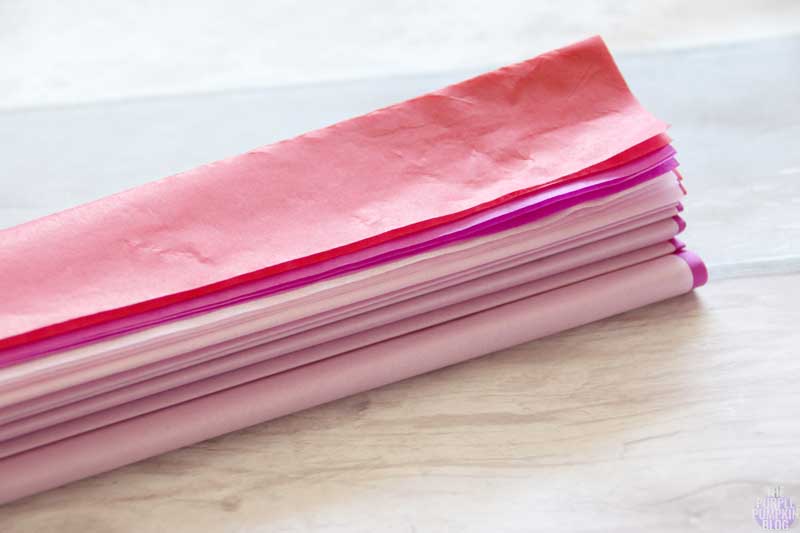
- 8 sheets of tissue paper, approx 50 x 75 cm. 3 x light pink, 3 x fuchsia pink, 2 x red
- Scissors
- Something to tie around the flower, e.g., string, wool, thread, pipecleaner, floristry wire
Instructions…
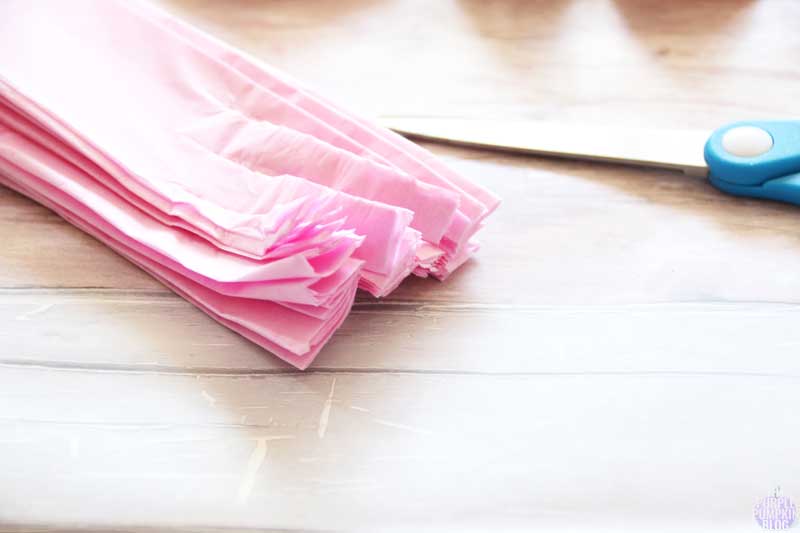
- Lay the sheets of tissue paper on top of eachother – red on the bottom, fuchsia pink in the middle, and light pink on the top. The top colour is always the central colour of a tissue paper flower.
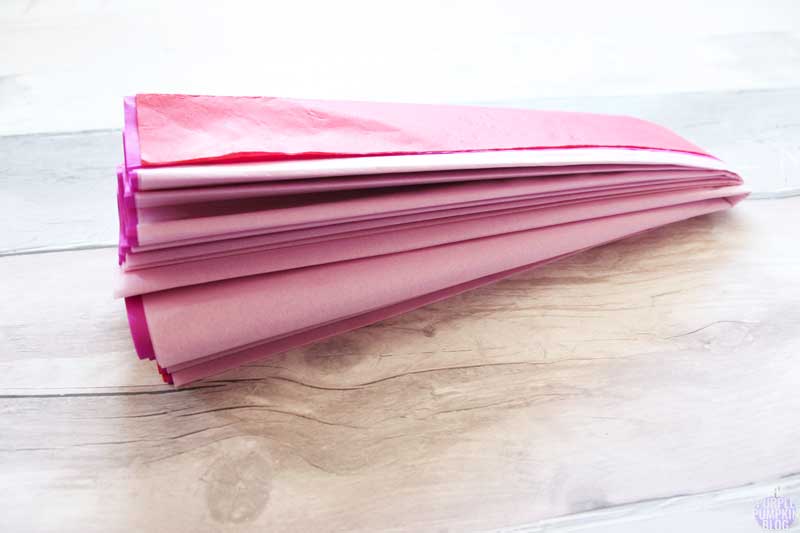
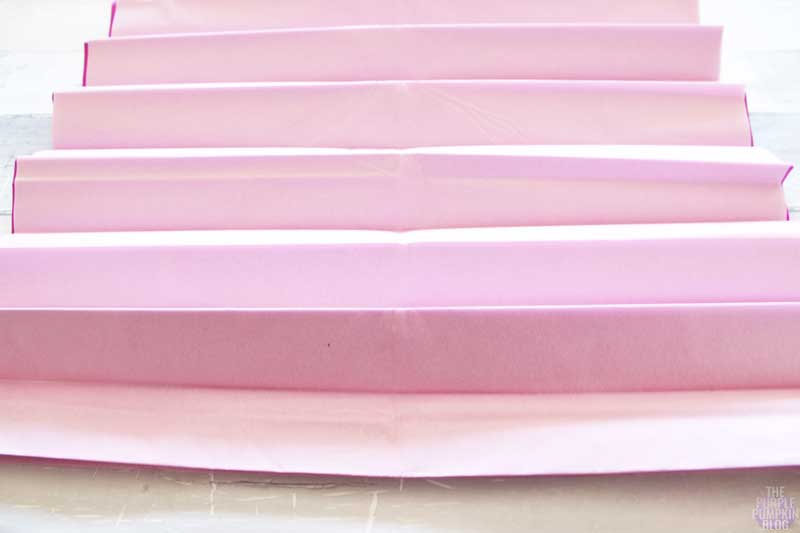
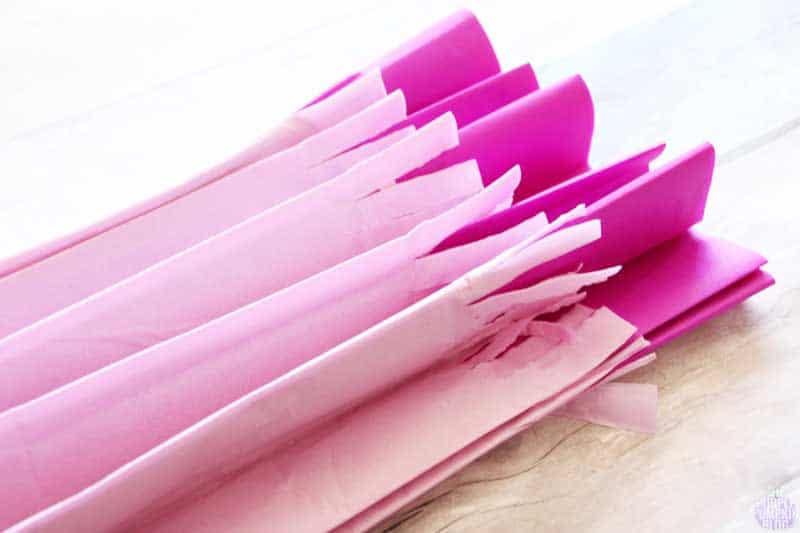
- Fold concertina fashion – make each fold around 2cm wide.
- Taking the length of folded tissue paper, fold that in half and press firmly to make a crease in the middle. Unfold.
- Carefully remove the light pink layers, and gather up the concertina fold. Fold in half as before.
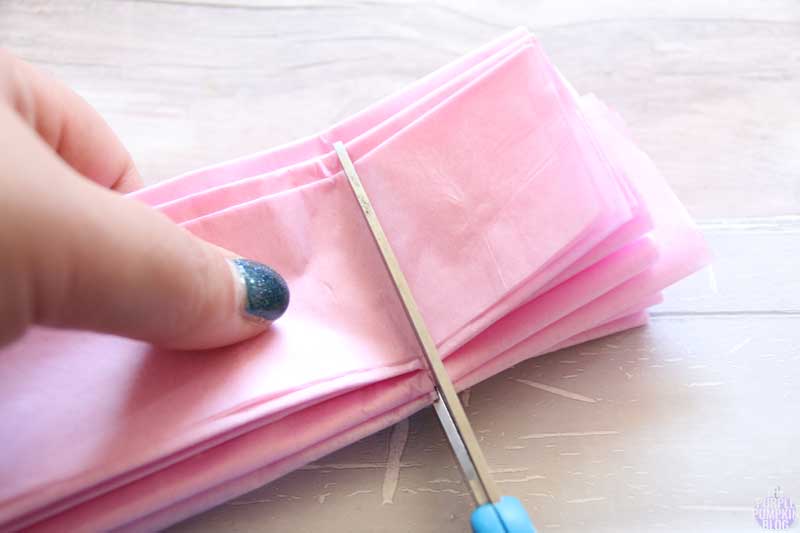
- Cut about 3-4cm from the ends of the paper, and then cut slits down the paper, around 3cm long.
- Now unfold the light pink layers, and lay back on top of the other colours, matching up the concertina folds. You may find you have extra wide strips where you cut earlier – you can cut down the middle of these if you like.
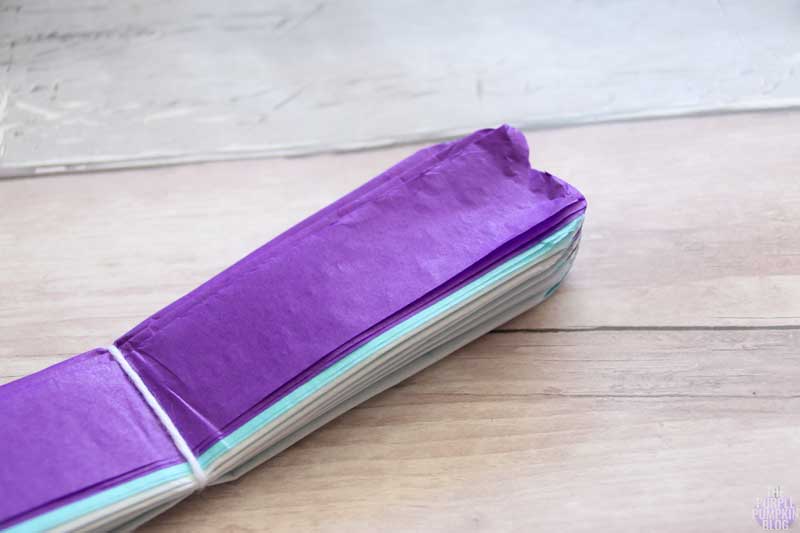
- Fold everything back up together again, then fold in half as you did earlier.
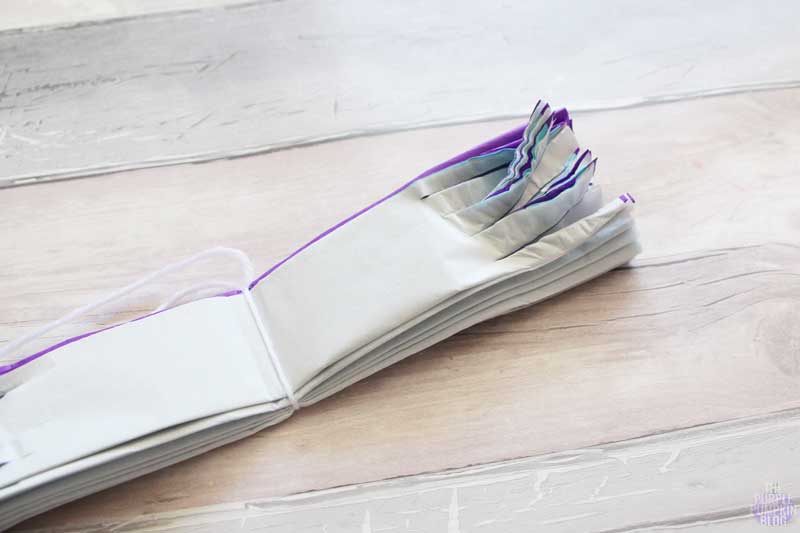
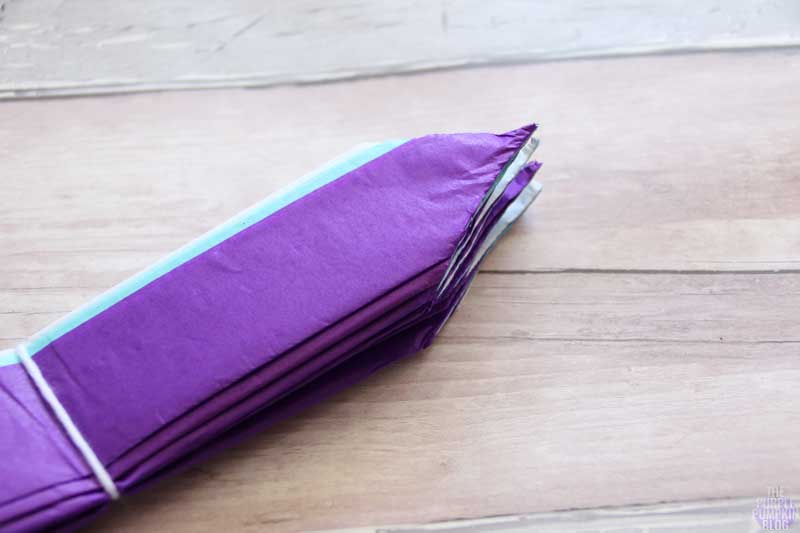
- Tie a piece of wool (or string, or whatever it is you are using!) around the middle. Don’t pull too tight, but don’t have it too slack either. Leave a length of wool so that you can use it to hang the tropical tissue paper flowers up.
- On each end, cut a rounded shape, to form the edges of the petals.
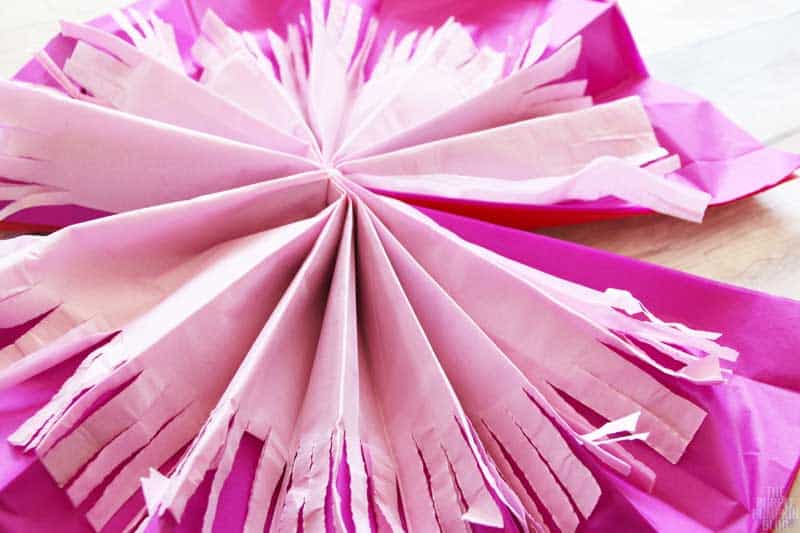
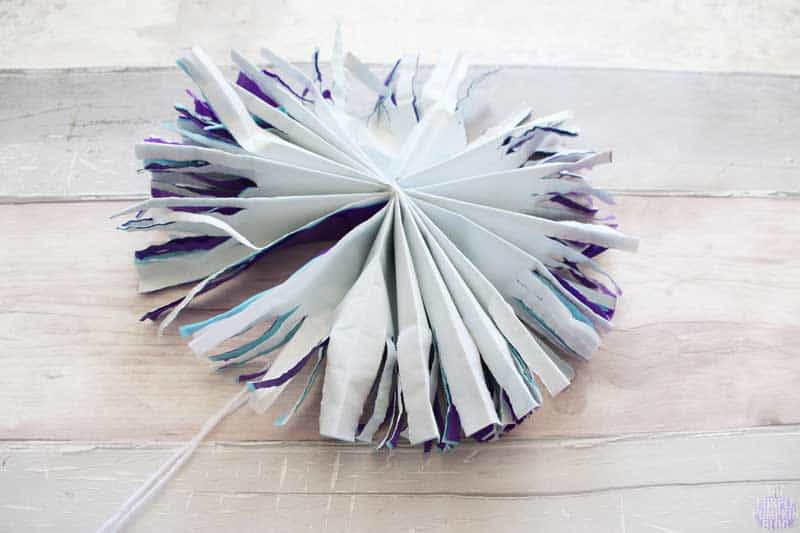
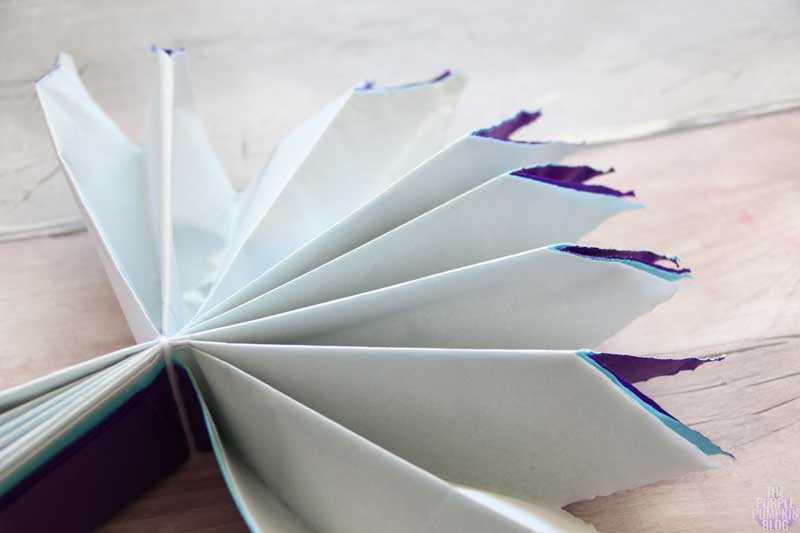
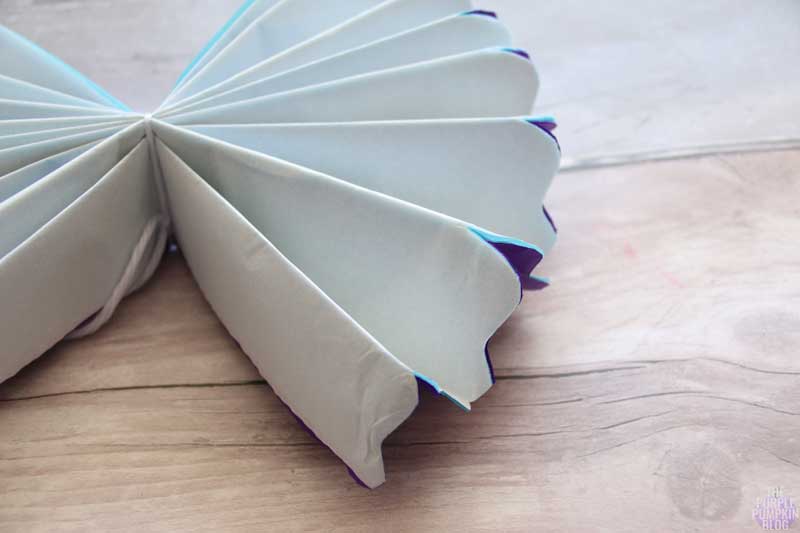
- Open up tied wad of tissue paper, and fan out as show in the picture below right.

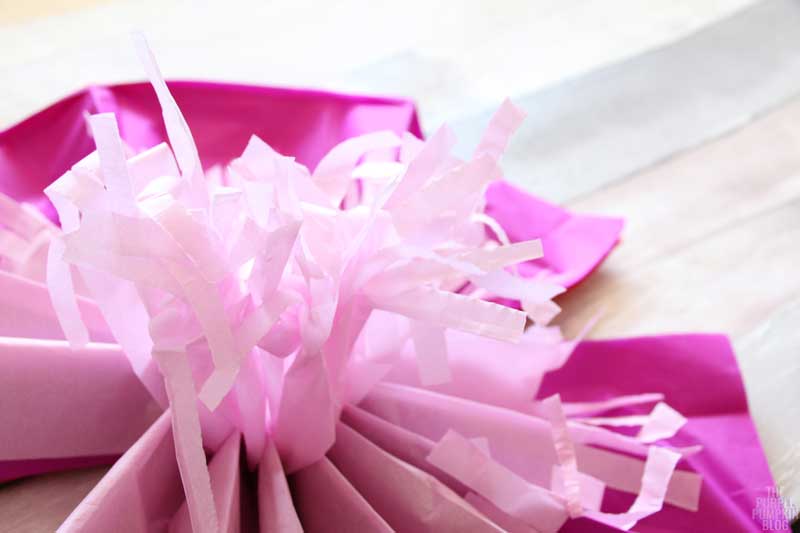
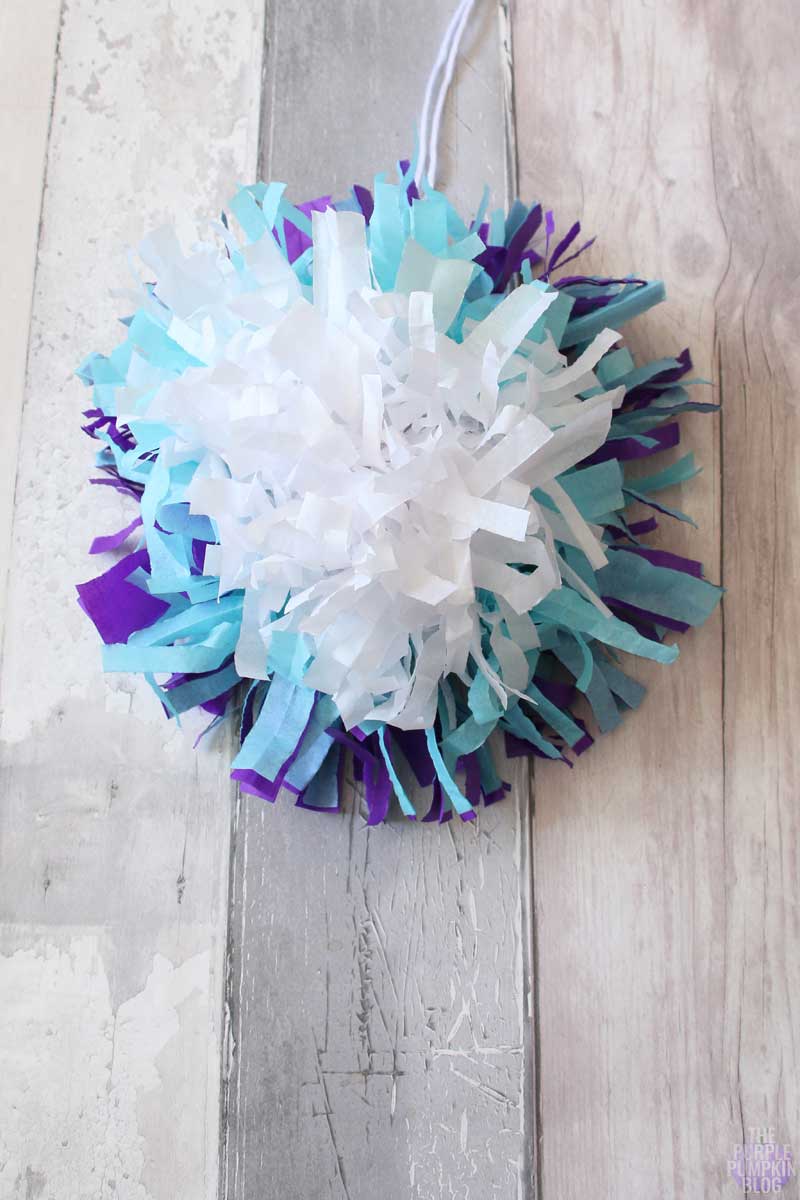
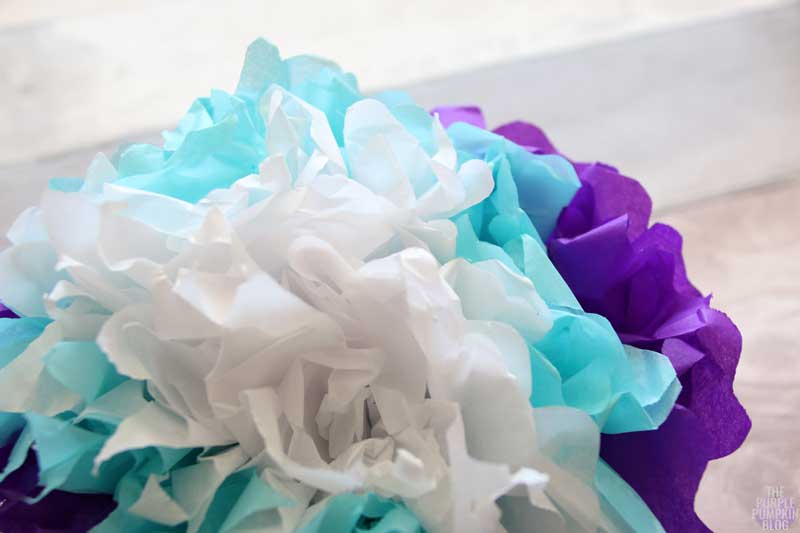
- Now it’s time for the fun part – the floofing out! Or fluffing out, which is an actual word, but I prefer floofing!! Starting on one side, tease the tissue paper layers away from each other – being careful not to tear it. If you do, it’s not the end of the world. I generally do one half of the flower first, before doing the other – but do whatever you feel most comfortable with. Keep teasing each layer apart, and fluffing everything to get the look you want.
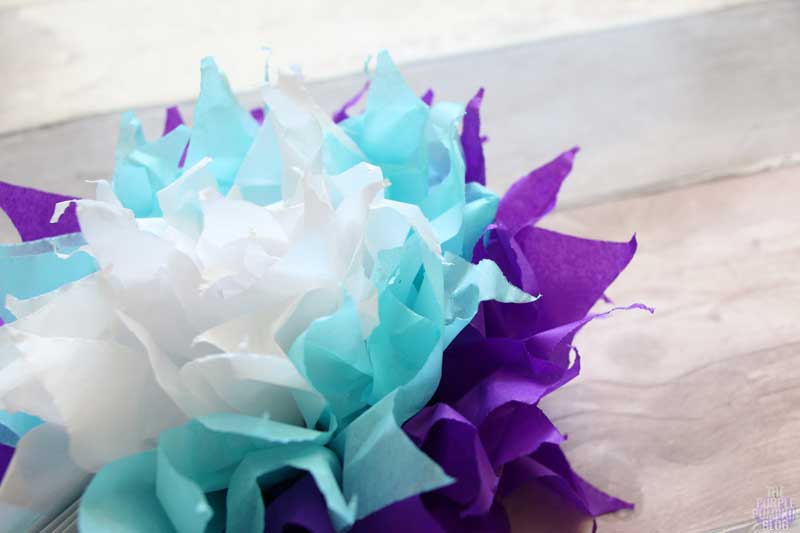
- And that’s it – you’re done! Hang up against a wall, or you could forgo hanging, and have them laying flat on a table, or pinned if you prefer. I’ve done all three methods when making tissue paper flowers!
But why stop there? Once you have the basic method of making tissue paper flowers, you can experiment to your hearts content!
You can use multiple colours, different quantities of tissue paper, double sided (to do this put the inner layer colour, on the front and back, and double floof!), and try cutting different shapes at the ends – you won’t know until you try!
I did some experimenting of my own, after making this demonstration flower to share with you.
I wanted to see what a whole flower would look like if I cut strips on every layer. It started off well, but after 3 layers of peeling, it was very difficult! I would be inclined to stick to just having the centre with cut strips, just for simplicity! Or I might try again but with less layers.
Cutting a triangle at the end of the bundle of tissue paper, gives you pointed petals.
On the other end of this same flower (for demo purposes) I cut a kind of scallop shape, or a double bump – can’t really explain – check the pictures below for reference. It gave a nice rounded petal, and lots of texture. I really liked this kind of cut.
I hope that this tropical tissue paper flowers tutorial gives you ideas and inspiration for making your own flowers! I’m going to have a lot of fun making all the flowers for my birthday party!
You might like to take a look at some of my past tissue paper flowers:
- Halloween – black flowers, on a pipecleaner stem
- St. Patrick’s Day – Irish flag colours
- Olympics Party – Olympic Rings colours
- 40th Birthday Party – you can see double sided ones here, hanging from the ceiling
- Baby Shower – giant pink ones!
- Royal Wedding Party – Union Jack colours
- Peppa Pig Party – I made these ones with organza

Sana Haris
March 10, 2020 @ 9:52 am
Great ideas for decoration. Thanks for this!!!
Jacqui Paterson (@Jax2000)
July 26, 2016 @ 8:20 am
These are so pretty! Great way to decorate an outdoor space for a summer BBQ x