How To Make DIY Gift Bows
Home » CREATE » Crafts »I don’t know about you, but when wrapping up gifts, I love to decorate them with a bow and ribbon…

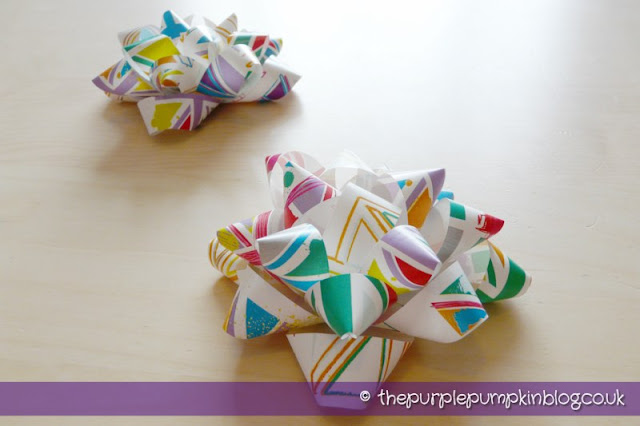
…however, I find that (in the UK at least) that the colours are limited, and sometimes, I don’t want a shiny bow. Well, I’ve solved that problem, but learning how to make my own gift bows! So here’s a ‘Make It’ Mondays post for you :D


Making my own bows means I can use any paper that I want, and get a pretty bow to match (or not!) my gift wrap.
They are super simple to make, once you get the hang of how to twist the paper, and I’ll be giving you a step-by-step guide on how to make them. Knowing how easy these were to put together, I don’t forsee much ready-made bow buying in my future!
I’ve also got lots more Christmas Crafts for Adults for you to try out. Right-click and open a new tab to read next.

Each bow starts off with 9 strips of paper. I used some wrapping paper that I had in my stash, but you could use anything you want – magazine pages, newspaper, old books…
Each strip should be 3/4″ wide, and then you need the following quantities and lengths:
- 3 at 12″ long
- 3 at 11″ long
- 2 at 10″ long
- 1 at 3½” long

Now, you need to make each strip of paper into a loop, I’ve tried to illustrate as best as I could with my photographs – it will become more apparent when you actually do it yourself.
Take one strip and fold the ends into the centre

You then lift and twist to the left, putting the patterned side to the blank side.

Holding carefully, turn the folded strip around and repeat on the other end.

Secure in place with a staple. You could use double sided tape, glue dots or regular glue.

Repeat this process with all the other strips – apart from the smallest strip, which you fashion into a circle.

With all the strips now looped, it’s time to assemble and make your bow!
Taking two of the longest loops, make a cross like so, fixing with glue, tape or glue dots.

Then, start adding the rest of the loops, going around in a clockwise fashion, filling in the gaps, start with the biggest loop and work down to the smallest. Fix each loop in place with glue, tape or glue dots.


Fix the final loop in place, and you’re done! How easy was that?!


Christine
July 10, 2012 @ 11:36 am
Oh my!!! What a GREAT tutorial!! I’m going to start making my own bows!
Thanks for sharing this at The DIY Dreamer.. From Dream To Reality! I can’t wait to see what you link up this evening! :)
Michelle
July 13, 2012 @ 8:08 am
When you realise how easy it is, you’ll never need to buy ready made bows again! Have been busy and have had a few days off, but will stop by and do some linking up :)