Halloween Felt Bat Plush Craft
Home » CREATE » Crafts » Halloween Crafts »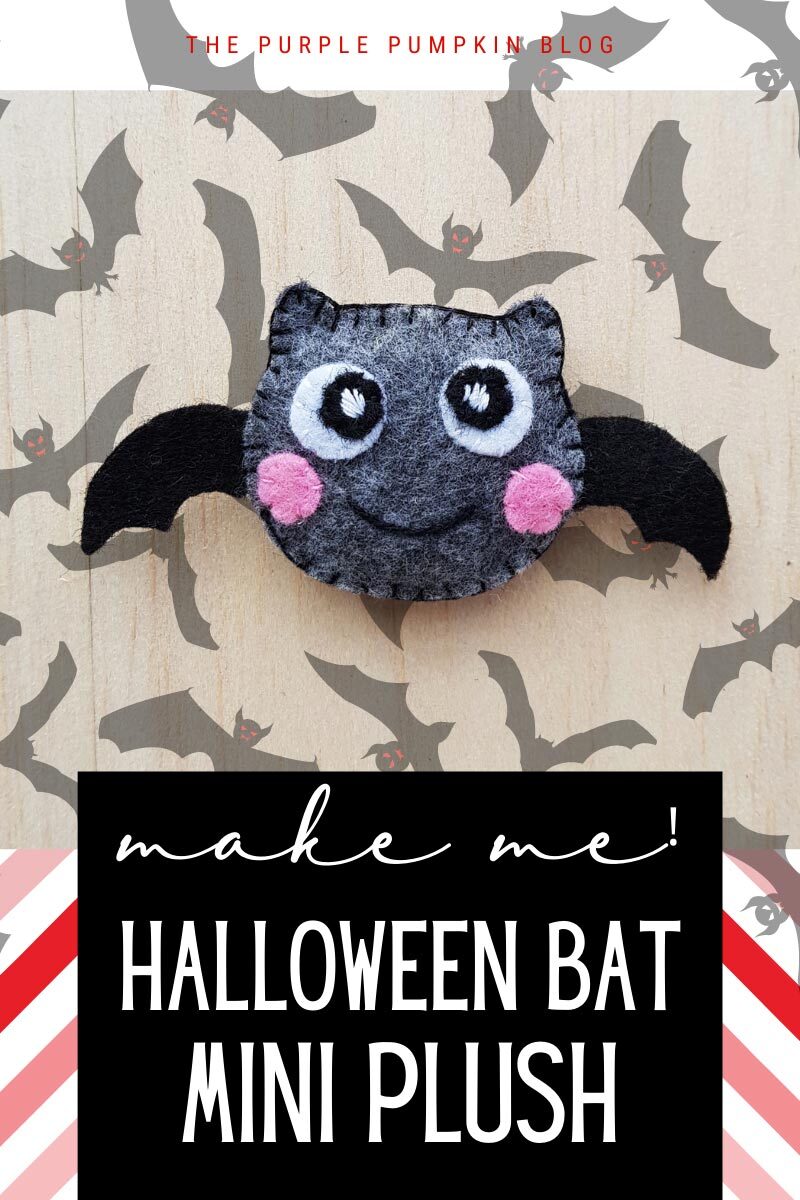
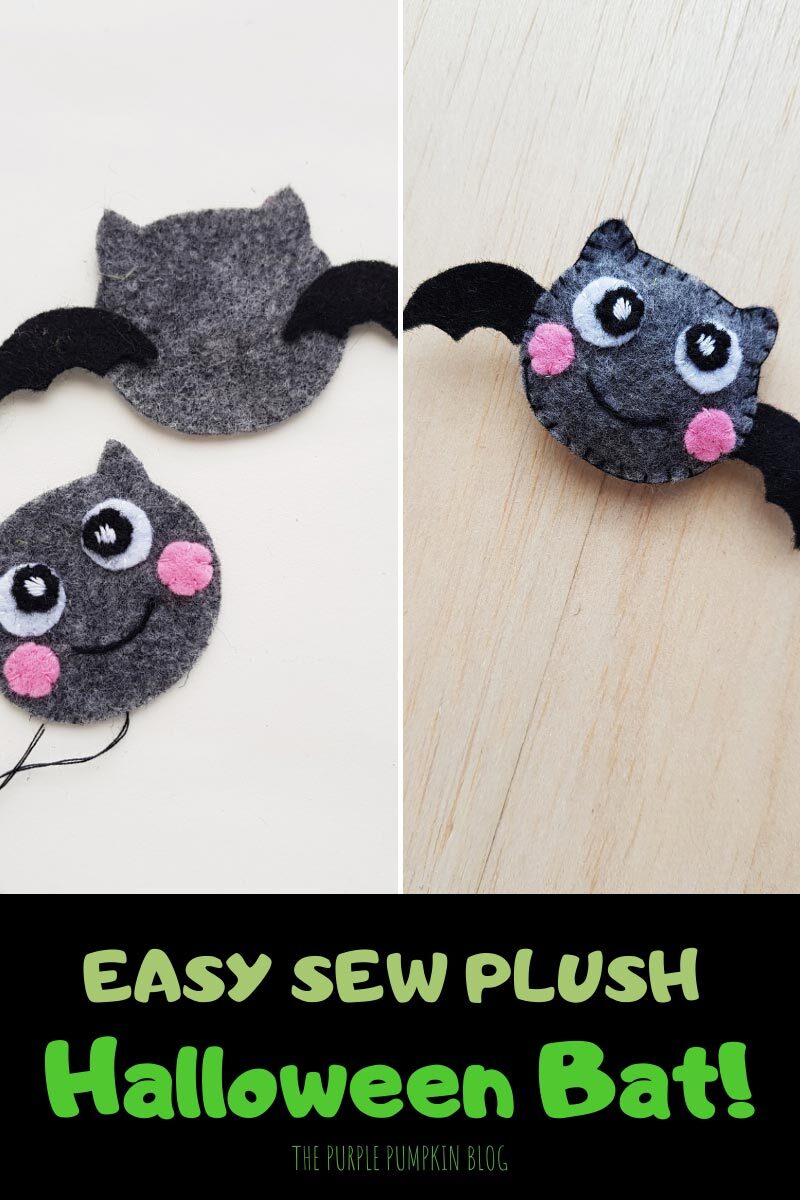
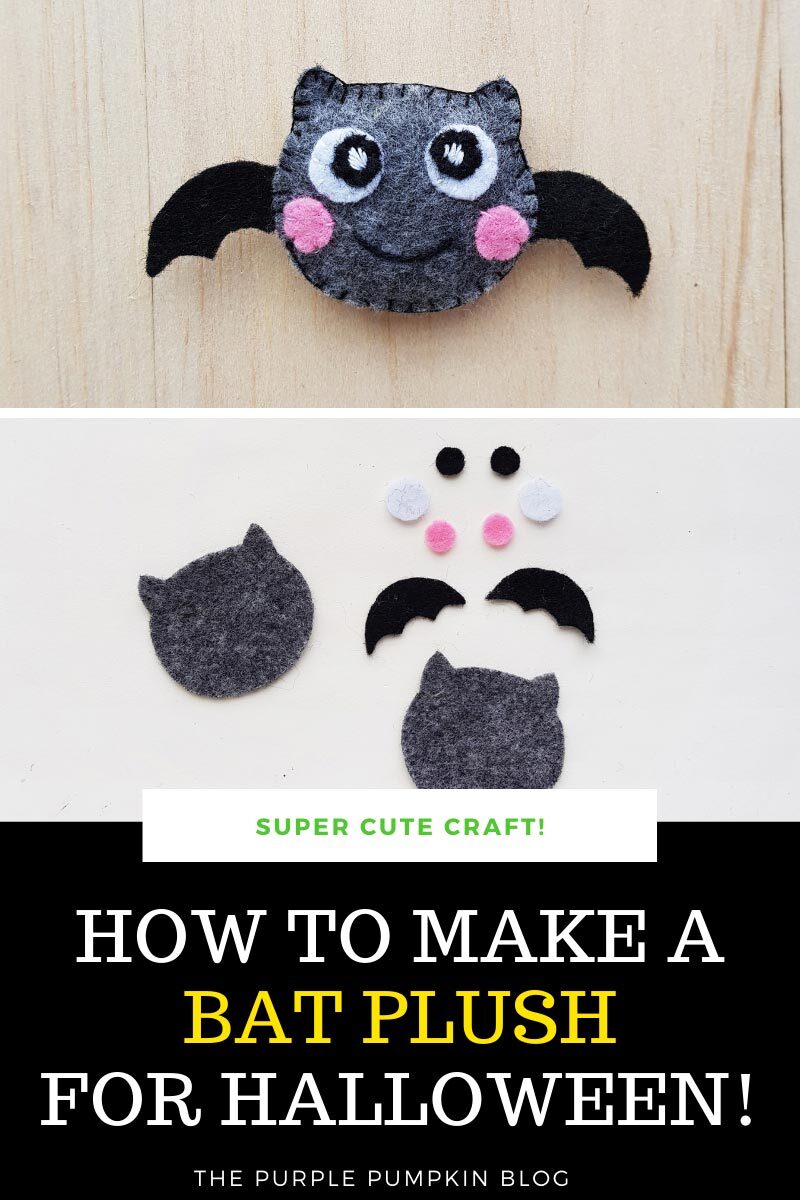

Ever wanted to make your own felt bat plush? Well now you can with this awesome Halloween craft tutorial! This super cute bat plushie is simple to make and a sweet little companion for the spooky season! So grab the free printable template, grab some felt fabric, and start stitching!

Affiliate Disclosure
We have included affiliate links to products and services related to this post.
We may earn a commission if you purchase after clicking on those links.
As an Amazon Associate, I earn from qualifying purchases.
Read Our Full Disclosure Policy and Privacy Policy
Felt Bat Plush
The full list of materials, tools, and instructions are found in the printable tutorial card at the end of this post. I highly recommend reading the blog post all the way through before starting this project to ensure that you have everything required and understand the steps and timings involved.
I love quick and simple crafts that also have a use when they’re made, and I firmly believe that this bat plushie falls into my specs!
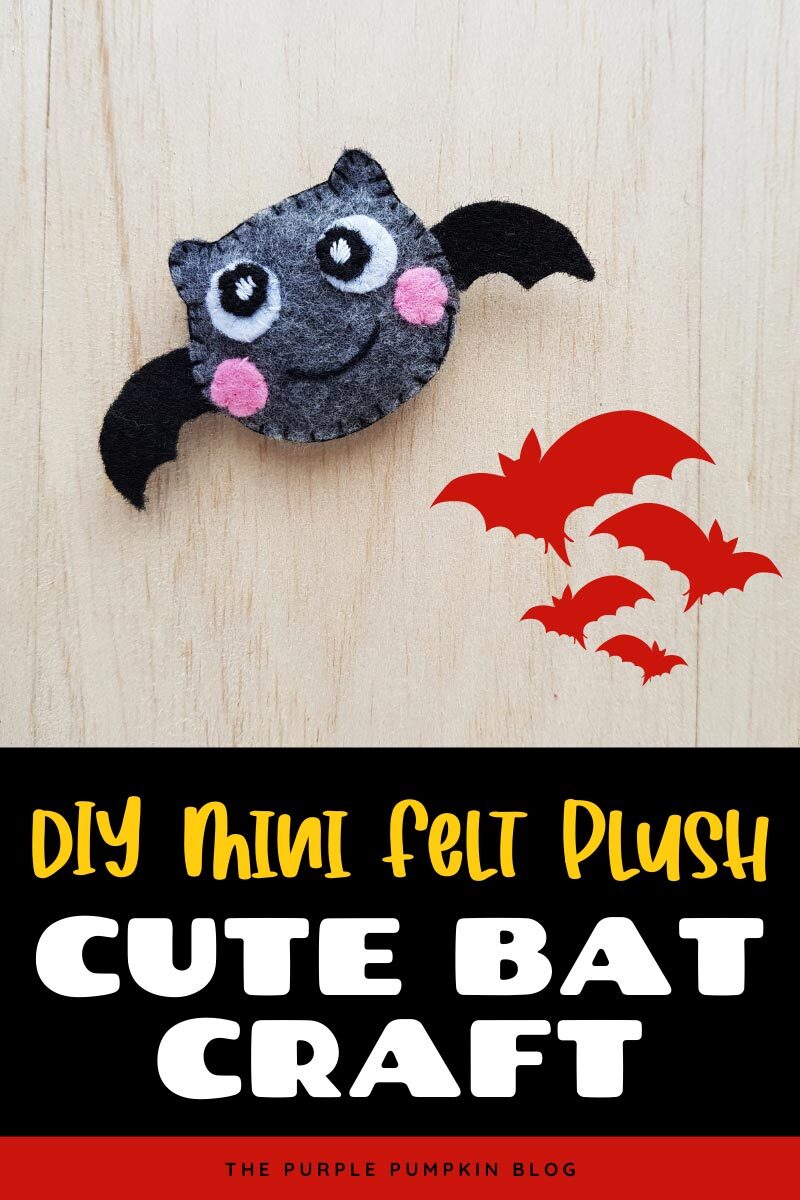
You can make this cute felt bat plush in around half an hour, and when you’re finished you’ve got an adorable Halloween decoration to adorn your space during the spooky season!
Keep the bat in your pocket, or add a ribbon loop to hang it up. Or why not make several and make a whole garland of bats! You could even sew in a keychain fixing and have a sweet bat keyring!
Using felt fabric and the free printable template (which you’ll find just before the tutorial card at the end of the post) to cut out simple shapes that are sewn together to create the bat – it’s an ideal project for kids that are learning to sew.
I have other Halloween plush crafts on the way, so make sure you keep an eye out for them. In fact, the best way is by joining the Pumpkin Patch below so you don’t miss out.
Materials & Tools Used in This Craft
You may have some standard craft supplies like scissors and glue at home already, however, for your convenience, I’ve linked any specialized materials and tools needed for this craft to Amazon below.
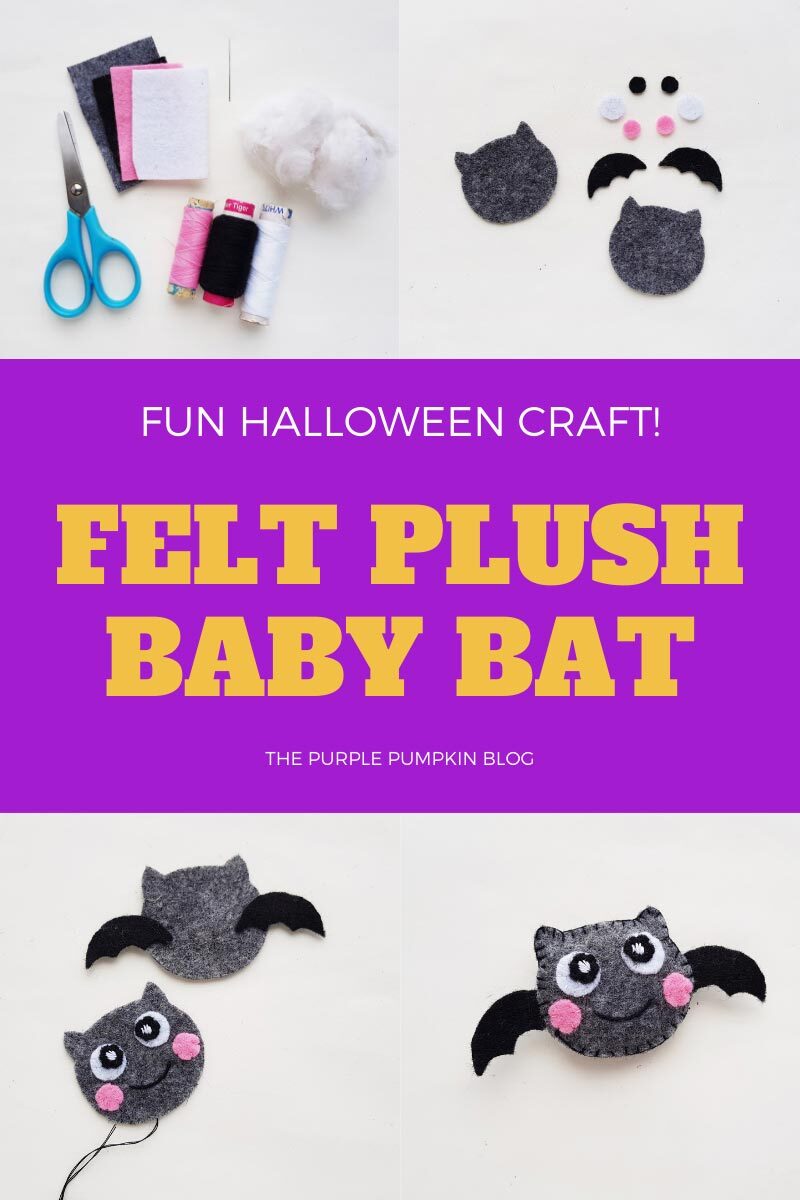
- Felt Fabric – in the following colors: gray, black, white, and pink – but you can use any colors you like and make a garland of multi-colored felt bats!
- Fabric Marker – to trace around the template onto the fabric.
- Scissors
- Needle & Thread – try to match the thread to the felt colors
- Sewing Pins – optional, to hold the fabric together when sewing
- Soft Toy Stuffing – or scraps of felt or cotton wool balls
- Free Printable Bat Craft Template – find it before the tutorial card, surrounded by a purple box. Tap the purple download buttons to save the file(s) to your device. I’ve provided two paper sizes – A4 and US Letter (8.5″ x 11″) – use which size is appropriate for your printer.
More Halloween Crafts
Here are some more Halloween crafts for you to check out next:
- Halloween Haunted House Paper Craft For Kids + Free Printable Template
- Build-a-Bat! Free Printable Halloween Paper Craft
- Mummy Candle Jars
I’ve shared lots of great craft ideas on The Purple Pumpkin Blog over the years, in fact, there are 100+ crafts to make and do at home that you can try!
Download Bat Plush Template
Click the download link to save the printable file(s) to your computer.
The Shop opens in a new tab/window.
Visit The Purple Pumpkin Shop for both premium and FREE printables that you won’t find on my main blog!
How Do I Make a Felt Bat Plush?
Just check out the how-to card below with full materials, tools, instructions and demonstration photos. You can print the card out too (don’t worry, the pics don’t print to save your ink!).
Save my felt bat plush tutorial video to your YouTube Craft or Halloween Playlists so that it’s always there when you need it – don’t forget to subscribe to my YouTube Channel while you are there!
Felt Bat Plush
Materials
- Felt fabric in the following colors:
- Gray
- Black
- White
- Pink
- Free printable template – link in the blog post
TOOLS
- Fabric marker
- Needle and thread – to match the fabric colors if possible
- Sewing pins – optional
- Craft glue – optional
Instructions
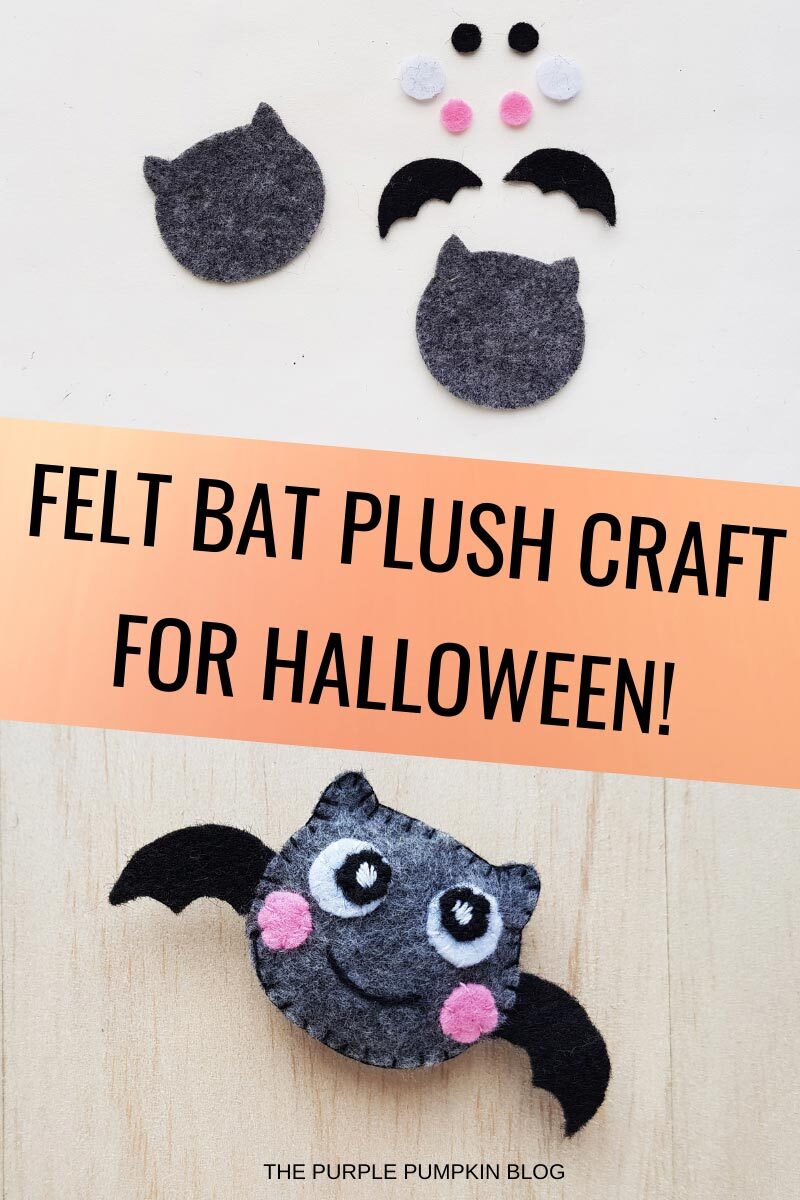
- Print and cut out the template.
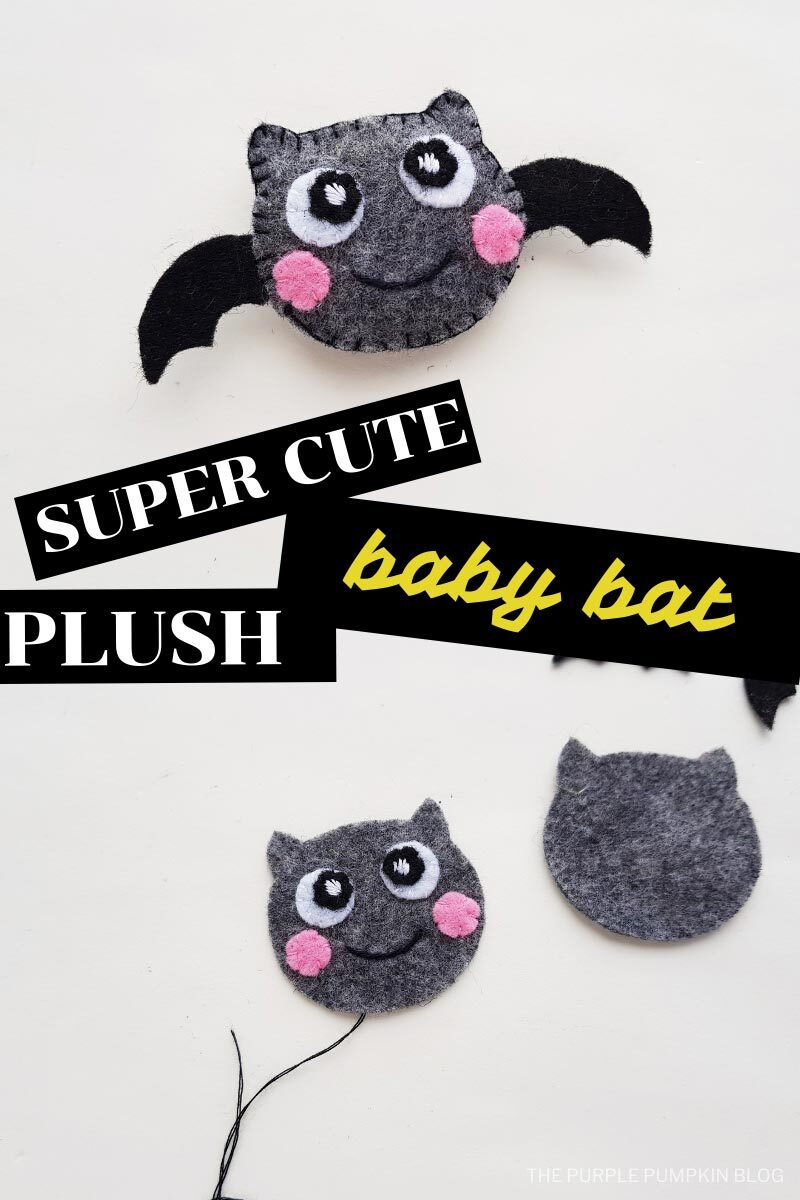
- Trace the body onto gray felt and cut out.
- Trace the wings and eye pupils onto black felt and cut out.
- Trace the (larger) eyes onto white felt and cut out.
- Trace the cheeks onto pink felt and cut out.
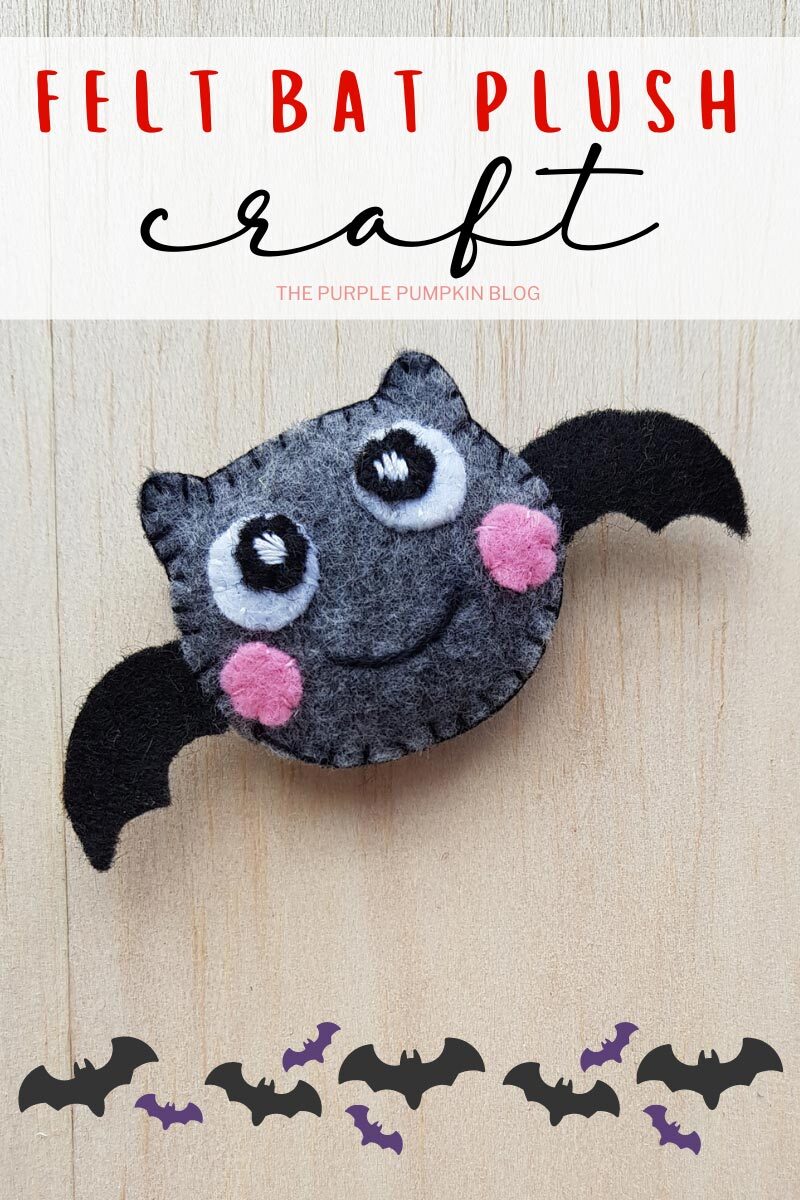
- To create the eyes, stitch the black pupil to the whites of the eye with a couple of stitches to create the "shine" of the eyes.
- Stitch the eyes to one of the body pieces.
- Stitch the pink cheeks just below the eyes.
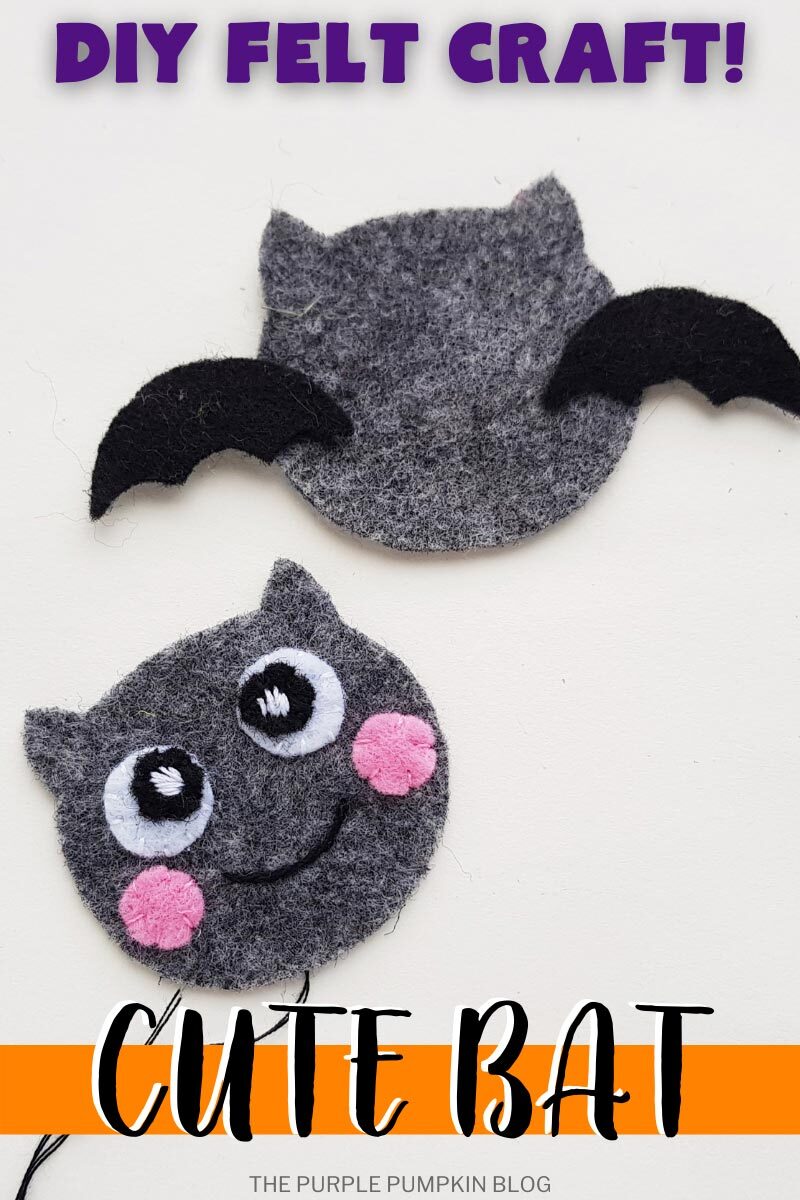
- Lightly draw on a smile between the cheeks then stitch with black thread. Set aside.
- Place the wings on each side of the other body piece so that they overlap slightly and add a stitch or two to keep them in place.
- Place the face on top of the body and wings and stitch them together around the edges. You can use sewing pins to keep the felt in place if you wish. Do not stitch all the way around – leave a gap to push the stuffing in!
- You can stuff the bat with scraps of felt (cut them into small pieces for an even stuffing) or use soft toy stuffing, or even cotton balls. Use a pencil to help guide the stuffing into all the sections evenly. Do not overstuff!
- Stitch the open end to secure the stuffing inside and tie off the thread with a knot.
- Your bat plush is complete – go and give them all the love this Halloween!
Handy Tips & More Ideas
This post is part of my long-running Crafty October series on The Purple Pumpkin Blog. Since 2012, I’ve shared Halloween recipes, printables, and crafts every October. While I don’t officially run the series anymore, all my new Halloween posts are still part of this decades-long celebration of spooky fun! Browse past Crafty October years for even more inspiration: 2024, 2023, 2022, 2021, 2020, 2019, 2018, 2017, 2016, 2015, 2014, 2013, and 2012.