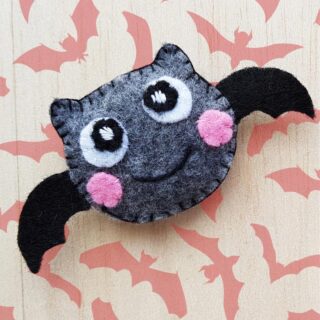
Felt Bat Plush
Ever wanted to make your own felt bat plush? Well now you can with this awesome Halloween craft tutorial!
Materials
- Felt fabric in the following colors:
- Gray
- Black
- White
- Pink
- Free printable template - link in the blog post
TOOLS
- Fabric marker
- Needle and thread - to match the fabric colors if possible
- Sewing pins - optional
- Craft glue - optional
Instructions
- Print and cut out the template.
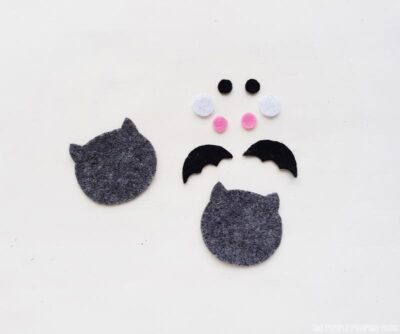
- Trace the body onto gray felt and cut out.
- Trace the wings and eye pupils onto black felt and cut out.
- Trace the (larger) eyes onto white felt and cut out.
- Trace the cheeks onto pink felt and cut out.
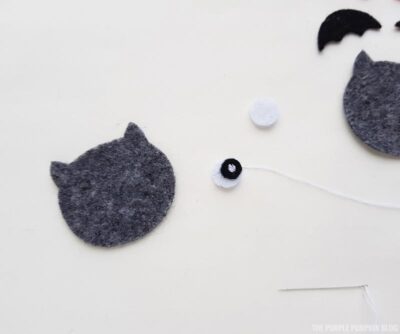
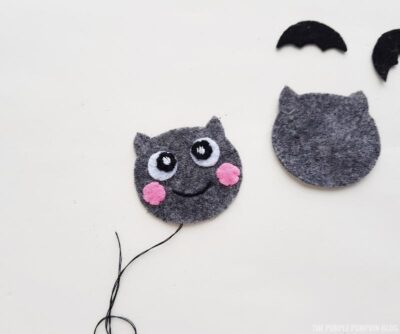
- To create the eyes, stitch the black pupil to the whites of the eye with a couple of stitches to create the "shine" of the eyes.
- Stitch the eyes to one of the body pieces.
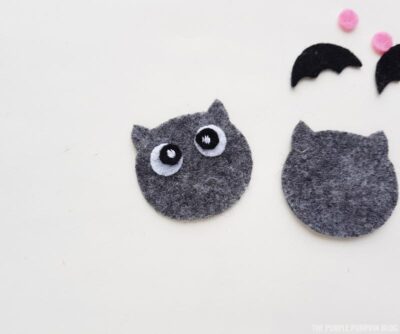
- Stitch the pink cheeks just below the eyes.
- Lightly draw on a smile between the cheeks then stitch with black thread. Set aside.
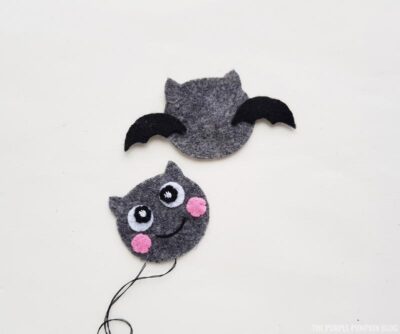
- Place the wings on each side of the other body piece so that they overlap slightly and add a stitch or two to keep them in place.
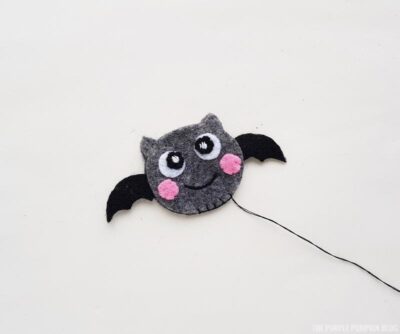
- Place the face on top of the body and wings and stitch them together around the edges. You can use sewing pins to keep the felt in place if you wish. Do not stitch all the way around - leave a gap to push the stuffing in!
- You can stuff the bat with scraps of felt (cut them into small pieces for an even stuffing) or use soft toy stuffing, or even cotton balls. Use a pencil to help guide the stuffing into all the sections evenly. Do not overstuff!
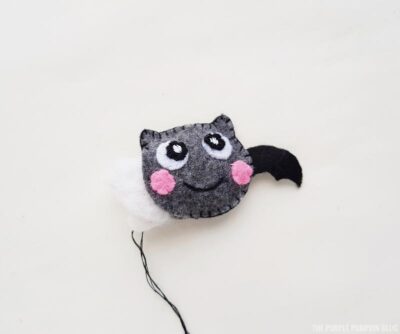
- Stitch the open end to secure the stuffing inside and tie off the thread with a knot.
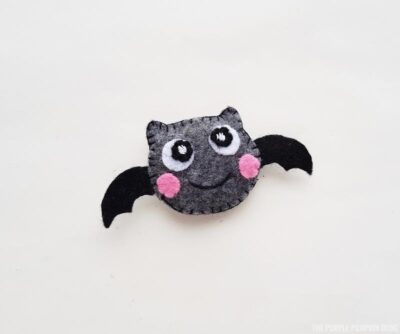
- Your bat plush is complete - go and give them all the love this Halloween!
Handy Tips & More Ideas
You can glue the features in place if you wish.
Did you make this project? Share it!Tag @_ThePurplePumpkinBlog on Instagram with the hashtag #TPPBCreate!