Floating Photographs with Balloon Time
Home » CELEBRATE » Party Planning »
If you’ve been reading my blog this week, you’ll know that it was my son’s 16th birthday. It’s been a busy week, with meals out and friends and family over. Yesterday, we celebrated his birthday at home with my family, and to mark the occasion, I wanted to create the floating photographs for Liam’s 16th, as I had done for my husband’s 40th.
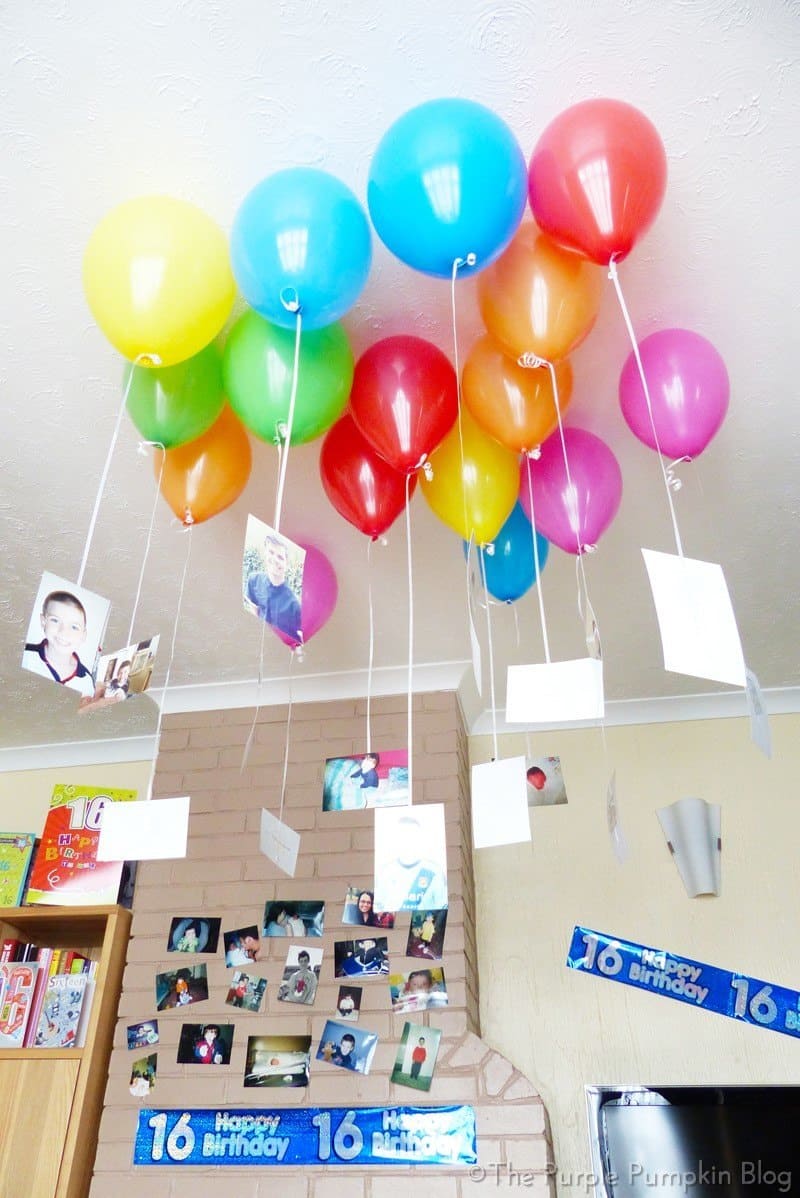
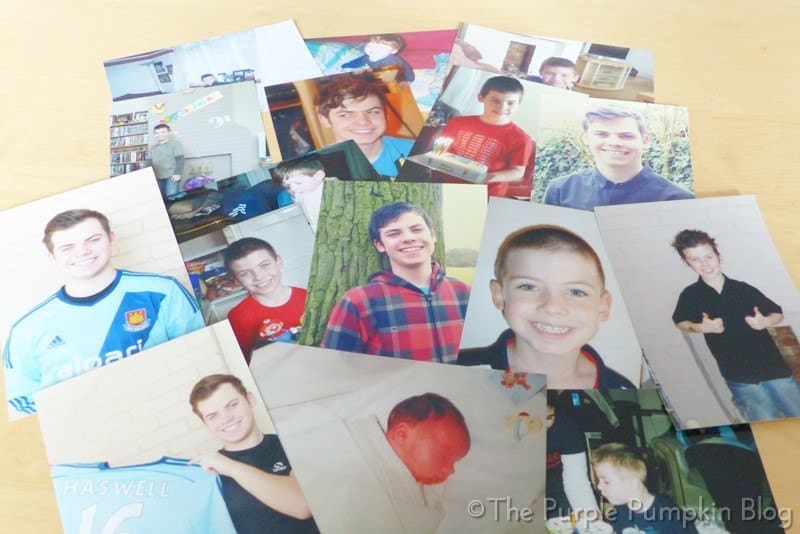
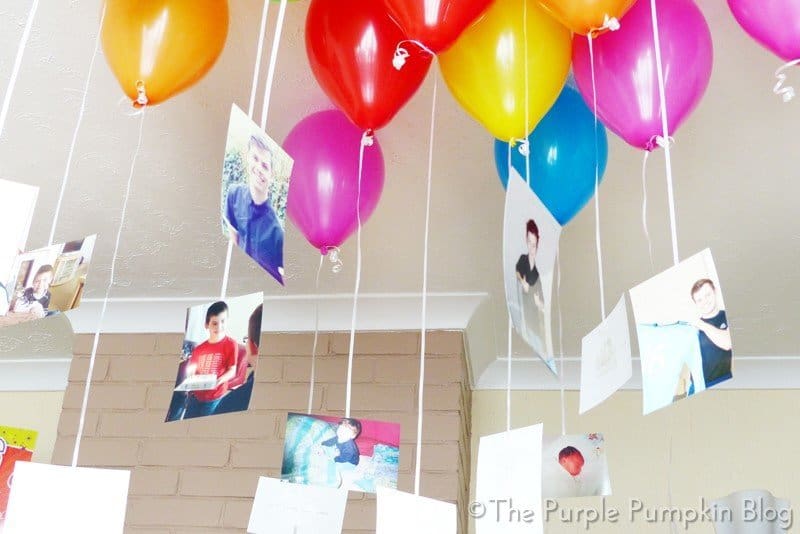
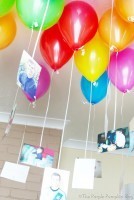
This is such a lovely way to decorate for a milestone birthday or anniversary and for this celebration I printed 16 photographs of my son – one for each year of his life, and attached them to helium balloons – it’s so simple to do!
Buying ready blown helium balloons can be somewhat of a nightmare – for Steve’s 40th, I had to do two runs to the shop to bring them all home! I was also fearful that a freak gust of wind would whip them out of my hands and I’d watch 40 balloons (and over £40) floating off into the sky!!
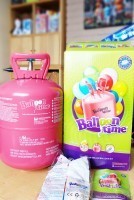
A Balloon Time helium kit was the answer for me this time around! No faffing with ordering balloons from the shop, having to cram them into the car, and worrying about them escaping as I wrangle them out of the car again!
You can buy the Balloon Time helium kit in Asda and Tesco, usually in the party supplies section. I have used this kit in the past – way back in 2007 for our engagement party! I can’t remember why I didn’t use this for hubby’s 40th though…
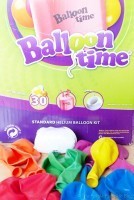
Unless you have a specific colour you want to use for your celebration, you don’t have to worry about balloons, as the kit comes with 30 of them, as well as a spool of white ribbon, so you’re good to go as soon as you open the box.
Inflating the balloons is as easy as 1, 2, 3…
- Open the valve by turning it four times, counter-clockwise.
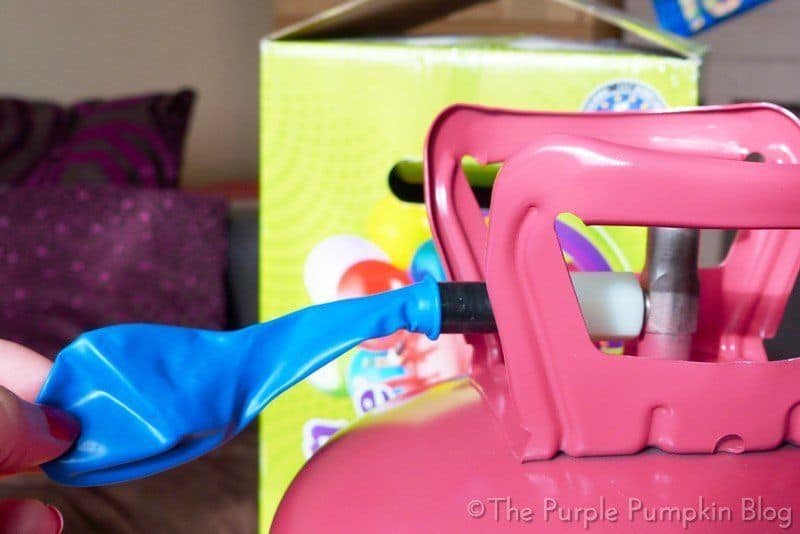
- Slide a balloon onto the black nozzle.
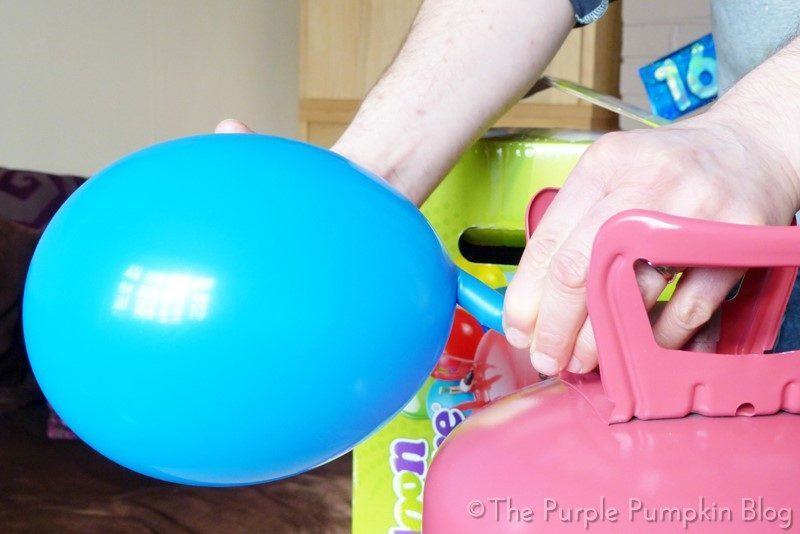
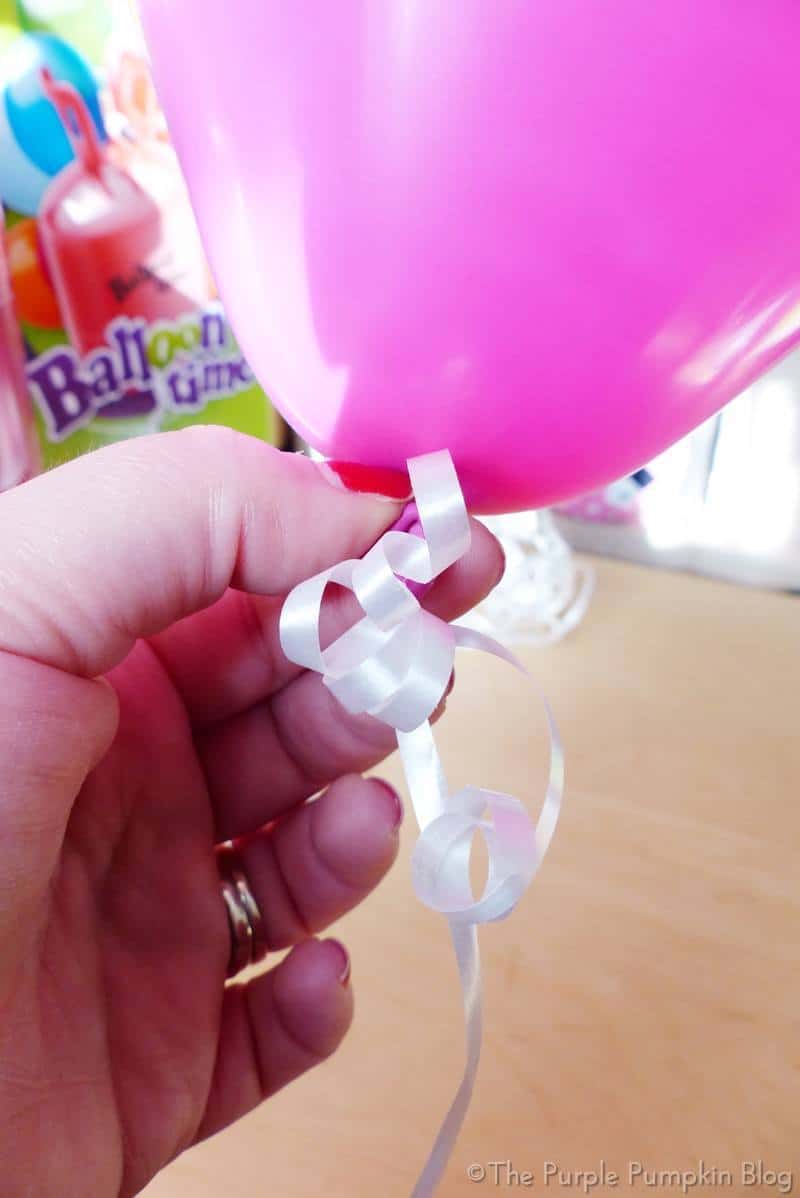
- Holding the balloon in place, push down to release the helium into the balloon. Remove and tie into a knot. Attach ribbon if required.
By the way, it doesn’t change balloon colours as my step-by-step photographs above suggests!!!
Floating Photographs with Balloons
With all of my 16 balloons inflated and tied with ribbon, it was time to create the floating photographs! I printed off 16 photographs of my son; I tried to get one from each of his birthdays, but any selection of photographs to celebrate the occasion is fine!
Top Tip!
When inflating your balloons for the floating photographs you must inflate them to as large as they can go! I had a couple of smaller balloons that couldn’t hold the weight of the photo, so please learn from my mistakes! I used 9″ latex balloons.
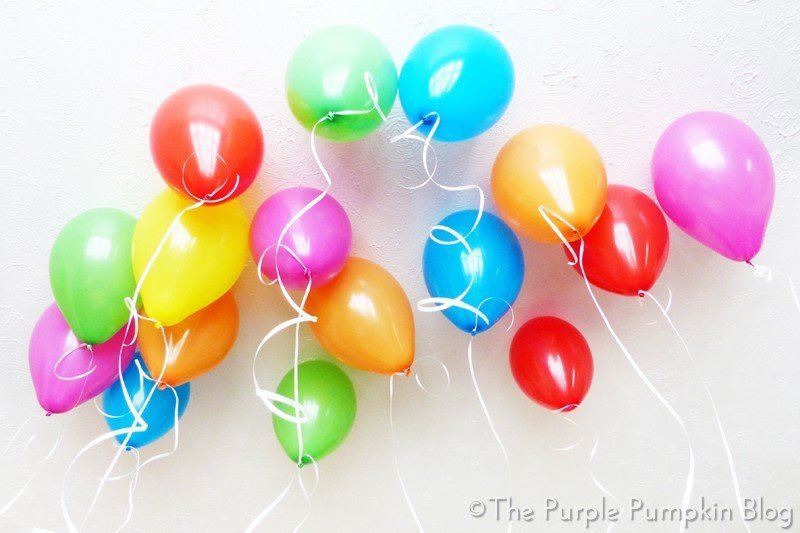
Simply attach the photographs to the ribbon with a piece of stick tape at the back and let them float up to the ceiling!
I can’t tell you how long to have your ribbon as it will depend on the height of your ceiling, but you can always cut away excess ribbon if you need to. You want them to hang low enough so that people can see them – or reach for them to look at the photos, but not so low that they hang in people’s faces!!
With a float time of 5 – 7 hours for latex balloons, the floating photographs will stay up for the duration of your party. Mylar/foil balloons last a lot longer – up to 4 days. Since inflating balloons with the Balloon Time Helium Kit is so quick, this decorating job can be done in about 20 minutes. So to maximise the float time, set up the floating photographs no more than an hour before your party.
It was a fun surprise for my son when he came downstairs and saw all his balloons, and it was a lovely way to be reminded of how much he has grown up!
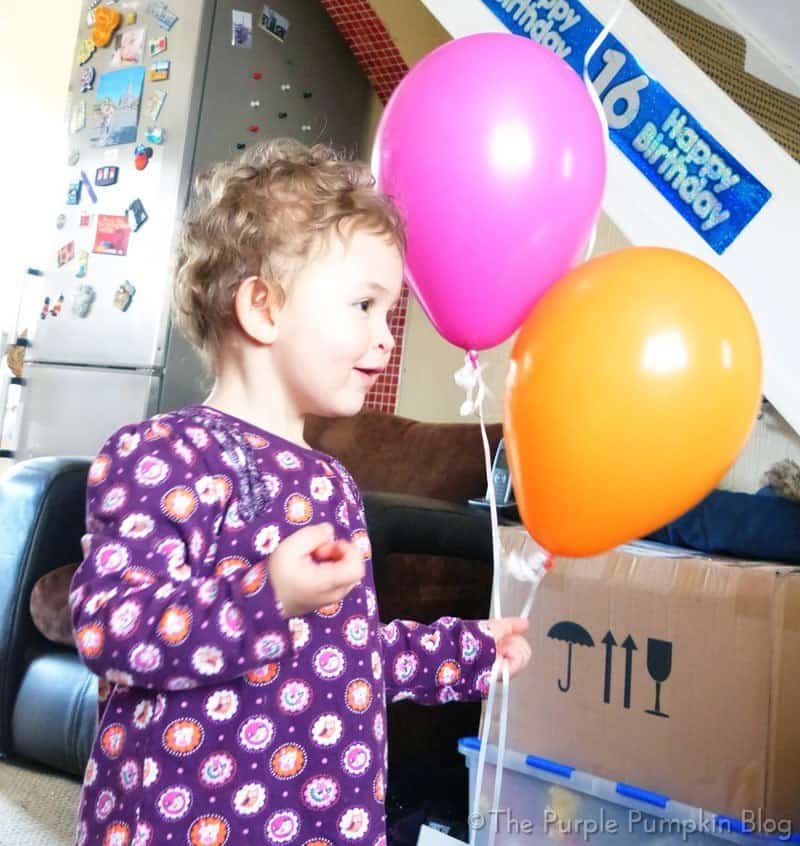
My niece LOVED all of the balloons – she didn’t even have to play with her toys because she was having too much fun releasing the balloons!
I managed to get Sephy to sit still enough for a few family photographs too, and it was a fantastic way to end a milestone birthday party for my son!
The Balloon Time Helium Kit fills 30, 9″ latex balloons, and the helium tank doesn’t have to be used all at the same time. You can fill a few balloons and save the tank for another time – just remember to close the valve, and store in a cool, dry place. When you have finished with the tank, simply take to your local recycling centre to dispose of.
Here are some other ways I’ve decorated with balloons in the past…just click on the photo to be taken to the blog post that I wrote about them!
Disclosure: I’m working with BritMums and Balloon Time as part of the “Celebration Club”, highlighting inventive and fun ways of using balloons. I was provided with a Balloon Time helium kit and have been compensated for my time. All editorial and opinions are my own. Visit www.balloontime.com for more information and party inspiration.







Catherine Stephenson
June 3, 2016 @ 5:41 pm
I absolutely love this idea for almost any party. I think it would be amazing for a graduation party with pictures of the grad little and growing up.
Michelle Ordever
June 6, 2016 @ 10:50 am
Such a great idea!
Kate Holmes
February 28, 2015 @ 11:31 pm
Love the photo balloon concept and intend to steal immediately. Looks like a fun celebration. Commenting for myself and on behalf of BritMums and thanking you for taking part
Michelle Ordever
March 2, 2015 @ 4:02 pm
lol, have fun with your photo balloons! It was a lovely celebration, thank you x