“Carrot Patch” Spring Rice Krispies Treats
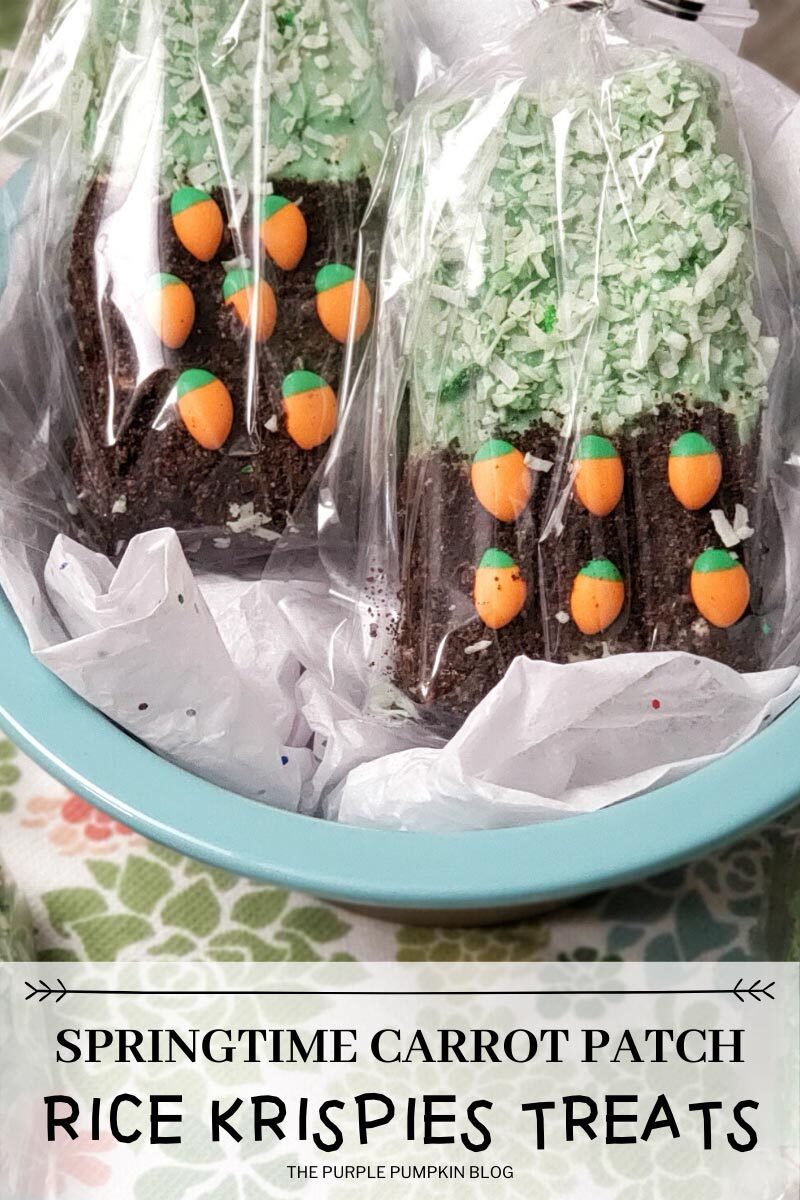
Home » COOK » Recipes » Holiday Recipes » Easter »Make these Spring Rice Krispies Treats as a delicious treat for the family or to give as edible gifts for Easter, Mother’s Day, Father’s Day, or birthdays. The sweet treats have a cute carrot patch theme making them perfect for the gardener in your life too!

Affiliate Disclosure
We have included affiliate links to products and services related to the topic of this post.
This post contains affiliate links, and we will be compensated if you purchase after clicking on those links.
As an Amazon Associate, I earn from qualifying purchases.
Read Our Full Disclosure and Privacy Policy
Spring Rice Krispies Treats
The full ingredients list and instructions are found in the printable recipe card at the end of this post. I highly recommend reading the blog post all the way through so that you don’t miss any tips or substitution suggestions and to ensure that you have all the ingredients and equipment required as well as understand the steps and timings involved.
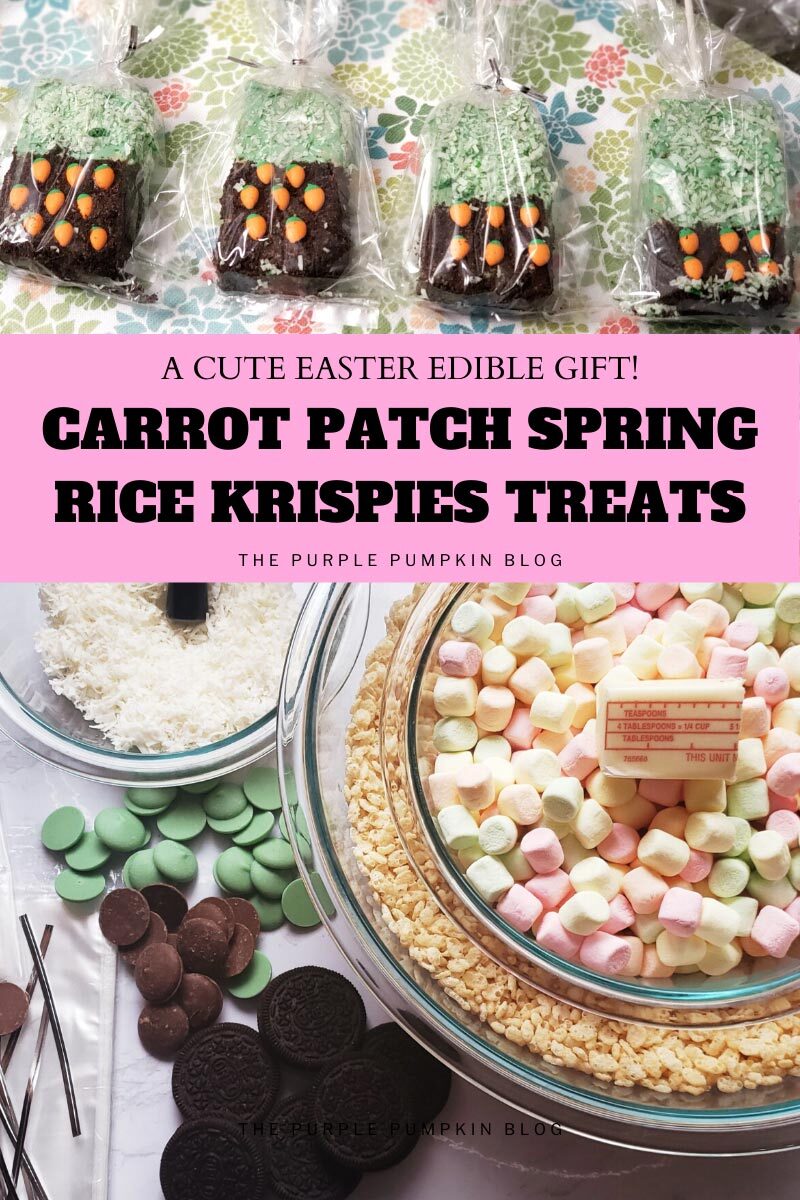
Spring is in the air, and Easter is on its way and you need a cute sweet treat to give to your friends and/or family? Why not make a batch of these awesome Spring Rice Krispies Treats!
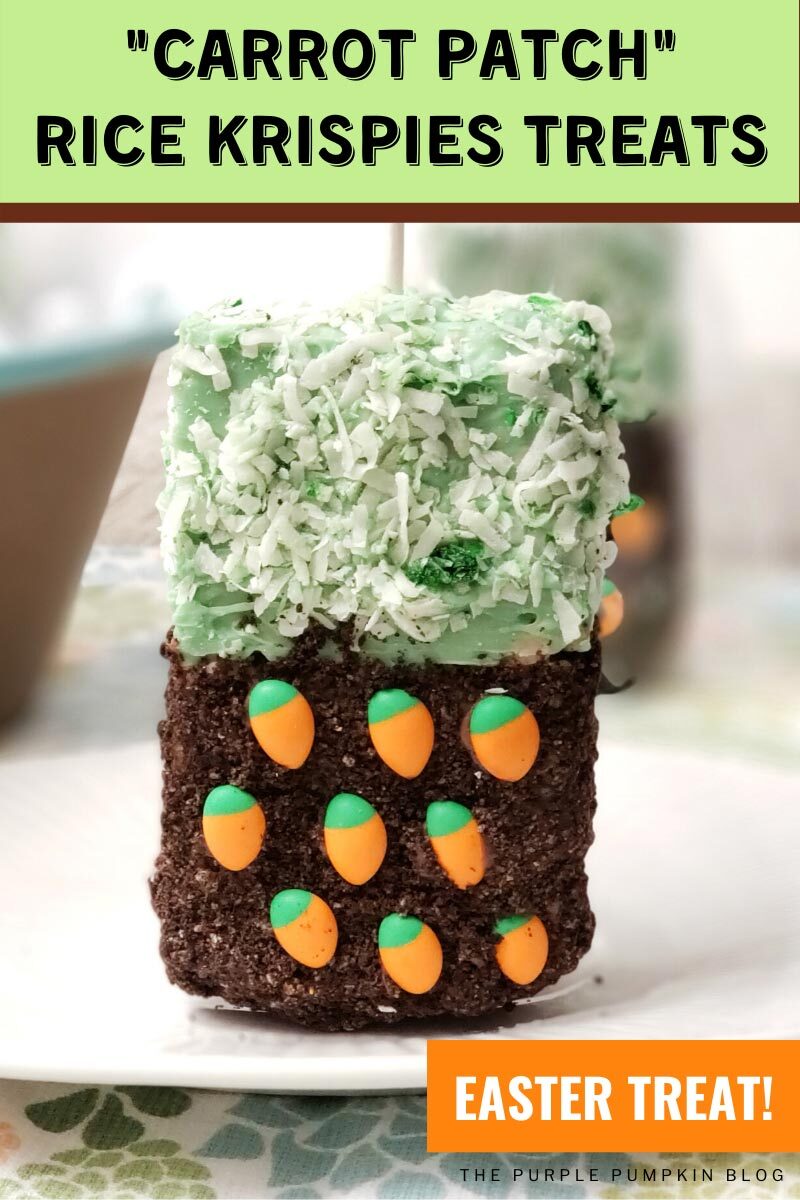
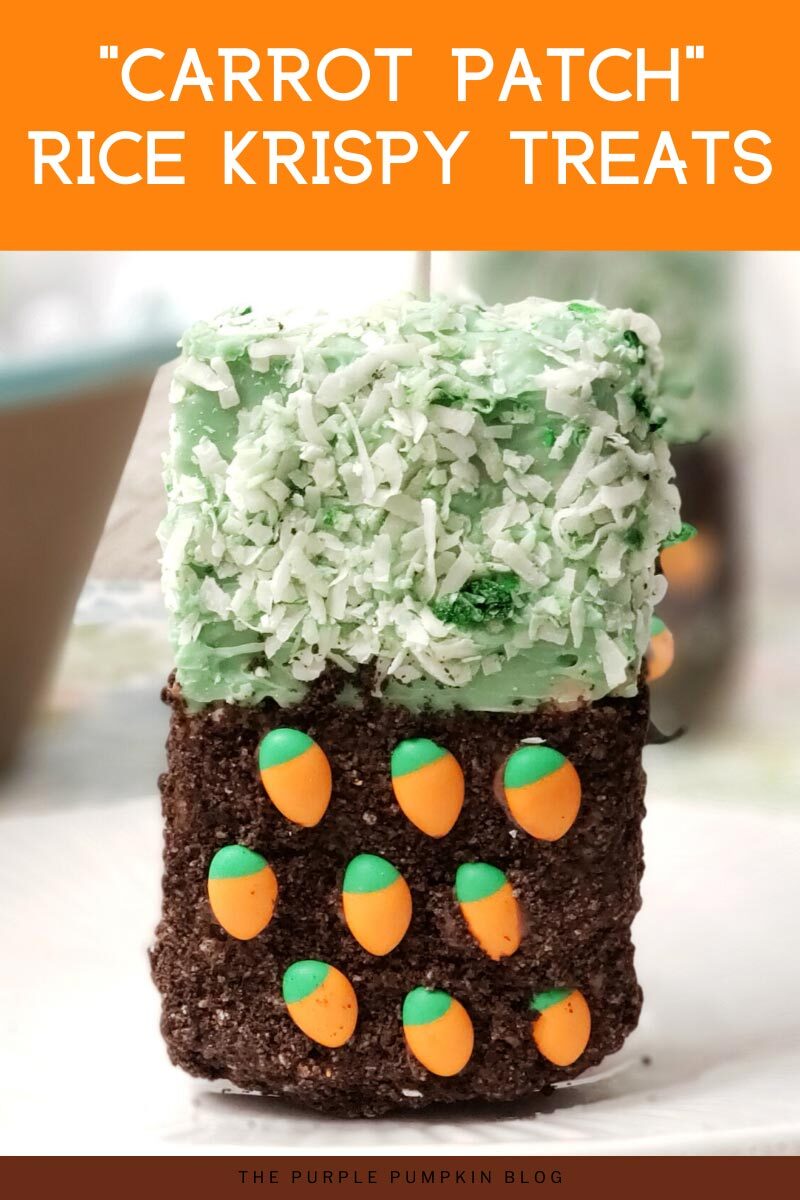
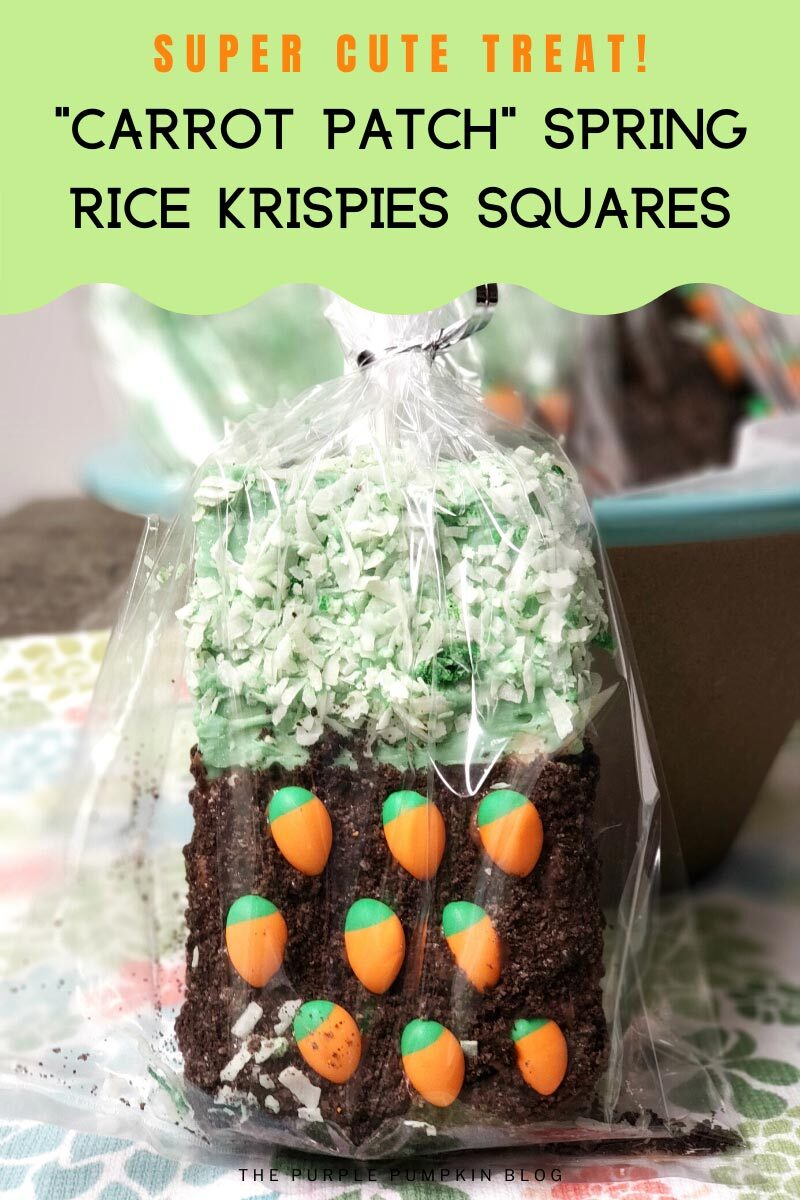
The cereal bars are made from scratch (but to save time you could always buy the ready-made ones from the store) and then decorated to look like a carrot patch garden – how darling is that?
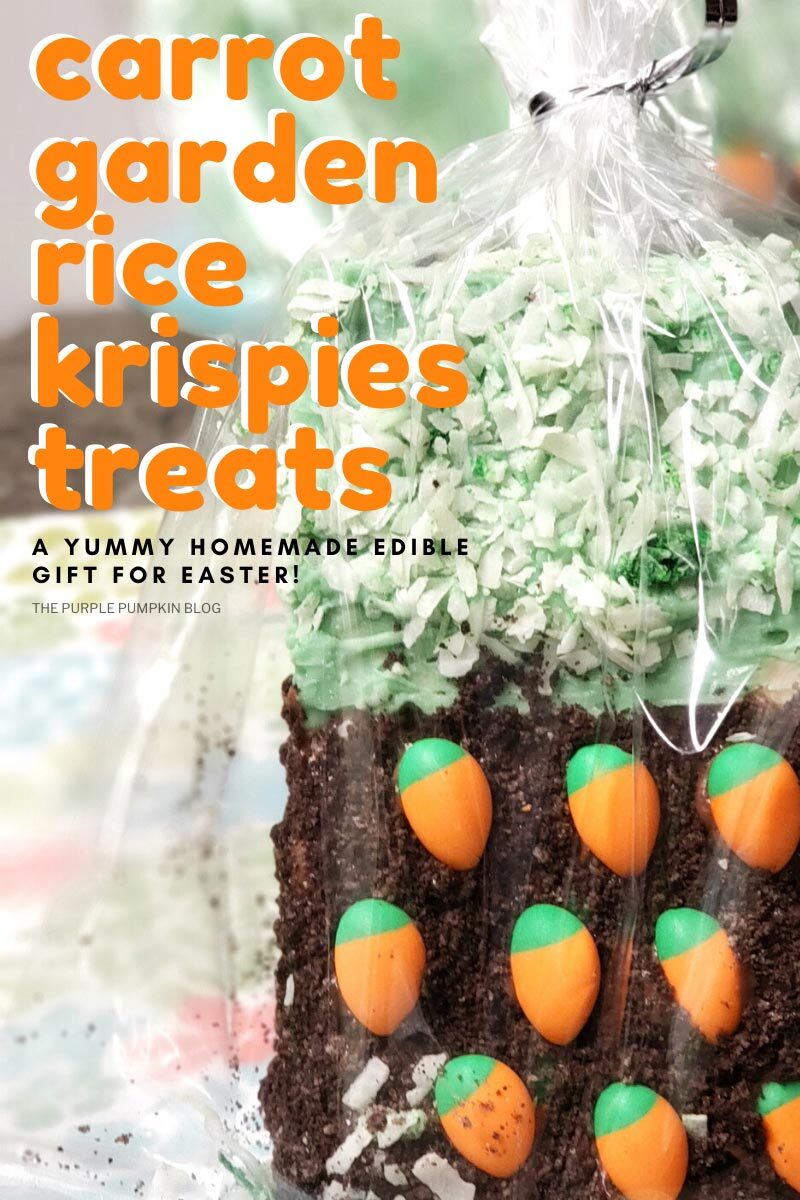
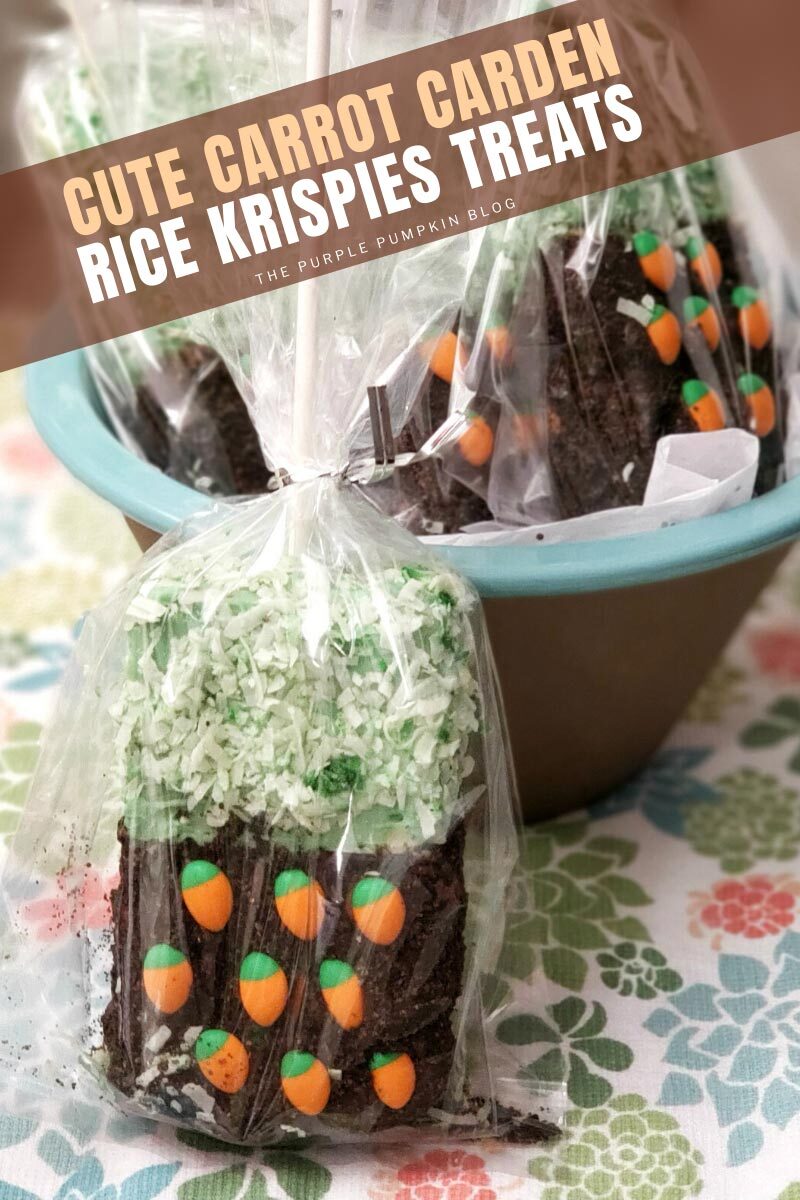
The treats are presented on sticks making them easy and less sticky to eat, and they look great on a platter for a springtime party or event, as well as wrapped up in cellophane as a gift.

Ingredients Used In This Recipe
You may already have some of the standard ingredients used in this recipe such as puffed rice cereal and butter, but for your convenience, I’ve linked any specialized ingredients needed for this recipe to Amazon below.
- Rice Krispies – or any store brand puffed rice cereal
- Mini Marshmallows
- Unsweetened Shredded Coconut
- Oreo Chocolate Sandwich Cookies
- Light Green Food Coloring Gel
- Green Candy Melt Wafers
- Brown Candy Melt Wafers
- Coconut Oil
- Icing Carrots Decorations
Equipment used in this recipe
You are likely to have many standard cooking tools such as a wire rack and rubber spatula, but I’ve added some Amazon links for your convenience should you need to use something specific for this recipe.
- (2) Loaf Pans – to make the cereal bars in, approx 4½” wide
- (2) Large Lidded Jars – 2 pints/1 litre with a wide mouth
- Lollipop Treat Sticks – around 8″ – 10″ long
- Clear Plastic Treat Bags – around 4″ x 9″
- Ribbon – pastel spring colors would look so pretty
Melting Tips for Candy Melts
You can melt candy melt wafers in three different ways – in a double boiler on the stove top, in the microwave, or in a candy melting pot.
If you use the Wilton Candy Melting Pot, you can check out Wilton’s demo video on YouTube which is really helpful. They also give tips on how to melt candy melts in the microwave, as well as using the double boiler method.
The two most important things are
- Do not overheat – use an even melting temperature
- Do not add water – it makes the candy seize up and become unusable. Make sure the equipment used is completely dry, and avoid using utensils that retain moisture like a wooden spoon.
If you find that the candy is too thick, add vegetable shortening or (solid) coconut oil in 1 teaspoon increments, up to 1 tablespoon, and stir well.
Another reminder – do not add water. The very first time I used candy melts I managed to get water in the bowl and it was ruined. Learn from my mistakes! Additionally, do not use vegetable oil, butter, milk, or any other liquids as this will also make the candy seize up.
If you are using your microwave, test melt a small amount of candy melts first, to see how it works. You may need to adjust the temperature and time to suit your machine. Heat in 15-30 second increments, stirring the candy melts each time. They may not look melted, but they might have started melting from the inside. Stirring helps to distribute the heat.

More Recipes Using Cereal
Since the main ingredient in this recipe is cereal here are some more recipes using the same:
How Do I Make Spring Rice Krispies Treats?
Just check out the recipe card below with full ingredients, instructions, and demonstration photos. You can print the card out too (don’t worry, the pics don’t print to save your ink!).
This dessert is perfect for Easter lunch! I’ve got a collection of Easter Recipes that you might like to try out – right-click and open them in a new tab to read next.

Carrot Patch Spring Rice Krispies Treats
These Rice Krispies Treats are so much fun to make and look like a little carrot patch - perfect for Easter or Spring!
Ingredients
- 6 cups Rice Krispies or puffed rice cereal
- 10½ oz / 300g mini marshmallows
- 3 Tbsp butter
- 2 cups unsweetened shredded coconut
- 10 Oreo Chocolate Sandwich Cookies
- Light green food coloring gel
- 2 cups green candy melt wafers
- 2 cups brown candy melt wafers
- ½ tsp coconut oil, divided
- Small icing carrot decorations (6-9 per treat)
Instructions
- Grease two (4½ wide) loaf pans with butter. Set aside.
- Melt the butter in a large saucepan over medium heat.
- Add mini marshmallows to the pan and stir to melt and incorporate with butter.
- Remove pan from heat, add the rice cereal, and mix well.

- Divide the cereal mixture between the two loaf pans. Use a rubber spatula to press the cereal firmly and evenly. Set aside.

- To make the "grass" place the shredded coconut into a large canning jar and add ¼ teaspoon of green food coloring. Place the lid on the jar and shake vigorously. Check the color against the green melting chocolate for similarity. Add more gel color to achieve the desired color vibrancy. There should be pops of bright green and pale green as well. Transfer coconut to a shallow bowl and set aside.

- You can melt the candy wafers according to the package instructions, or use the double boiler method as in this recipe. Prepare the double boiler by adding water to a large pan that will hold two jars
- Add the candy melt wafers each jar along with ¼ teaspoon of coconut oil in each one, stirring occasionally. Heat on low temp until melted and smooth.

- Place Oreo cookies in a blender and blitz to create crumbs. Transfer to a small dish and set aside.

- Tip the set cereal mixture out onto the work surface and cut into 2 ½” x 4 ½” rectangular pieces.
- Dip one end of an 8" treat stick into the melted green candy and insert into the end of a Rice Krispies rectangle three-quarters of the way through. Set aside on wire rack as you work through all 8 pieces.


- Using a knife spread melted green candy over one-third of the treat (front, back, and sides) at the stick end and quickly cover with green coconut.

- Cover the rest of the treat with brown melted candy in the same way as the green, then quickly dip into the cookie "dirt". Use a spoon to help cover completely.

- Use a small blob of remaining melted brown candy to attach the mini carrot decorations to the front "dirt" part of the treat. You can do this using a teaspoon, a toothpick, or pouring the melted candy into a food bag with the corner snipped off.


- Place on a wire rack for the treats to set completely before serving or packaging.

- To package as gifts, place each treat in a cellophane bag and tie with ribbon at the stick end.

- Rice Krispies treats can be stored in an airtight container for up to 5 days.
Recommended Products
As an Amazon Associate and member of other affiliate programs, I earn from qualifying purchases.
-
 Mini Marshmallows
 -
 Wilton Candy Melts - Brown
 -
 Green Wilton Candy Melts
 -
 Shredded Coconut Flakes Organic Unsweetened
 -
 Nonstick Bread Pan, Medium Loaf Pan, 8 1/2" x 4 1/2", Set of 3
 -
 Sucker Lollipop Sticks 8"
 -
 White with Black Spots Edible Icing Royal Carrots Cake Candy Cookie Decorations 1/2" 50 Count
 -
 Satin Ribbons Assorted Colors
 -
 200 Clear Plastic Cello Bags 4x9 with 4" Twist Ties
Nutrition Information:
Yield: 8 Serving Size: 1Amount Per Serving: Calories: 847Total Fat: 23gSaturated Fat: 16gTrans Fat: 0gUnsaturated Fat: 3gCholesterol: 11mgSodium: 280mgCarbohydrates: 161gFiber: 4gSugar: 92gProtein: 4g
This site uses Nutritionix to provide estimated nutrition. Nutritional information is always approximate and will depend on the quality of ingredients used and serving sizes. If you need exact calories and macros, please do your own calculations.

