Baked Pumpkin Doughnuts Recipe
Home » COOK » Recipes » Recipes by Ingredient » Pumpkin »Looking for a delicious and easy-to-make Fall treat? These baked pumpkin doughnuts are perfect for any occasion! Made with only a few simple ingredients, they come together quickly and are sure to be a hit with everyone.

Affiliate Disclosure
We have included affiliate links to products and services related to the topic of this post.
This post contains affiliate links, and we will be compensated if you purchase after clicking on those links.
As an Amazon Associate, I earn from qualifying purchases.
Read Our Full Disclosure and Privacy Policy
Welcome to Day 9 of Crafty October – a month of Halloween ideas at The Purple Pumpkin Blog! Don’t forget to check out last year’s ideas if you need more inspiration.
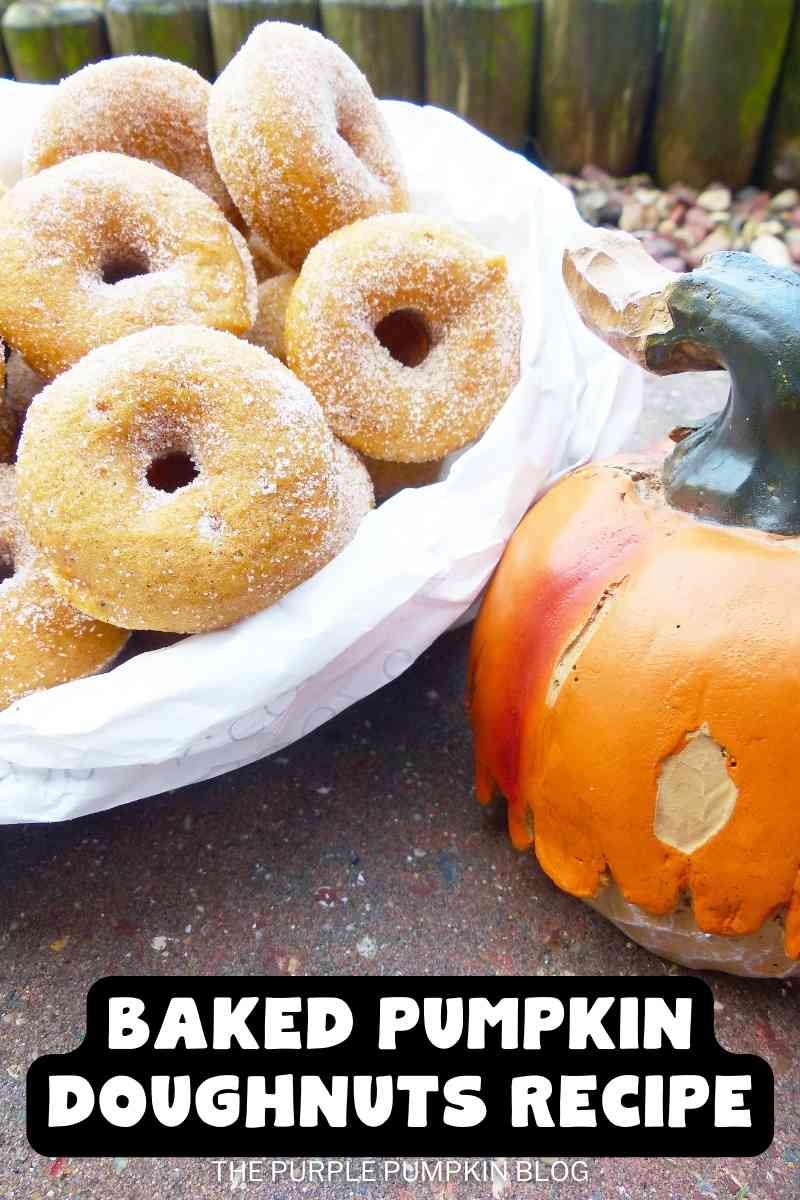
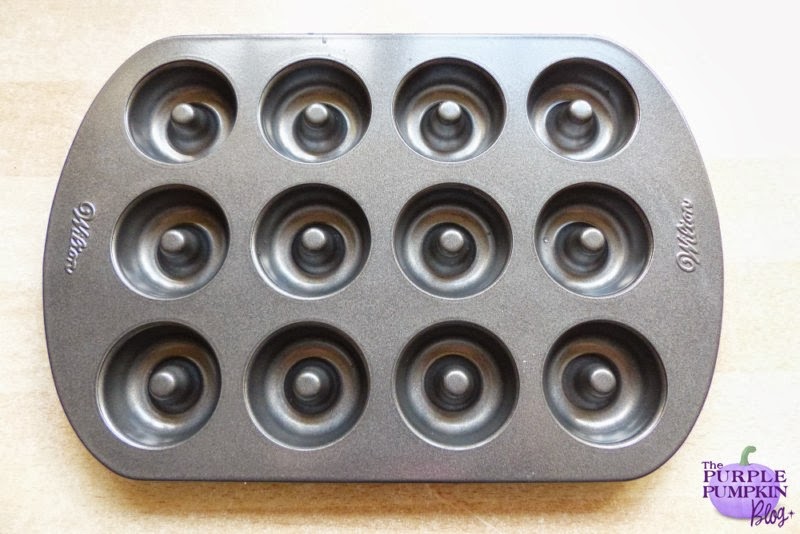
I’ve been baking again today – I wanted to use up the other half of the canned pumpkin I used in yesterday’s Spiced Pumpkin & Walnut Tea Loaf. I also wanted to make use of the doughnut baking tray I brought back from Florida, and so, today I have made Baked Pumpkin Doughnuts!
For more seasonal food, check out The Ultimate List of Autumn Recipes for the Fall Season! Right-click and open a new tab to read next.
I’ve never made doughnuts before, so this was new territory for me, but I was excited to be trying out something new, and it was, dare I say it, easy!

As I said at the top of this post, I bought this pan when on holiday in the USA, but you can buy them here in the UK – at least, online you can. I bought both a mini doughnut pan and a regular size one too. I used the mini pan for this recipe and it made about 60 mini doughnuts!

The mixture is simple and requires not much elbow grease to get it to the desired consistency. In a bowl, I mixed eggs, sugar, pumpkin spices, oil, baking powder, puréed canned pumpkin, and salt until combined. I then folded in plain flour until incorporated and I was then able to make my doughnuts.


The easiest way to decant the doughnut mixture into the pans is with a piping bag – or, if you don’t have one, a plastic food bag with the corner snipped off.

I first sprayed the pan with some oil spray and then piped in the batter – about halfway up the sides.


Into the oven to bake for just 8 minutes, before turning out and cooling slightly before tossing in cinnamon sugar! These are cakier than a regular doughnut, but oh my are they delish!


Baked Pumpkin Doughnuts
Ingredients
For the doughnuts
- 140ml sunflower oil
- 3 eggs
- 200g canned puréed pumpkin
- 320g caster sugar
- 2 tsp pumpkin spice (or 1 tsp cinnamon, ½ tsp ground nutmeg, ½ tsp ground ginger)
- 1 tsp salt
- 1 ½ tsp baking powder
- 360g plain flour
- oil spray for greasing
For the cinnamon sugar
- 2 tbsp sugar
- ½ tsp cinnamon
Instructions
- Preheat the oven to 180C/Gas 4 and grease a doughnut pan with oil spray.
- Make the cinnamon sugar by stirring together the sugar and cinnamon and pouring it into a food bag.
- In a bowl, mix together the oil, eggs, pumpkin purée, sugar, spices, salt, and baking powder until combined.
- Sift in the flour and fold until incorporated.
- Fill a piping bag or food bag (with the corner snipped off) with the doughnut batter and pipe into the doughnut pan - only about halfway up the sides.
- Bake for 8 - 10 minutes until they rise. A skewer should come out clean to indicate that they are cooked through.
- Leave to cool for a minute before turning out.
- While still warm, place the doughnuts into the bag of cinnamon sugar and shake gently to coat. Serve and enjoy warm!

Nutrition Information:
Yield: 60 Serving Size: 1Amount Per Serving: Calories: 70Total Fat: 3gSaturated Fat: 0gTrans Fat: 0gUnsaturated Fat: 2gCholesterol: 9mgSodium: 55mgCarbohydrates: 11gFiber: 0gSugar: 6gProtein: 1g
This site uses Nutritionix to provide estimated nutrition. Nutritional information is always approximate and will depend on the quality of ingredients used and serving sizes. If you need exact calories and macros, please do your own calculations.

Daddiebear
January 23, 2014 @ 2:53 pm
That sounds yummy, I shall be on the lookout for one of those trays
Michelle Ordever
January 23, 2014 @ 3:26 pm
I found them on Amazon :D
✰★ღ Kayleigh ✰★ღ
January 22, 2014 @ 11:09 pm
Woweeee what a lovely and simple treat!
Michelle Ordever
January 23, 2014 @ 11:45 am
And so yummy too!
Beverley
January 20, 2014 @ 10:55 pm
Well don’t they look the scrummiest ever seen? Such helpful, step by step pictures too! Love the way you make it so simple and don’t assume that your readers already have Jamie Oliveresque skills!
Michelle Ordever
January 21, 2014 @ 11:45 am
Thank you! They were really scrummy :D
Mary Heatley
January 20, 2014 @ 2:22 pm
These doughnuts look delicious, making me hungry just looking at the pictures.
Michelle Ordever
January 20, 2014 @ 3:22 pm
They were such good doughnuts!
caro_mad
January 20, 2014 @ 1:15 pm
These look absolutely amazing. I didn’t know you could get donut trays either. I’ll definitely have to keep my eyes open for one of them as cutting them out is such a hassle x
Michelle Ordever
January 20, 2014 @ 3:23 pm
Worth it if you can find them – I’m sure somewhere like Lakeland or Amazon would sell them x
Anna
October 13, 2013 @ 11:54 pm
these look soooo good! I need that donut baking tray! how cool :D
Michelle Ordever
October 14, 2013 @ 9:14 am
Give them a try – you won’t be disappointed with your purchase of a donut baking tray!!
JoAnn @ SweetPepperRose
October 13, 2013 @ 12:03 am
Oh my goodness Michelle! this seems easy enough for me to try ;-) My sweet tooth is screaming right now
Michelle Ordever
October 13, 2013 @ 11:14 am
They are SUPER easy! I urge you to try them! We loved them!
Emma Tustian
October 11, 2013 @ 8:46 pm
These look so delicious Michelle. Think I’ll have to invest in a doughnut baking tray! Great for parties
Michelle Ordever
October 12, 2013 @ 10:32 am
Thanks Emma! It’s well worth investing in a doughnut baking tray – I’ve been meaning to buy one for a long time – the mini ones cook in no time at all – and they’re a delicious, don’t seem as bad as friend doughnuts treat!