How To Make Sushi At Home
Home » COOK » Recipes »Way back in the summer Yutaka asked if I would like to try making sushi at home; to which I replied “yes please!” I received a box of products from the Yutaka range, and put them to one side “to make at the weekend”… but the weekend didn’t come, and I ran out of time before going on holiday. Fast forward to more recently, and I finally made that sushi!
If you love sushi, then make sure you keep reading to find out how to make it at home – it’s not as difficult as you might think. That said, I’m not taking anything away from sushi masters of course, after all, it takes 10 years to train as a sushi chef!
How To Make Sushi At Home
Many people think that sushi = raw fish; but that is not the case. Sushi is actually the rice – seasoned with rice vinegar, sugar, and salt, and combined with other ingredients such as fish, seafood, meat, egg, or vegetables. Without the rice, raw fish is sashimi. That is sushi (and sashimi) on its most basic level – I discovered a great blog post with more information here – which I found to be a fascinating read.
Preparing The Rice
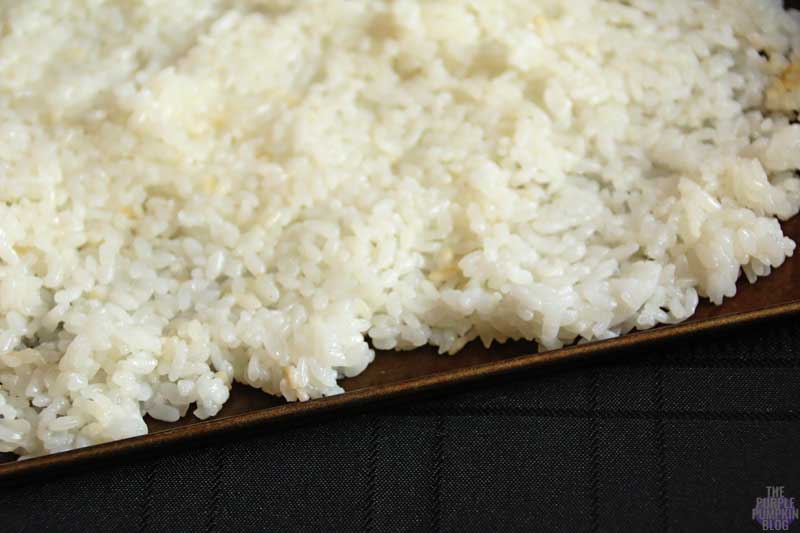
Sushi rice has short, fat grains, with rounded ends, and is prepared in a special way. You put the rice into a bowl and wash with cold water to remove the starch. Repeat 3 or 4 times until the water runs [mostly] clear. The clean rice is drained and placed into a pot with water, and cooked with the lid on. It is then cooled to room temperature before being seasoned with rice vinegar, sugar, and salt. Do not place in the fridge to cool down, as this will damage the rice – I spread the rice out onto a baking tray so it would cool down quicker. This might feel like it is quite a laborious task, but it is vital so that you get the lovely sticky rice you need to make the different types of sushi.

- 250g Yutaka Sushi Rice
- 330ml cold water
- 3 tbsp Yutake Rice Wine Vinegar
- 2 tbsp sugar
- 1 tsp salt
- Put 250g of rice into a bowl and wash with cold water. Repeat 3 or 4 times and then drain the rice with a sieve.
- Add 330ml of water and the washed rice to a saucepan. Bring to the boil and simmer for 10 minutes with the lid on.
- Turn off the heat and leave to stand for 25-30 minutes. Do not open the lid!
- Allow the rice to cool to room temperature then season:
- Mix 3 tbsp of Yutaka Rice Vinegar, 2 tbsp of sugar, 1 tsp of salt together and fold into the cooked sushi rice.
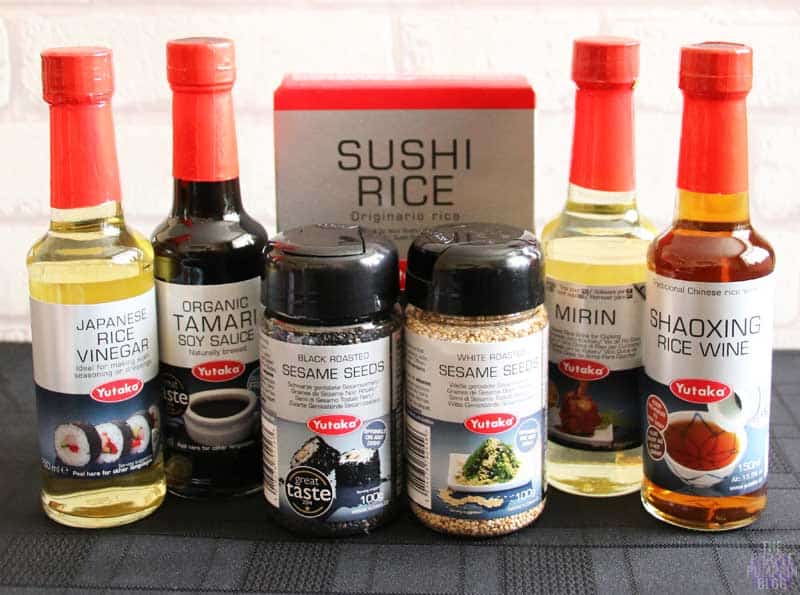
As I said at the top of this post, I was sent a selection of Yutaka products (listed below), which are available to buy in most major supermarkets in the UK. I have found (and bought) Yutaka products in the World Food aisle at my local Tesco.
If you can’t find them in the shops, you can buy some of them online. I’ve included my Amazon affiliate links below.
|
I didn’t need to use the Mirin (a rice wine, similar to Sake) or the Shaoxing Rice Wine – but they will come in handy for other Far Eastern dishes that I make. It also appears that I forgot to take a photo of the Sushi Nori – these are the sheets of seaweed that are used when rolling sushi.
Types Of Sushi
There are several different types of sushi, but the main ones seem to be
- Makizushi – rolled sushi
- Hosomaki – thin, Chumaki – medium, Futomaki – thick, Uramaki – inside out, Temaki – hand roll
- Nigirizushi – hand-pressed sushi – usually a rectangle, with a topping
- Chirashizushi – scattered sushi
- Inarizushi – pouch of fried tofu filled with rice
- Oshizushi – pressed with a wooden mould
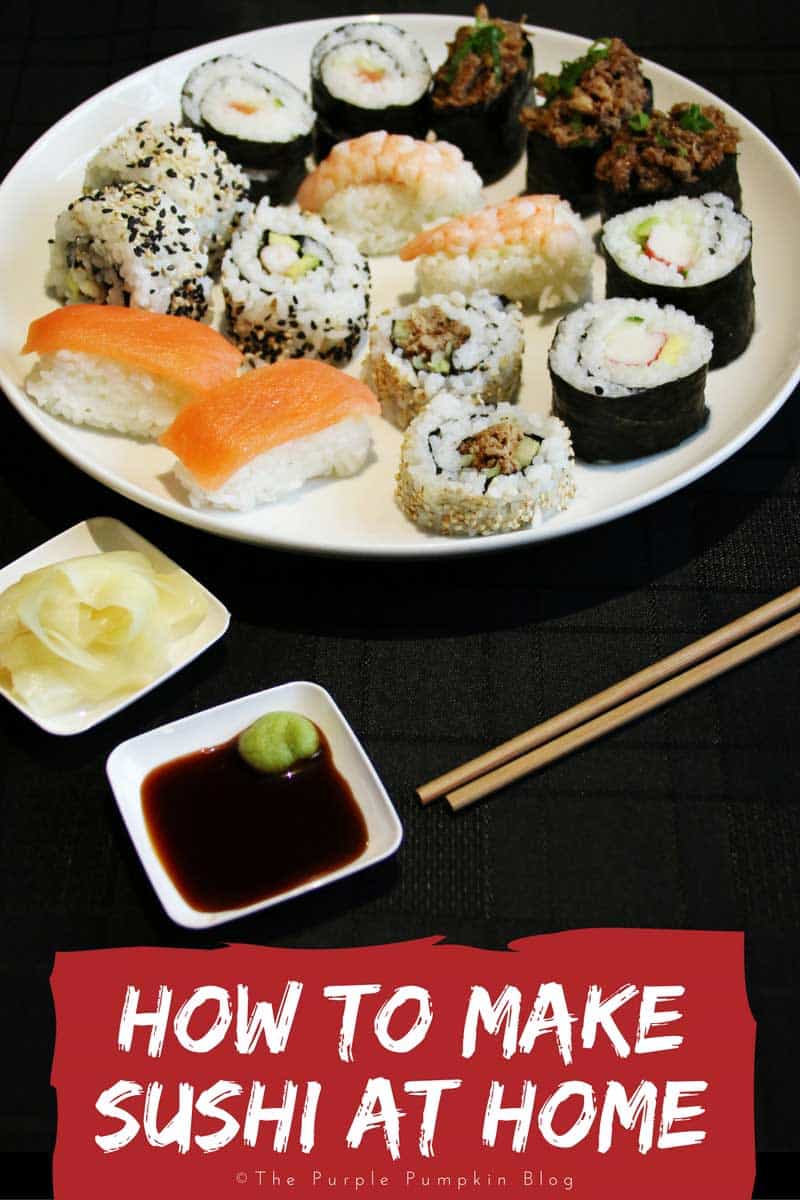
I made Maki and Nigiri when I made my sushi, which are the two most familiar kinds. I also made Gunkan (the battleship roll), which I guess would fall under the Maki type, since it has nori wrapped around it? Or maybe it’s a Nigiri type since it is kind of rectangular shaped with a topping?!
I did try my hand (ho ho!) at the hand roll, but I really messed that one up, so no photos of that I’m afraid.
Since this post is quite long, I’ve split it into parts. Continue reading using the numbered buttons below.


Danielle
January 17, 2017 @ 10:42 am
Love this guide! I’m a big sushi lover but I prefer to get it done by a pro – I’m not much of a chef. I’ll have to give it another go after seeing this!