How To Make Rainbow Unicorn Bath Bombs
Home » CREATE » Crafts » Homemade Cosmetics » Bath Bombs »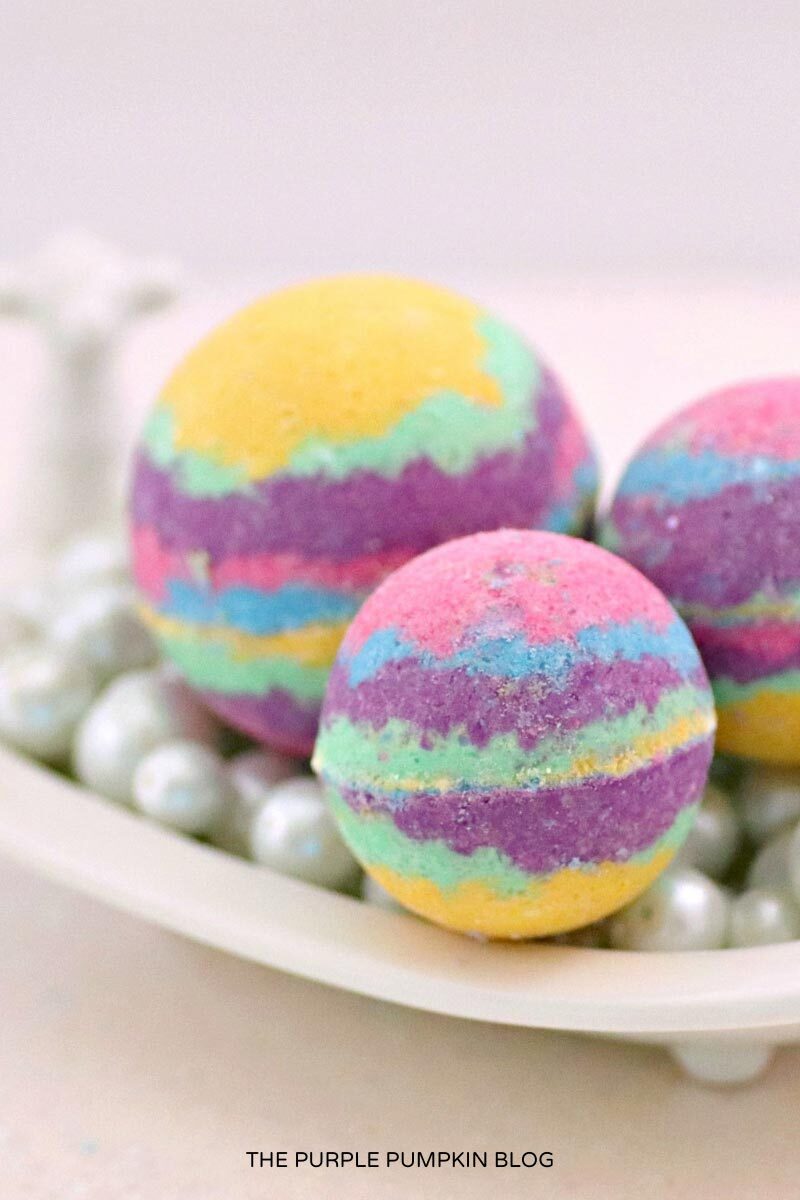
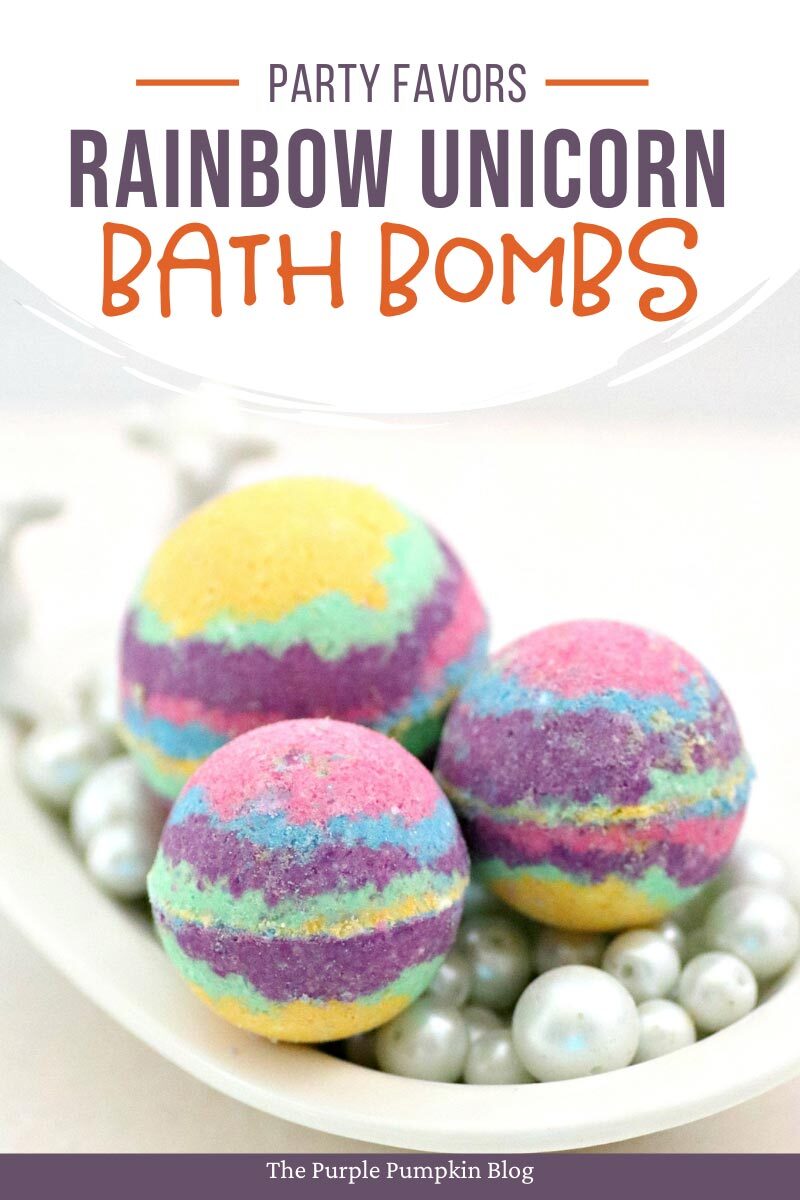
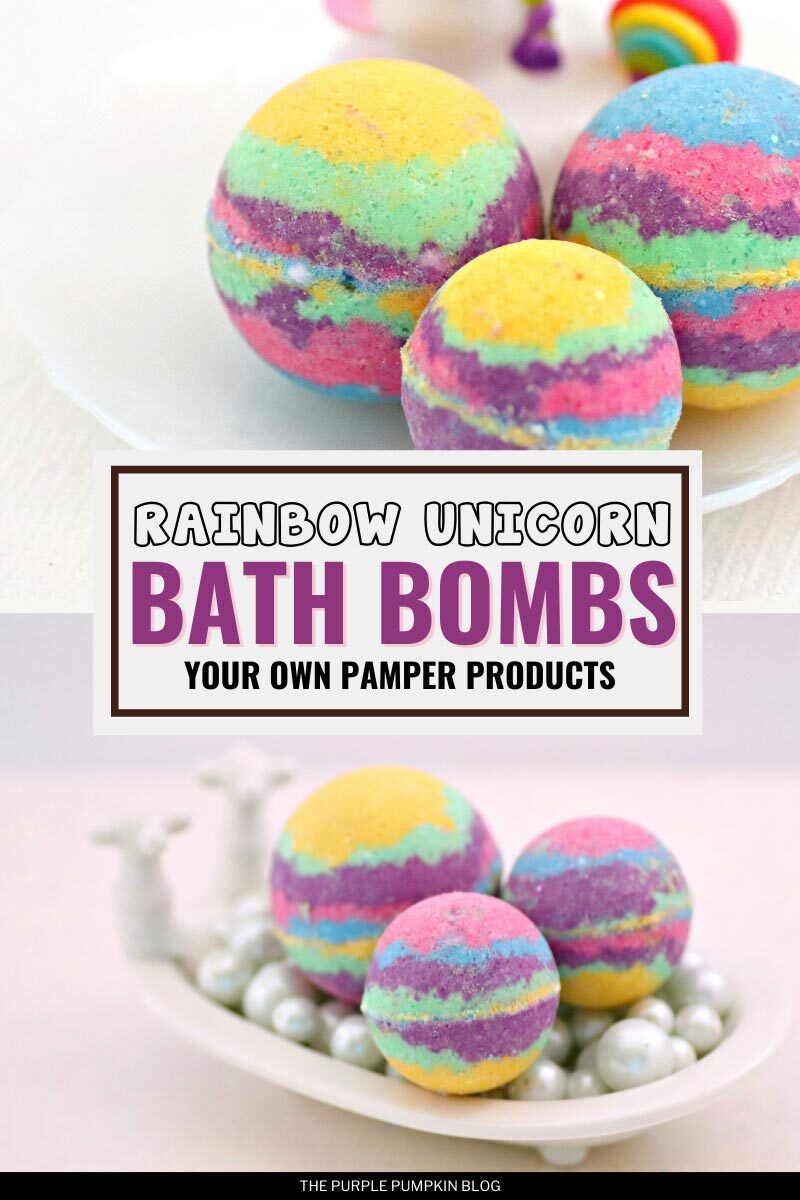
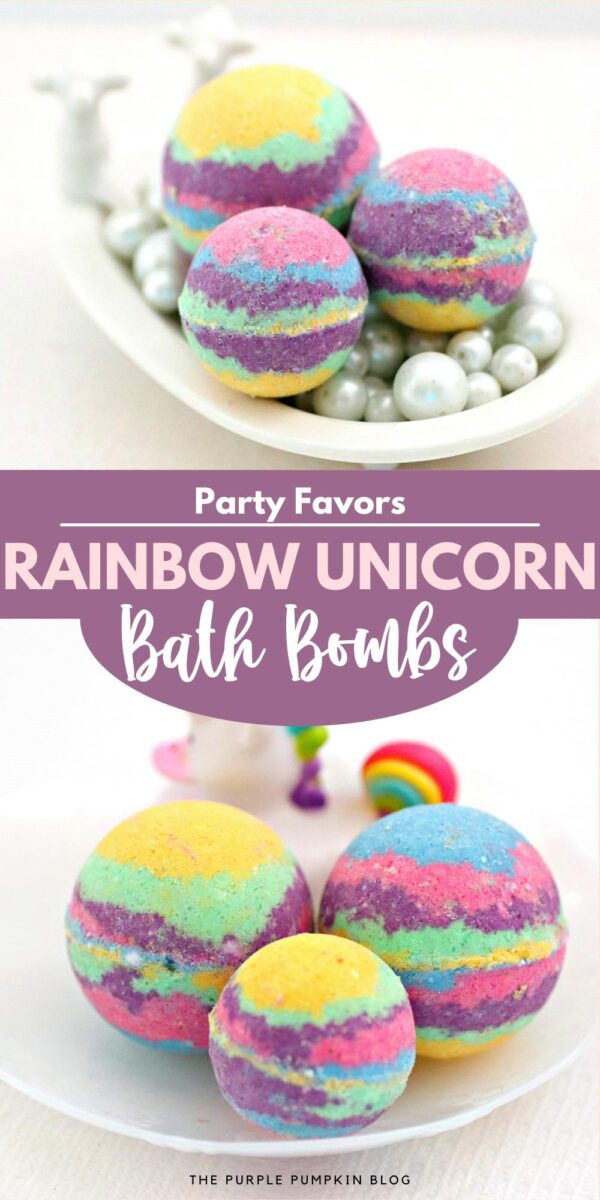
These Rainbow Unicorn Bath Bombs are a thoughtful and fun homemade gift or party favor for unicorn parties. Of course, you could always make extra to add to your own pamper product collection!

Affiliate Disclosure
We have included affiliate links to products and services related to this post.
We may earn a commission if you purchase after clicking on those links.
As an Amazon Associate, I earn from qualifying purchases.
Read Our Full Disclosure Policy and Privacy Policy
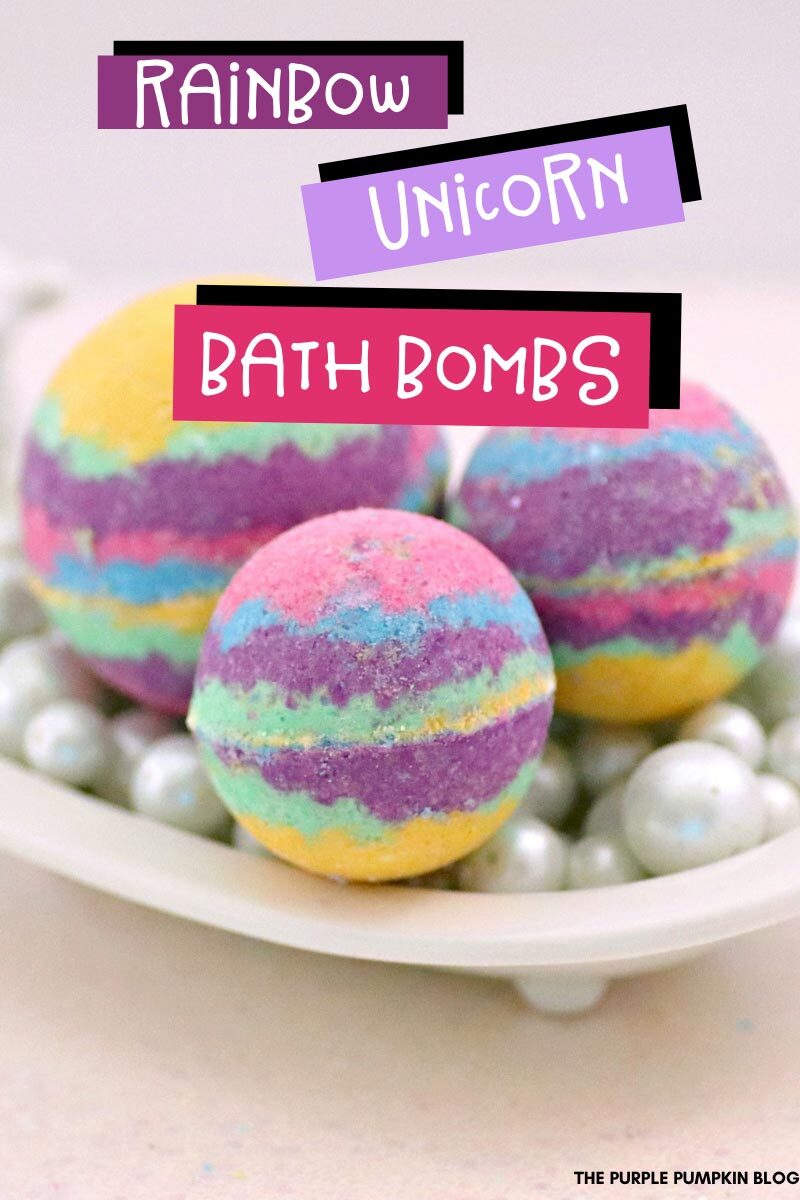
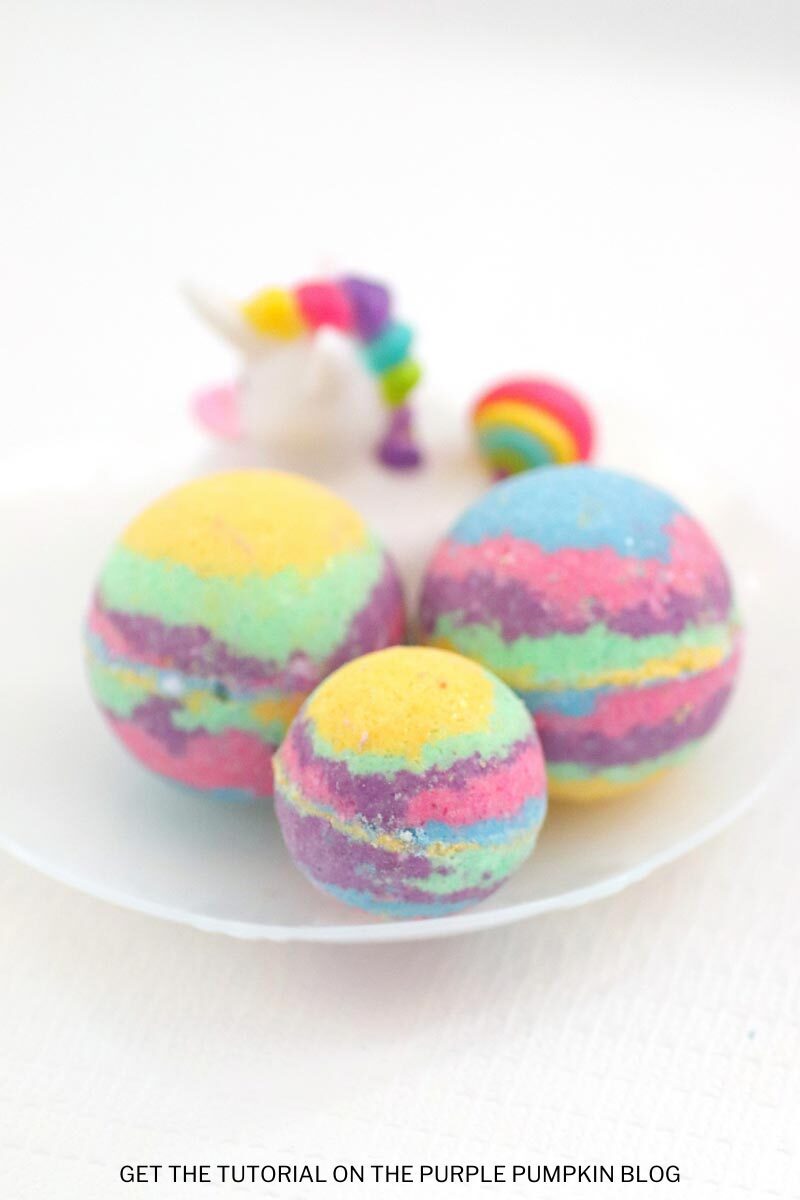
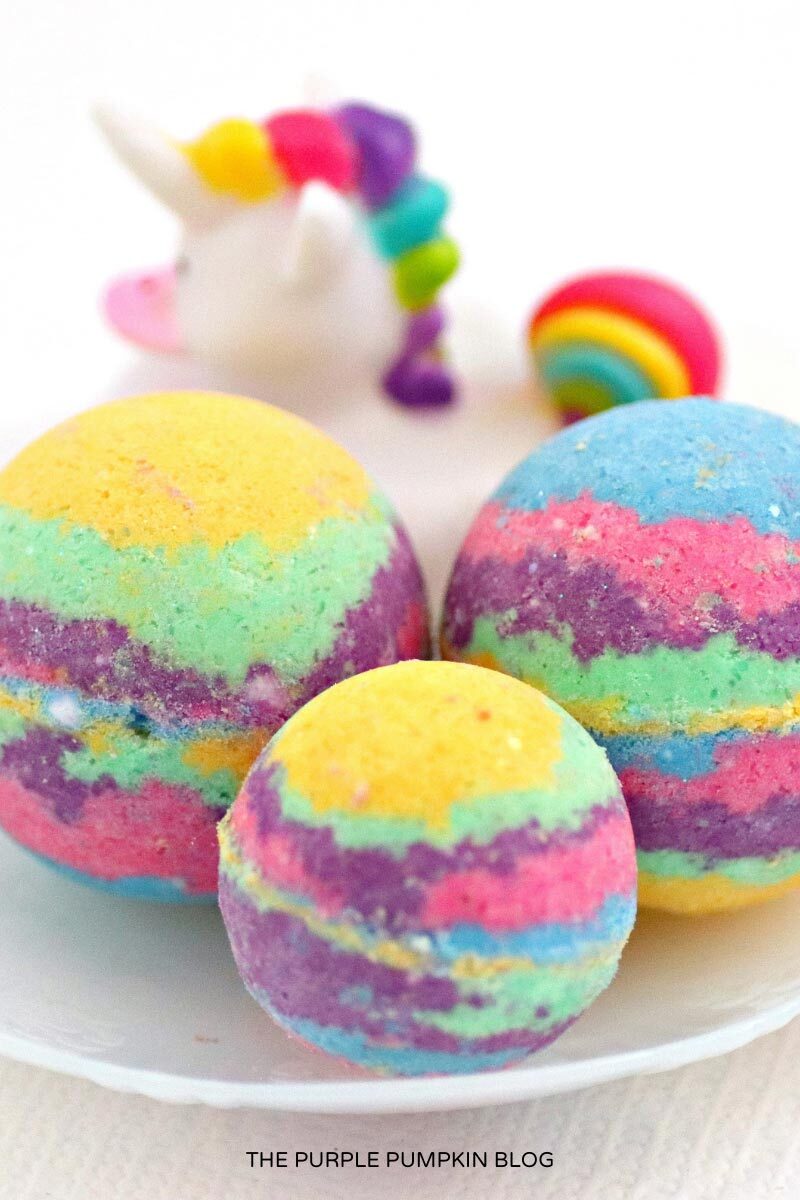
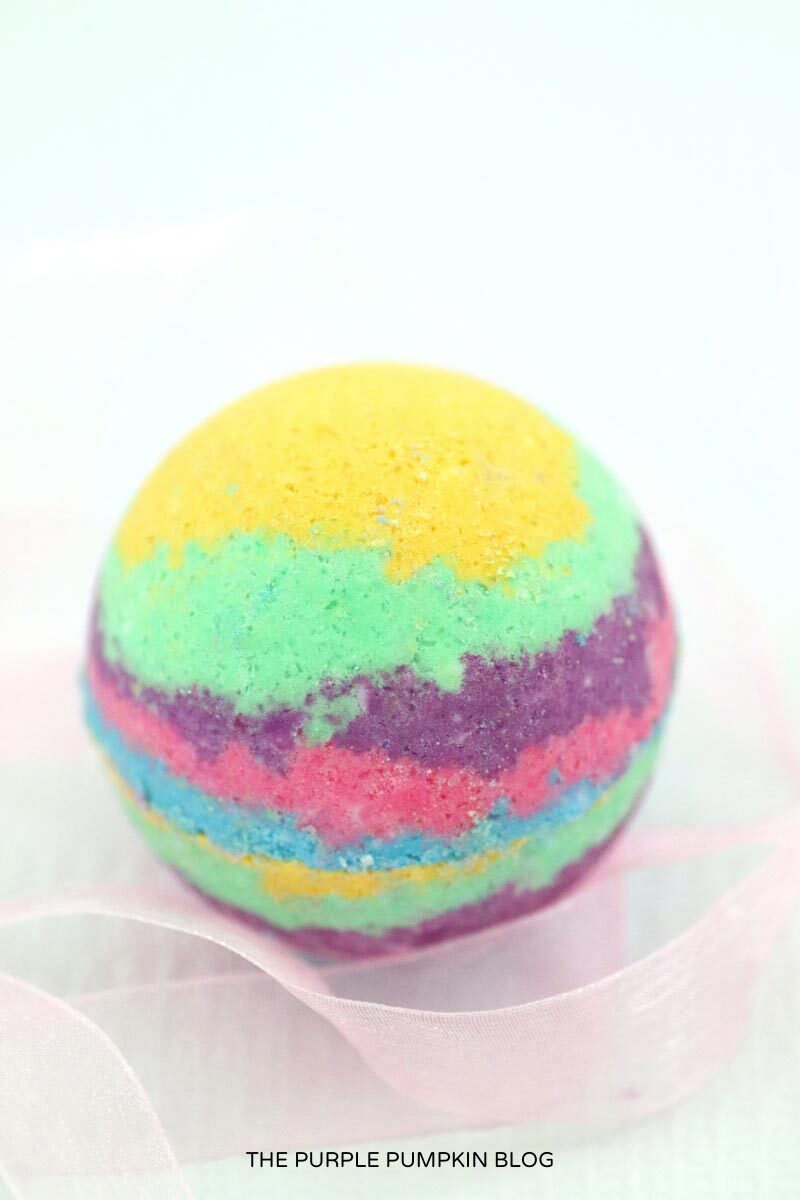
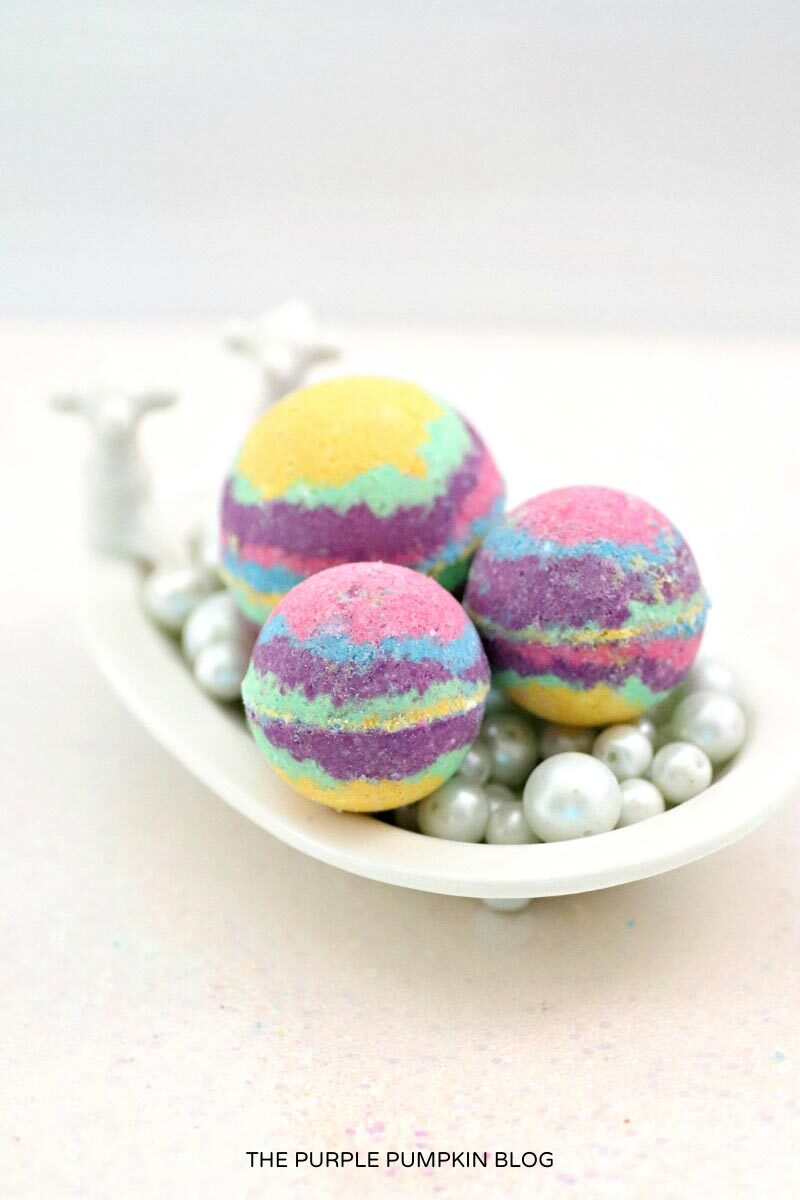
Rainbow Unicorn Bath Bombs
The full list of materials, tools, and instructions is found in the printable tutorial card at the end of this post. I highly recommend reading the blog post all the way through before starting this project to ensure that you have everything required and understand the steps and timings involved.
Making your own pamper products is a lot easier than you think! And in the long run, it can work out a lot cheaper too.
Yes, there is an initial outlay for the supplies, but you’ll be able to make so many, and they’ll end up paying for themselves.
Whether you make these rainbow unicorn bath bombs for yourself or to give them as gifts, you’re going to have so much fun!
Materials & Tools Used in This Craft
The complete list of supplies, which may include basic crafting items that you already have can be found in the tutorial card at the end of this post. For your convenience, I’ve linked any notable materials and tools needed for this project to Amazon below.
- Baking Soda – also known as Bicarbonate of Soda. Can help to exfoliate skin.
- Citric Acid – The chemical reaction baking soda and citric acid produces the fizz and bubbles when the bath bomb hits the water
- Cornstarch – also known as Cornflour. Can help to sooth skin irritations.
- Bentonite Clay – helps absorb excess oil from the skin
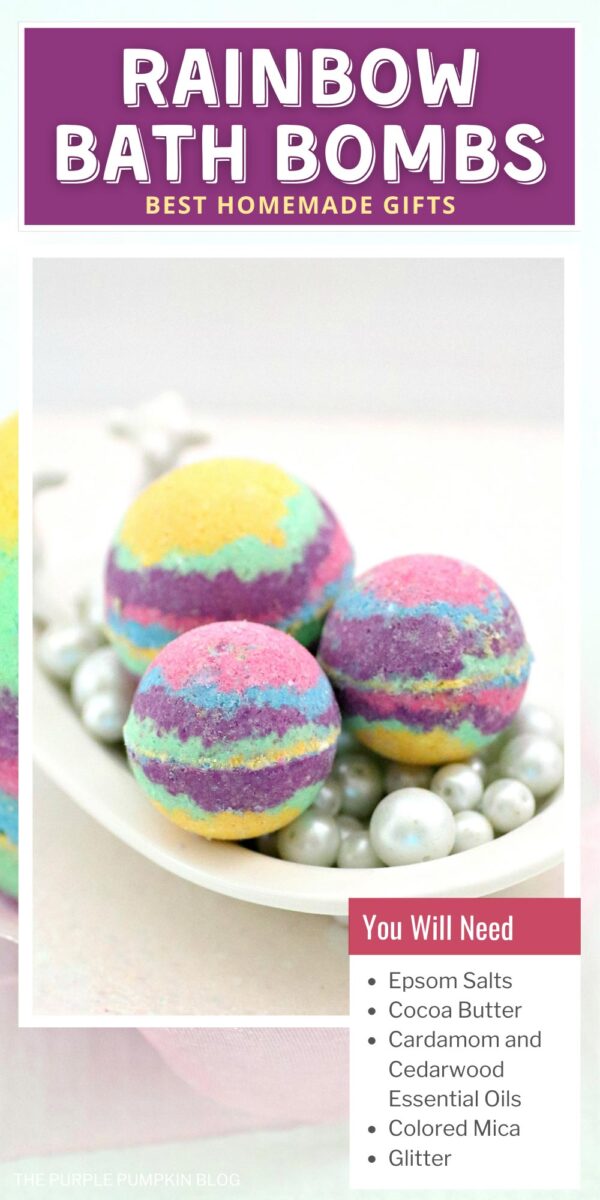
- Milk and Honey Epsom Salts – can help relax muscles and loosen joints
- Coconut Oil – binds all the ingredients together
- Polysorbate 80 – helps the coconut oil disperse more evenly in your bath water, makes the bath bombs bubbly and prevents the mica from sticking to the side of the tub.
- Cocoa Butter – binds all the ingredients together and helps to moisturize your skin
- Cardamom Essential Oil – but you could use any combination of oils that you prefer
- Cedarwood Essential Oil – but you could use any combination of oils that you prefer
- Mica Colorant – in the following colors: purple, blue, pink, yellow & green
- White Cosmetic Glitter – what is a unicorn bath bomb without glitter!
- Stainless Steel Bath Bomb Molds
- Rubbing Alcohol – in a spray bottle
- 1 large mixing bowl
- 5 small bowls
More Cosmetics Crafts
Looking for more homemade cosmetics to make? Here are some more for you to check out! Just right-click and open a new tab to read next!
- Maleficent Cupcake Bath Bombs with Whipped Soap Frosting!
- Rudolph the Reindeer Poop Soap – A Fun Stocking Stuffer Idea!
- How To Make Strawberry Sugar Scrub – A Great Valentine’s Day Gift!
I’ve shared lots of great craft ideas on The Purple Pumpkin Blog over the years, in fact, there are 100+ crafts to make and do at home that you can try!
How Do I Make Rainbow Unicorn Bath Bombs?
Just check out the how-to card below with full materials, tools, and instructions. Any demonstration photos do not print out to save your ink.
Rainbow Unicorn Bath Bombs
Materials
- 2 cups baking soda
- 1 cup citric acid
- ¼ cup cornstarch
- 2 tablespoons bentonite clay
- 2 tablespoons Milk and Honey Epsom salts
- ⅓ cup coconut oil
- 1 teaspoon polysorbate 80
- 2 tablespoons cocoa butter
- 10-20 drops cardamom essential oil
- 10-20 drops cedarwood essential oil
- 1-2 tablespoons of purple blue, pink, yellow & green mica colorant
- 1-2 teaspoons of white cosmetic glitter in each of the smaller bowls
TOOLS
- Stainless steel bath bomb molds
- Mini muffin tin (optional)
- Spray bottle filled with rubbing alcohol
- 1 large mixing bowl
- 5 small bowls
Instructions
- Place the baking soda, bentonite clay, citric acid, Milk and Honey Epsom salts, and cornstarch in a large mixing bowl and whisk together.
- Add the coconut oil, cocoa butter, and polysorbate 80 to the dry ingredients and whisk together.
- Add the essential oils and glitter to the bowl and mix well. You may need to use your hands to break down any lumps and make sure everything is mixed in. The mixture is perfect when it holds together when you press it into your hands and feels like wet sand.
- Divide the mixture into 5 smaller bowls. Using 1 tablespoon of each color mica, stir into each bowl so you have five different colors.
- Layer the mixture into each side of your bath bomb mold until the mixture is slightly overflowing. Press molds together and grind gently to remove the excess mixture. Leave to dry for a minimum of 24 hours. Gently tap each side of the mold to release the bombs.
- Store bath bombs in a cool and dry place to prevent premature fizzing. On average, you can store bath bombs for 6 months.