How To Make a Heart-Shaped Deco Mesh Valentine Wreath
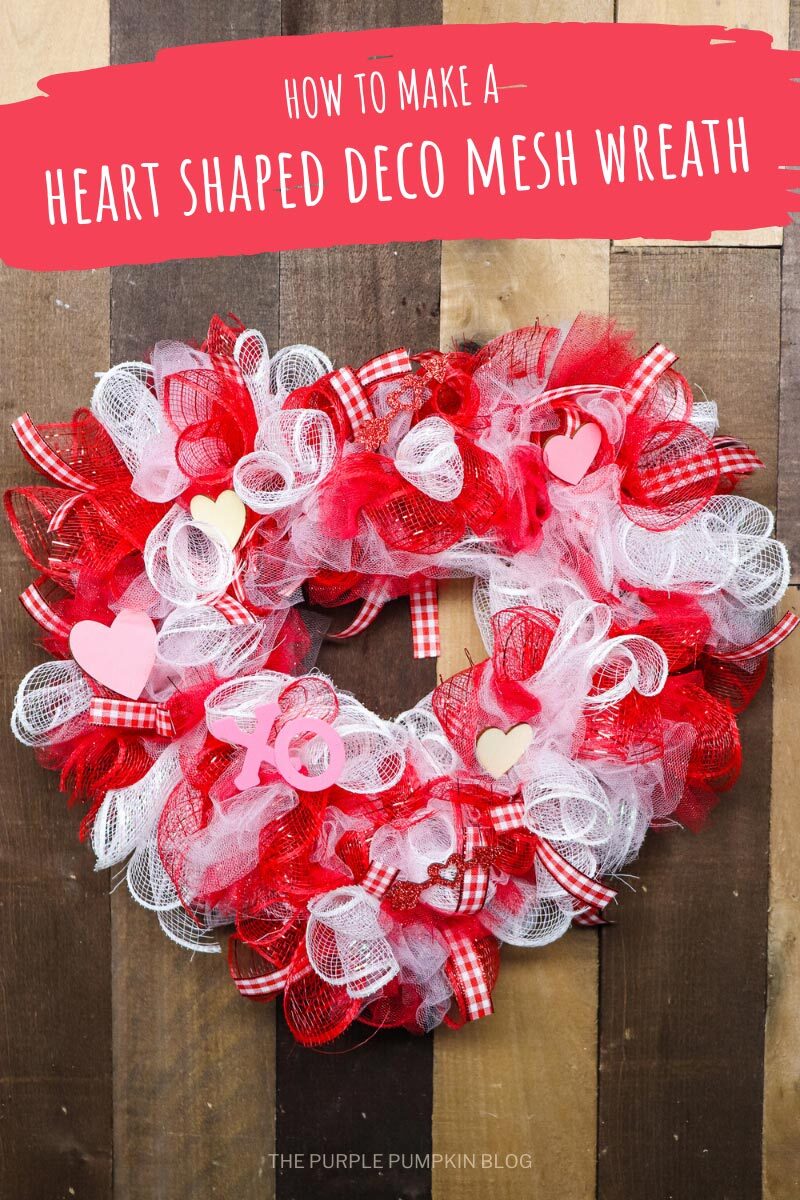
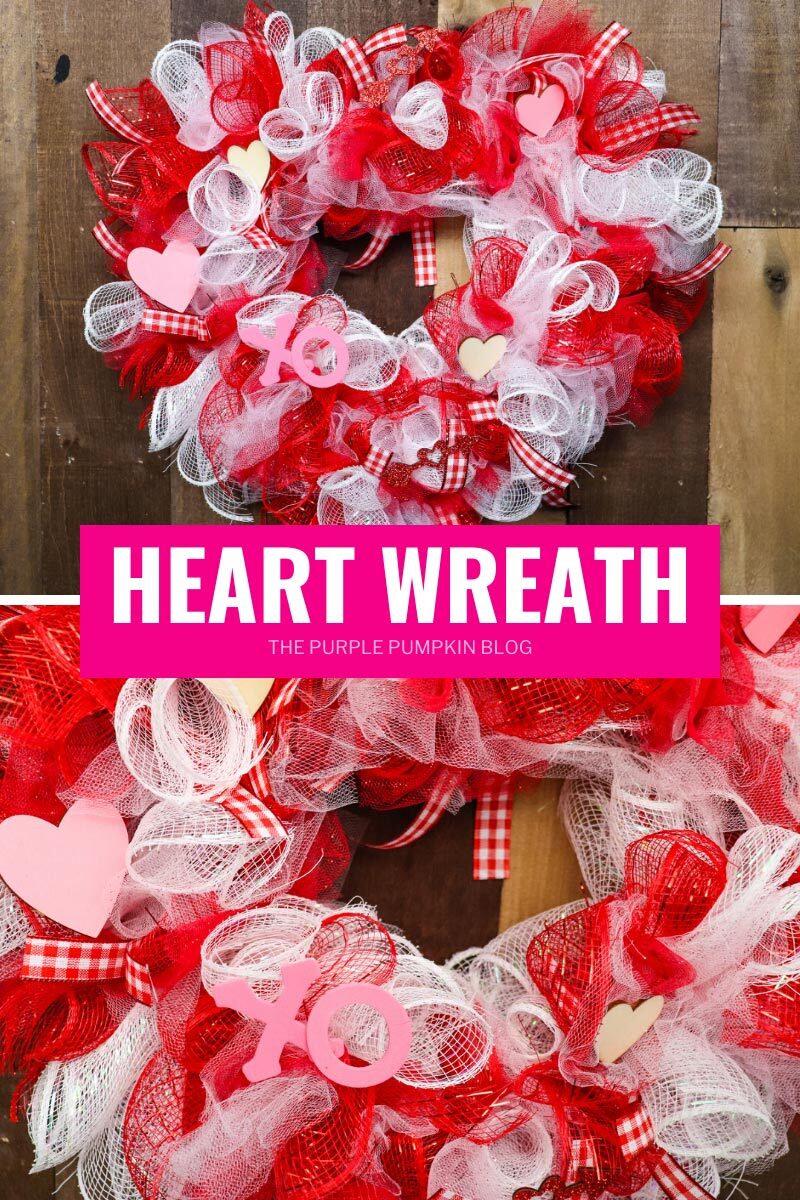
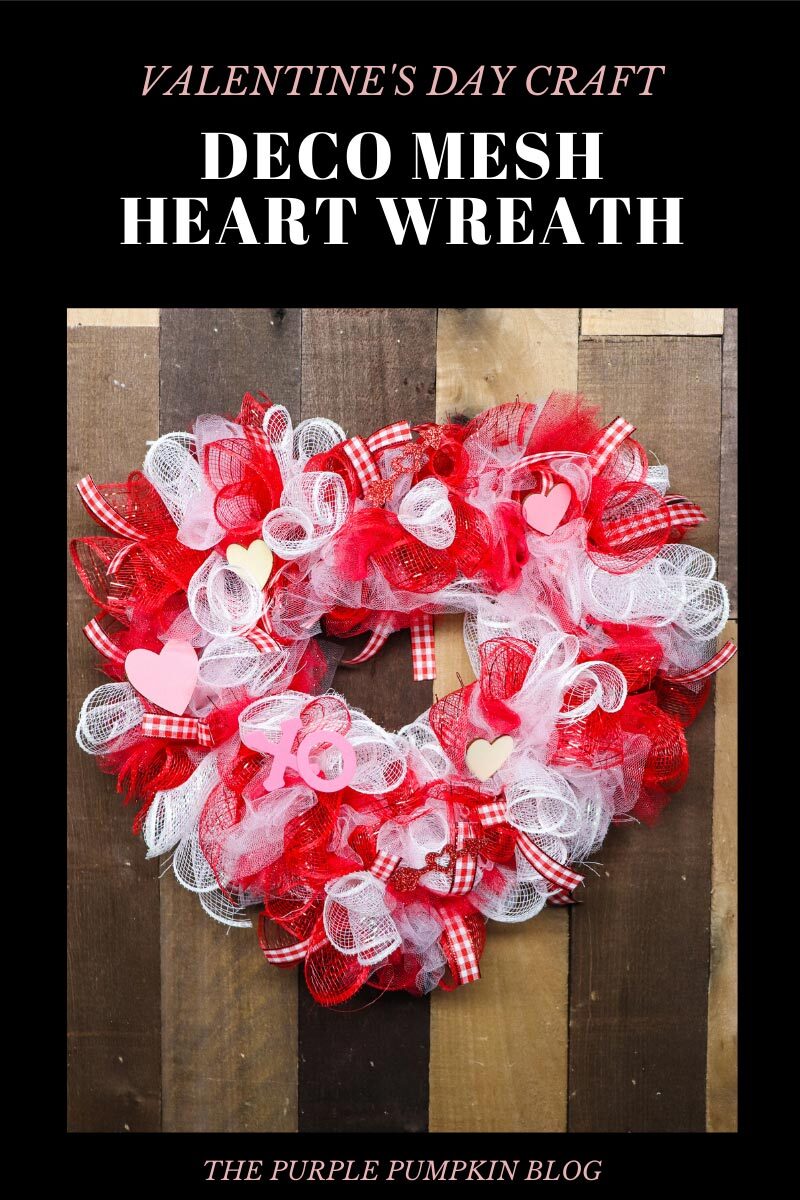
Home » CREATE » Crafts » Valentine's Day Crafts »This Deco Mesh Valentine Wreath tutorial will take you step-by-step through making a pretty heart-shaped wreath to decorate your home for Valentine’s Day! The deco mesh wreath can be made in under 30 minutes, and it’s easy when you know how to do it!

Affiliate Disclosure
We have included affiliate links to products and services related to the topic of this post.
This post contains affiliate links, and we will be compensated if you purchase after clicking on those links.
As an Amazon Associate, I earn from qualifying purchases.
Read Our Full Disclosure and Privacy Policy
Deco Mesh Valentine Wreath
I know that Valentine’s Day is mocked as a Hallmark holiday, but I actually love it. I’m one of those people who loves, love, and I think the colors associated with the event – reds, and pinks, and shade variations thereof are just so pretty!
Throw in some glitter, heart shapes, and other love-themed bits-and-bobs and there are so many wonderful crafts you can make.
I first saw these deco mesh style wreaths when I visited the USA and went into Michael’s (a US craft store similar to Hobbycraft here in the UK). They had tons ready-made for sale as well as the supplies to make your own.
They looked so complicated to make, but they’re the devil in disguise because they’re actually quite simple to assemble, and this deco mesh Valentine wreath is ready in around 30 minutes!

Materials & Tools Used in This Craft
Full instructions are found in the printable tutorial card at the end of this post, but here is a quick outline so you know what to expect from the craft.
I highly recommend always reading everything all the way through before starting any project so you understand all the steps required.
- Heart-shaped Wire Wreath Frame – 12″ (30cm)
- Red Deco Mesh Ribbon – approx 6″ x 5 yards (15cm x 4.5m)
- White Deco Mesh Ribbon– approx 6″ x 5 yards (15cm x 4.5m)
- Red Glitter Tulle – approx 6″ x 3 yards (15cm x 2.7m)
- White Glitter Tulle – approx 6″ x 3 yards (15cm x 2.7m)
- Light Pink Glitter Tulle – approx 6″ x 3 yards (15cm x 2.7m)
- Red Mesh Ribbon – approx 2.5″ x 9′ (6cm x 2.75m) – optional, if you’d like to add a bow
- Red Gingham Ribbon – approx 5/8″ (1.5cm)
- Pipe Cleaners/Chenille Stems – red or white
- Valentine’s Embellishments such as:
- Wooden Hearts – 1″-3″ (2.5cm-7.5cm) wide
- Wooden Letters – X O
- Valentine’s Foam Stickers
- Pink Acrylic Paint
- Paint Sponge or brush
- Glue Gun
- Scissors
- Clothespins/Clothes Pegs – optional for holding the mesh in place
- Wire Cutters

What is Deco Mesh?
You may well have seen this type of material on wreaths and other decorations before, but not knowing what it was called. (I know I certainly didn’t know!)
However, I can now tell you that deco mesh is a versatile, waterproof material and comes in a variety of colors. It is also very flexible which makes it great for creating lots of different decorations like wreaths, garlands, puffballs, and topiaries.
It can withstand moisture and maintains its shape, which means it is perfect for outdoor decorations. And it dries quickly too. Your wreath should last for years without issue, although direct sunlight may cause some fading over time.
When you’ve taken your wreath down, store it in a box and cover to protect it from dust.
You’ll find deco mesh in craft stores, online, and perhaps even in “cheap” stores like the Dollar Store or Pound Shop who both now sell a lot more craft supplies. We all know how expensive crafting can be, so being able to buy more affordable materials is always helpful.
Don’t confuse deco mesh with tulle which is a lightweight, extra-fine netting; or with organza which is usually in dressmaking. However, you can use those materials to make wreaths too!
Deco mesh can fray somewhat on the edges, so for tips to keep that from happening, check out 3 ways to keep deco mesh from fraying over on WikiHow. However, the frayed edges can give a certain charm, so I like to just leave them as they are. You could always cut longer threads off if you like.


More Valentine’s Crafts
If you’d like some more Valentine’s Day Crafts to try, check these out next:
- Make these cute Love Bear Cards for Valentine’s Day!
- How To Make Strawberry Sugar Scrub – A Great Valentine’s Day Gift!
- Valentine’s Day Craft – Embroidery Hoop Scrabble Tile LOVE Wall Hanging
- Love Heart Garland
I’ve shared lots of great craft ideas on The Purple Pumpkin Blog over the years, in fact, there are 100+ crafts to make and do at home that you can try!

I’ve got several step-by-step photos to guide you through making this wreath which I hope you will find useful!
There is also my How to Make a Heart-shaped Deco Mesh Valentine Wreath video over on my YouTube channel that you can watch and save to your Playlists for future reference. (Don’t forget to subscribe while you are there!)

Deco Mesh Valentine Wreath
This Deco Mesh Valentine Wreath tutorial will take you step-by-step through making a pretty heart-shaped wreath to decorate your home for Valentine's Day!
Materials
- Heart-shaped Wire Wreath Frame - 12" (30cm)
- Red Deco Mesh Ribbon - approx 6" x 5 yards (15cm x 4.5m)
- White Deco Mesh Ribbon- approx 6" x 5 yards (15cm x 4.5m)
- Red Glitter Tulle - approx 6" x 3 yards (15cm x 2.7m)
- White Glitter Tulle - approx 6" x 3 yards (15cm x 2.7m)
- Light Pink Glitter Tulle - approx 6" x 3 yards (15cm x 2.7m)
- Red Gingham Ribbon - approx 5/8" (1.5cm)
- Pipe Cleaners/Chenille Stems - red or white
- Valentine's Embellishments such as:
- Wooden Hearts - 1"-3" (2.5cm-7.5cm) wide
- Wooden Letters - X O
- Valentine's Foam Stickers
- Pink Acrylic Paint
Tools
- Paint Sponge or brush
- Glue Gun
- Scissors
- Clothespins/Clothes Pegs - optional for holding the mesh in place
- Wire Cutters
Instructions
- Paint some of the wooden hearts and letters X and O pink and set them aside to dry. Tip - use two wood skewers for support while drying.

- Cut the pipe cleaners in half with wire cutters.

- Cut the red deco mesh and the white deco mesh into 8" (20cm) lengths. Tip: The red, and white deco mesh ribbon will naturally curl and roll up, however, you want to roll either end in on itself to the center. (It kinda forms a heart shape.)

- Cut each tulle color into 8" lengths and lay one of each color on top of the other in any order so you have 3 per bundle.


- Loosely roll or gather up each of the colors in a bundle and pinch them together to form a kind of bow. With half of the light pink, red, and white tulle bundles, pinch the center and tie a pipe cleaner piece around it, twisting to secure. Tips: You can use a clothespin to hold the pieces together while you tie them up.

- Cut the gingham ribbon into 6" (15cm) lengths.
- Add a piece of gingham ribbon to the other half of the tulle bundles and tie it with a pipe cleaner as before.
- With the white deco mesh, pinch in the middle to form an 'X' and tie it with a pipe cleaner.

- Repeat step 8 with half of the red deco mesh pieces. Then add a gingham ribbon strip to the other half of them. With all of the deco mesh, ribbon, and tulle sections assemble you can now attach them to the wire heart wreath!

- There are three rings on the wreath, as you feed the pipe cleaners through, flip over the wreath and twist the pipe cleaners to the rings. Alternate between the bottom two rings and the top two rings to completely cover the wreath. Also, alternate between the colors of the ribbon.


- When the wreath is completely covered you can fluff out the pieces if you need to.
- To attach the painted wooden hearts and letters and foam pieces if using, use hot glue and place them wherever you like.


- Use a full pipe cleaner or piece of wire to create a loop for hanging and tie at the back of the wreath in the top center position. You can add more security to the loop by dabbing on some hot glue where it is tied.

Notes
If you'd like to add a bow (not demonstrated) use Red Mesh Ribbon - approx 2.5" x 9' (6cm x 2.75m) and tie to the top.
Recommended Products
As an Amazon Associate and member of other affiliate programs, I earn from qualifying purchases.
-
 Heart-Shaped Metal Wreath
 -
 Red Deco Mesh Ribbon
 -
 White Deco Mesh Ribbon
 -
 Red Glitter Tulle Fabric
 -
 White Glitter Tulle Fabric
 -
 Light Pink Glitter Tulle Fabric
 -
 Red and White Gingham Ribbon
 -
 Red Chenille Stems/Pipe Cleaners
 -
 Wood Heart Cutouts, 5 Sizes
 -
 Plaid Wood Letters
 -
 XO Valentine's Day Foam Glitter Heart Shape Stickers
 -
 Apple Barrel Acrylic Paint (8 Ounce), 21049E Pink Parfait
 -
 Hot Glue Gun
 -
 Craft Scissors
 -
 Fiskars Crafts DIY Precision Wire Cutter



Fiona Jackson
May 15, 2021 @ 1:44 pm
The Wreaths are really looking very beautiful. but harder to make. I wish i could make one
Michelle
May 17, 2021 @ 8:18 am
These wreaths are actually easier to make than you might think!
Linda Brown
January 14, 2021 @ 7:19 pm
I like most of the wreaths on here but I think this is my favprite It does seem maybe a little more involved though LOL
Michelle
January 15, 2021 @ 8:38 am
It’s actually easier to make than you might think!