How To Make Homemade Granola
Home » COOK » Recipes »Homemade Granola is so easy to make, and once you know how to make it, you’ll never buy the ready-made kind again! And, because you are making it yourself, you can add any combination of dried fruits, nuts, and seeds to the rolled oats base that you like. To make the granola clump together, you use wet ingredients like honey, coconut oil, or maple syrup. Once made, store it in an airtight jar, where it will stay fresh for about a month.
I love the satisfying crunch of granola, and enjoy eating it sprinkled over some fresh fruit and Greek yogurt. I’m also partial to having a scoop of it as a crunchy snack!
Homemade Granola
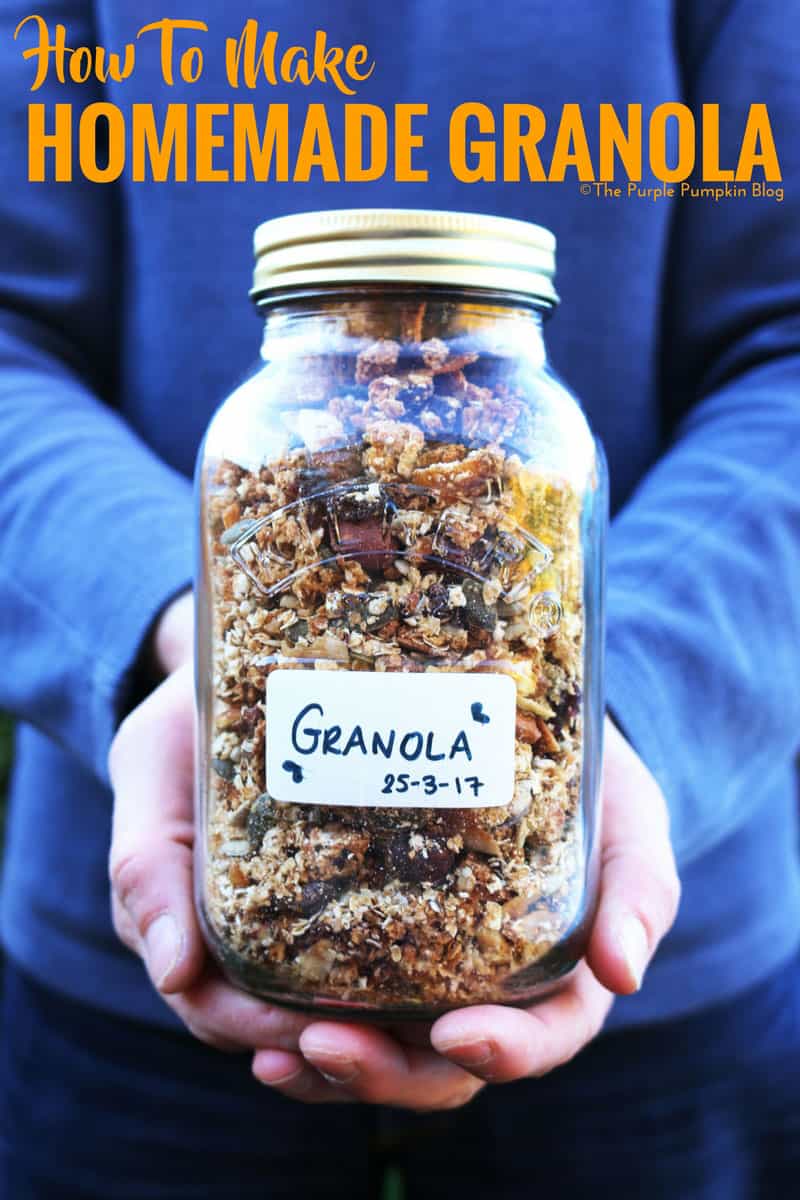
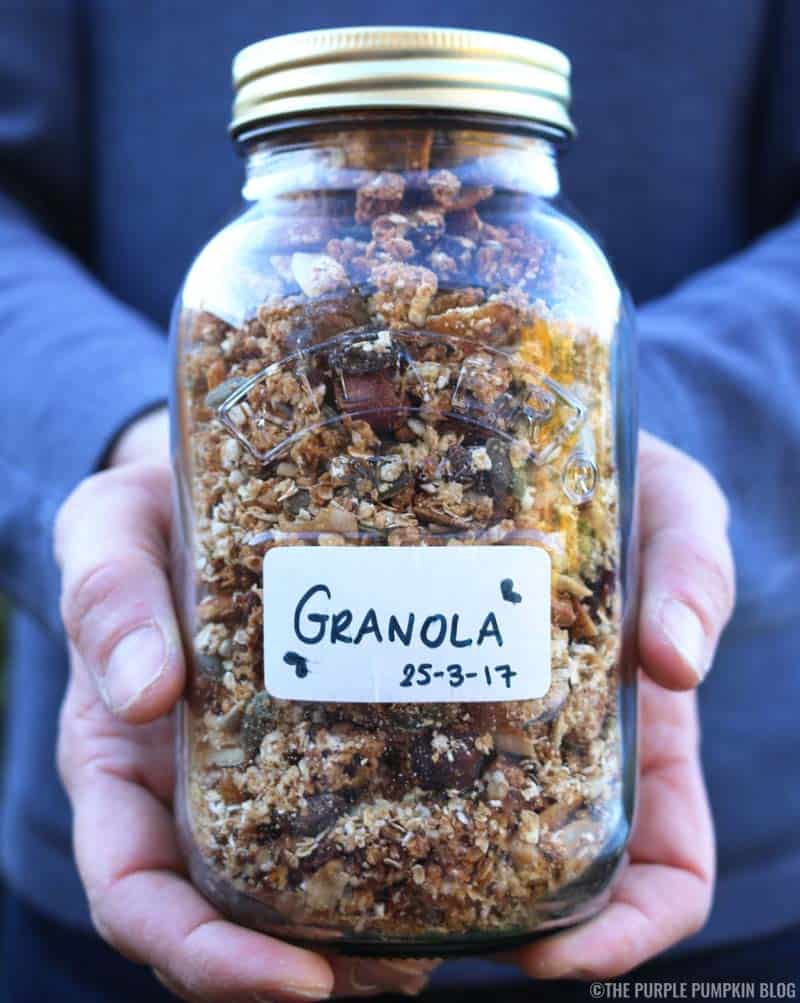
A whole load of dried fruits, nuts and seeds went into my homemade granola. What can I say – it was the first time I’ve ever made it, and I was excited!
To my rolled oats, I added hazelnuts, almonds, and pecans; sultanas, dried cranberries, and dried apricots; sunflower seeds, and pumpkin seeds; and finally, coconut shavings. I added honey as a sweetener. I didn’t use any oil, but did use touch of Frylight Coconut Oil Spray. Everything was mixed together, and popped into the oven for about 25 minutes, stirring a couple of times to prevent burning. Once cooled, into the jar it went.
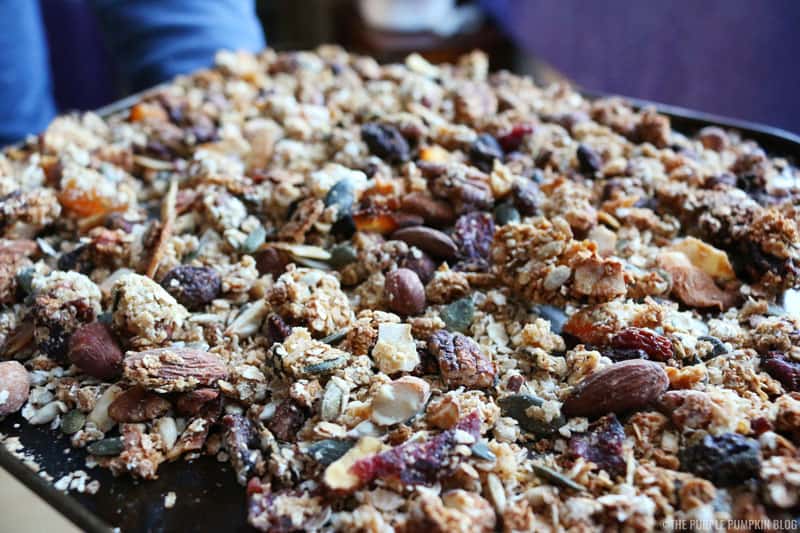
When I make the next batch of homemade granola, I am going to experiment with different flavours – like the addition of spices, and different fruit/nut combos; I’m also going to leave adding the fruit until the end of cooking, as some pieces of fruit have been quite hard when I bite into them! I’m also going to buy and use jumbo rolled oats next time, as the ones we had in the cupboard were a bit on the small side.
But overall, I’m really happy with the way this first batch turned out, and so, I’m sharing the recipe with you. It’s something I made as part of our meal prepping. I have been taking steps to make meal prep part of my routine, to help me track of my calories, and ultimately, for some weight loss. This is my third week now of meal prepping, and I’m so glad I started doing this – it’s given me a new purpose!
This post contains Amazon Affiliate links. If you clicked the link then made a purchase, a small percentage of the sale price would be paid to this me. It doesn’t cost you anything more but it helps keep the lights on over here!
In total I made 670g of granola, which I calorie counted, and broke down into 20 portions (just over 30g per portion – about a ¼ cup full) for 174 calories. If you are watching your sugar intake, be mindful of how much granola you enjoy. It’s very easy to over serve yourself because granola is so delicious!
Also part of my meal prep is making up jars of fruit, with strawberries, blueberries, and raspberries; as well as straining the Greek yogurt in some muslin cloth to remove the excess water. I then portion the yogurt between the fruit jars, store in the fridge. The airtight seal on the jars keeps everything fresh for up to 5 days. All I need to do in the mornings, is scoop out some granola, sprinkle into the prepared fruit and yogurt jar and tuck in with a spoon.
Or you can prepare your fruit fresh each day, and top with yogurt and granola in a bowl.

Find more recipes here: Easy Meal Prep for Beginners
- 250g rolled porridge oats
- 50g pecans, chopped
- 50g almonds, chopped
- 50g hazelnuts
- 50g pumpkin seeds
- 50g sunflower seeds
- 50g dried apricots, chopped
- 50g sultanas
- 50g dried cranberries
- 20g coconut flakes
- 6 tbsp runny honey
- Frylight Coconut Oil Spray (optional)
- Preheat the oven to 160C/325F/Gas 3
- Place all the dry ingredients into a large mixing bowl, and stir together to mix well.
- Drizzle over the runny honey (you can spray the spoon with the oil so that the honey falls off easier)
- Stir everything together to combine. I spayed some extra coconut oil to add a little bit more moisture, and make this stage a little easier.
- Once [mostly] combined, spread out on a baking tray in an even layer. You might have to use a a few baking sheets.
- Place in the oven for 25-30 minutes, stirring from time to time to prevent burning.
- Allow to cool, then break up and transfer to an airtight jar, or container.
Please feel free to share this recipe by using the social buttons to the right, or bottom of this post, and don’t forget that you can subscribe to The Purple Pumpkin Blog by email, on Feedly or by RSS so you don’t miss out!