Make a Father’s Day Gift Basket using Vinyl on the Cricut Explore
Home » CREATE » Crafts » Cricut Crafts »I’ve mentioned many times on my blog that I find the men in my life notoriously tricky to buy for, none are really into sports, or have hobbies…so that leaves the same old boring socks or ties >_< One thing I do like to do – regardless of who the gift is for – is to make up gift baskets containing goodies that I think the receiver would find useful/helpful/edible :P I know that by doing this myself and picking things out individually that I can save on ready-made gift sets, which are ludicrously priced in my opinion.
I was out shopping the other week and I saw a really lovely container which had some lettering on it – it was a ridiculous price for what it was – an empty container with lettering – at £10!! Insane! So I decided I would put my trusty Cricut Explore to good use and create vinyl lettering which I then used to decorate a gift basket that I bought from a pound shop.
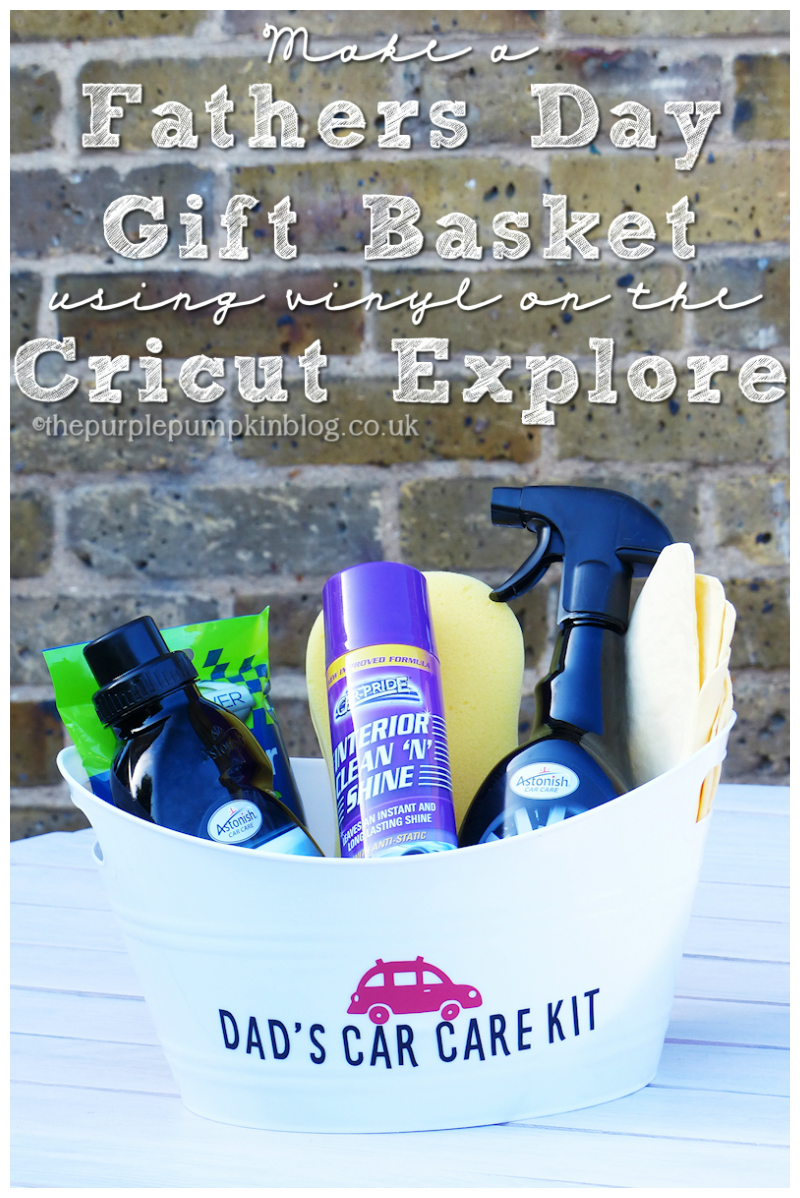
I decided to make Dad’s Car Care Kit and I’ve filled this gift basket with car cleaning products. You could make any kind of gift set to suit the person you’re making it for, e.g., golf, fishing, cooking, football, grooming – half the fun is finding the products to go inside the gift basket!
Vinyl is one of the 50 materials that you can cut on the Cricut Explore, and it is such a versatile material to decorate with! I’ve seen it used on tablet and phone cases, wallets, bottles, mugs, chopping boards – all sorts! As I said earlier, I bought a [plastic] basket and it was the perfect size and surface to create Dad’s Car Care Kit.
I have made several little videos to demonstrate how easy it is to use vinyl, however, the video is in 6 parts…I was going to splice it all together, but my movie making software didn’t like the files that my camera produced, so instead of stressing about it, I uploaded them as is. I’m sure with time, like everything I learn to do, it’ll improve! I believe you do get the full gist of what is going on in the demonstration! I have also got screencaps and photos to explain it all as well!
This photo below shows the vinyl cut with the Cricut Explore now stuck to the basket. I have kept my first vinyl project very simple, using lettering and a graphic of a car that is available in the Cricut Design Space. I used black and red vinyl, which Cricut sells on rolls, and to fix the vinyl onto the basket, I used Cricut’s transfer tape which makes life a lot easier than doing each piece individually by hand!

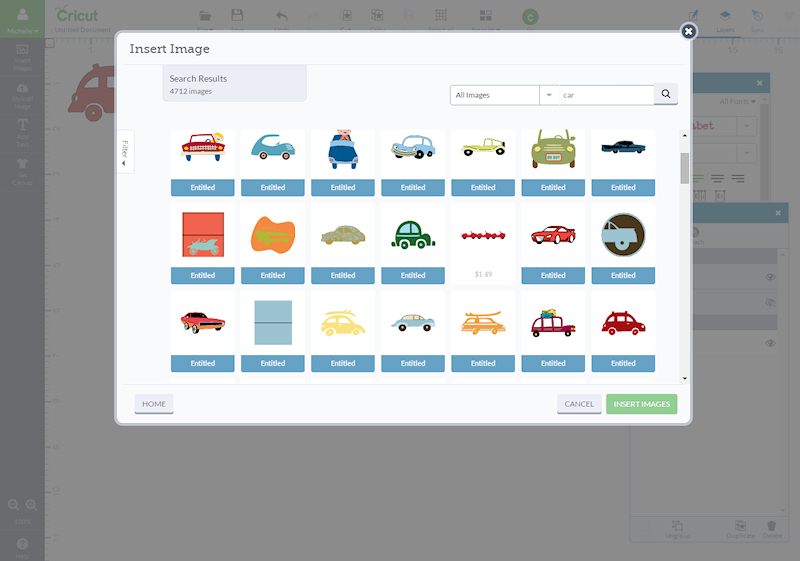
Let me start with the designing of the lettering and car graphic. I first searched for ‘car’ which brought up lots of different designs for me to choose from – I chose a basic shape in one colour.
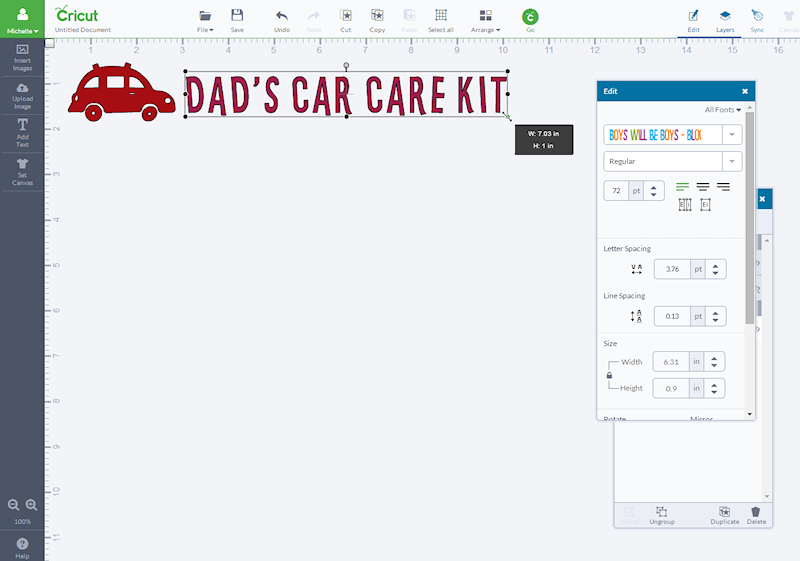
That then appears in the Cricut Design Space, where I could now add text I wanted to cut. I picked a font – there are lots pre-loaded, but you can also use any of the fonts that you have on your computer! I also changed the colour so I knew which colour to load into the Cricut Explore.


With my vinyl text and graphic design, err, designed, it was equipment gathering time!
- Cricut Explore
- transfer tape
- black vinyl
- red vinyl
- Cricut mat – standard
- Cricut Paper trimmer
- scissors
- weeder tool (I called it a picker in the video!)
- white plastic basket


Agata Pokutycka
June 11, 2014 @ 9:05 pm
Oh yes, we could do with one of those… I really start liking this cricut explore gadget more and more
Nayna Kanabar
June 11, 2014 @ 8:02 pm
This sounds like such a perfect idea for a fathers day present.
Jen Walshaw
June 11, 2014 @ 1:33 pm
Pinned it is amazing and something my FIL would love
Michelle Ordever
June 11, 2014 @ 1:35 pm
So bloomin’ simple to make too! Even if you don’t have a Cricut – you could cut vinyl out by hand (God knows I’ve done that before!!)
Zena's Suitcase
June 11, 2014 @ 12:13 pm
Wow, that looks easy. I think even I could make it! Some Dads are so hard to buy for!
You Baby Me Mummy
June 11, 2014 @ 11:46 am
Fab tutorial hun. I have done a hamper and really enjoyed finding the bits to go in it x