Design a T-Shirt for Halloween using the Cricut Explore #CraftyOctober
Home » CREATE » Crafts »Welcome to Day 9 of Crafty October 2014 (check out 2013 and 2012 here) – a month of Halloween Ideas here on The Purple Pumpkin Blog!
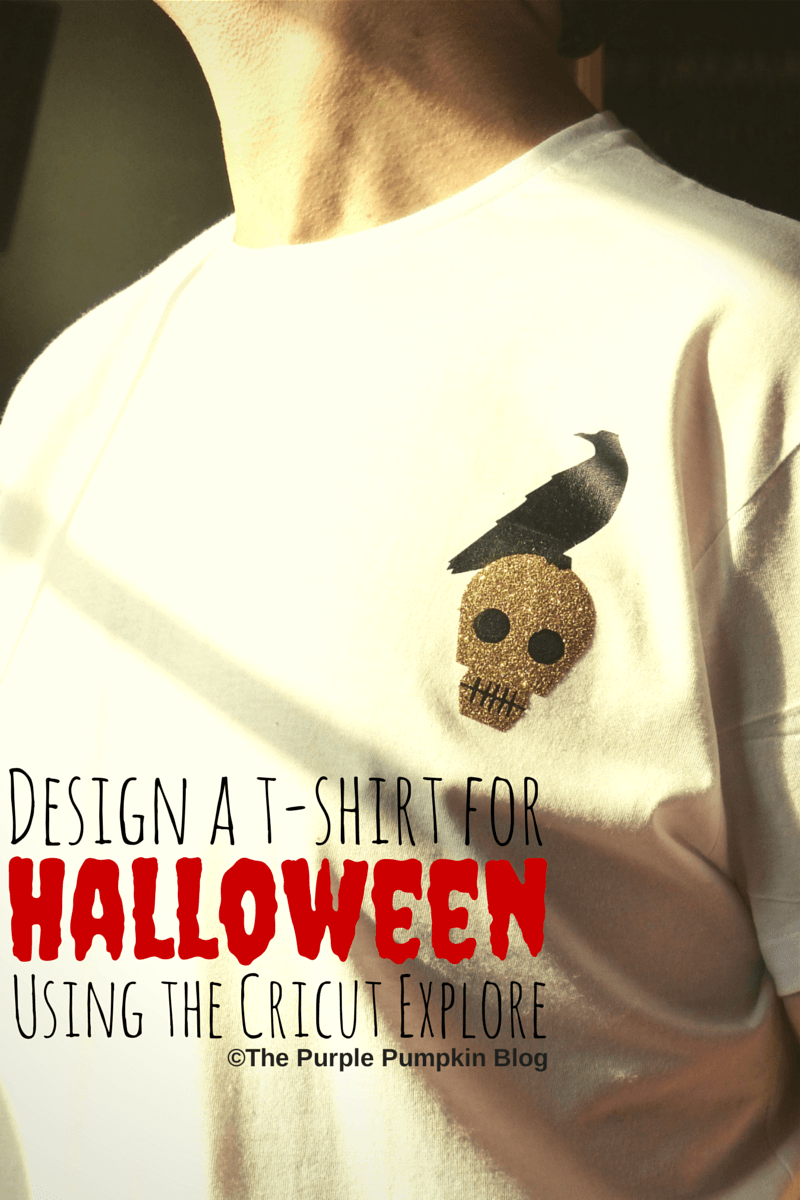

It’s time to put my Cricut Explore to use for Halloween, and I’ve been designing and decorating t-shirts for my boys (hubs and son), using a product called iron-on. Iron-on is a decorative heat transfer film that you can use to customise clothes and even home decor items like cushions. You can use one colour or layer multiple colours.
I created two t-shirts – one with a large design across the chest in black glitter iron-on, and the other was a smaller design using two colours – regular black and gold glitter.
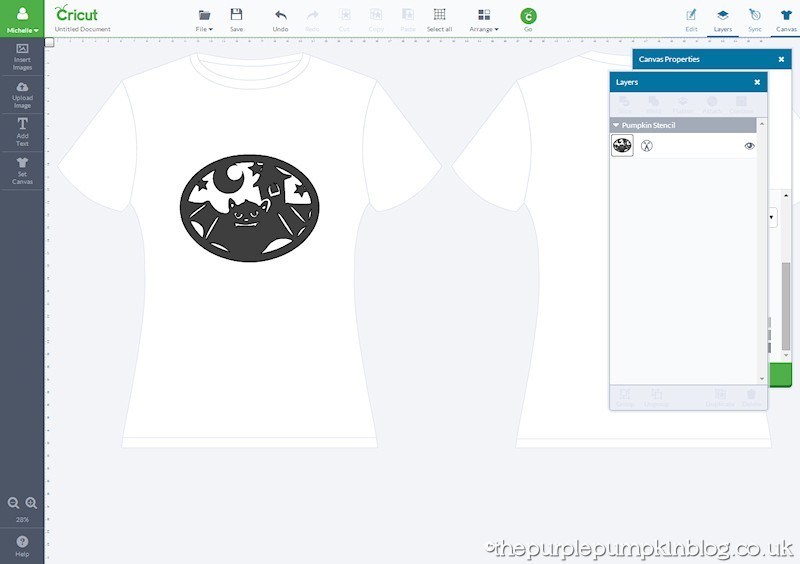
Both were easy to make, using designs in the Cricut Design Space. I tackled the single colour t-shirt first using a bat design, which can also be used as a pumpkin template. In my head I had “Batman” and so it totally fit!

When you use iron-on you must be sure to place it the correct way on the mat – this is the film side down which is the shiny surface. Don’t do what I did the very first time I tried to cut iron-on and that is doing it on the wrong side – what a waste!
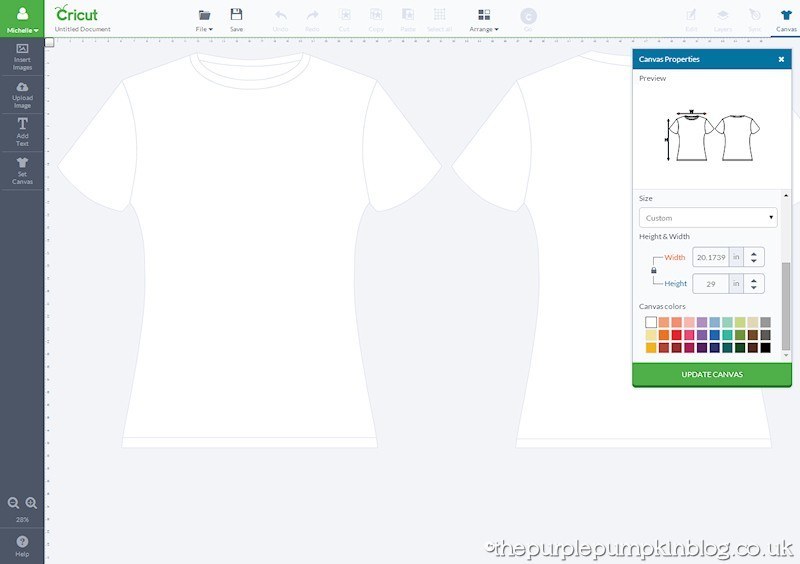
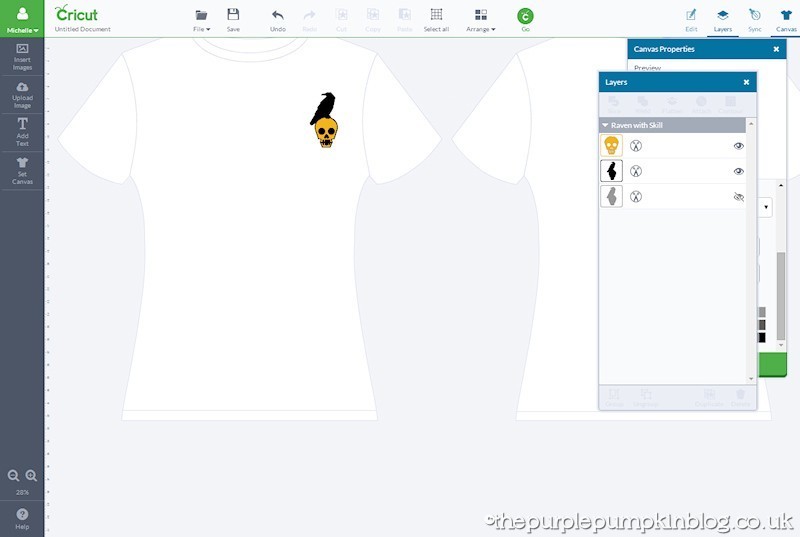
When you are designing for placement on something like a t-shirt, the Cricut Design Space has a set canvas button where you can choose the item you are embellishing. From t-shirts to skirts to skateboards to umbrellas! This is really handy because you can gauge on the screen what your finish article should look like.
I picked a classic t-shirt (there are others like polo t-shirt and v-neck) and I was able put a custom size in to make sure I got the height and width of the design just right.
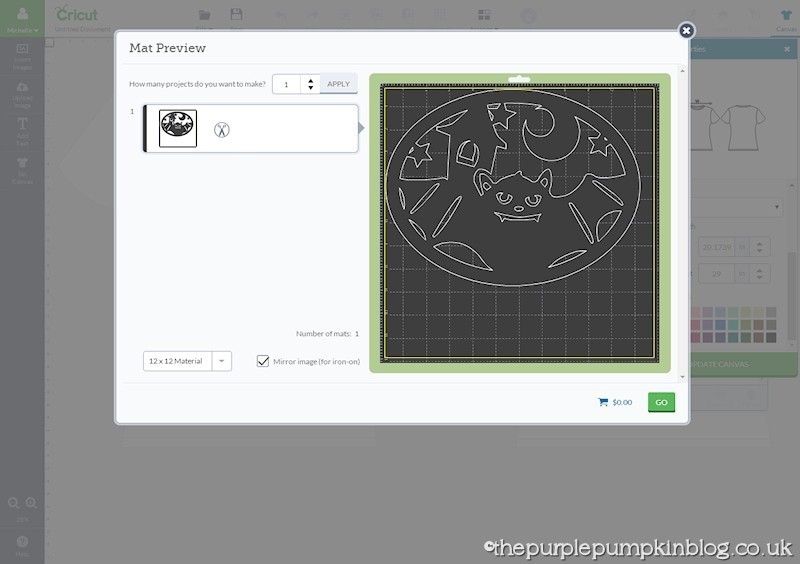
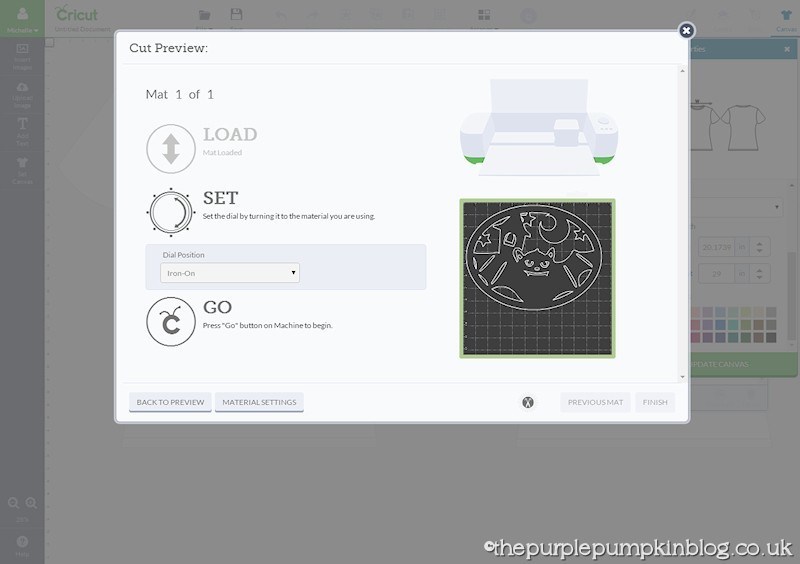
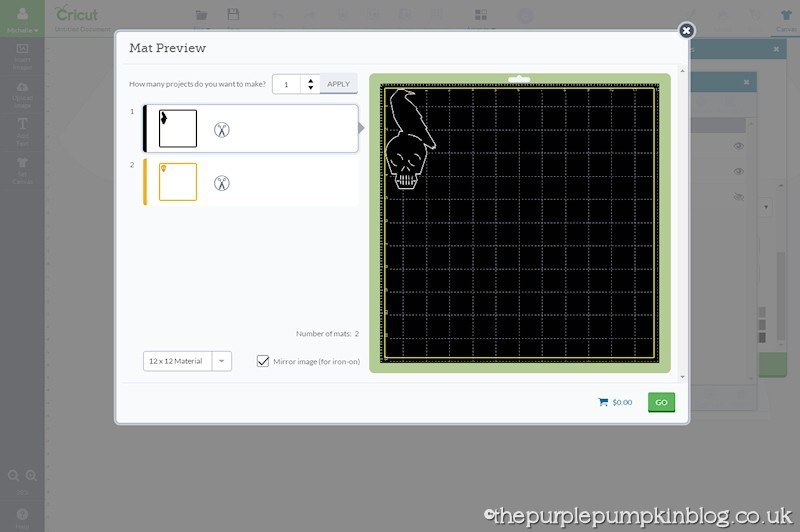
Once I was happy with it, I sent it through to the Cricut Explore to cut, but first, I had to ensure that I had the Mirror image (for iron-on) checked, so that the design would be the correct way round once transferred. Using the very handy dial on the machine, I turned it to iron-on to make sure the right cut is made.
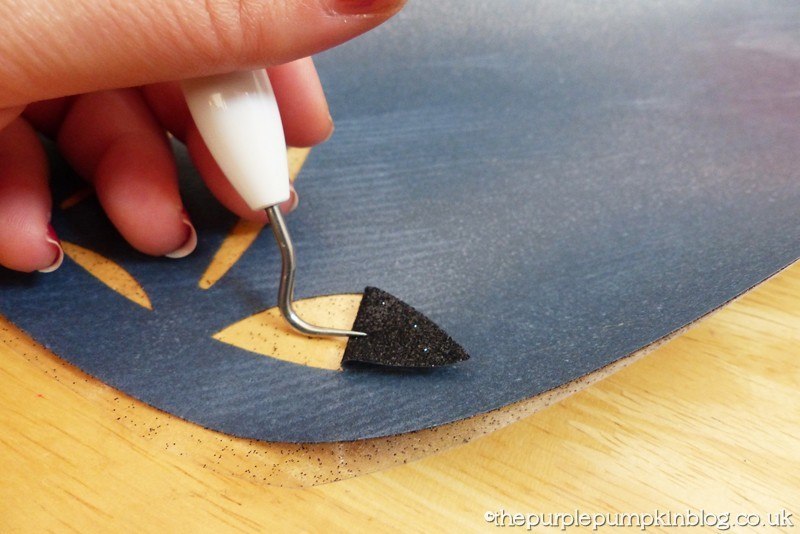
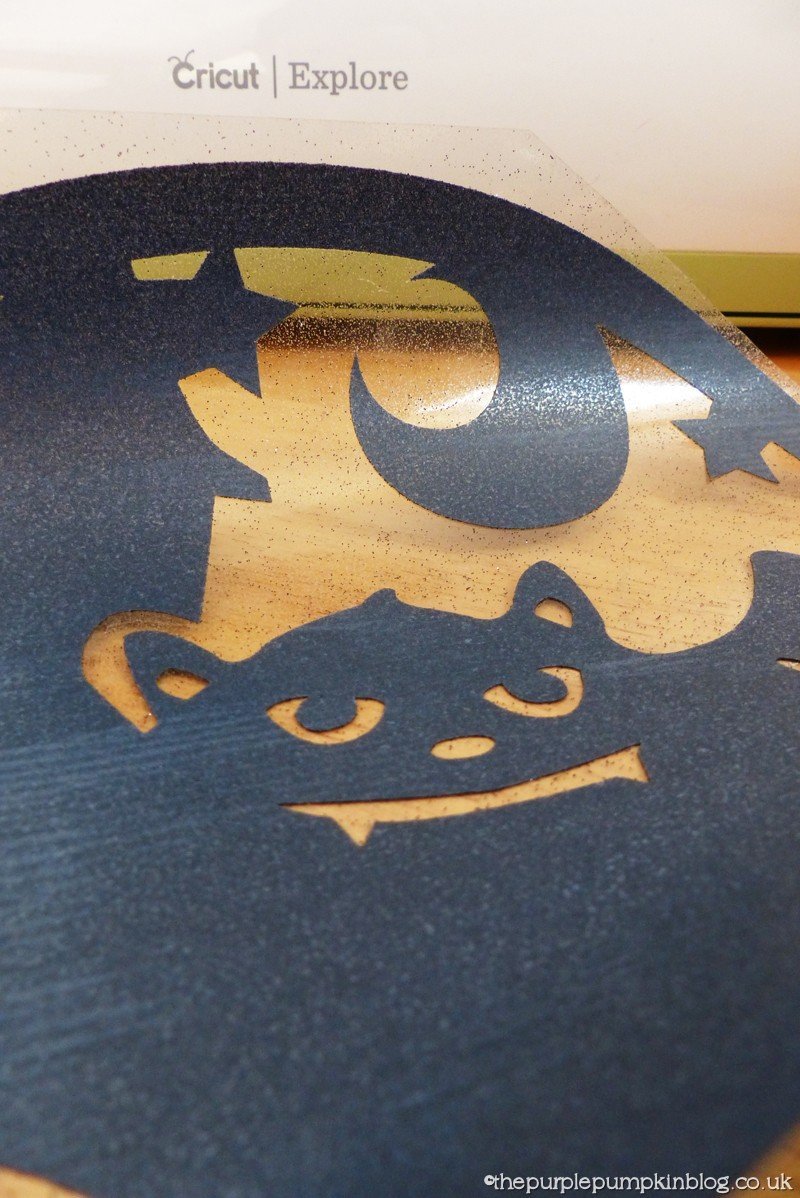
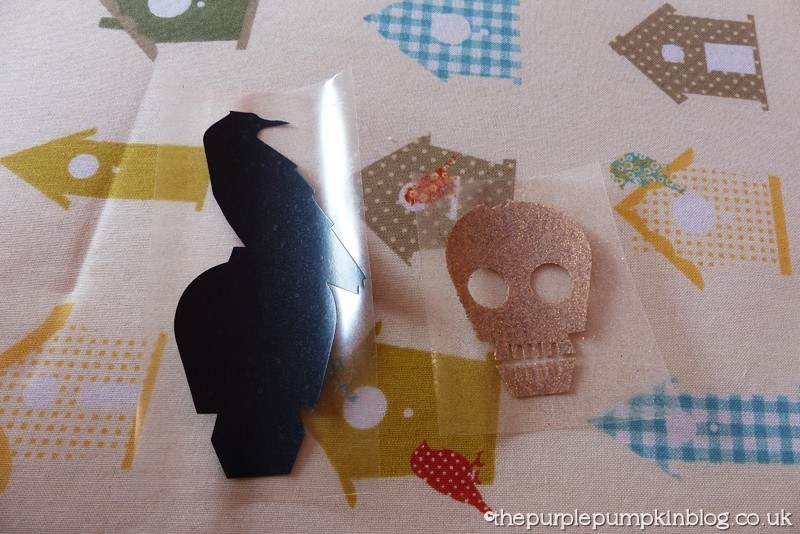
The next step is removing all the “negative space” these are the bits you don’t want to transfer, and using the picker tool, I carefully stripped these parts away leaving me with the image below. I cut away the excess iron-on first – can use those bits for other little embellishments some other time!
Instructions are included with the roll of iron, but in short, you first run a hot iron over the area you are transferring to for about 30 seconds (do not use a steam setting), and then place your design down. You then iron over the top of this for another 20 or so seconds (one tip I learned when I went to the launch of the Cricut Explore was to put greaseproof paper over the top to protect it a bit more.

Next, you flip the garment over and iron on the back for another 20 seconds, before allowing to cool and peeling back the plastic film, revealing your design, now successfully transferred!

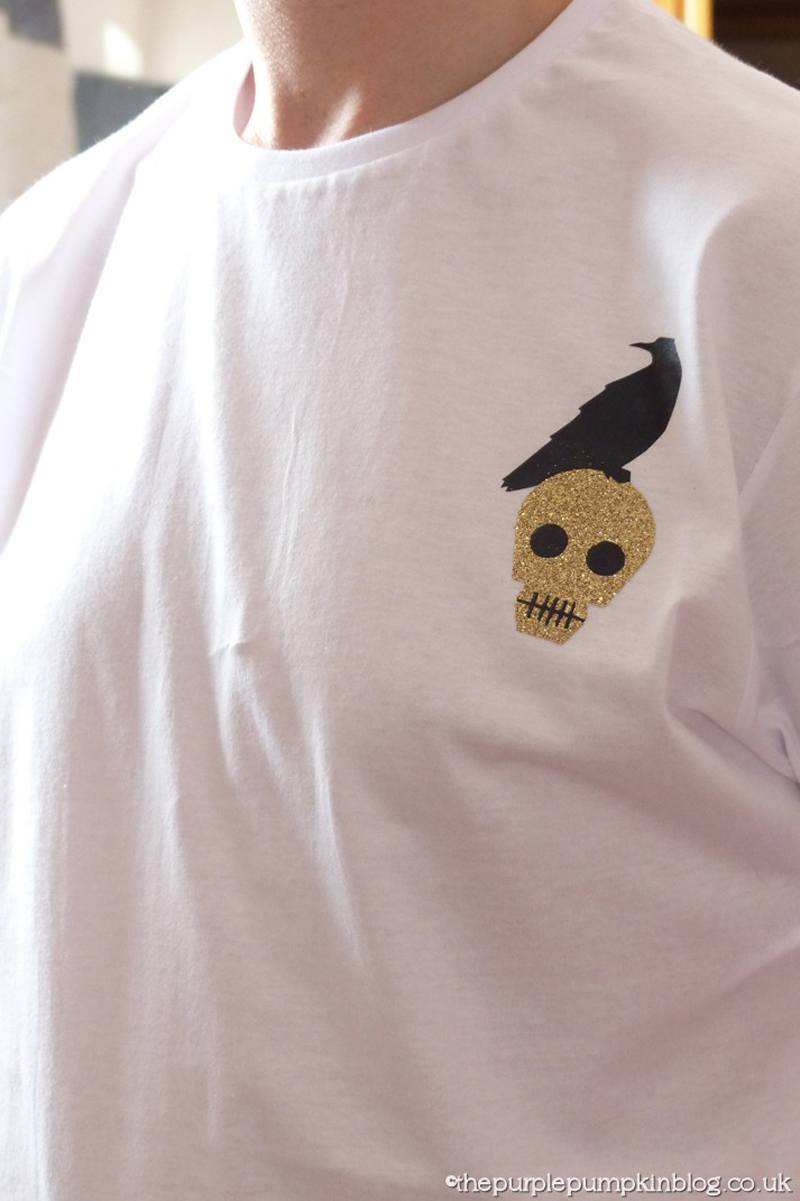
For the second t-shirt I went with a skull and raven design in two colours; again, available in the Cricut Design Space.
Once happy with the size, I cut some iron-on to size, as this was a lot smaller, and I didn’t feel the need to cover the whole mat as I had before. I actually place the different colours on the same mat and just moved the raven and skull to the points at where the iron-on was placed. But if you’re not confident with doing this sort of thing, just do one colour at a time.
This design was a little bit more fiddly to pick out – especially on the gold skull – but I got there in the end!
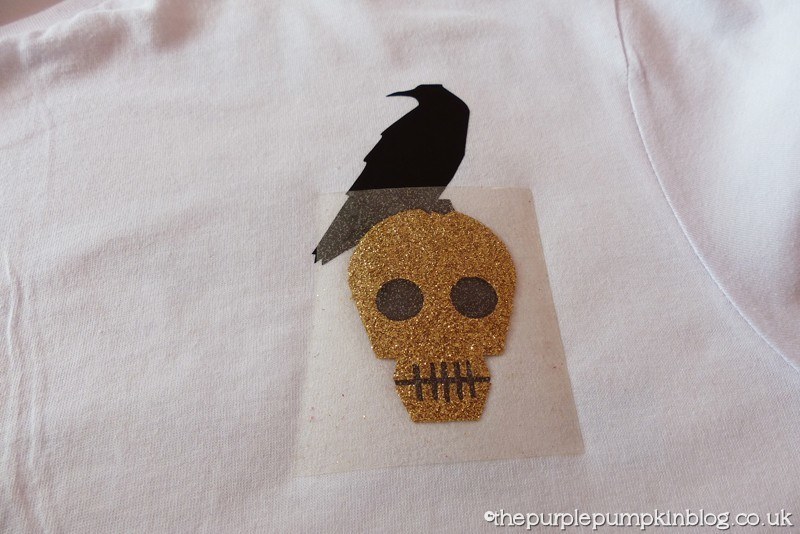
Following the same process as before of heating the area first, I applied the black raven and skull’s background first, and then peeled back the film. I carefully positioned the second layer on top; with hindsight I should have cut away some more of the film around the skull as excess glitter did transfer to the black of the raven – but I’ll know for next time!
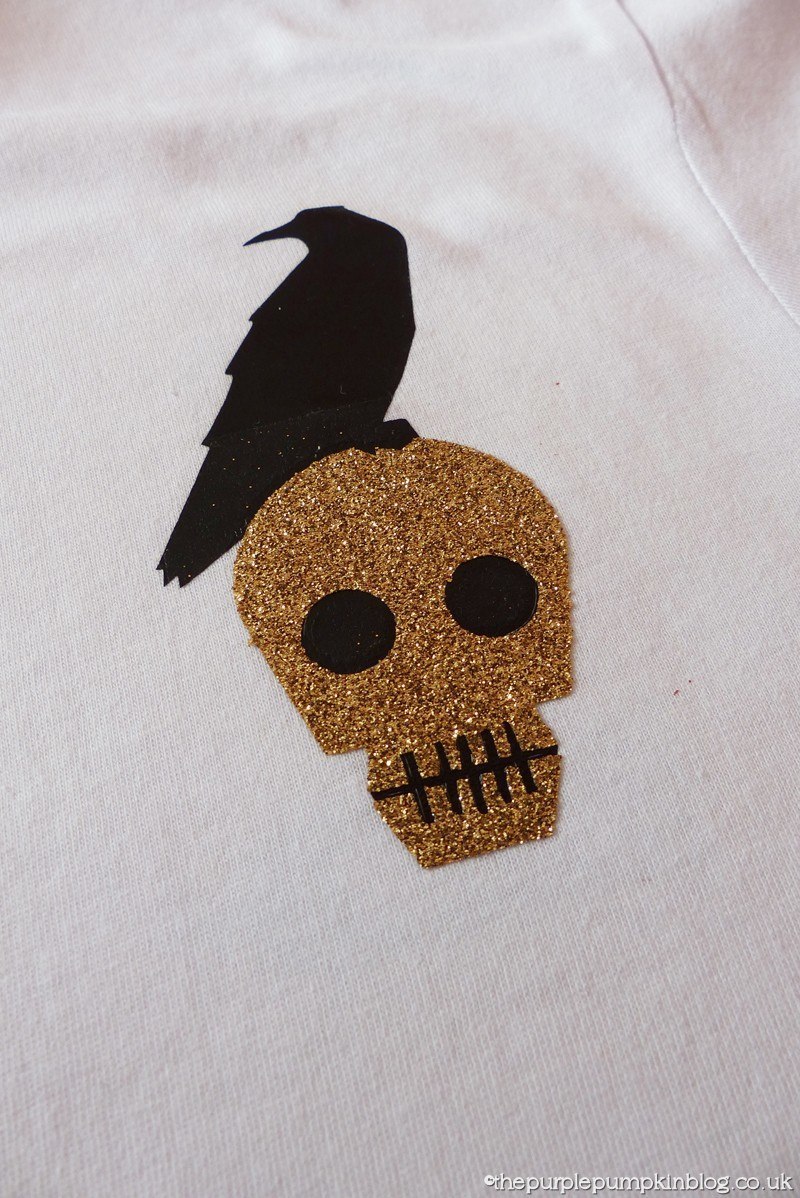
And there we have it – two Halloween t-shirts using the Cricut Explore and iron-on! Easy and fun to make, and whilst I didn’t time myself, it probably took less than half an hour to do. Think of all the possibilities there are for customising your own clothes!
The Cricut Explore is available in the UK and you can buy it online now!
The Only Limit Is Your Imagination!
Check out more of my Cricut Explore Projects!
As well as sharing my ideas each day for my favourite time of the year, I’m also holding a #CraftyOctober Link Party for bloggers to share their Halloween posts. If you’re a blogger, then do check out the party – I can’t wait to see your posts!
