How To Build A Tiki Bar Using Old Pallets + Hawaiian Party Decorations
Home » CELEBRATE » Party Planning »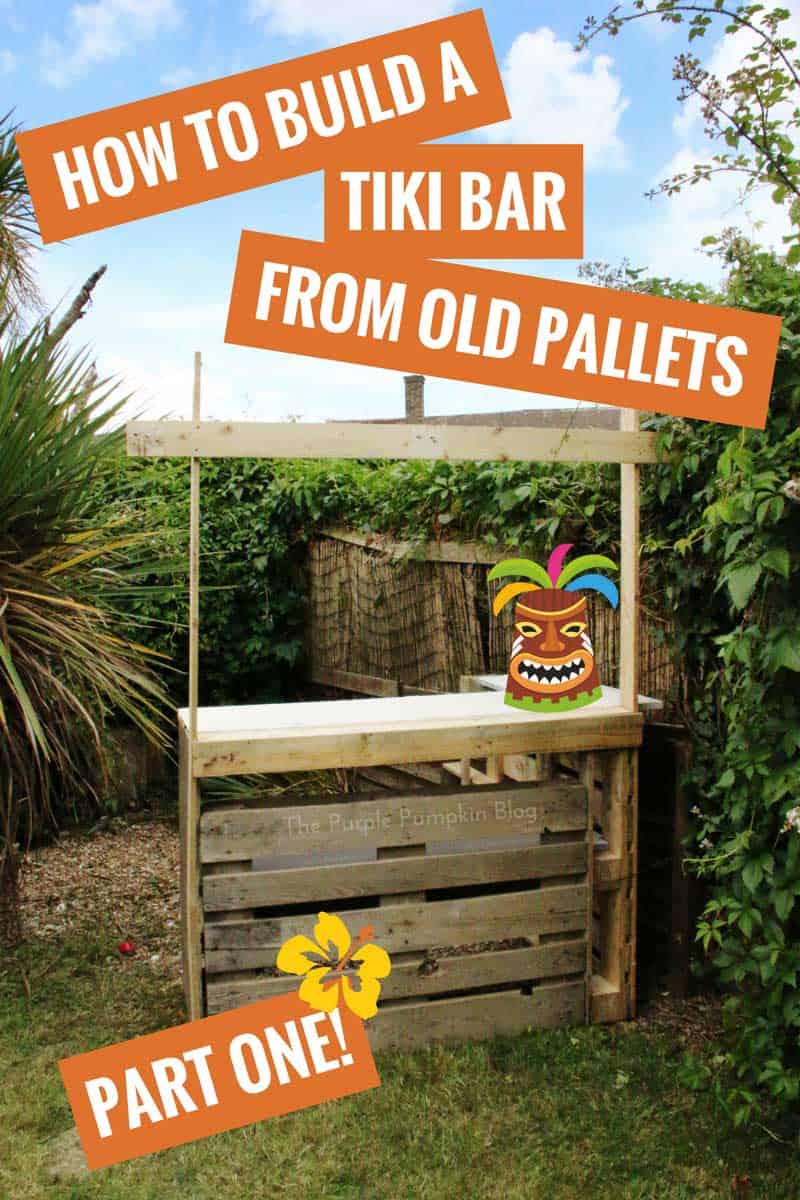
If you are a regular reader of my blog, you’ll know that I turn 40 this year… you’ll also know we’re headed to my favourite place in the world – Walt Disney World – to celebrate! Because we are away for my actual birthday, I wanted to throw a party for my family and friends, so we can all celebrate together. That party is this weekend… aaaagh… panic mode!
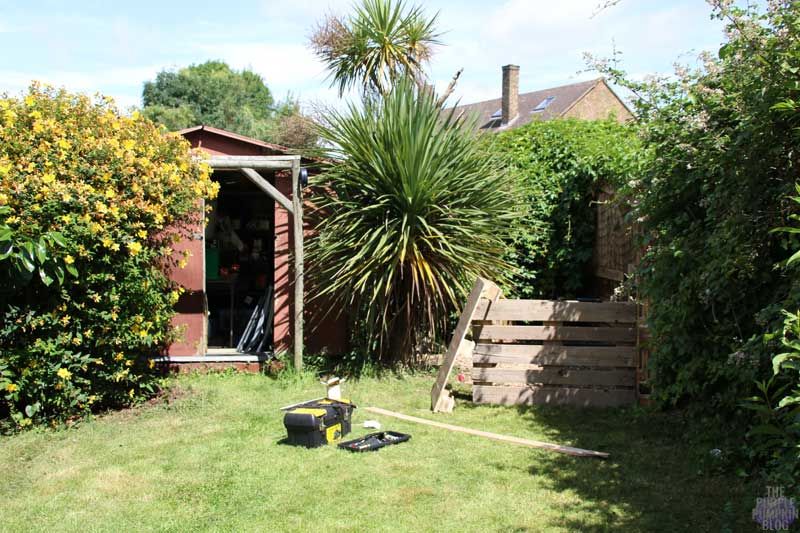
I used to be such a super organised party planner, but my skills have lapsed over the past year or so, and I’m only now thinking about how to decorate the garden, which is where I plan on hosting this party of mine. I do hope that the weather stay warm and dry, because it’s going to be a struggle to cram everyone in the house if it isn’t! But I’m staying optimistic, the weather forecast is good, so I hope it stays that way!
How To Build A Tiki Bar
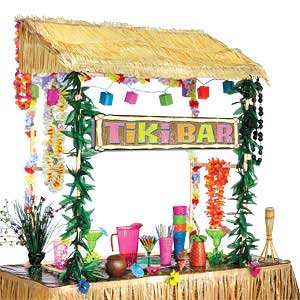 It all started after I saw this tiki bar hut (image left) on the Party Delights website. I showed it to Steve, and he said that he’d already thought about making one as we had some pallets and an old door that he could use to construct it. This old wood was waiting to be taken to the rubbish dump, but turned out to be very handy in this project!
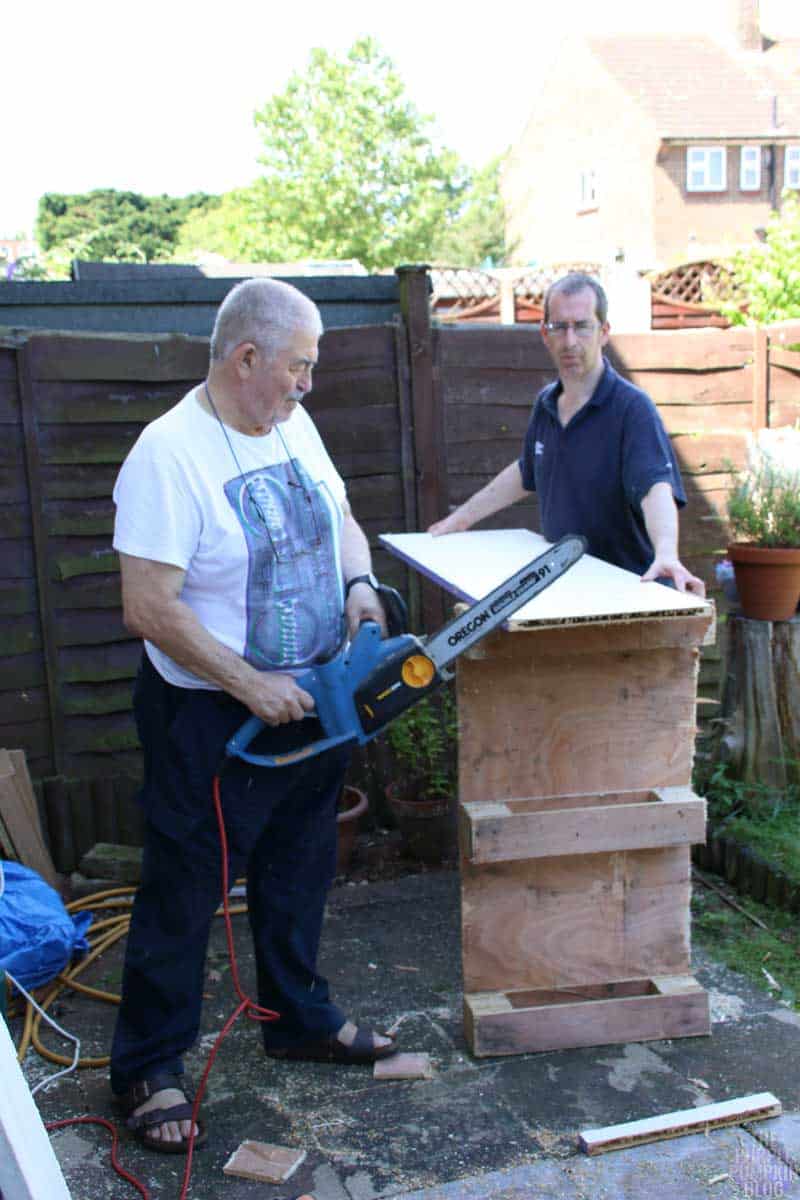
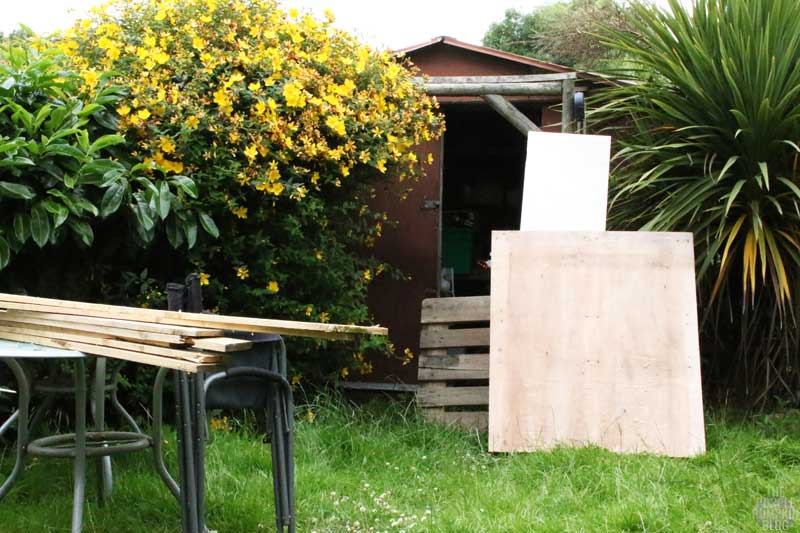
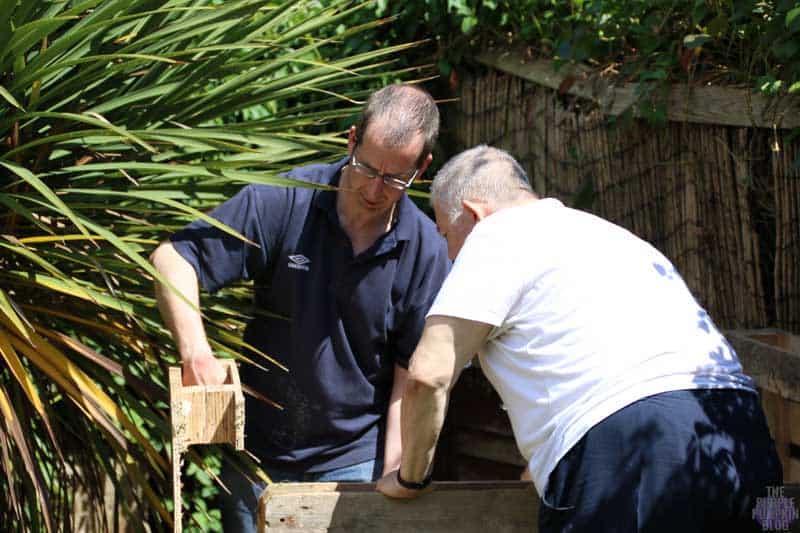
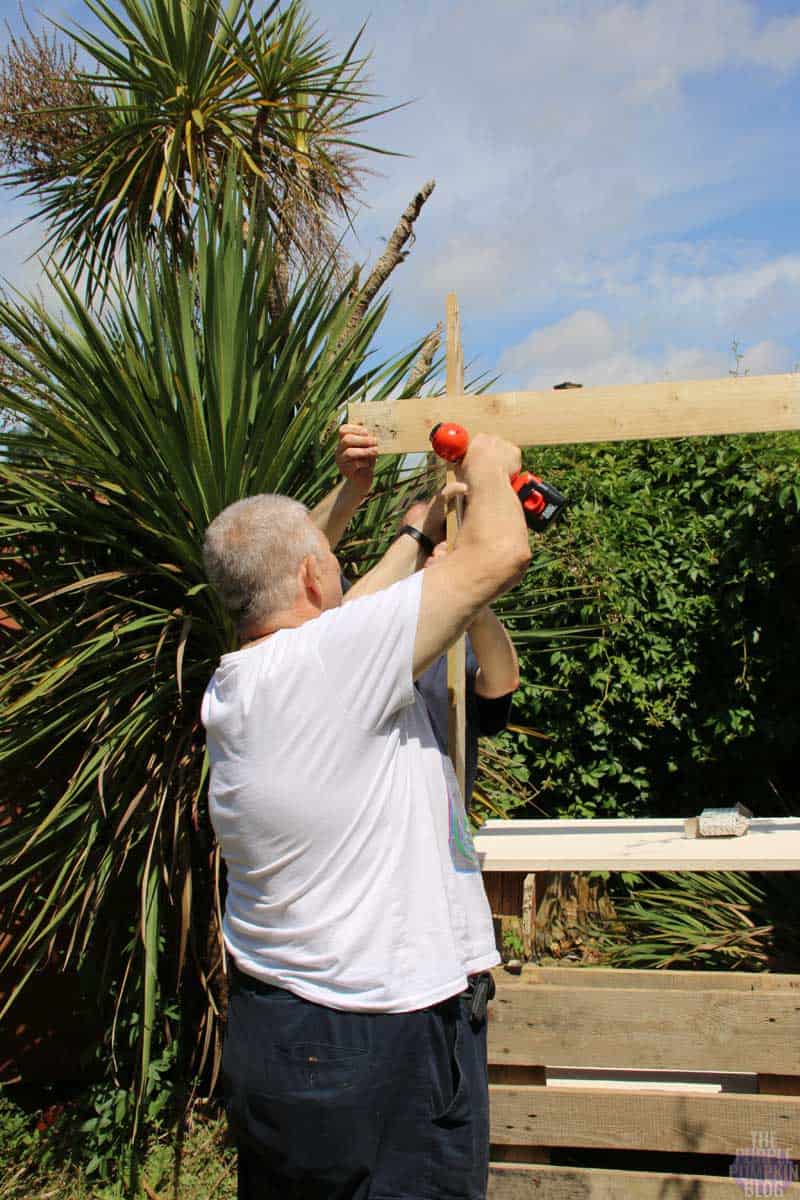
I called upon my Dad to lend a hand, as he is the sort of man who can construct anything out of palettes! Over the course of several hours on the weekend, Steve and Dad had the basic bar structure built.
Essentially the bar is just a pallet at the front, halved pallets at the sides, and then the old doors made the counter and shelves. Some old planks of wood made the struts at the front, and secured with another one across. All screwed together, and then sanded down. You can paint it if you like, but as I’ll be decorating pretty much the whole thing, we haven’t done that.
Right now, it’s not much to look at because I’ve got to decorate it yet. I don’t want to take my chances with the British weather and set everything up before the weekend, just in case it rains. The fringe I have to go around the base is made of paper, so that will just get soggy, and ruined, and I may as well just decorate the whole thin in one fell swoop. We bought some very cool lights to hang across the front of the bar, and I have ordered the Tiki Bar sign that is shown in this picture. I’ve also got lots of other cool things to decorate with. Let’s hope it all goes to plan on the day, as it has in my mind!
Below are some photos of the construction process! As you can see, there isn’t a roof on the bar – kinda ran out of wood! But I’m okay with that, and actually like it without. Since Dad was a publican for all his working life, he knows how to set up a bar; so he made sure that there were shelves at the back for drinks and glasses to go on, and also added a longer side, for an ice bucket and stuff. I am really looking forward to sharing the finish tiki bar with you – I’ll add that to this post when I have the photos!


» Read Part Two to see how it all turned out!
Now it’s time to show you some of the decorations that I’ve kindly been sent to use for this party.
Of course, I don’t have everything set up yet – you’ll see those photographs after the party! But here is a selection the Hawaiian/tropical themed party decorations from Amscan – available from Party Delights online or in one of their stores (we have a Party Delights in our town centre, and it’s party central! I love it in that shop!) and also from WF Denny who sent me a great range of Hawaiian Luau partyware – suffice to say, everyone is going to be drinking out of coconut cups at my party!

