10 Gift Wrapping Tips
Home » HOLIDAYS » CHRISTMAS »
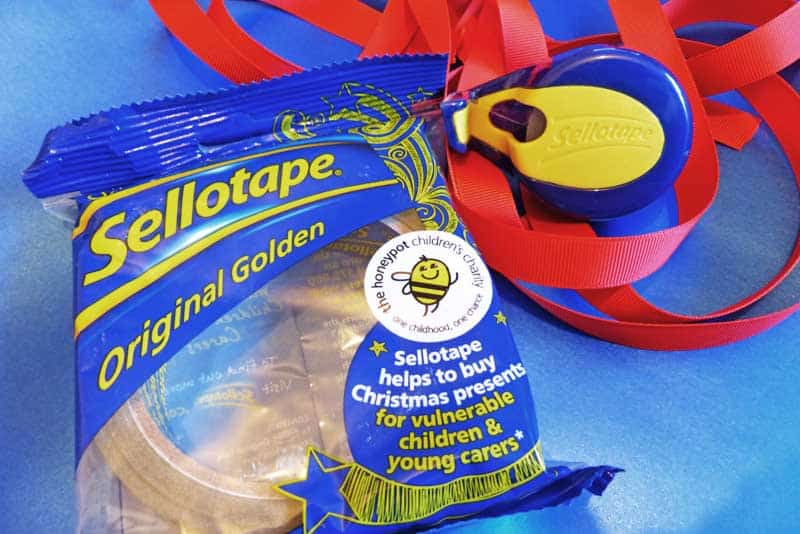
This Christmas Sellotape is donating festive gifts for vulnerable children and young carers at the Honeypot Children’s Charity. An estimated 175,000 young carers in the UK have to look after parents, grandparents, and siblings, and in such difficult circumstances, being carefree isn’t easy.Since 1996 Honeypot has been working to enhance the lives of vulnerable children and young carers, aged 5 – 12 years old. They are the only charity in the UK to provide respite breaks and on-going outreach support throughout a child’s formative years.
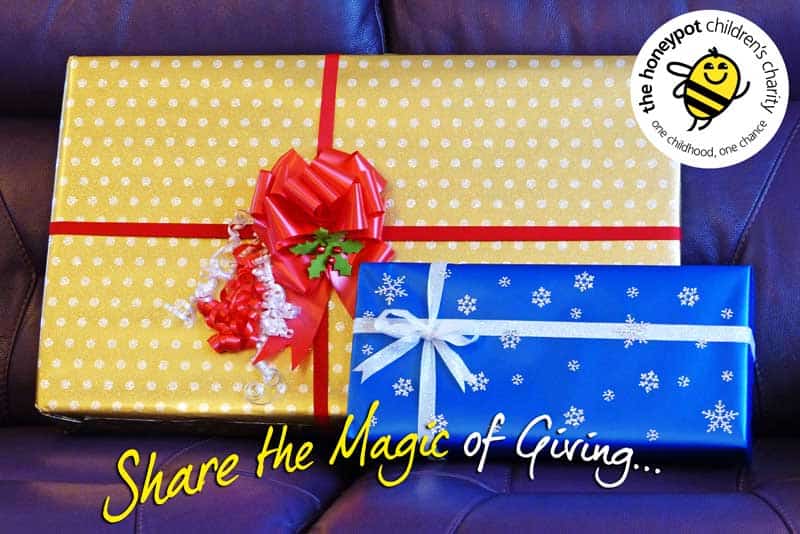
Christmas should be a magical time of year for all children, regardless of the circumstances they face at home. It’s also the season of goodwill to all, so, I’m delighted to be collaborating with Sellotape, wrapping up Christmas presents to share the magic of giving, for those children who give so much.
I’m quite a traditionalist when it comes to gift wrapping – I love sparkles, bows, and ribbons. Simple, yet oh so festive, and perfect for Sellotape’s donated gifts. I thought I’d give you my gift wrapping tips, for those of you who do not relish the job of wrapping up presents. I know you are out there – I have them in my family, which is why I often end up becoming the gift wrapper-upper!
Gift Wrapping Tips
- Buy good quality wrapping paper – the thin, cheap stuff often tears easily. A good time to buy Christmas wrapping paper is in the post-Christmas sales, when they’re all marked down in price.
- Invest in a good pair of scissors – a long pair of scissors makes cutting a sheet or roll of gift wrap a lot easier. Keep them just for cutting wrapping paper only. Decorative edge scissors are also a great tool in your gift wrapping stash, I use them to make my own gift tags from old Christmas cards.
- Cut paper to the correct size – you may know the saying “measure twice, cut once”, this makes sure you don’t waste your materials. It also means that you get nice clean folds and edges when wrapping up your gifts, if you don’t have swathes of excess paper.
- Put awkward shaped presents in a box – boxes are easy to wrap, it’s as simple as that! So anything awkwardly shaped, find a box to pop it in. I’ve been known to cut down boxes to fit.
- Use a Sellotape dispenser – I love using the On-Hand dispenser from Sellotape for wrapping gifts. It clips onto your fingers, leaving both your hands free for folding wrapping paper. A good sturdy desk dispenser is vital for large rolls of tape, so that you can easily pull off and cut the amount of tape you need with one hand. If you want to hide all evidence of using tape, you could use double sided tape. Apply carefully to the edge of the paper – cut it down into sections to make application easier – then peel off the backing to stick the paper in place.
- Decorative tape & stickers – they add that little something extra to plain wrapping paper. For me, the more sparkly, the better!
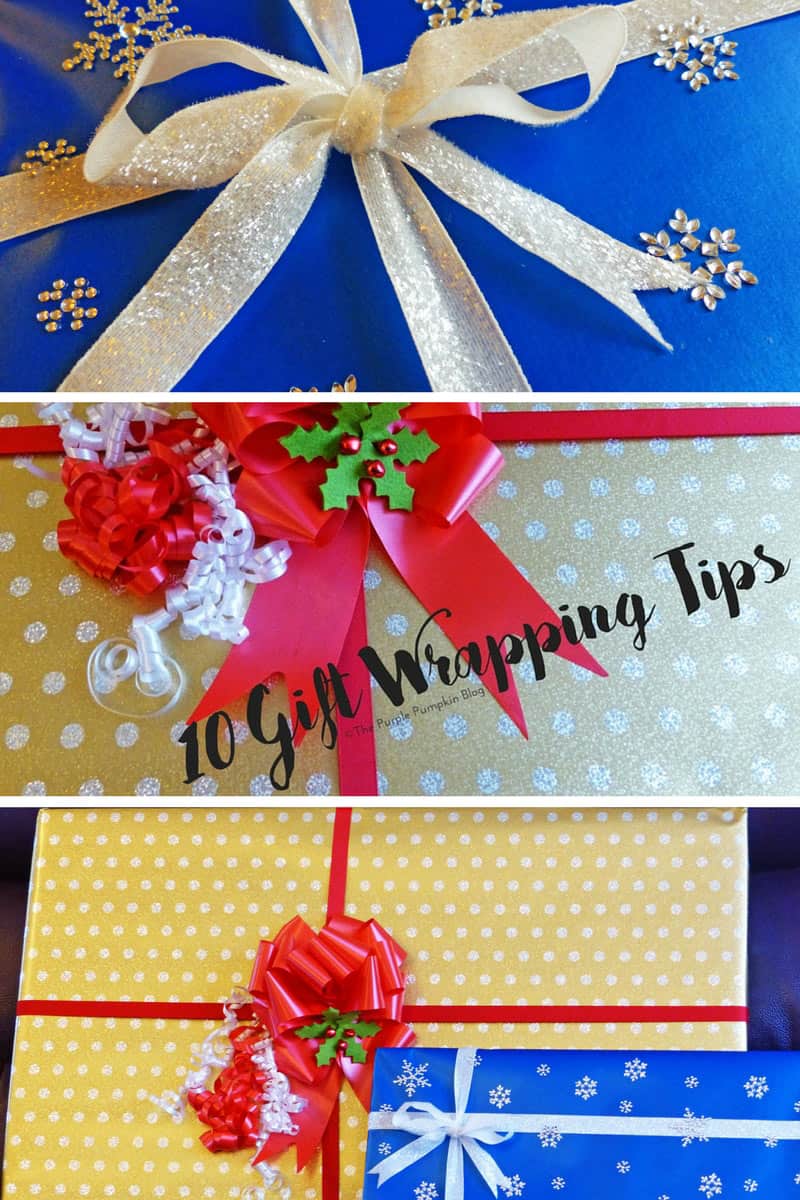
- ALL the ribbons – there are so many different kinds of ribbon – satin, fabric, sparkly, thin, thick, edge, double sided, velvet… all in different colours and widths too. Craft shops often have bargain bins filled with spools of ribbon – I stock up when I can. Mix and match them when adding to your wrapped gifts. I used a thin red fabric ribbon, alongside a thick satin ribbon bow to wrap one of the gifts. I then added lots of thin satin ribbon, which I curled using scissors. I’m sure everyone knows the trick for doing that, but if you don’t, you simply, hold the ribbon against the blunt side of the scissors with your thumb, and pull through to create the curls. You can experiment with different widths and lengths for different effects. And it’s not just ribbon you can use to tie presents with – fabric, string, organza, raffia – they’re all good too!
- Tying gifts with ribbon – When tying ribbon around a gift, you can either use one long piece of ribbon, and wrap it around in one go; or use two, and secure with tape at the back. If you use one piece of ribbon, you start on the front of the gift, flipping it over to cross the ribbon over, before flipping back to tie in place. It’s handy to have someone help you to press down on the point where you make a knot, so that there isn’t too much slack. Don’t always aim for the middle, going off centre changes things up a bit.
- Tying ribbon bows takes practice – I still can’t always get it right – figuring out which way to pull the loop through, to get that perfect bow. If I’m tying a shoelace, I create the right loop first, then wrap around the front to pull the other loop through. When tying a bow onto presents, I have to do it the other way around, making a left loop, and bringing the other ribbon in from the back, so that the finished bow lies correctly, with the loose ends towards the back. It’s difficult to explain, and so, my tip is to practice, practice, practice! To create the forked ends of the ribbon, fold in half lengthways, and snip at a 45° angle, from the outside edges to the folded edge. If you do it the other way, you’ll get a point.
- Make your own bows, gift wrap and tags – if you’re the kind of person who likes things to match, why not make your own paper bows? They’re actually easier to make than you think. A tutorial I wrote a few years ago can be found here. You can make your own wrapping paper by using old fashioned brown parcel paper, and stamping a design on, painting or drawing something by hand, or just using glitter glue or stickers. It’s a good one for kids to get involved with! I created my own printable sheets of wrapping paper last year, which you can find here. You can make gift tags very easily, using old Christmas cards, decorative edged scissors, a hole punch, and some ribbon or string. Or you could print off one my cute Christmas gift tag set here.
I hope that you’ve found my gift wrapping tips helpful, and I hope that the gifts I wrapped, bring a smile to the faces of two of the very special Honeypot children on Christmas morning.
Create Christmas is a month long series on The Purple Pumpkin Blog where I share my ideas for Christmas and Winter. It could be a recipe, craft, printable, gift guide, fashion, or something else entirely! I’m struggling with my mental health at the moment, and I know I’m not going to be able to commit to this every single day – but I’ll give it a good try! Find all posts for Create Christmas 2015 here. And check out previous years here: Create Christmas 2014 | Create Christmas 2013 | Create Christmas 2012


Angel Eden Blog
December 11, 2015 @ 12:26 pm
Your wrapping looks fabulous!! I’m a bit rubbish when it comes to wrapping, thankfully dh is much more proficient :)
Kara
December 11, 2015 @ 6:59 am
Am I allowed to admit that I hate wrapping presents with a passion? Need to get started though
Jess @ Catch A Single Thought
December 10, 2015 @ 12:00 pm
Fab tips; I have to admit that I always leave the wrapping to my husband as he is so much better at it than I am but I shall be pointing him in the direction of this post :)
Globalmouse
December 10, 2015 @ 9:32 am
Great tips and I so agree about the wrapping paper – always best to invest in higher quality as it doesn’t tear. The bows look beautiful, maybe this year I’ll give them a try as they look so good!
Nell@PigeonPairandMe
December 9, 2015 @ 8:45 pm
really helpful tips, especially about the bow tying. I have a bit more time this year, so I might try to make my presents look nice, rather than thrown together!
Erica Price
December 9, 2015 @ 2:30 pm
I need all the hints and tips I can get for wrapping – I am hopeless at it and I have loads to do as my sister in Australia sends her presents here for wrapping too.
Anne
December 9, 2015 @ 11:18 am
Some great tips there, I love wrapping present. I also love that sellotape are getting involved in the HoneyPot Charity :)
Alice Project: Wanderlust
December 8, 2015 @ 2:08 pm
My new tape dispenser is my very favourite new toy!
Sarah Bailey
December 8, 2015 @ 1:37 pm
Your wrapping is fantastic – I used to love doing bows and special looking bits – my hands don’t let me these days though. x
Jen Walshaw
December 8, 2015 @ 12:48 pm
Oh you do wrap so stylishly. Mine always look like the kids have done them. Off to pin the printable tags
Keri-Anne
December 8, 2015 @ 11:49 am
Your wrapping is so pretty. i need to experiment more with ribbons and bows :) Also, i love those free printable tags!!! I shall be using them this year :)