Simple Make-Up for a Halloween Party
Home » HOLIDAYS » HALLOWEEN »Welcome to Day 24 of Crafty October 2014 (check out 2013 and 2012 here) – a month of Halloween Ideas here on The Purple Pumpkin Blog!
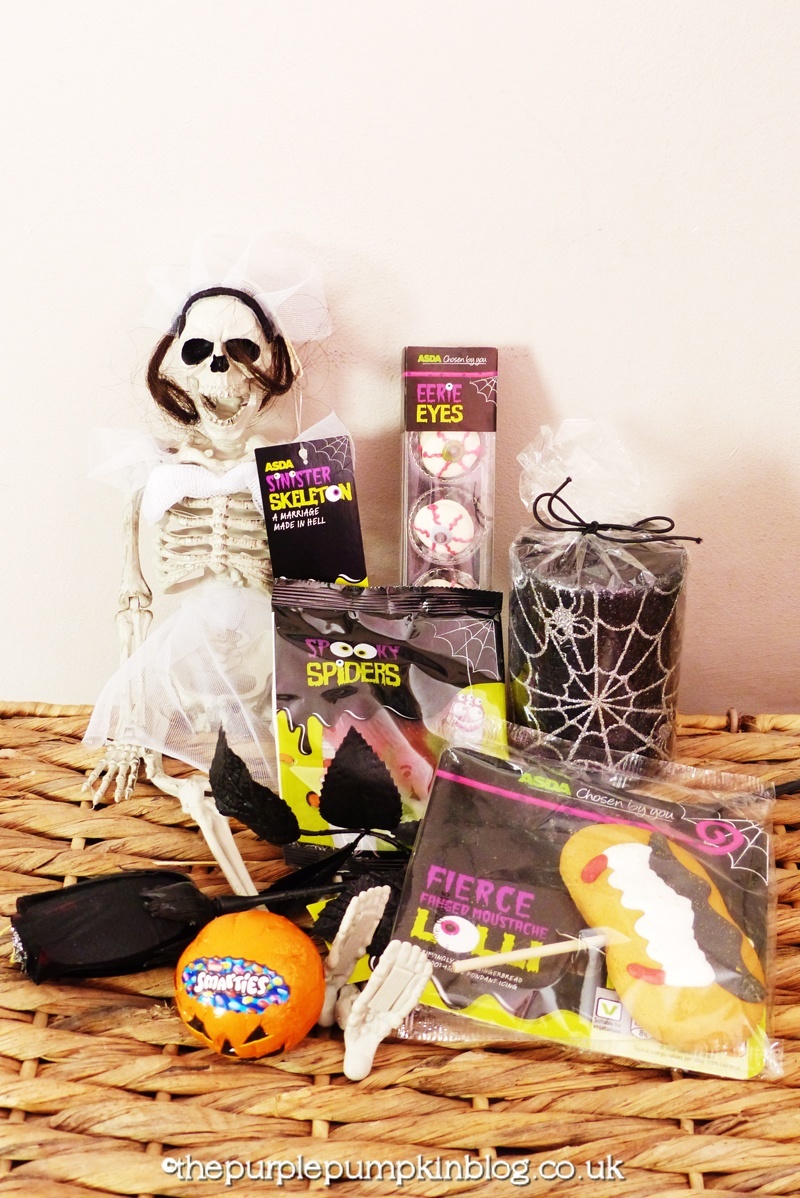
Asda has a fab Halloween range this year, and they kindly sent me over some goodies to use for my Halloween celebrations this year. You’re not going to see some of them in use until I blog about our party, but here is what I was sent – I love the ‘tache and vampire fangs cookie!
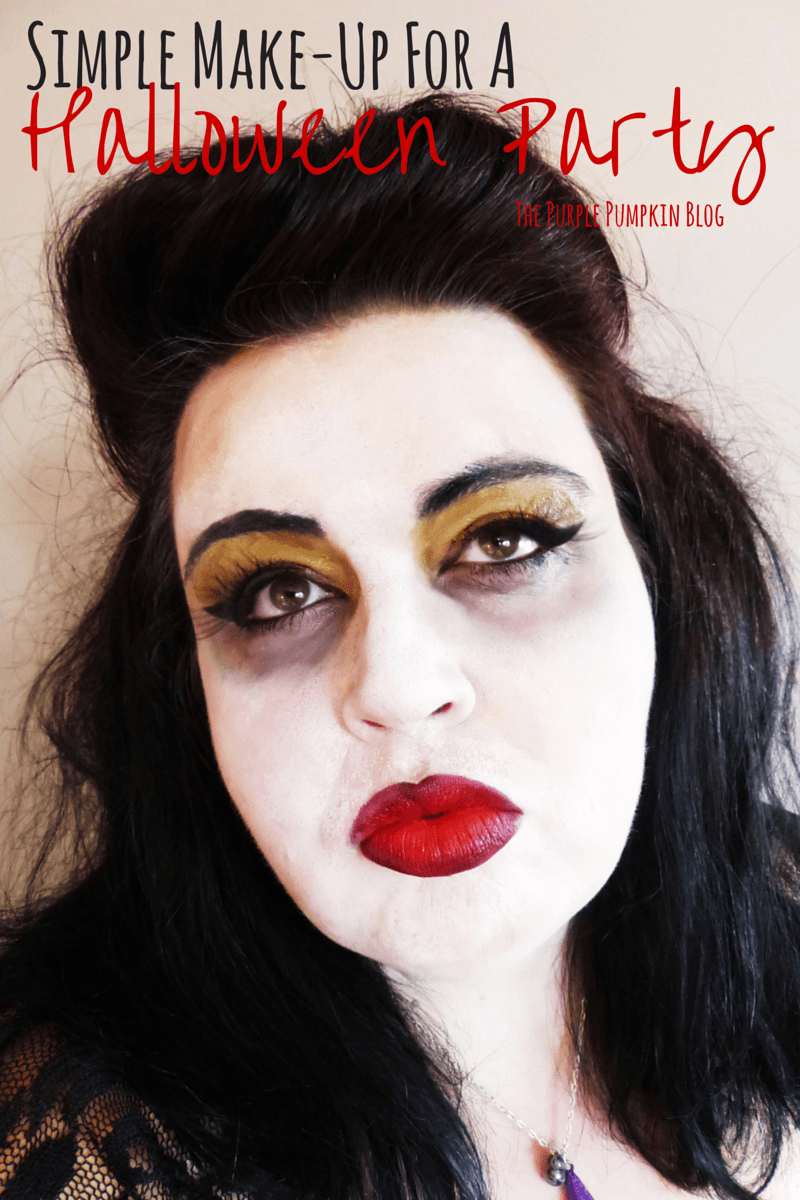
I was also sent a face painting kit – I’ve never really used one before, so I thought I’d give it a go and create a look for me for our Halloween shindig!
As well as using the face paints, I also use a eyeliner pen, false eyelashes and my own red lipstick. I’m not particularly good at applying eyeliner, nor am I particularly good at putting on false lashes – but if I can do it, anyone can!
Here’s how I got my Halloween look…
White Face
When using these face paints you need to make sure that your skin is dry – I’ve got combination skin with some oily areas, so I found it quite tricky to get the white base to stay on properly. But I kept applying until I was happy with my white face! Use a make-up sponge to apply the base. I found it would smear away if I used my fingers. I set it with some Ben Nye Colorless Powder, just to take the sticky edge off it. I can’t wear base on my face without powder, and face paints were no different! Don’t forget to blend out onto your ears, down your neck, and onto your décolletage!
Sunken Eyes
To create a sunken eye look, I took a cotton bud and dabbed the black paint under my eye, and started to blend in with a brush. Again, I set off with powder, and kept applying until I was happy with the level of sunkenness! In the photos it may look uneven, that’s due to my dodgy photography lighting that I didn’t have *shifty eyes*
Winged Eyeliner
My cheat for getting half decent winged eyeliner effect is to use a little bit of washi tape (or you could use masking tape) – this gives me a guideline of where to draw the first line. I use an eyeliner pen as I personally find pencil drags on my eyes a bit too much – use whichever you’re most comfortable with using.
Stick the strip of tape from the corner of your eye up to the end of your eyebrow – this I find gives the correct angle for the liner. Draw out along the tape, and then creating a sort of triangle, draw back down to your upper eyelid – then fill in. I should really have done a video tutorial for this, but alas I didn’t. I hope it makes sense the way I’m describing it!
You can then draw a thick line across the rest of your upper eyelid. I also use a pencil liner to line my inner bottom lid, as well as into the corners and part of the inner upper lid as well. I’ve got huge eyes, so I generally can take this amount of eyeliner!!
Eye Shadow + Brows
Taking another cotton bud, I started to apply the green face paint to my eyelids and continued all the way up to the brow bone. Halloween make-up is about the only time I’ll ever get away with a look like that!
I also used the black paint to thicken up and darken my eyebrows.
False Lashes
I’ve got quite a collection of false lashes, I wish I could apply them a bit better than how I managed to here – I would wear them a lot more often! The ones I used had a gold sparkly strip on them, which really does emphasise how unevenly I managed to get them on… but never mind! I tried, that’s the important thing right?
Red Lips
Instead of lining my lips with a red lip pencil, I used a black eyeliner instead. I then applied a bright red lipstick with a lip brush and started to blend it a bit. I wanted my lips to have a bit of darkness and depth to them, and the black eyeliner really helped in that mission! It annoys me that somehow I got a bit of white face paint on one side – my own fault for touching up my make-up before taking photographs!
Hair Style
Backcombing and hair spray aplenty to achieve the quiff on my barnet! I sectioned off my hair at the front, backcombed until it stood up on its own and then fashioned it into a quiff. I kept it in place with bobby pins. I then backcombed sections of my hair to add fullness. I should also have sprinkled over some talc to give it a white edge!
And so, that’s how I achieved my simple make-up for a Halloween party look. I really love how it turned out, and when I re-create it this Friday, I will endeavour to make a video at the same time and add it here. I hope you give it a try too – it really is easy to do!
As well as sharing my ideas each day for my favourite time of the year, I’m also holding a #CraftyOctober Link Party for bloggers to share their Halloween posts. If you’re a blogger, then do check out the party – I can’t wait to see your posts!


www.justmeleah.co.uk
October 28, 2014 @ 2:13 am
What a beaut! xx