Royal Icing My Christmas Cake
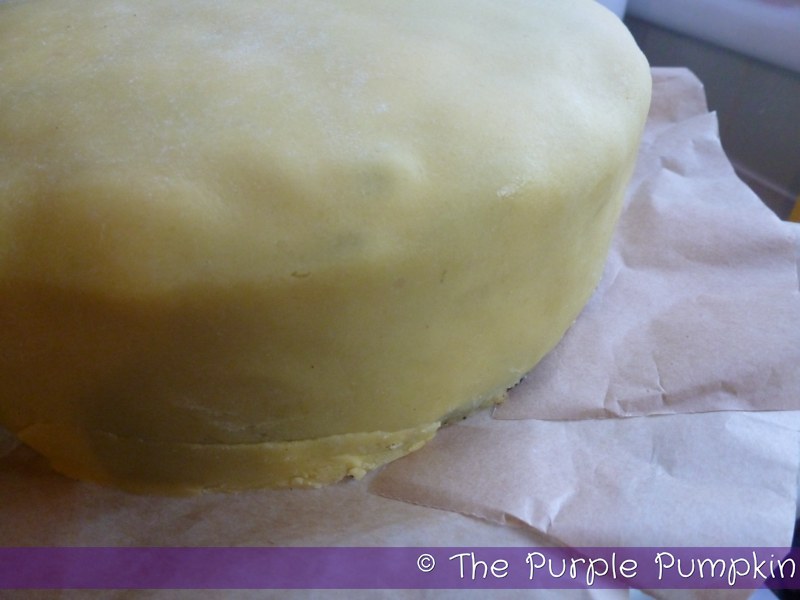
Home » COOK » Recipes » Baking » Cakes »With the marzipan layer on my Christmas cake (kind of) dry, it was now time for (what I think is the most fun thing about making cakes) decorating!
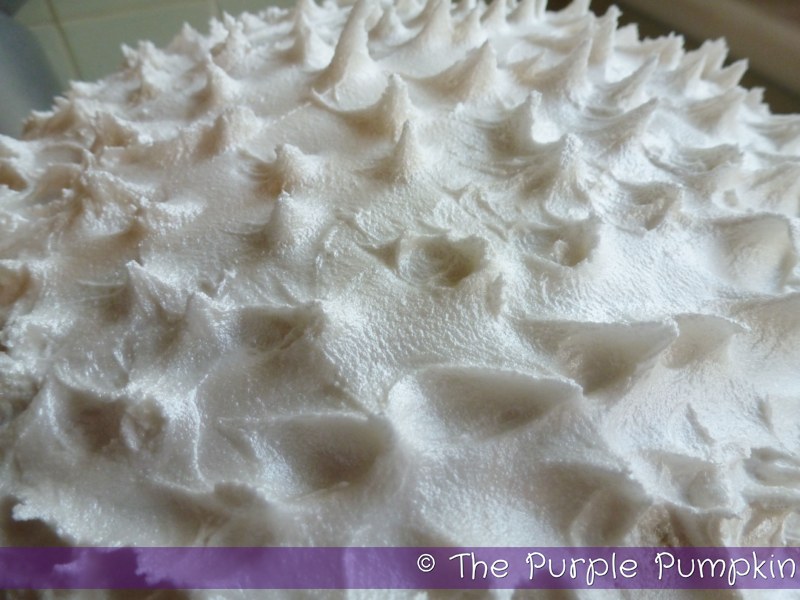
I’ve covered fruit cakes in both sugarpaste (fondant) and with royal icing in the past. This year’s cake is royal iced with peaks made using a palette knife – easy peasy!
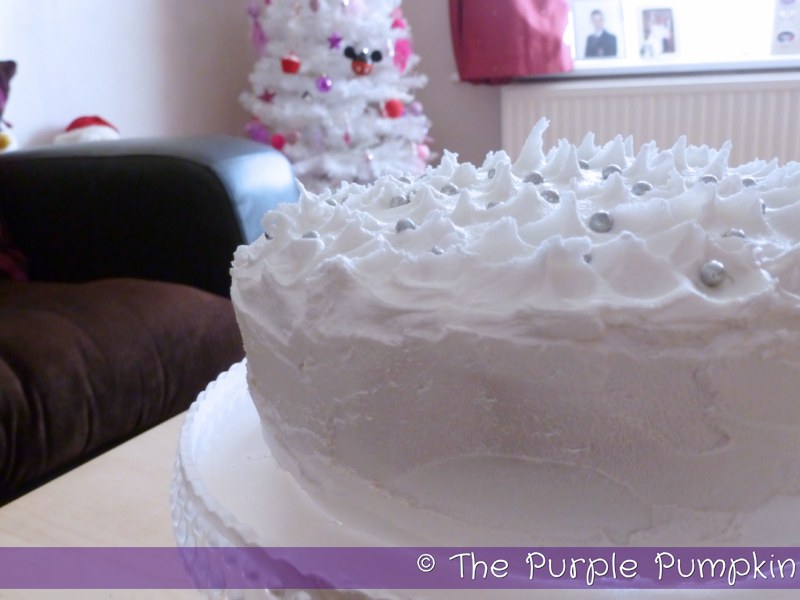
Here’s my finished cake…

And this is how I did it!
First off I needed to mix up a batch of royal icing. Now, you can buy royal icing sugar, but this close to Christmas the supermarket didn’t have any, so I had to make my own. It’s not difficult to do – all you need is:
- 1kg icing sugar
- 1 sachet (10g) egg white powder
- 1 – 2 tsps glycerine
- 25 – 50ml water
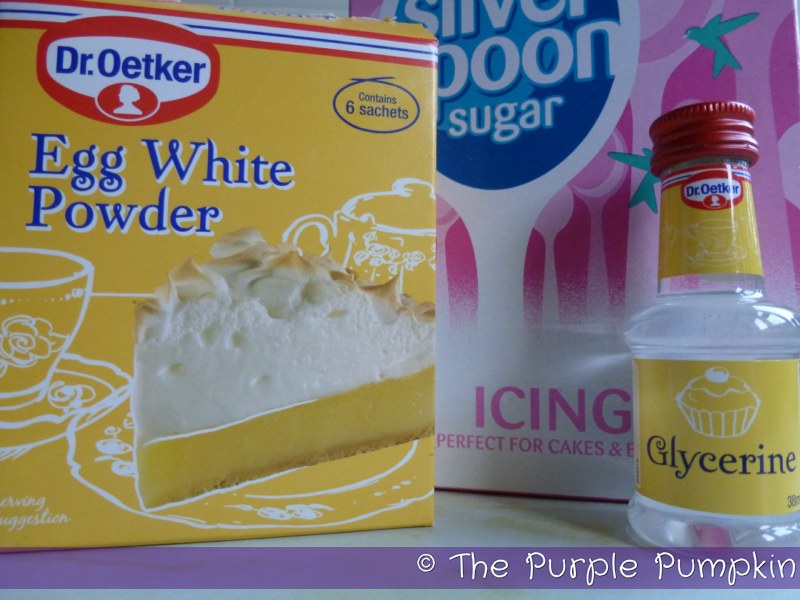
You could, if you wanted, use fresh egg whites, but I never do and the whole raw egg thing freaks some people out, so it’s safer all round to use the powder, in my opinion. The glycerine helps to keep the royal icing a little bit softer so that you don’t crack your teeth when biting into it when dry! When making royal icing to pipe with or to make run outs you don’t need to add glycerine because it won’t dry hard enough.
The thing with royal icing is that the atmosphere can make a difference to the consistency of it, so whilst I’ll give the measurements I used, if it’s a wet day you may need more icing sugar, or if it’s a dry day, more water – as long as you get stiff peaks at the end to hold its shape, you’ll be fine!
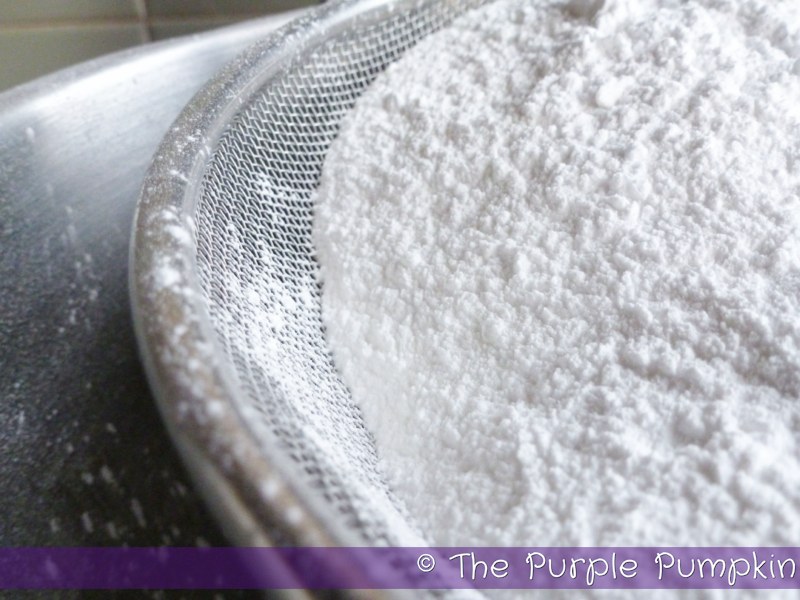
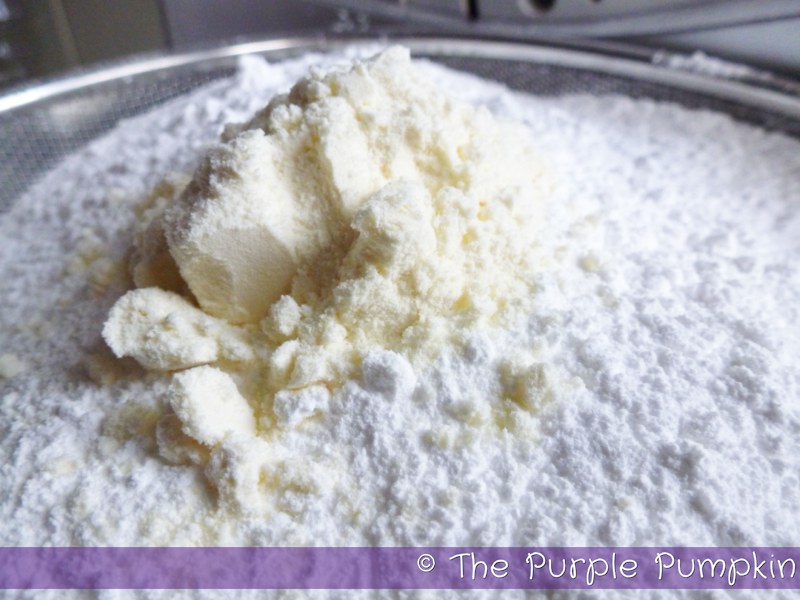
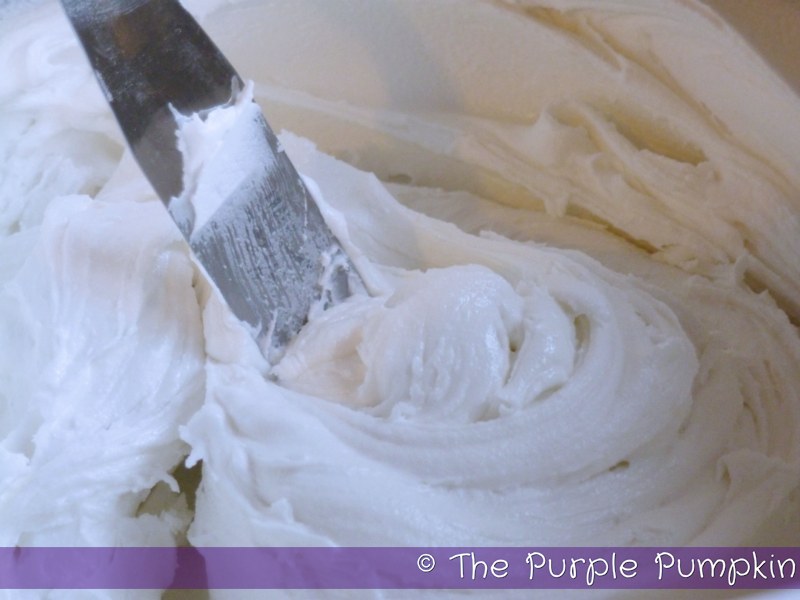
Sift the icing sugar and egg white powder into a mixing bowl (I always use an electric mixer for this – the stand alone type as you have to mix it for a good 5 to 10 minutes and the hand helds can burn out!)
Then turn your mixer on and pour in the water – I started with 25ml of water, but it was too dry so added more, up to about 50ml. I also added about 1 1/2 teaspoons of glycerine as it mixed away.


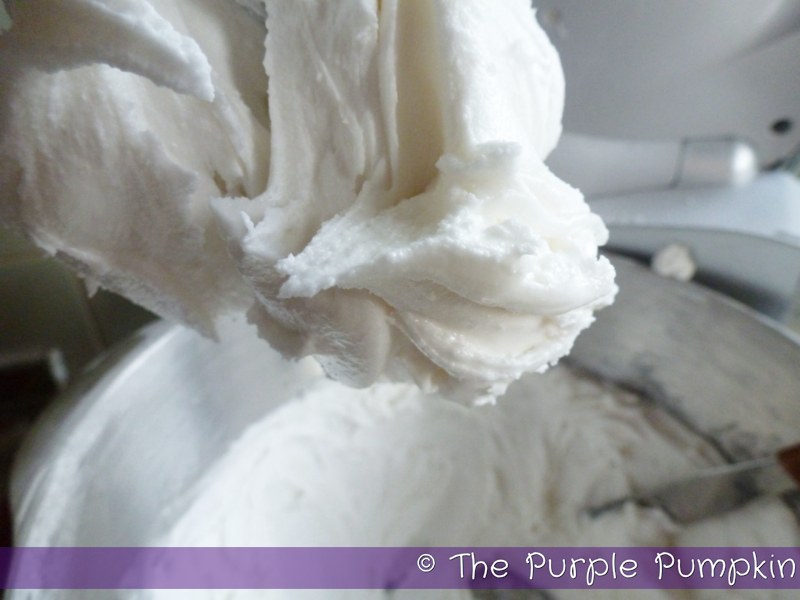
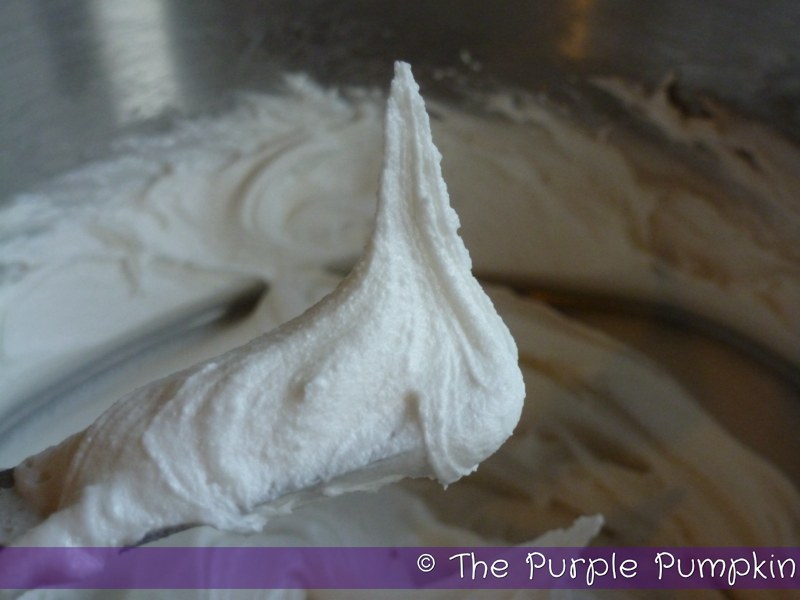
You need to leave it mixing steadily for 5 to 10 minutes – it was the way I was taught how to do it, so it’s what I do :D You want the icing to be stiff and to hold its shape when you pull it up with a palette knife. You can see in the pictures below that it’s holding its shape and is what is called ‘stiff peak’.

Another thing with royal icing is that it dries very quickly, so you want to get it into a tub and covered as soon as possible! To help it stay moist I cover my royal icing with a damp cloth (I wet a sheet of kitchen paper and wring it out) then with some plastic wrap and then pop the lid on – that will ensure it stays nice and usable.
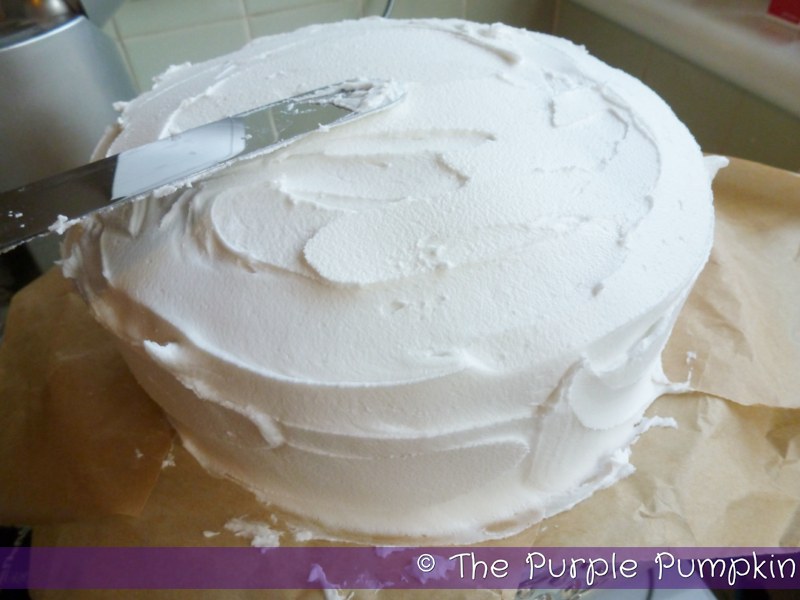
I’ve got my baking parchment squares sitting under my cake to protect the cake stand from icing going where I don’t want it to go, and then using a palette knife I dropped a big blob of icing on the top of the cake. Working quickly, spread it out all over the top and down the sides in a nice thick layer.


I smoothed round the sides a bit as I decided that I wasn’t going to spike the icing up around there, just on top. I did that by holding my palette knife at 45 degrees and turning the cake around smoothed it out. Looking back at my pics I realise I didn’t smooth it out all that great!!
To make the peaks on the top of the cake I simply pressed the tip of a smaller palette knife into the icing and then quickly pulled up to create the spike.


To finish off the decoration I sprayed over some silver food spray and sprinkled over some silver balls as well – by now the icing was starting to dry and I had to press them in a bit so they wouldn’t go everywhere!

I left the cake to dry for a while before pulling out the sheets of baking parchment and my cake was all ready for Christmas!

Jen
December 17, 2013 @ 12:02 pm
Great tip about the baking parchment – will be icing mine tomorrow and will definitely do this!
Michelle Ordever
December 17, 2013 @ 1:17 pm
I’ve been slack this year and haven’t made a cake! Have fun icing yours x