Paper Pumpkins
Home » CREATE » Crafts » Pumpkin Crafts »Welcome to Day 22 of Crafty October – a month of Halloween ideas at The Purple Pumpkin Blog! Don’t forget to check out last year’s ideas if you need more inspiration.
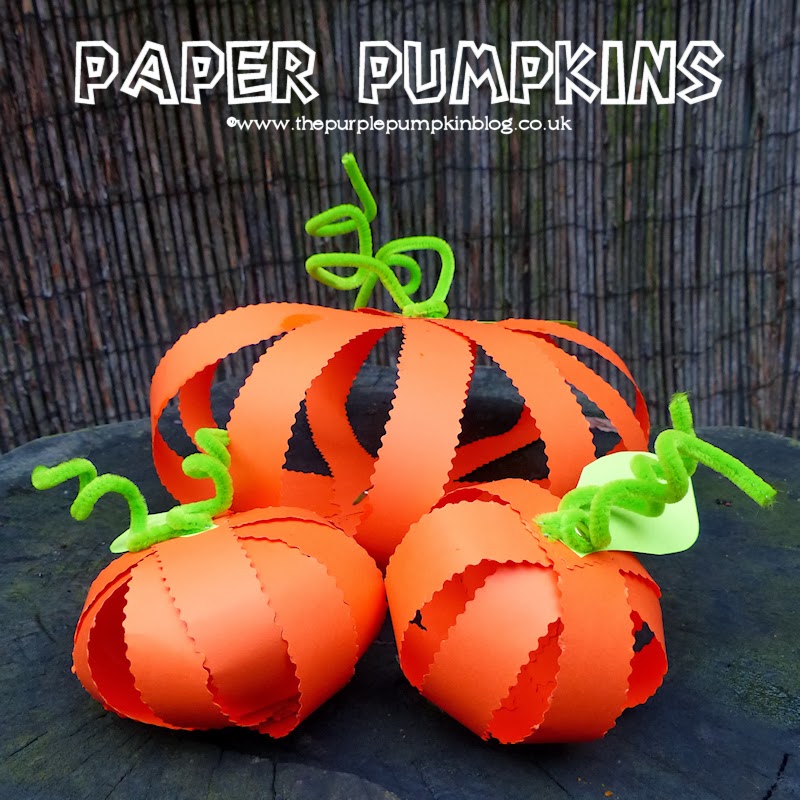
An easy paper craft today that even the kidlets could do – Paper Pumpkins! As I was making these, I realised you could use different coloured paper to make different paper fruit – green or red for apples, pale orange/yellow for peaches, purple for plums. Like I said, they’re really easy to make, so read on to find out how to create them!
To make paper pumpkins you will need…
- orange cardstock (12″x12″ for the largest pumpkin)
- green cardstock
- green pipe cleaners
- paper fasteners
I’ve taken step by step photos below that will help you in the assembly of your paper pumpkins, but experiment with different lengths of paper, different edges and more or less strips of paper to create different effects.
- To make the large paper pumpkin, cut the card into approx 1″ wide strips. I used decorative edge scissors for mine, but regular ones will be fine too. You should have about 12 strips when finished.
- Cut a leaf shape from the green card – I just guessed at the size! Pierce a small hole in the stalk end.
- Pierce a small hole at both ends of the strips of paper, about ¼” from the edge.
- Place the strips in a pile then push a paper fastener through one end and open out to secure. Fan the strips of paper out. The opened up side of the paper fastener will be on the inside of the paper pumpkin.
- Using another paper fastener and push it through the paper leaf. Then bring up one of the strips and push the fastener through the hole you made earlier. Continue moving around bringing each strip up and pushing through the paper fastener until all the strips form a rough pumpkin shape. Open up the fastener to secure.
- Coil two green pipe cleaners round a pencil to make tendrils and then wrap around the top of the paper fastener to secure in place
- To make the smaller paper pumpkins, cut the 12″ cardstock in half, and the cut strips 6″ long, but this time, slightly narrower than before – you may get 14 or 15 strips.
- Follow the steps above to assemble. Experiment with the number of strips you use. I made one fuller than the other and it was a bit trickier to secure, as the paper pumpkin filled up, but I managed to do it in the end! Cut a smaller leaf and cut one pipe cleaner in half to make tendrils. Secure as before.
- To store the paper pumpkins for another time, fold the paper fastener at the bottom back up and remove, enabling you to flat pack it for next Halloween/fall!

I really enjoyed making these – it was quite therapeutic! If you decide to do this craft, I hope you have as much fun as I did! I think the smaller ones are nicer, and they hold up better than the bigger one, which was too big, but you could hang those as paper lanterns – as my hubby suggested when he came home from work and saw today’s creation :D
I am hosting a month long Halloween Link Party to celebrate Crafty October and would love for you to share your Halloween ideas – crafts, recipes, costumes, parties…anything goes, as long as it is family friendly! It’s my favourite time of year, (as you may well know!) and I can’t wait to see what you link up!


JoAnn @ SweetPepperRose
October 23, 2013 @ 12:59 pm
This are adorable Michele! and easy! love ’em!
Michelle Ordever
October 23, 2013 @ 2:17 pm
Thanks JoAnn! I know I must sound like a broken record when I keep saying how easy something is – but I like the easy life :D