How To Make Glitter Skulls – Crafty October Day 6
Home » CREATE » Crafts »
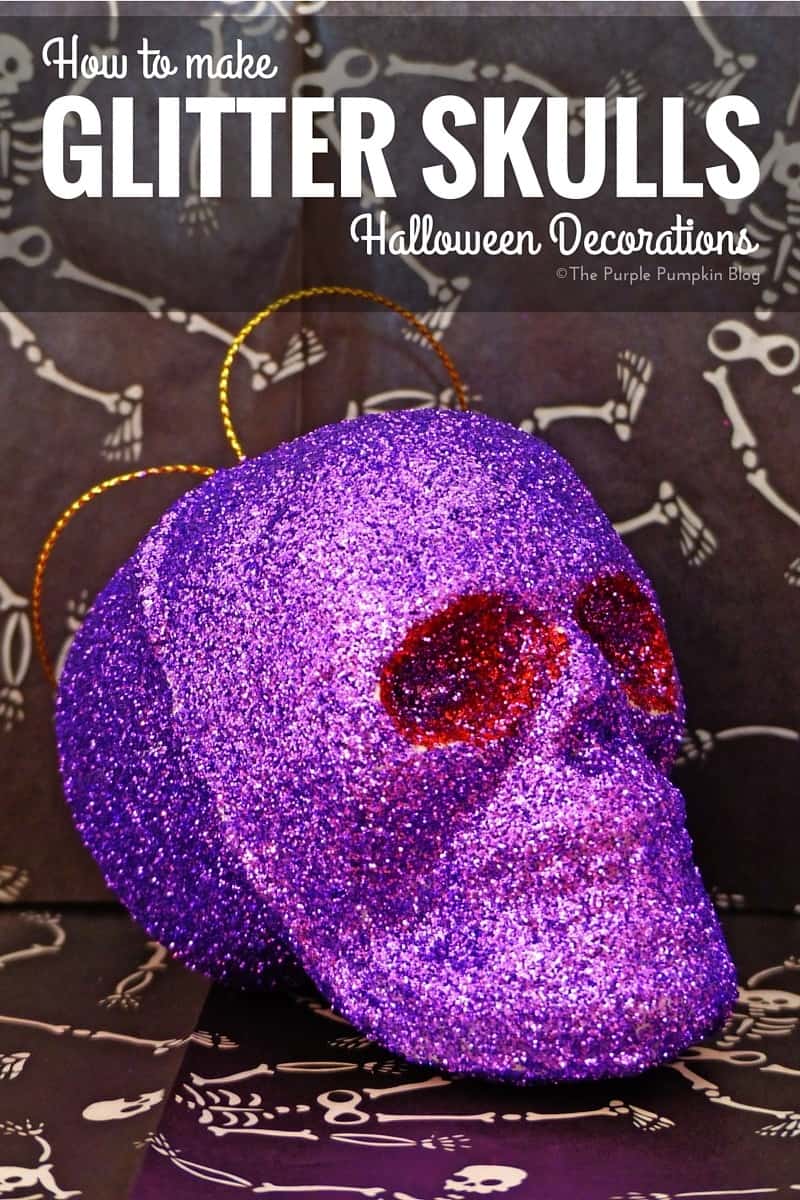
Another craft today – glitter skulls! Everything is more awesome when it is covered in glitter, amirite?!
When it comes to Crafty October, my organisation of the month long event on my blog, goes a little something like this: go into craft store, pick up random items that I think I’ll be able to do something with for Halloween. I never quite know what I’m going to make, and quite often, stuff I’ve bought, gets put away for another year. This is why I have a huge craft stash, becuase I buy things on a whim! However, I’ve actually been a little bit more organised this year, mainly because we’re going on holiday half way through the month, and it means if I’m not organised I’m going to end up missing a day, and that would really annoy me! Anyway, I’m rambling… back to these glitter skulls, which are easier to make than taking a decent photograph of!
I bought some polystyerene skulls, with a hanging string attached, they are about 3″/8cm ish high, but if you find them bigger or smaller in the craft shops you shop in, go for it, size doesn’t matter! I have, in the past, bought ready made glitter skulls (see my box o’ skulls from Halloween 2012 below), but making them msyelf is a lot more fun, and I can make them in any colour (or mixture of colours) that I want. Predictably, the sample I made for my blog is purple… with red eyes.. .bwahahahahah.
Supplies
- Polystyrene/Styrofoam Skulls – I bought mine in Hobbycraft
- Glitter
 (buy here in the US) – in your colour choice
 - Mod Podge
 or White PVA Glue
 (buy here in the US)
 - Glue Brush
 (buy here in the US)
 - Sheet of scrap paper
- Hairspray
Instructions
- You will be covering the skull is segments, this is so that areas can dry properly, enabling you to hold the skull without removing the glitter. Basically, you want to not be able to move the glitter when you hold the skull. By the way, Mod Podge and PVA glue dries clear.
- Starting with the eye sockets, dab a generous amount of glue inside. Over a sheet of paper, pour in lots of glitter into the sockets, then gently tip out (onto the paper) to remove all the excess. Leave to dry – an hour or two should be long enough. Transfer the glitter back to the pot.
- Working fairly quickly, cover the front of the skull with glue, pay careful attention around the eye sockets, and make sure you add glue all the way to the edges. Start pouring glitter – in a different colour (if you like, or the same, they’re your glitter skulls!), over the skull, making sure every thing is covered. If you noticed blank spots, you will have missed these areas with glue, gently dab on some more, and add more glitter. Again, tap off the excess and leave to dry for a couple of hours.
- Repeat the same for the back, and underside of the skull.
- Leave to dry completely for 24 hours, then, over a piece of scrap paper, give a couple of gentle taps for any more excess glitter to come off. Then, quite randomly, spray with hair spray which helps (kinda) to seal the glitter. I thought this was one of those rubbish tips that doesn’t work, but actually, it really does! You could also buy sealer if you wanted to… ain’t nobody got time for that, when there is a can of hairspray on your dressing table!
- Et voila, your glitter skulls are made!
Crafty October is a month long series on The Purple Pumpkin Blog, where I share an idea a day for Halloween + Autumn. All ideas for Crafty October 2015 are here. And if you are a blogger and would like to share your ideas, check out the Crafty October 2015 Blogger Linky which is running until 31st October 2015.


www.justmeleah.co.uk
October 8, 2015 @ 1:42 am
Ooh these are great! xx