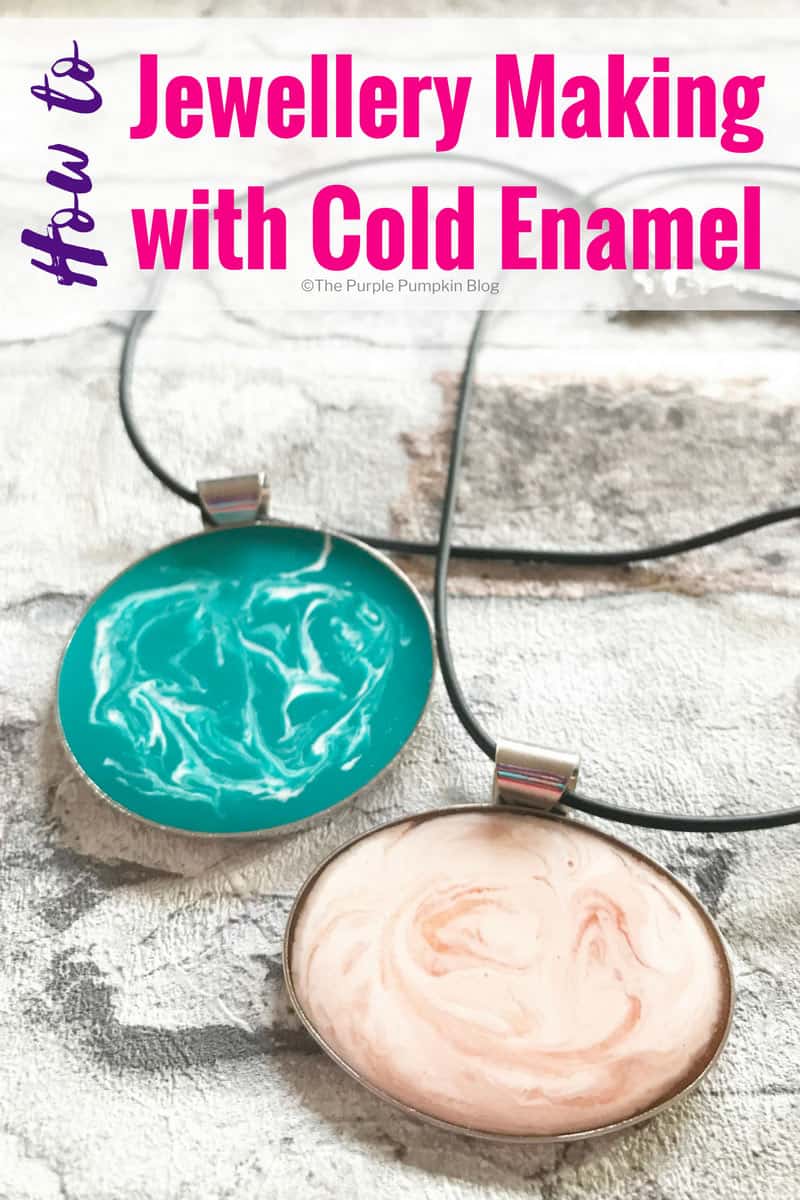
How To: Jewellery Making with Cold Enamel
Home » CREATE » Crafts »Cold enamel is a pigmented epoxy resin which gives the effect of enamel without the use of high temperatures, and also allows an enamelled effect to be applied to a wider range of materials.
The finish is attractive and hard wearing, and the process is really quite simple. I already have visions of me making homemade jewellery and trinkets for my friends and family as I was really impressed with the results!
Jewellery Making with Cold Enamel
I decided to make this year a year of change for me – read all about that here – and one of those things was to learn new things. I started to teach myself how to do modern calligraphy towards the end of last year, and into this year I’ve started to draw and sketch again. I’ve also bought myself several new (to me) craft kits to have a go at new things, including this cold enamelling jewellery kit. Making jewellery is something I used to do many, many years ago, mainly with beads so I bought some lush purple beads too so I could make a necklace (just in case my cold enamelling didn’t work out!).
I love craft kits for a couple of reasons:
- they provide all the materials you need to complete the craft
- they’re a good way to try out a craft before committing to buying materials/kit that you might not need (especially if it isn’t the craft for you!)
I know I’ve wasted a fair bit of money over the years buying craft supplies for things that my heart really wasn’t into.
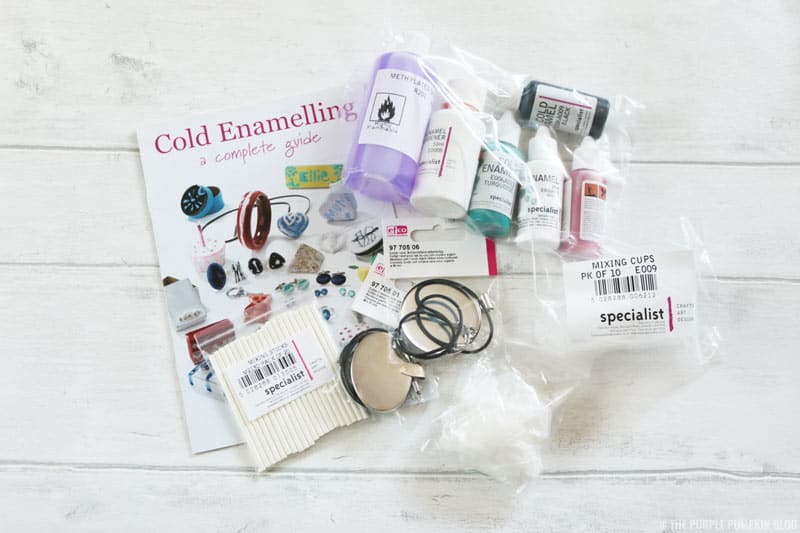
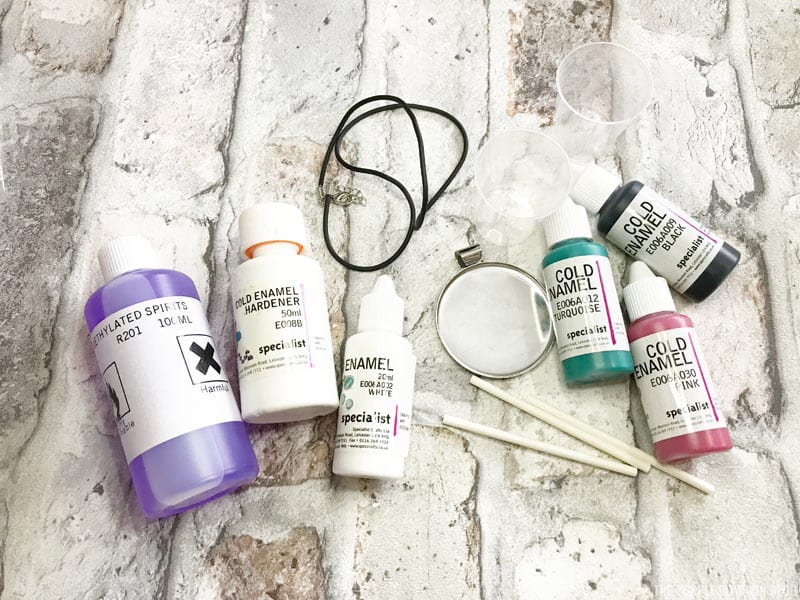
Inside the cold enamelling kit was a a complete guide and instructions booklet; pair of rubber gloves; methylated spirit; cold enamel hardener; 3 x cold enamel colours; mixing cups; mixing sticks; and 2 x jewellery pendants.
The only things I needed to use from home were an apron (to protect my clothes); newspaper (to protect my table, although I used some old wallpaper!); and some cotton wool to wipe clean the metal pendant with the methylated spirit.
Step 1 – Mixing the enamel
The booklet tells me that the best working temperature for cold enamel is 20°C. If the room is colder, it becomes more difficult to work with.
Before actually mixing the enamel and working with it, I thought it was going to be really tricky, but it was so easy! The ratio of cold enamel colour to cold enamel hardener is 2:1. To make these two pendants I used three colours – green, pink (although was more orange) and white. I used 5ml of each colour, and 2.5ml of the hardener.
The proportion is extremely important so that it cures to a hard finish. It takes about 24 hours for it to harden completely.

The mixing cups included in the kit had measurements up the side making it easy measure as necessary. I measured the colour first, then the hardener, and poured from one to the other to mix together with one of the little sticks. I then had to leave the combined mixture to stand for 10 minutes to allow any air bubbles to disperse. I found that mixing it slowly made less bubbles.
Step 2 – Applying the enamel
Once ready to use, the cold enamel mixture is workable for about an hour. This was more than enough time to finish off these pieces. I wiped the metal pendants with methylated spirit first, as instructed, and then gently poured the enamel. It’s a fairly thick mixture, so it doesn’t rapidly spread, and you can use the stirring stick to move it about.
As you can see in the video I stuck to a rather simple marbelling effect by dropping blobs of white onto the coloured background and using a stick to swirl it about.
Step 3 – Leaving To Dry
Once happy with the design it’s just time to let it dry – 24 hours. Try to leave it to dry in a dust free environment (practically impossible in my house!) and resist the temptation to check if it is dry by touching it with your finger, as it may leave fingerprints behind on the surface.
I actually had some mixture left over, and since cold enamel can be used on cardboard (crazy right?!) I blobbed some on there as my tester patch.
Once completely dry I strung the pendant onto the necklace string provided (can’t think of a better word than string for it!) and plan to keep one for myself and give the other to my sister!
Now, I don’t like to sound so cliche, but this craft was so easy to do! I had a lot of fun making these cold enamel jewellery pieces too.
However, there are lots more ways you can use cold enamel in crafting…
Other ways to use cold enamel
- To encase photographs, gig tickets, or other small memorabilia.
- To cover matchboxes and small boxes.
- Experiment with beads, glitter, sequins, small shells, and pressed flowers.
- Experiment with different colours and pattern combinations.
- You can decorate metal, plywood, or strong cardboard with nail enamel. When using metal, always clean surface first with methylated spirits.
- Turn those pieces into keyrings, jewellery, or bag ornaments.
- Cold enamel works on glass – use a glass relief outliner to draw your design and then fill in with enamel.
- Cold enamel works on acetate, but will not stick. This is a good way to make a design, slide it off and glue to another surface.
- You can even make 3D objects with small moulds.
I’m really impressed with how much can be done, and I can’t wait to try some of the above ideas out. When I do I will come back and report on it – likely do another how to type post as well!
Have you tried working with cold enamel before?
HUGO
February 25, 2022 @ 3:28 am
CAN U ENAMEL BRONZE ? CHEAPER TO BUY than STERLING SILVER. BUT IF I HAVE TO I WILL BUY the STERLING SILVER TO COLD ENAMEL . THANKS
Michelle
February 25, 2022 @ 8:38 am
I’ve only enameled what was in this kit, so I am not sure if you can enamel bronze. You could buy a piece to try it out?
Cheryl
August 21, 2023 @ 5:41 am
@Hugo @Michelle, of course you can enamel bronze or any metal really as long as it has some texture or something to “grip” on to. Cold Enamel isn’t special, basically it’s just 2-PART RESIN and you can resin pretty much anything as long as the resin can stick to it. Simple.
Michelle Ordever
August 21, 2023 @ 10:18 am
Thanks for helping out with this Cheryl!
John McCulloch
December 6, 2021 @ 7:01 am
Hello Michelle
My name is John. Live in Yamba in Australia.
Researching cold techniques for enamelling.
Your post being the first port of enquiry. Thankyou for taking my email.
Looking aside from heat cured enamelling- can you easily bond your painted epoxy on to brass and copper ?
Provided that it’s wiped clean with that methylated spirit.
Some copper suppliers provide a film over the surface. Will have to look into that. So anything metal is OK that I mentioned. Do you use an etch ant to better the bond?
Primarily I want to make flag pendants and thought your idea might hold water rather than heat cure silica.
Please reply
Thanks. John
Michelle
December 7, 2021 @ 3:42 pm
Hi John
Thanks for your comment and inquiry!
Unfortunately, this was the only cold enameling I ever did, after trying out this kit for the first time, so I’m not an expert in it :(
All I can suggest for you is to try it on a small sample piece and do some testing?
Sorry I couldn’t be more help.
Michelle
Rob
March 11, 2019 @ 3:17 pm
I’m planning on using cold enamel on the concave side of shells so will there be a problem with ‘flowing’ before it sets ?.
Michelle
March 13, 2019 @ 2:01 pm
I’ve only ever done cold enamel on a flat surface, so I’m not sure. You may be able to make the enamel a bit thicker to stop it flowing so quickly.. maybe?