How To Decoupage a Witch Hat – Crafty October Day 27
Home » CREATE » Crafts »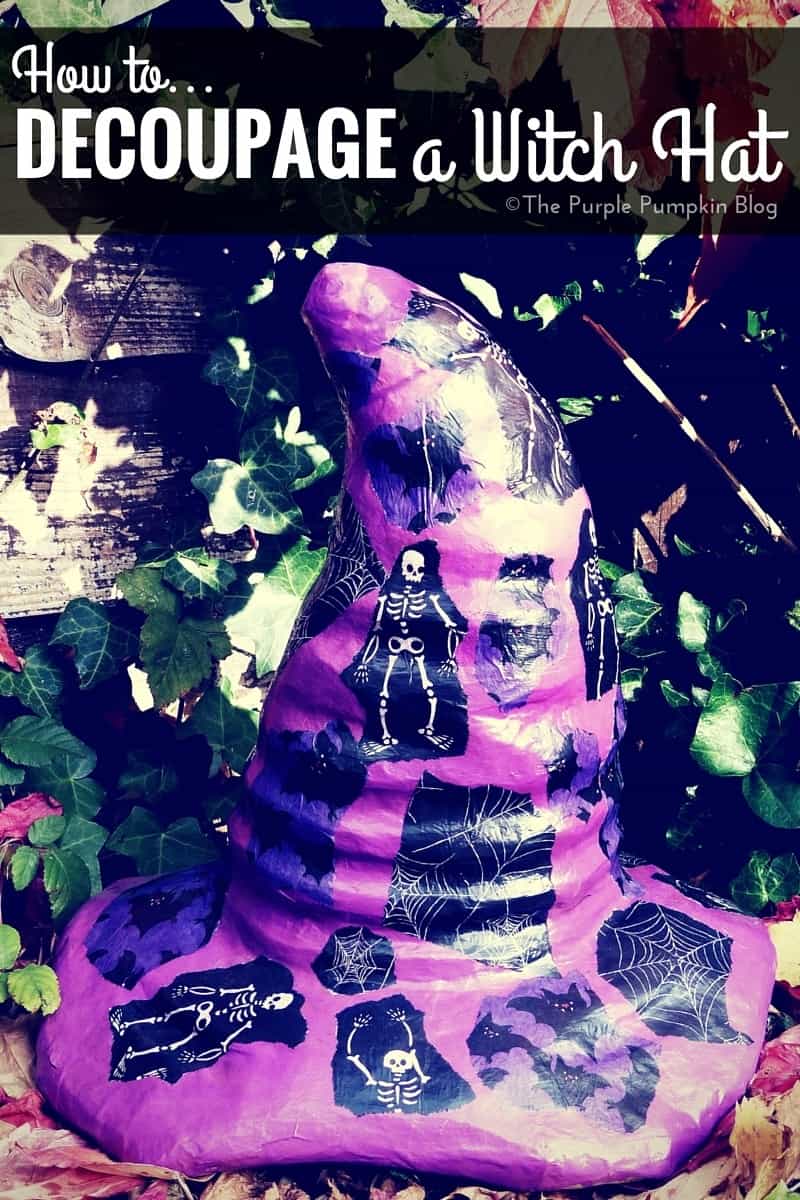

When shopping for Halloween craft supplies back in September, I picked up a cardboard/papier-mâché witch hat, acrylic paints, and decoupage papers (among other things!) to make a Halloween decoration with. The photo above is the finished result – I just LOVE it! It really is so simple to do, and with craft shops selling a variety of these papier-mâché forms, there is no end to the decorations you can create for the different seasons.
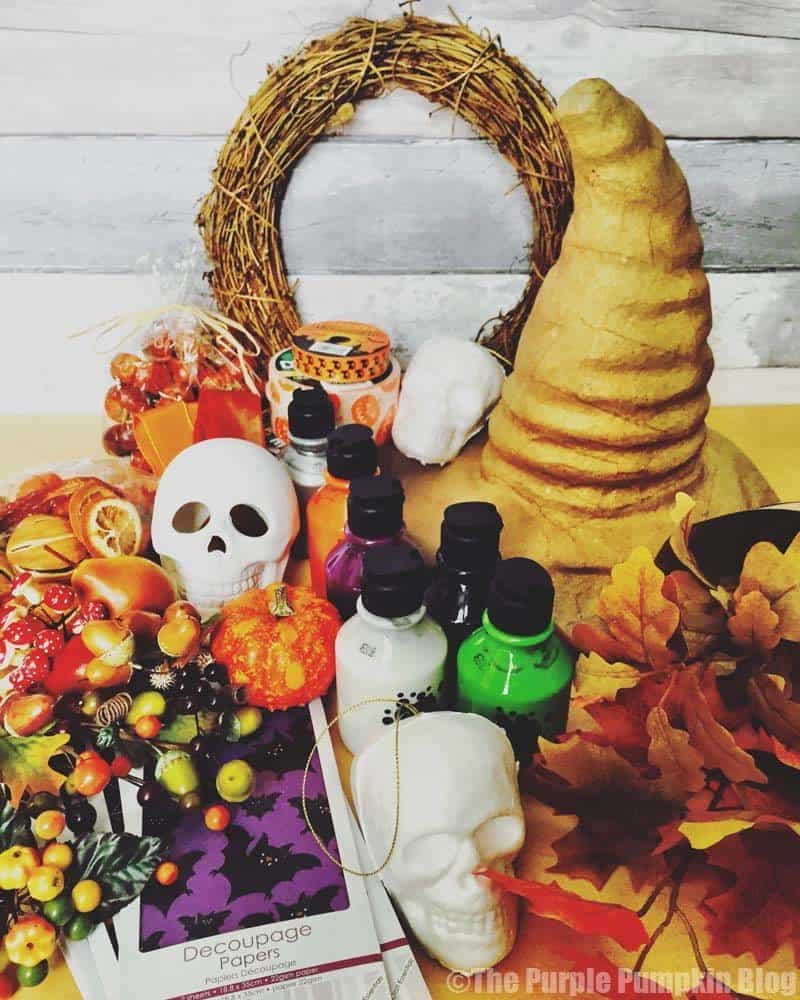
I bought this particular witches hat from Hobbycraft – hopefully they’re still selling them this close to Halloween. If not, there is a pointy witches hat on Amazon (link below) that I found. Or if you’re feeling very creative, you could make one yourself!
Decoupage paper is patterned tissue paper. You can cut it, or rip it to decoupage your witch hat. You could also use decorative paper napkins, or other thin papers. It needs to be able to mould around any lumps and bumps on the papier-mâché form, so regular paper is not up to this job.
I used Mod Podge to stick the paper to the witch hat. This doubles up as a varnish too, doing two jobs in one. A little goes quite a long way!

Supplies
Instructions
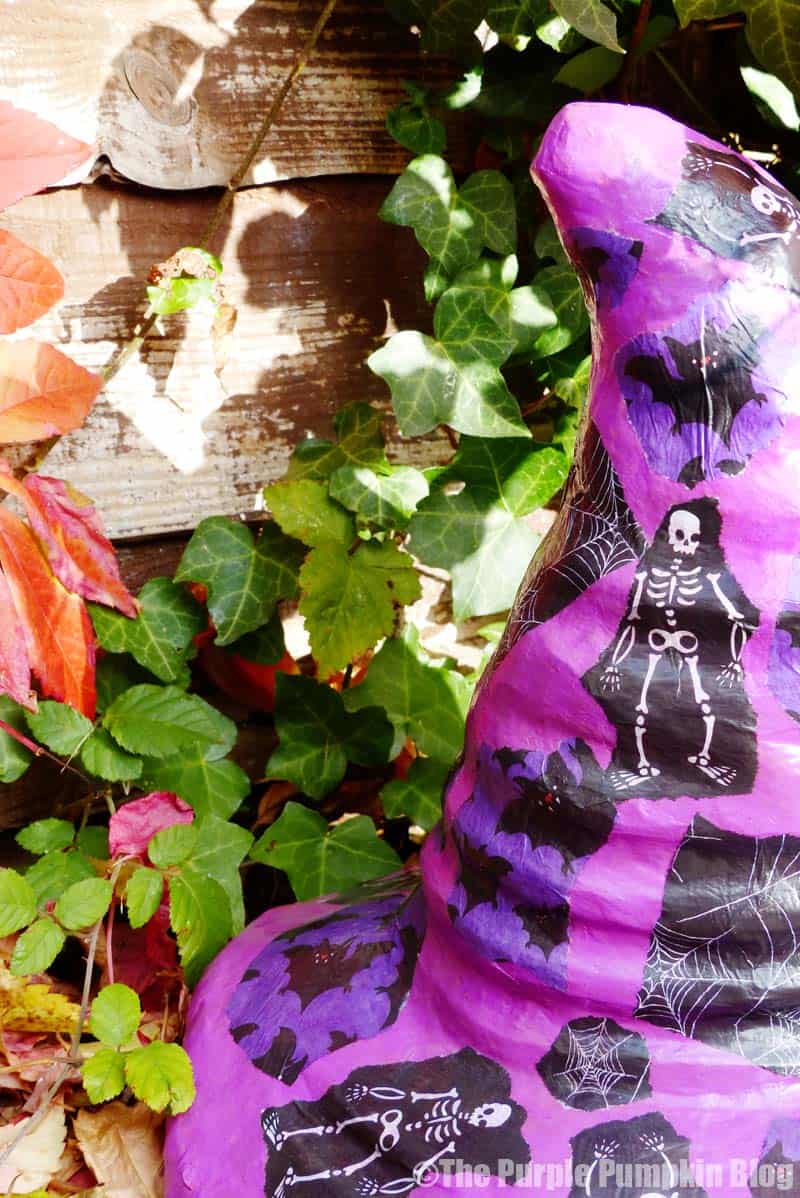
- Paint your witch hat in any colour you like – I chose purple, naturally! Leave to dry for a few hours – overnight if you can.
- You can either cut or rip your decoupage papers – before you start, or as you go. I prefer the random, so generally just rip and stick!
- Use the Mod Podge to start sticking the pieces of paper to the hat – you could cover all of it in paper if you wanted to (in which case, don’t worry about painting it first) or in a pattern, or randomly. As I said in step 2, I prefer the random style. I generally put the Mod Podge on the reverse of the paper, then stick it on, and use the excess from the glue brush to press it around. Keep ripping and sticking, until you have the coverage that you want. Leave to dry for a few hours, again, overnight if you can.
- Finally, go nuts with the Mod Podge and add another layer to varnish and seal everything. You could, if you wanted to, add a bit of glitter. As I always say in my tutorials, it’s your decoration – do what you like!

Crafty October is a month long series on The Purple Pumpkin Blog, where I share an idea a day for Halloween + Autumn. All ideas for Crafty October 2015 are here. And if you are a blogger and would like to share your ideas, check out the Crafty October 2015 Blogger Linky which is running until 31st October 2015.