How To Make And Sew Fabric Bunting For A Festival
Home » CREATE » Crafts »
It is festival season, and we are heading to our first ever festival – Camp Bestival at the end of July – to say we are excited is an understatement! One thing that every festival goer needs is bunting! At least, that what it looks like to me… I’ve seen so many tents with bunting draped across them, that it must be the thing to take right? It’s a way of prettying up your camping area, and another way to recognise your tent in the hundreds on the camp site!
A few years ago, I made some fabric bunting for the Queen’s Diamond Jubilee, and I’m so glad it’s going to have the chance to get an airing again after all these years! I thought it would be fun to [re-] share how to make and sew fabric bunting for a festival, since it can be quite expensive to buy ready made – especially if you want the more vintage looking style. If you are not a dab hand with a sewing machine, or don’t have a sewing machine, never fear, because Nadine from Juggle Mum, shows us how to make some quick and easy, no sew bunting, so head over there and check that out too! I remember making this bunting – it was the first time I’d used a sewing machine in about 20 years, and I had to go running to my mother-in-law for help and advice, but I got there in the end, and loved how it turned out! I bought my fabric from Ikea for around £12, and managed to make several metres of bunting from it – I just kept cutting out triangles until I ran out of material!


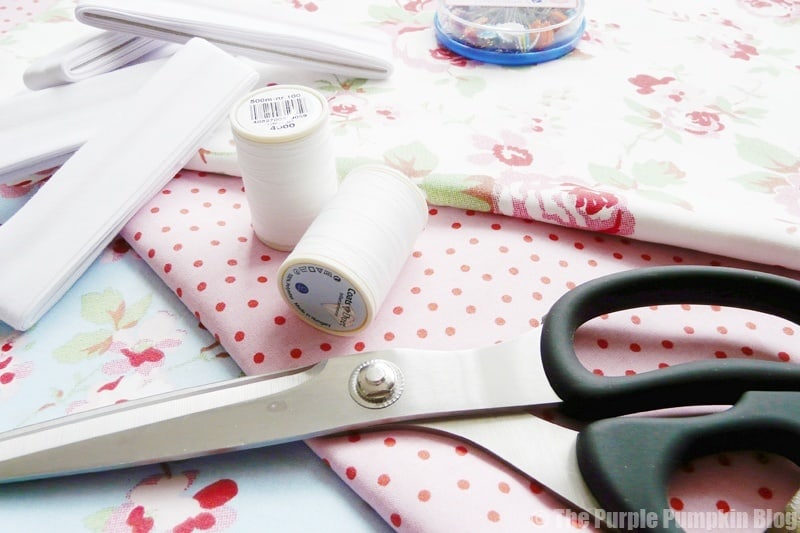
You will also need:
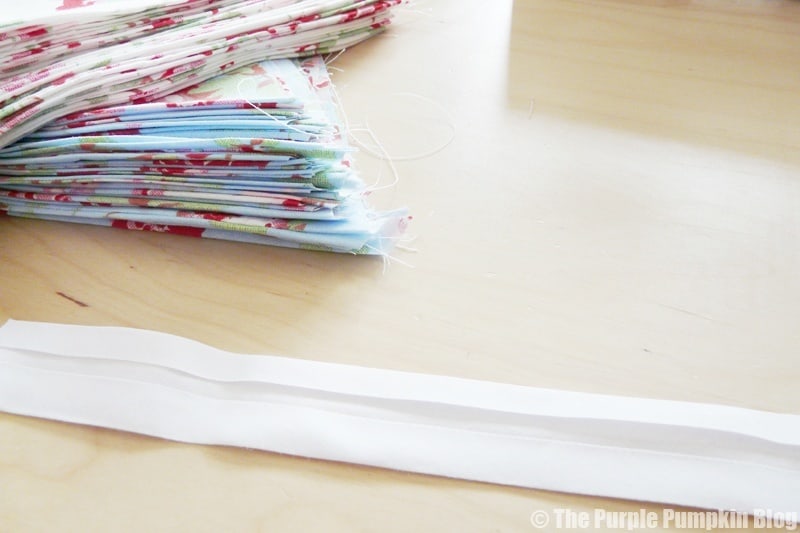
- Bias tape – this is the long piece of tape that holds your bunting triangles. I used 1″ wide tape.
- cotton – your choice of colour – it can match or clash, it’s up to you!
- fabric scissors – obvs
- needle and thread – for tacking the bunting in place
- pins – for keeping things in place
- sewing machine – this is not a job for sewing by hand!
- triangle template – just hand draw this onto a piece of card or paper, or print off my A4 size template
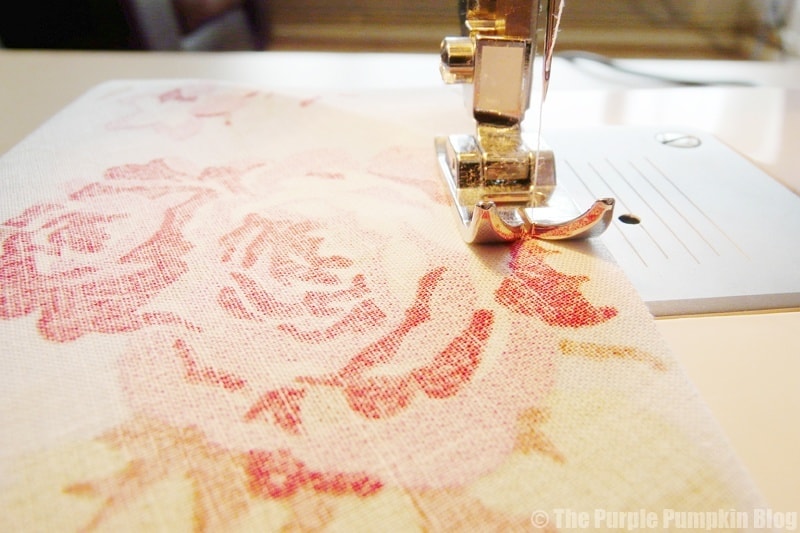
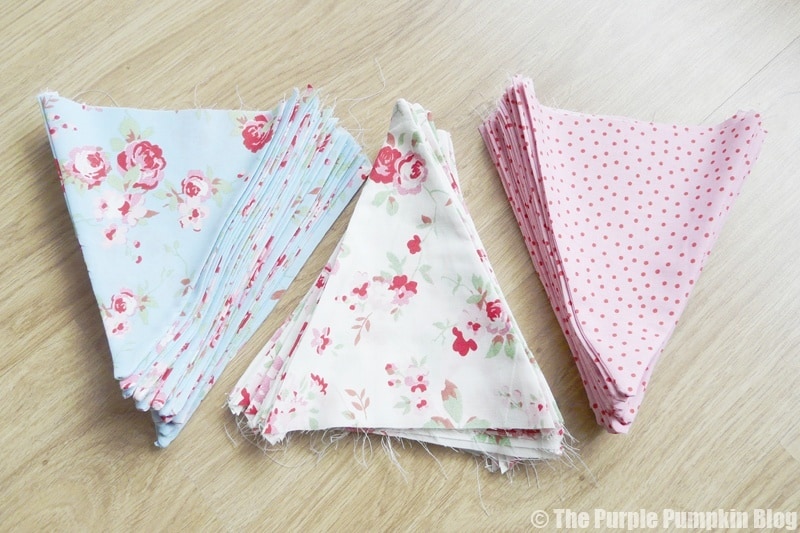
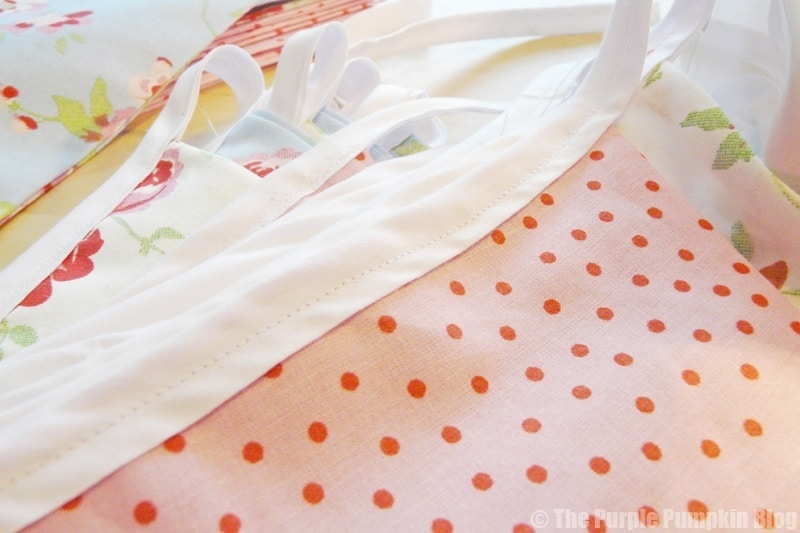
Your first job is to cut out all of the triangles… it will take a while! You will get bored, and, like me, you may end up doubling up fabric just to make things go a little bit faster! Fold the material in half, with the right sides together (that’s the side that is brighter), and pin your template to the fabric. Once you’ve done one triangle, you can line the edge up to the next one to save wasting precious material.

Now the fun part begins – the sewing! Thread your machine with your cotton, and about ½ cm from the edge, sew a running stitch from the wide end to the point, turn and go back up on the other side. Back stitch to secure, and cut off. Repeat this until all of the triangles are stitched together. I just held the material in place, without pins or tacking, and as a first time user of a sewing machine, I did fine (apart from the asking mother-in-law for help!)

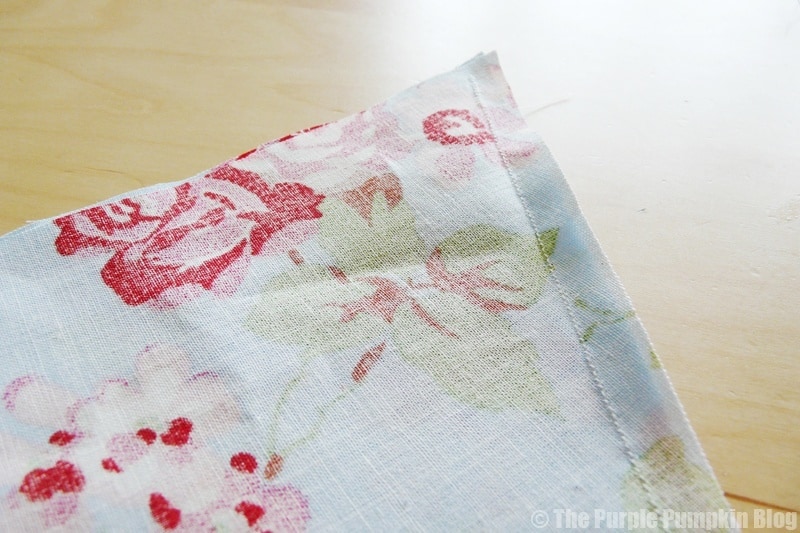
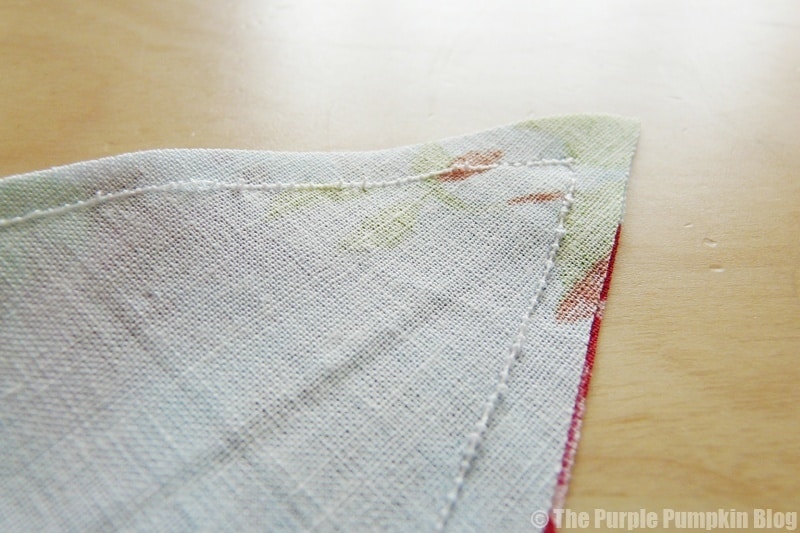
Once all the triangles are sewn together, you need to turn them inside out. I used a chopstick to push the point out. When you have them all the right way around, iron them so they are nice and flat.
You need to now attach the fabric triangles to the bias tape – leave a nice length at the end so that you can tie your bunting up.
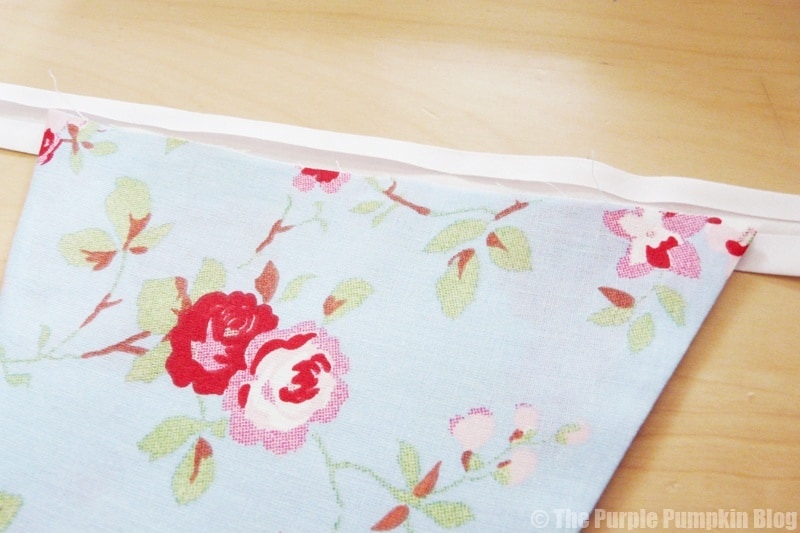
Fold over the tape and pin it in place, leaving a gap big enough to slot in the fabric triangle. With the triangle now in place, fold over to close the tape and put another pin to secure it. Check my photos below which will explain it better than my words!
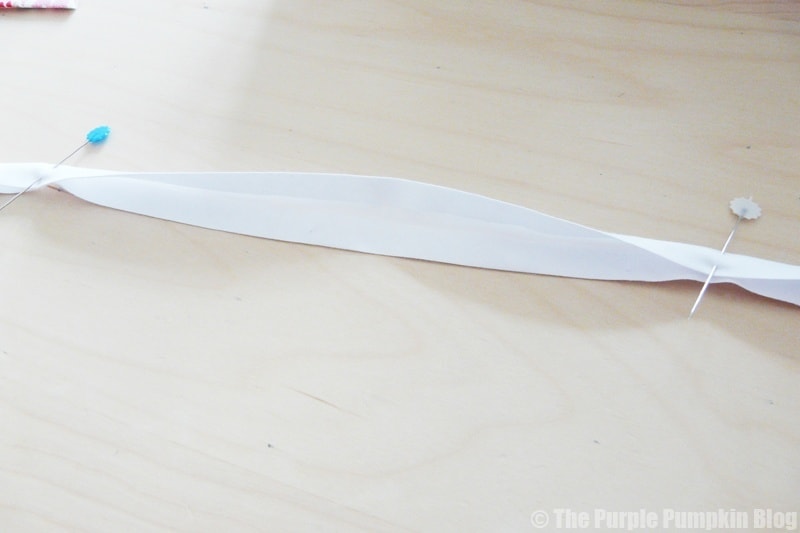
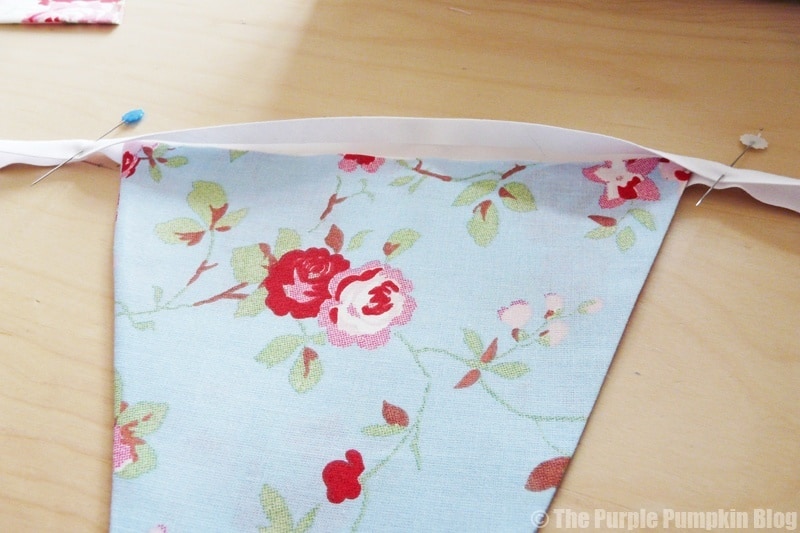
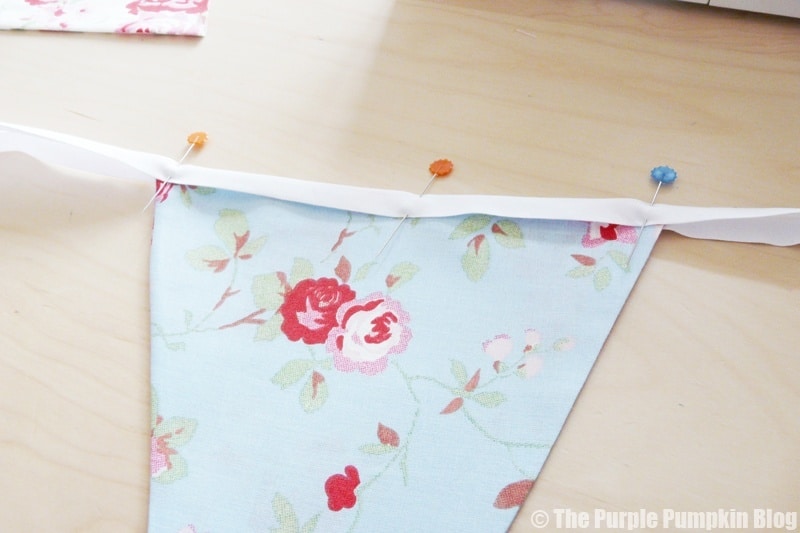
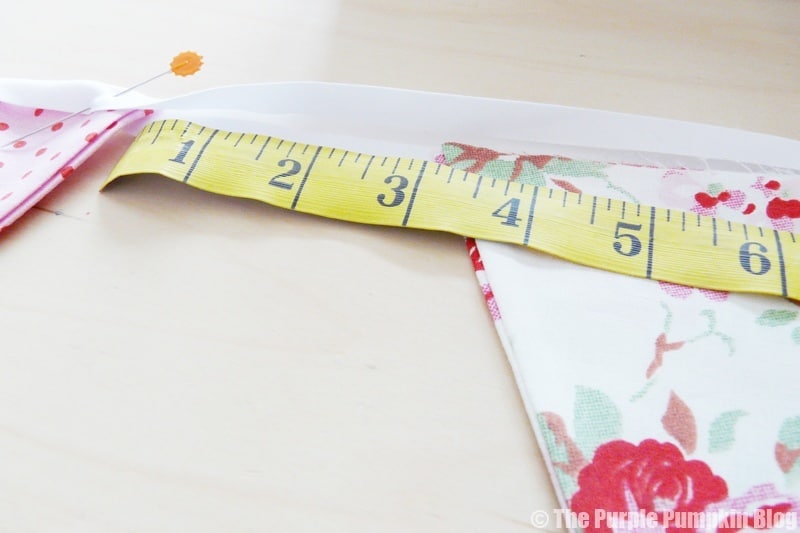
You can have the bunting triangles very close to each other, or leave a gap- I left about three inches between each triangle. Continue to pin in place until the whole of the bias tape is used – remember to leave a length at the end, as you did at the start!
Now, if you are careful, you can start sewing the tape to the triangles, removing the pins as you go – or to save the stress of a broken sewing machine needle (like me!) tack everything by hand with a long, loose, running stitch, which you remove later. Between my mother-in-law and I, we had this done in no time at all! Her advice? It might take a little longer to tack, but it preserves your sewing needle!
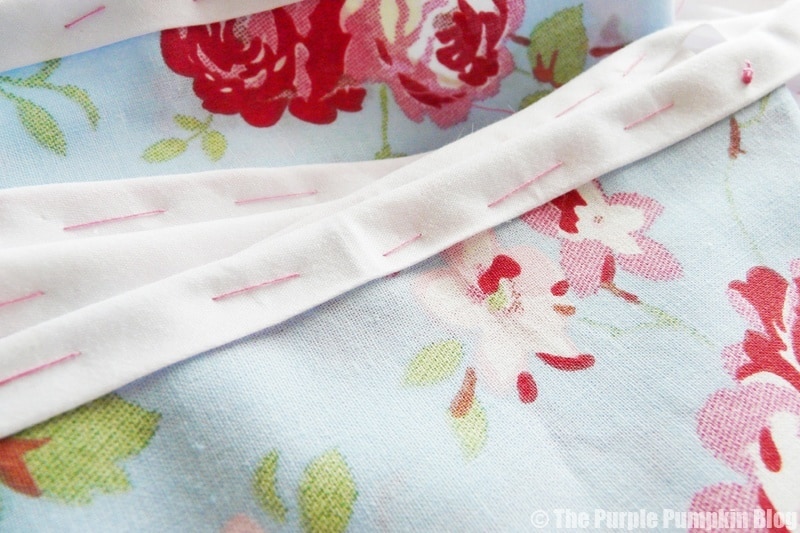
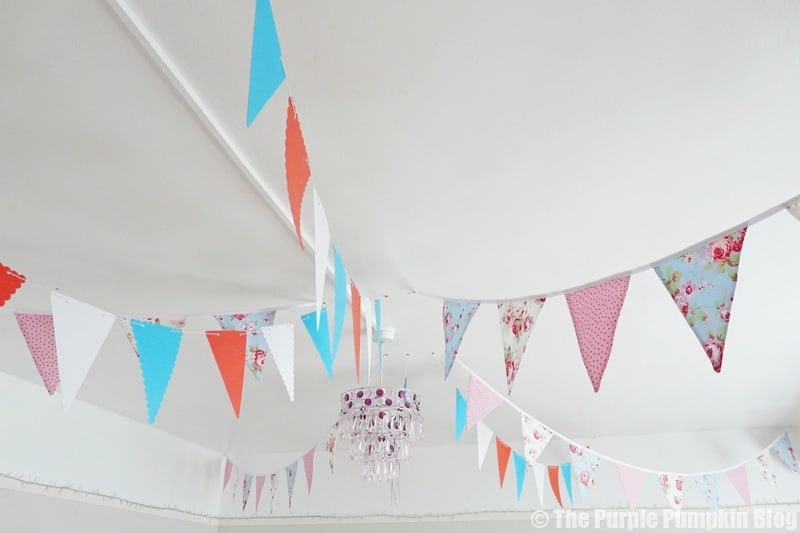
Use a running stitch to attach the bias tape securely to the triangles – you’ll whiz through these in no time! Then finally, unpick the tacking and your fabric bunting is done!
Hang proudly from your tent at the festival, or for a party, or just to pretty up the garden in the summertime!

Check out all of my Camp Bestival posts.
Disclosure: I am receiving family Camp Bestival 2015 tickets in return for previews and reviews of this year’s festival. As always, views and opinions are my own.
JuggleMumBlog
July 6, 2015 @ 8:38 pm
Wow Michelle – you did such a neat job! Great handiwork and thanks for mentioning my no sew bunting tutorial!! x
Michelle Ordever
July 7, 2015 @ 10:39 am
Thank you! I was so proud of that bunting – most I’ve sewn for years!! Glad I’ve got your no sew bunting tutorial to point people to! x