Felt Ruffle Pumpkin
Home » CREATE » Crafts » Pumpkin Crafts »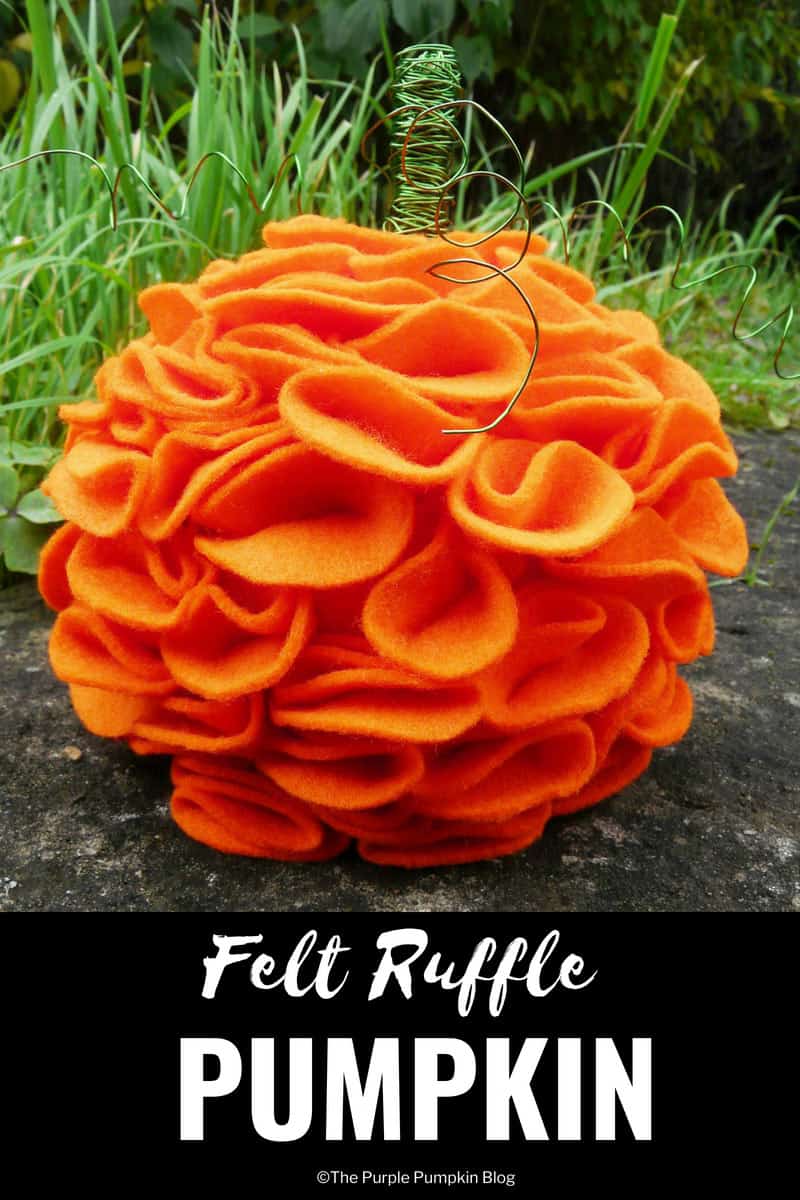
I pinned a gorgeous felt pumpkin a while ago from Clean & Scentsible and wanted to re-create it at home as I just loved how it looked. So yesterday, I did, and ta-da…!

I just LOVE the way it turned out! It now sits proudly on my unit in the living room, and will probably stay up all year!
Whilst it looks like it would be tricky to make, it’s actually not that difficult, and I’m going to show you how I made my Felt Ruffle Pumpkin.
Here is what you’re going to need…

…the 4″ (10cm ish) ball, I felt was just the right size. I bought mine from a craft shop, along with sheets of orange felt which I cut down into 2″ circles. I got 20 circles from each sheet, and used 100 circles in all – you may use more or less depending on how you place the ruffles.

I decided to cover over a stick with green floristry wire because I wanted to create the tendrils that you find on pumpkins. You could use a real stick from outside if you wanted, or create one with green felt. Your pumpkin -your choice!
I sliced a small piece from the bottom of the ball so that it would stand upright, and then drilled the stick down into the polystyrene until it was in securely. I marked off how far down I would need to cover the stick with the wire, and started wrapping it around.


Once happy with the effect, I added some long lengths of wire which I then curled around a pen and pulled off to create a coil, and tweaked until happy with the way it looked.

With the circles already cut out, it was time to start ruffling them up and attach them to the polystyrene ball. To make the ruffles, fold the circle of felt in half, and then in half again, before pushing a pin all the way through in the bottom corner as shown.


Then push the pin into the polystyrene and ruffle up! You could push the pin on the other side to turn the ruffle in the other direction – just mix it up when applying to give a nice full look.
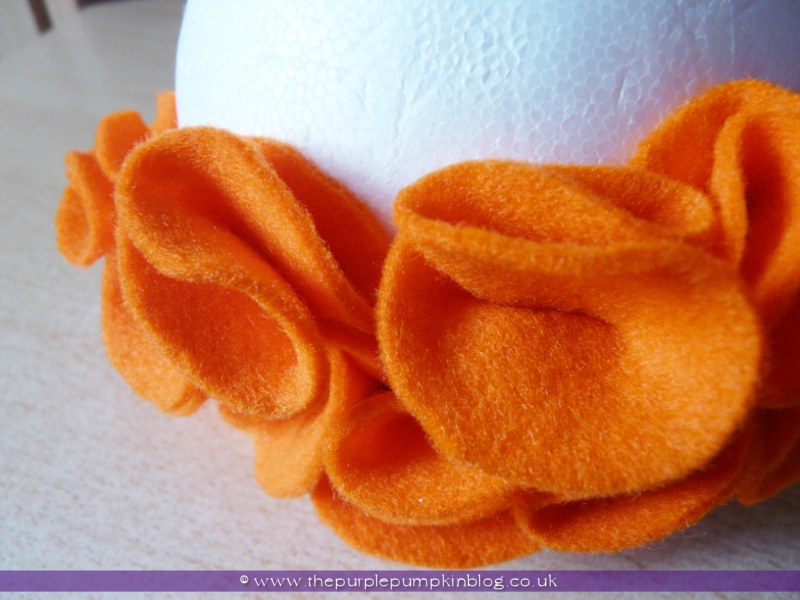
Keep folding and pinning until you’ve covered the whole ball…takes a few hours, and you might want to rest your fingers because I found it hurt to keep pushing pins through the folded felt! The result though is so worth it!


Michelle {The Purple Pumpkin Blog}
October 30, 2012 @ 8:54 pm
Heading over there now – thank you for the invitation! You’ve got a new follower :) xoxo
guavarose
October 21, 2012 @ 6:16 pm
Those are so cute!!! I love all your crafts, and purple is my favorite color. =)
Michelle {The Purple Pumpkin Blog}
October 21, 2012 @ 7:14 pm
Thank you! It’s my favourite colour too ;)
Thanks for stopping by!
xoxo
Homeandfood
October 20, 2012 @ 9:58 am
Ahh!! I love love love blogs that combine food and craft. This is such a snazzy craft idea! I will definitely be trying it out this Halloween! Lovely, fun and interesting blog.
Best wishes from the south of England!
Michelle {The Purple Pumpkin Blog}
October 20, 2012 @ 6:25 pm
Ahh, thank you so much! Glad you enjoy my blog, I know I love to write and share my ideas! Combining my interests seemed the way to go :D
Best wishes from one Brit to another!
xoxo