
Wooden Block Pumpkins
Looking for a fun and easy fall DIY project? Try making this Wooden Pumpkin Craft using tumbling tower blocks!
Materials
- Wood Blocks - about the size of a Jenga/tumbling tower game block.
- Wood Glue
- Acrylic Paints - yellow orange, and brown. The colors we used were the brand Apple Barrel: Kings Gold, Harvest Orange, and Melted Chocolate.
- Tacky Glue
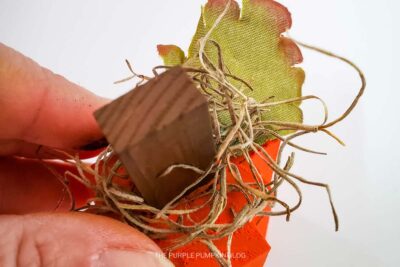
- Spanish Moss
- Artificial Leaves - we used ones from some artificial sunflowers
TOOLS
- Paint Brush
Instructions
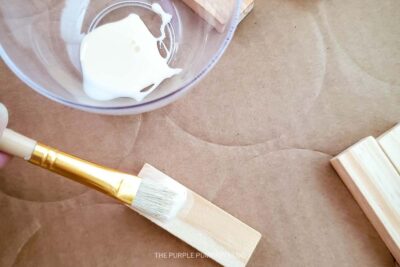
- Using the wood glue and a small paint brush, apply glue to the entire front surface of one block.
- Set two blocks on top of that block, each half on the block, and half overhanging.
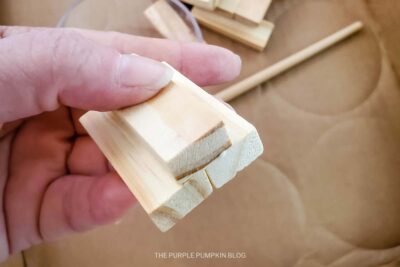
- Apply glue to the sides and top of the two blocks that you just glued to the other block.
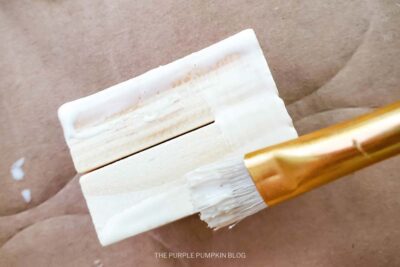
- Set one block in the center of those two blocks, halfway up, on the glued portion. This will be the stem.
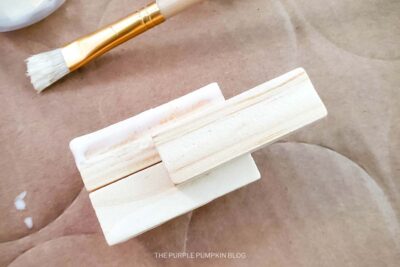
- Set two more blocks on either side of that stem, flush with the top and bottom of the two blocks you glued in step 2, but overlapping the sides slightly.
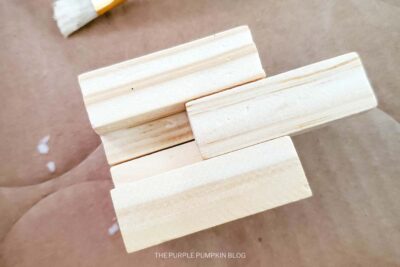
- Apply glue to the inner sides of the two blocks you just glued and the bottom portion of the stem that sticks up from step 4.
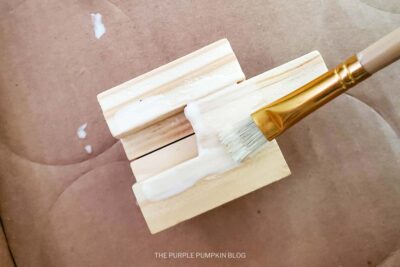
- Set two blocks centered between those three blocks.
- Apply glue to the middle of those two blocks.
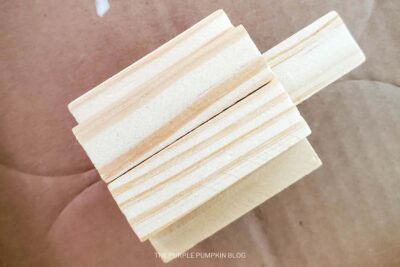
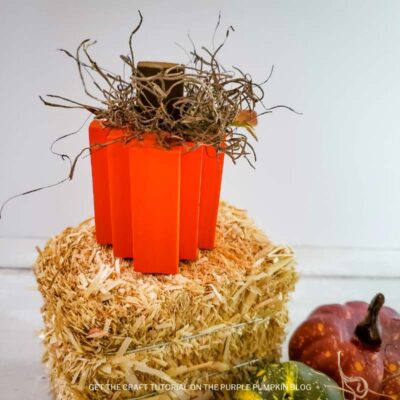
- Set one block, centered between those two blocks. You’ve made the pumpkin form. Stand upright to allow the glue to completely dry.

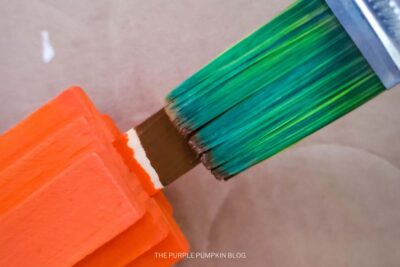
- Using Kings Gold or Harvest Orange paint, paint the entire pumpkin, except for the one block that sticks up.
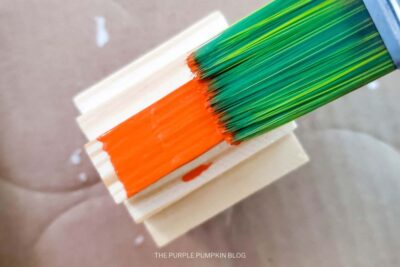
- Using Melted Chocolate paint, paint the stem.
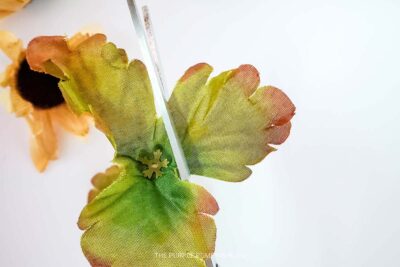
- Remove the leaves from the flower stems.
- Cut each of the three leaves off of the main leaf bunch.
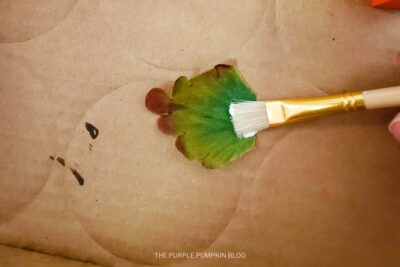
- Using the tacky glue and a small paintbrush, add a small amount of glue to the bottom of the back of the leaf.
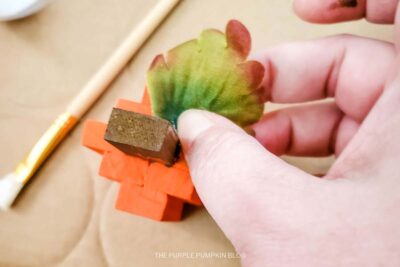
- Attach it behind the stem, slightly off to the side.
- Gather a small amount of moss, and bunch it together, then slip it over the stem. Display where desired!
Did you make this project? Share it!Tag @_ThePurplePumpkinBlog on Instagram with the hashtag #TPPBCreate!