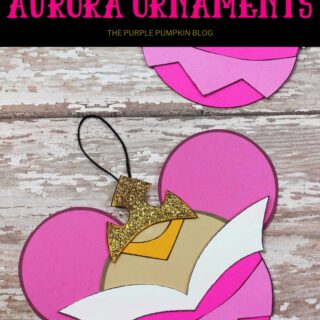
Sleeping Beauty Ornament Craft
This Sleeping Beauty Christmas Ornament Craft is fun and simple and will look great on your tree!
Materials
- Construction Paper or Cardstock in the following colors: Dark Pink Light Pink, Skin Tone, Dark Yellow or Gold, White
- Pink Fine Glitter optional
- Black String or Ribbon
TOOLS
- White School Glue (PVA Glue)
- Glue Stick
- Laminator & Laminating Sheets (optional)
Instructions
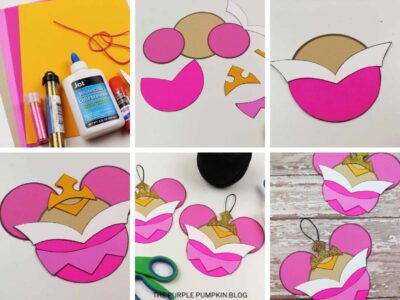
- Download and print out the Sleeping Beauty ornament template onto corresponding colored papers or cardstock (Link in the blog post). Cut out and set aside.
- Using a glue stick attach the dress and collar, followed by the dress trim and bottom part of the crown.
- Attach the ears evenly spaced apart, and stick the top part of the crown in between.
- If you are adding glitter, apply white school glue to the crown and sprinkle gold glitter over. Shake off the excess and leave to dry.
- Finally, form a hanging loop with a piece of string or ribbon and stick to the back of the ornament.
- If you want, you can laminate the ornaments so that it lasts longer. Before attaching the loop, run it through a laminator and cut away the excess. Make sure you leave a slight edge as you cut it out so that the laminating sheets don't fall away! Attach the loop to back.
- Hang your Princess Aurora ornament on your Christmas tree!
Video
Did you make this project? Share it!Tag @_ThePurplePumpkinBlog on Instagram with the hashtag #TPPBCreate!