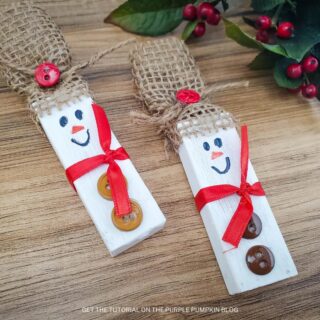
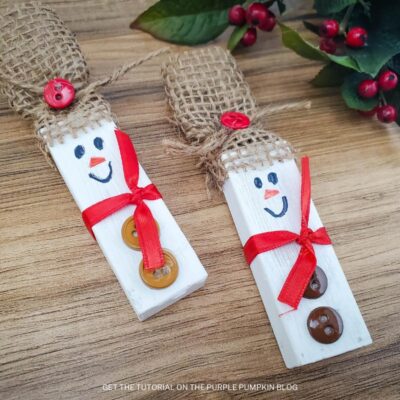
Rustic Wood Block Snowmen
Get crafty this festive season with this adorable Wood Block Snowman Craft.
Materials
- Small wood block such as a Jenga block
- White Acrylic Paint
- 2.5 " wide burlap ribbon
- Natural twine
- ¼ " red ribbon
- Small red button
- 2 small brown buttons
- Black and orange markers
TOOLS
- Paint Brush
Instructions
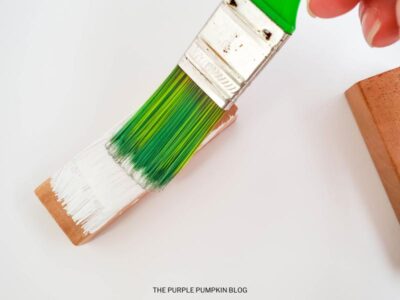
- Paint the entire wood block with white paint. Leave to dry. Apply a second coat if required and let dry.
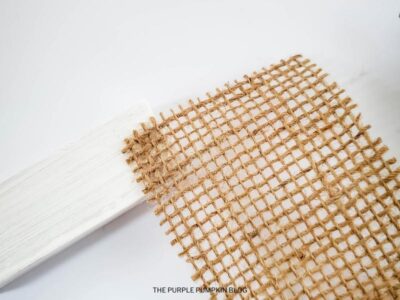
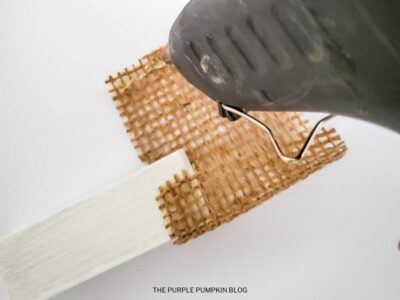
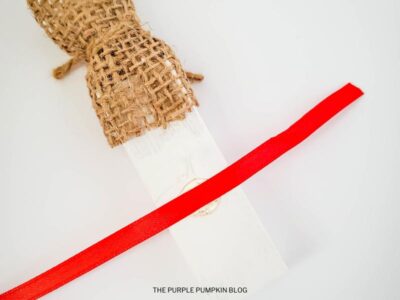
- Cut the burlap ribbon to 3.5" long.
- Apply a small amount of glue to one end of the block.
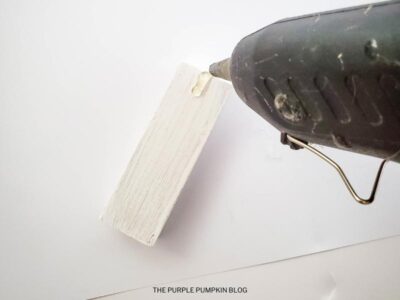
- Stick one end of the burlap onto the glue. Wrap the burlap around the block, apply glue down one edge of the burlap, and secure to the other edge of the burlap.
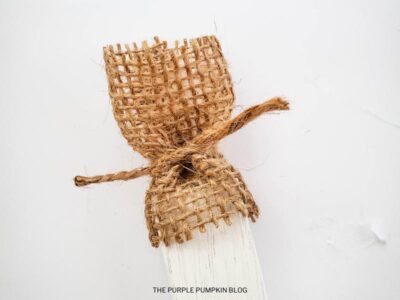
- Cut the twine to 5" long. Tie it around the burlap, halfway up.
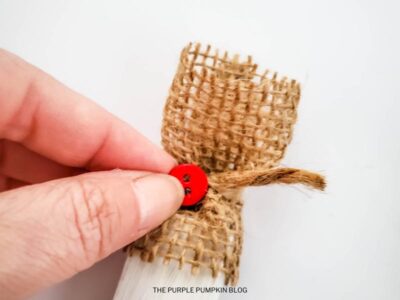
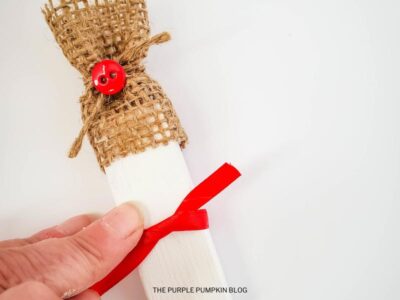
- Add glue to the red button. Adhere button to the center of twine, where the knot is.
- Cut the red ribbon to 6" long.
- Apply a dot of glue about halfway down the back of the block.
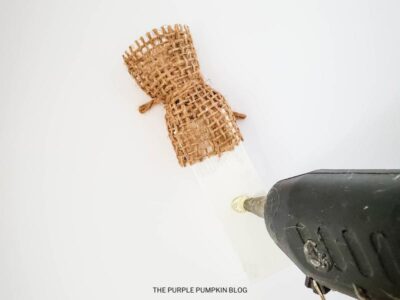
- Center the ribbon onto the glue.
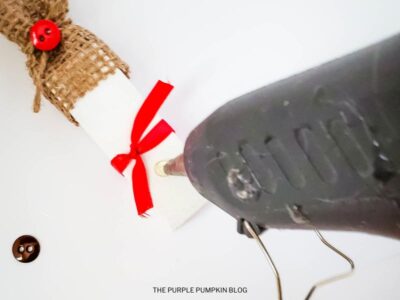
- The wrap around to the front of the block. Tie the ribbon in the front, making a knot.
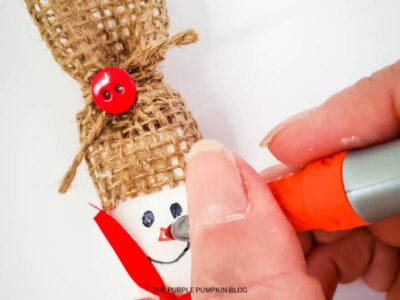
- Add two dots of glue to the bottom of the block, then add the two brown buttons.
- Use the black marker to make eyes, then a mouth. Use the orange marker to make a nose. Display where desired!
- To turn the snowman into a hanging ornament, cut a piece of twine to 7", fold it in half, and tie a knot to make a loop. Glue at the top of the woodblock before creating the hat.
Did you make this project? Share it!Tag @_ThePurplePumpkinBlog on Instagram with the hashtag #TPPBCreate!